
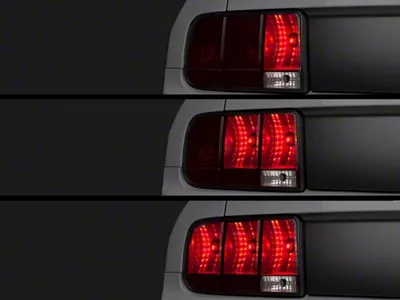
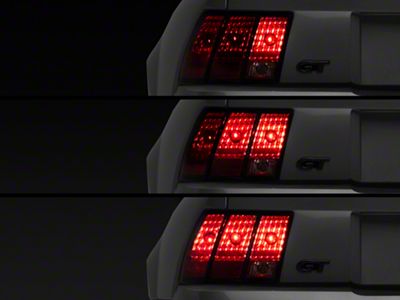
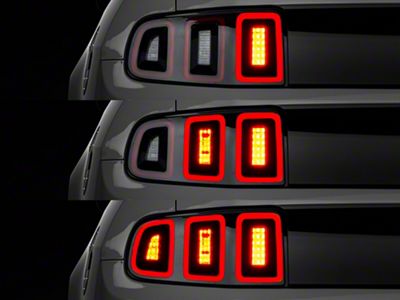
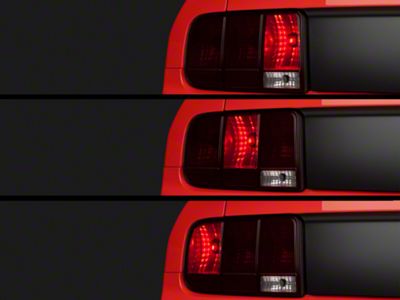
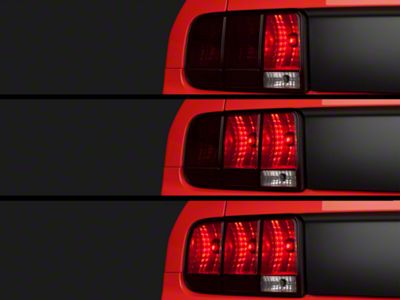
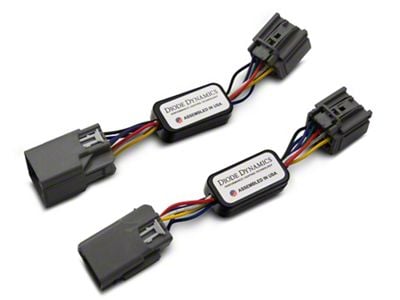
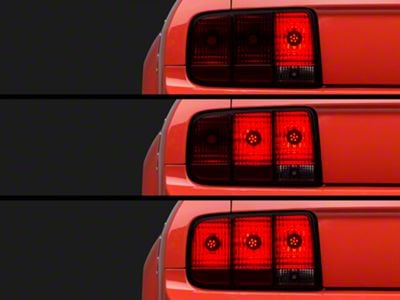
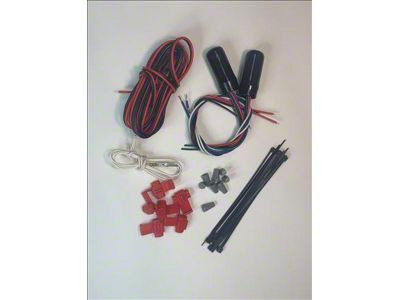
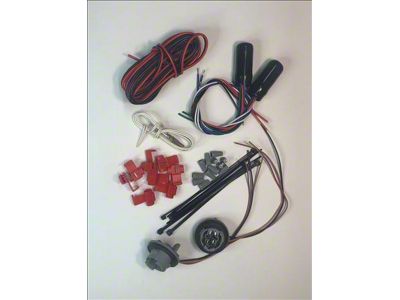
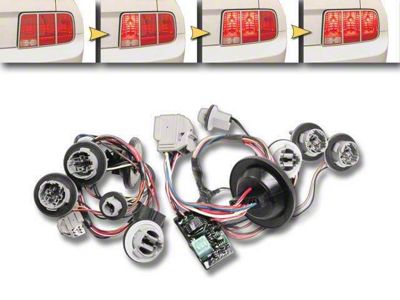
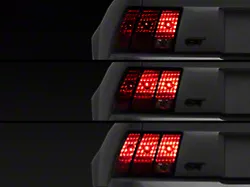

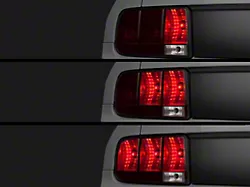
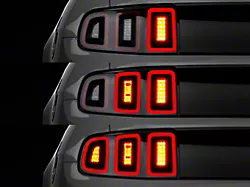

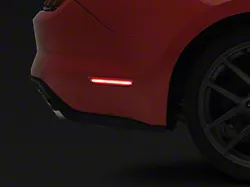


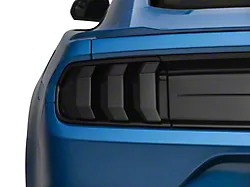

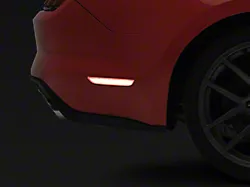
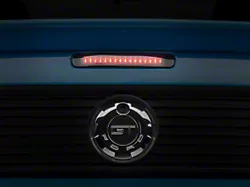
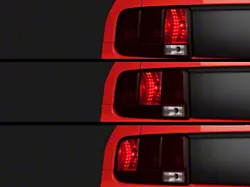

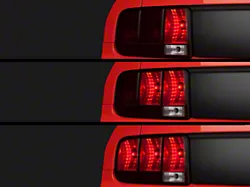
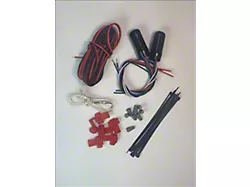
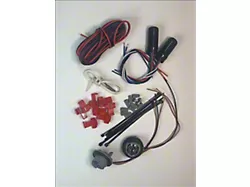
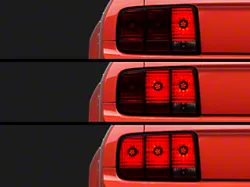

Want something that instantly makes your Mustang stand out, and gives your Pony an undeniably retro feel? Then a Mustang sequential tail light kit is just the thing for you. You can install these Mustang sequential turn signals on any Mustang from 1996 to 2009, and give all those people you're leaving in the dust a little something nice to look at. Or, if you want, you can pick up a totally new set of Mustang Tail lights.
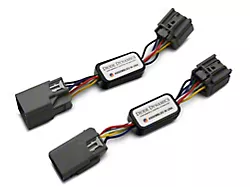
Fitment Includes:
- V6, GT, GT500, EcoBoost, Bullitt, Shelby, Boss 302, Mach 1, California Special or SVT Cobra Mustang
*Please see product pages for any exceptions.

