 FREE 1 to 3-Day Delivery on Orders $119+ Details
Best Sellers


How to Install a White A/C Gauge Faces on your 1994-2000 Mustang
Installation
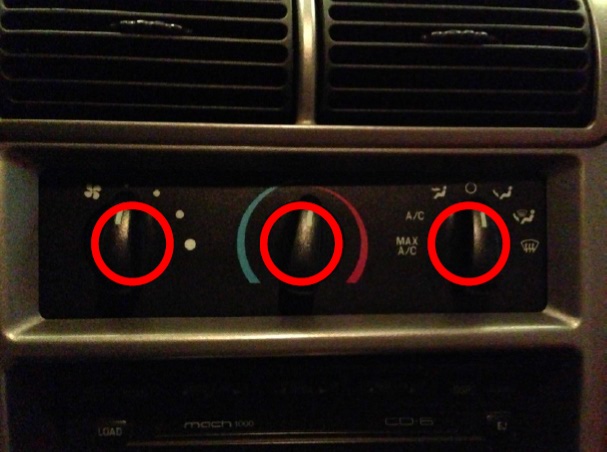
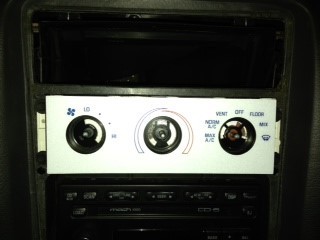
1. Begin by pointing all the knobs straight up and down.
2. After turning the dial knob straight up and down you will be able to remove them by pulling them straight out.
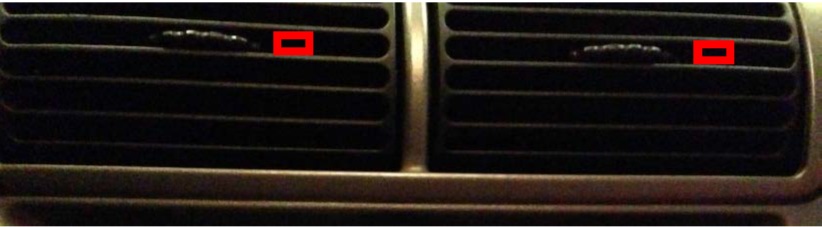
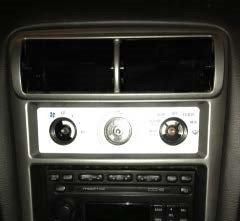
3. Remove the vents directly above your controls. You can do this by placing your pliers (where indicated with red box) on the slat even with your air direction control device and pull very gently outward, remove both.
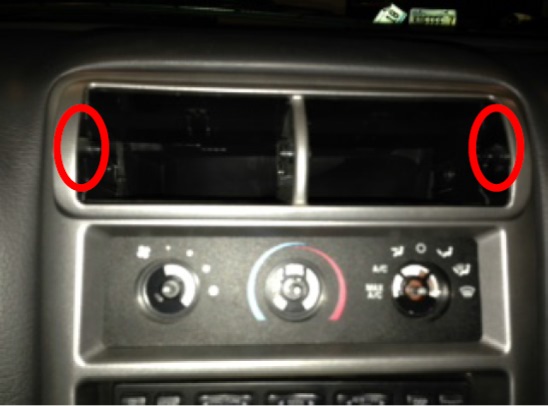
4. Remove the outer surround so that you have easy access to the A/C gauge face. Do this by pulling gently on the right and left side of the vent holes (where indicated by red circles) to release the clips that hold this in place.
Installation Procedure:
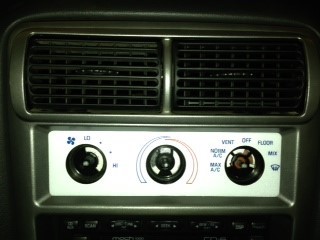
1. Make sure that your factory gauge face is clear from any dirt and debris prior to application.
2. Apply your new white A/C gauge face.
Note: If you are applying this is low lighting, I found it helpful to have a flashlight handy so that you can see exactly where you are lining up your gauge face so you may have a perfect fit.
Reassembly:
1. Start with your surround, once you line it up with the outline of the surrounding it will snap back into place by gently pushing the clips back into the lock position.
2. Reinsert the vents. Do this by gently pressing the vent back into the clips that hold it in place. Make sure each side snaps back into place.
3. Insert control knobs. Do this by reattaching them the same way you took them off. Line the indicator on the knob straight up and down and push into place.
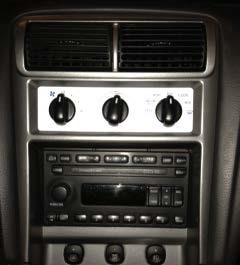
4. Enjoy your new white A/C Gauge Face.
Installation Instructions Written By AmericanMuscle Customer Whitney Andrews 8.30.2013
