 FREE 1 to 3-Day Delivery on Orders $119+ Details
Best Sellers


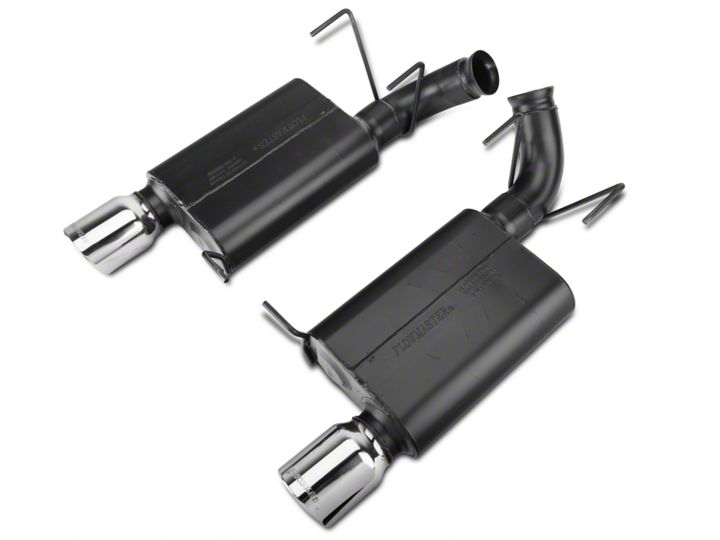
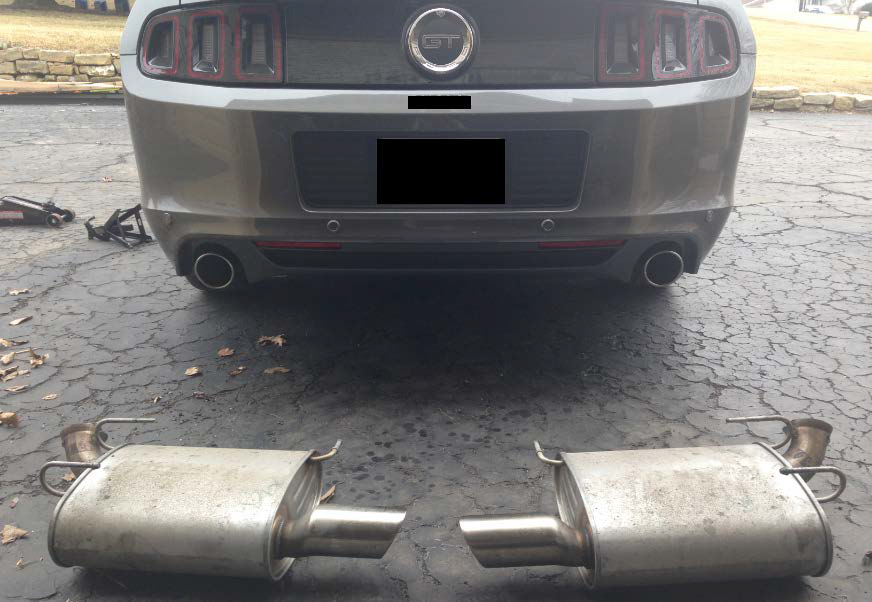
How To Install a Flowmaster American Thunder Exhaust for your 2013-2014 Mustang GT
Installation Time
1 hours
Tools Required
- American Thunder Exhaust and hanger keepers (AM Item #18443)
- 13mm socket
- *Jack and Jack Stands (optional but highly recommended)
- WD40 or similar lubricating oil
- Safety Glasses
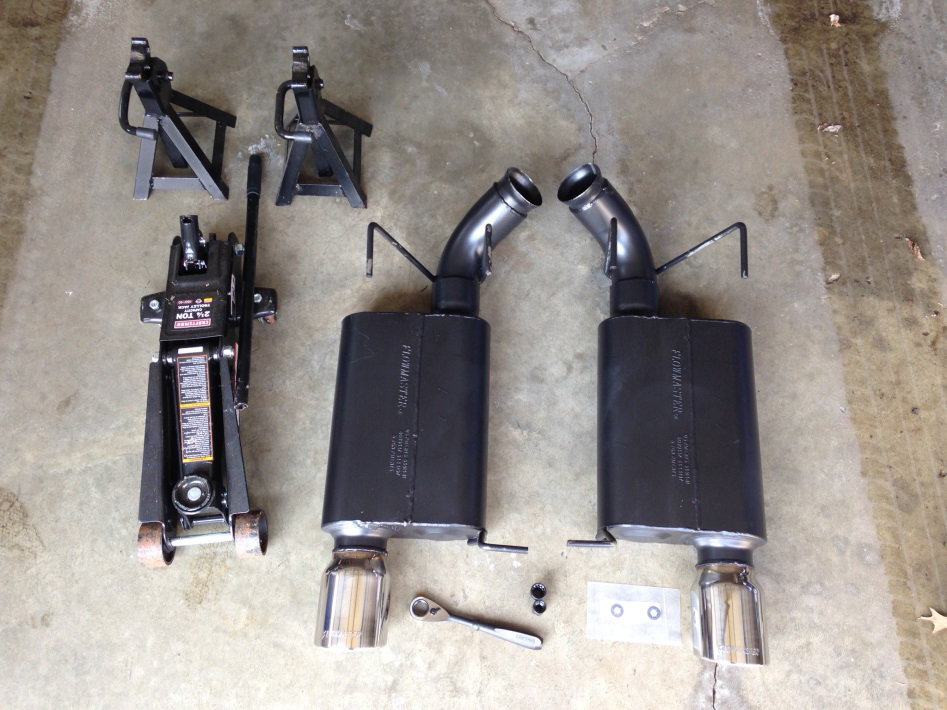
Shop Parts in this Guide
Figure 1
Notes and Tips:
1. Ensure engine and exhaust is fully cool. Burnt hands are no fun.
2. Safety glasses are a must – unless your car is spotless and there isn’t any debris on the underside of the car to fall into your eyes…
3. Pick a side. Any side. For easiest removal and install, complete one side at a time and jack car up to better clearance.
Installation:
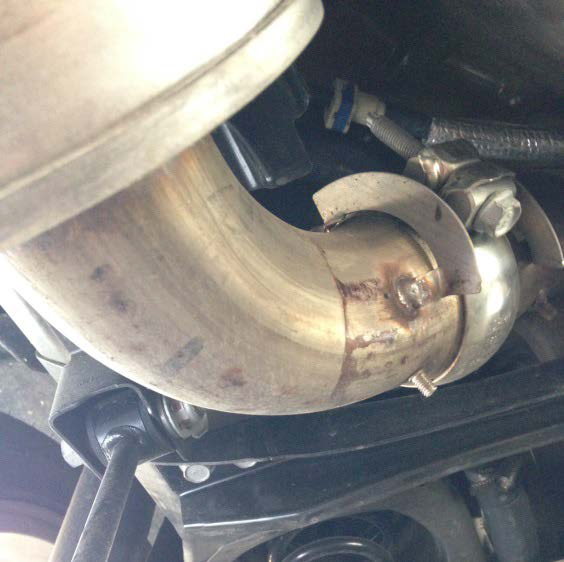
1. Use a 13mm socket to loosen the clamp connecting the axleback exhaust and over axle pipes (Figure 2). Loosen as much as possible and then disconnect the exhaust from the pipe.
Figure 2
2. There are 3 hangers for the exhaust – one in the rear and two towards the front. Lubricate each rubber gasket and hanger pin to aid in removal.
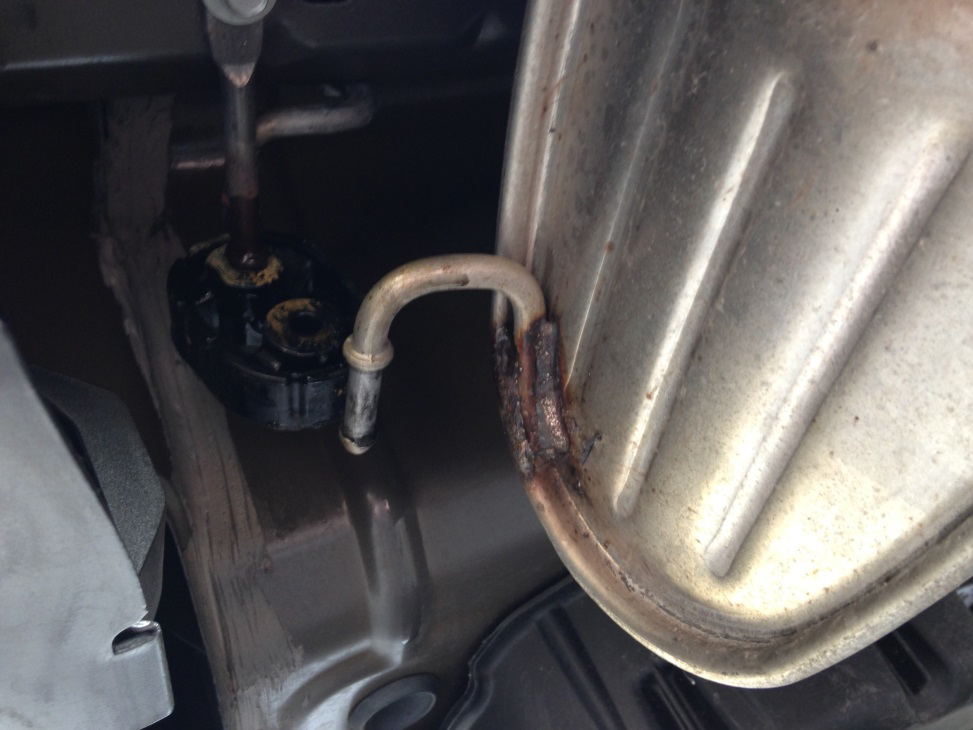
3. Remove rear most hanger pin first. Allow exhaust to hang one removed (Figure 3).
Figure 3
4. Remove the forward hanger pins next. Once removed exhaust will drop freely. Slide the exhaust forward as much as possible to remove. Some maneuvering will be necessary.
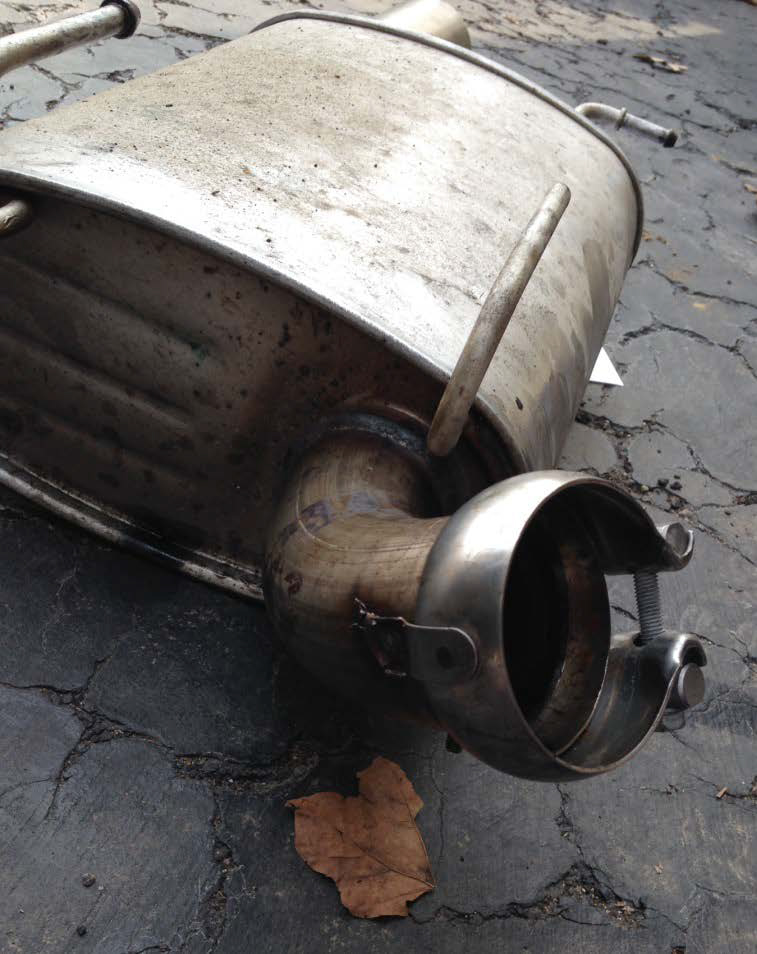
5. Once removed, the clamp from the stock exhaust will need to be removed for use on the new exhaust (Figure 4). Cut or wiggle the clamp back and forth until the metal tab breaks.
Figure 4
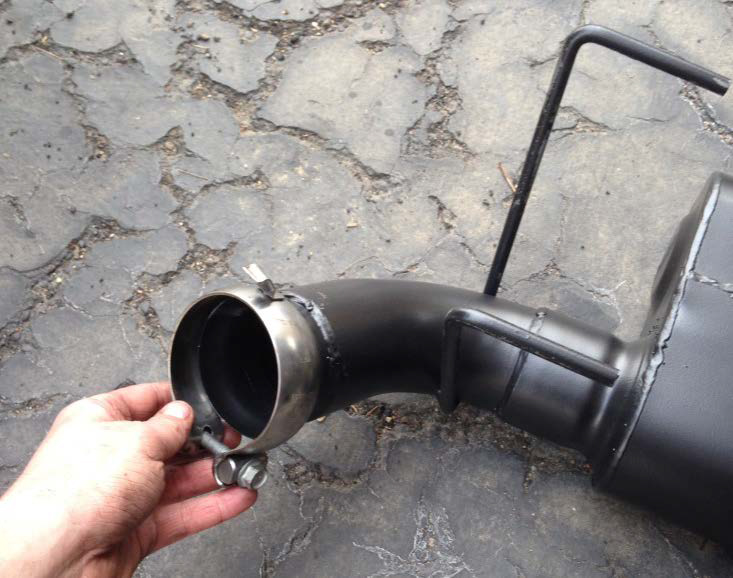
6. Take the clamp just removed from the stock exhaust and slide over the new exhaust (Figure 5).
Figure 5
7. Reattach the front hanger pins first. Once attached, connect the rear hanger pin.
8. Reconnect muffler and over axle pipe. Snug bolt with 13mm socket but do not completely tighten. Take a step back and level muffler and center exhaust in the rear valance for proper fit. .” clearance is required all around the exhaust for proper fit.
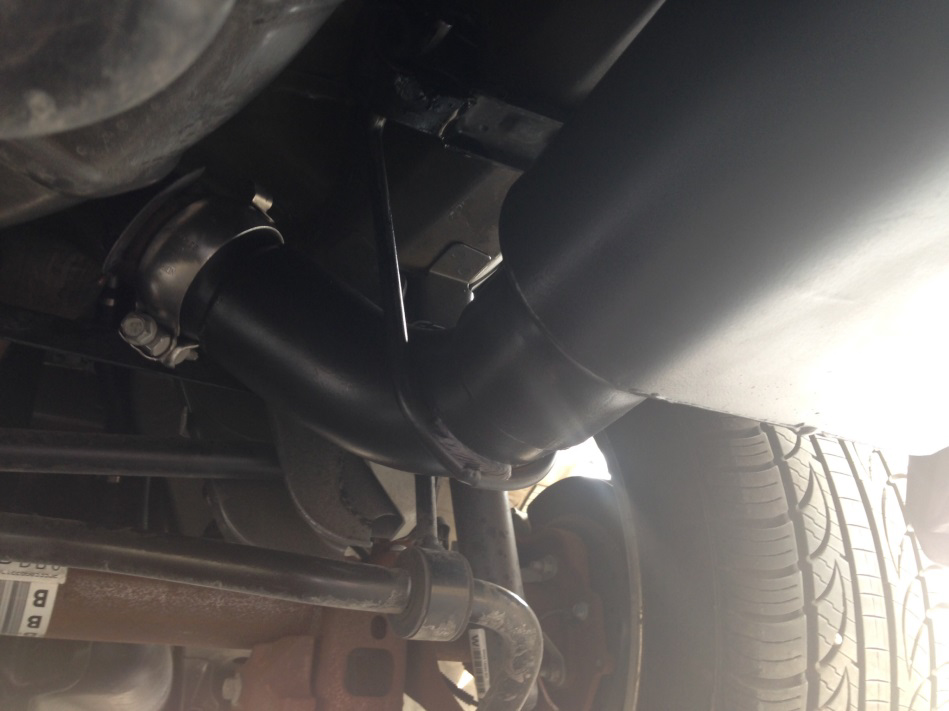
9. Once leveled and centered, completely tighten the bolt connecting the exhaust to the pipe (Figure 6).
Figure 6
10. Once snug, use one of the hanger keepers on the rear exhaust pin to keep exhaust in place (Figure 7).
11. Once one side is complete, lower the car, jack up the other side, and complete steps 1-10. for the other side. Don’t worry the second side goes much faster.
12. Start the car and ENJOY! After driving the car, check for any leaks around the clamp. Clamp may need to be repositioned or retightened.
Installation Instructions Written By AmericanMuscle Customer Mike Marcantonio 3.12.2014
