 FREE 1 to 3-Day Delivery on Orders $119+ Details
Best Sellers


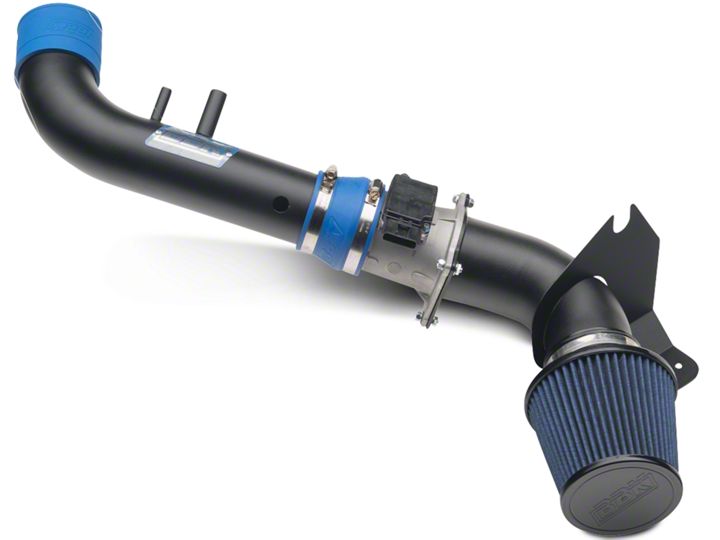
How To Install a BBK Blackout Cold Air Intake for your 1996-2004 4.6 2V Mustang
Installation Time
1 hours
Tools Required
- Ratchet & extension
- 5/16” or 8mm socket
- 3/8” wrench
- 7/16” wrench
- 10mm wrench
- No.2 Philips screwdriver
- General purpose grease
- Small pry bar or putty knife
- Loctite 243 (blue) or equivalent
- Wheel lug nut wrench (not shown)
Shop Parts in this Guide

PROCEDURE: Intake (inside engine bay)
1. Park vehicle on level ground, ignition in the OFF position, and key removed. Disconnect the negative battery terminal (5/16” or 8mm).
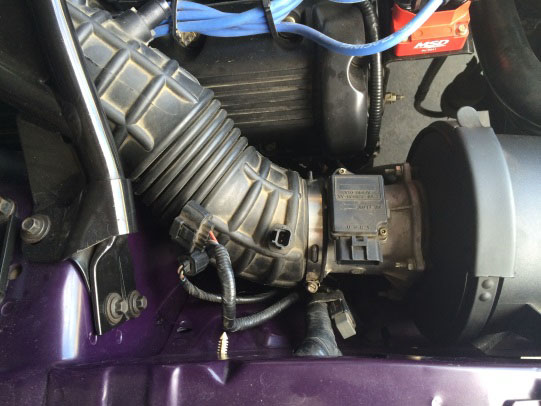
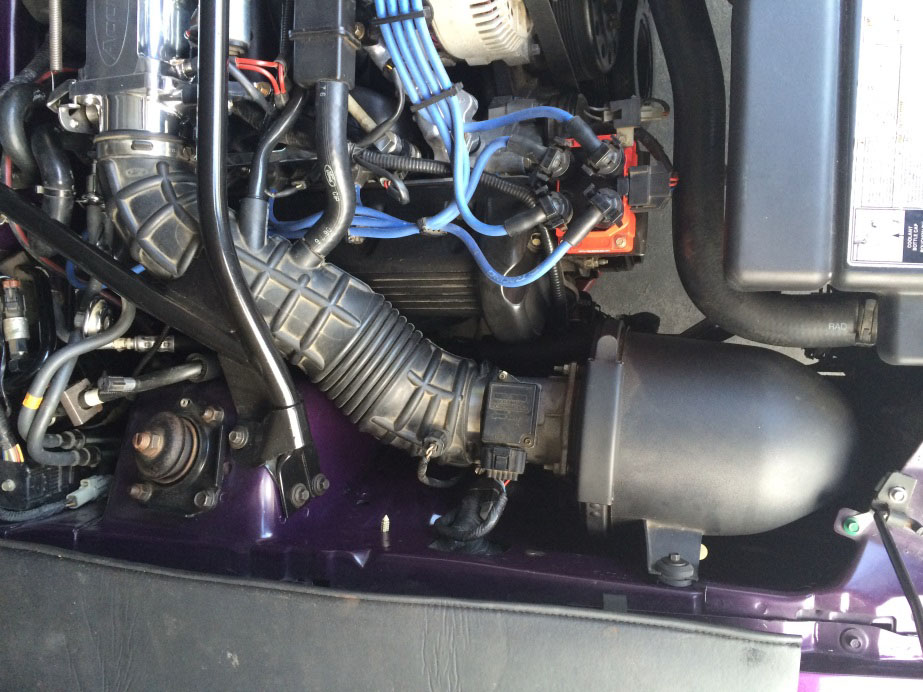
2. Disconnect the electrical connectors from the air intake tube and MAF sensor.
3. Loosen the air intake tube clamps (5/16” or 8mm) at the Throttle Body (TB) inlet and Air Filter box. Remove tube while disconnecting the 2 auxiliary connections from the air intake tube.
4. To prevent contamination, protect the air intake opening of the TB.
5. Remove the bolt (5/16” or 8mm) & grommet holding the air filter box to the side of the fender. Keep the bolt and rubber grommet.
6. Remove the two grommets from the bottom of the air filter box and transfer to the openings in the fender shelf.
7. Remove the air filter box taking care to pull the air intake silencer tube through the opening in the fender.
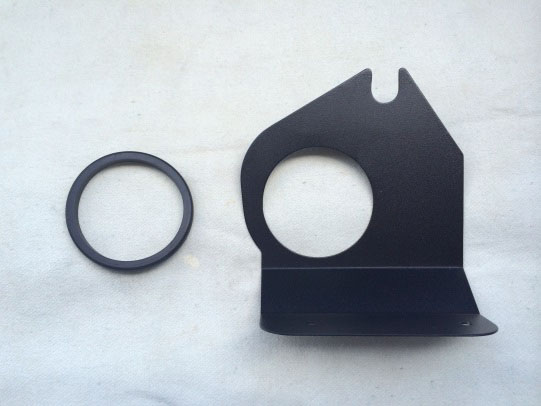
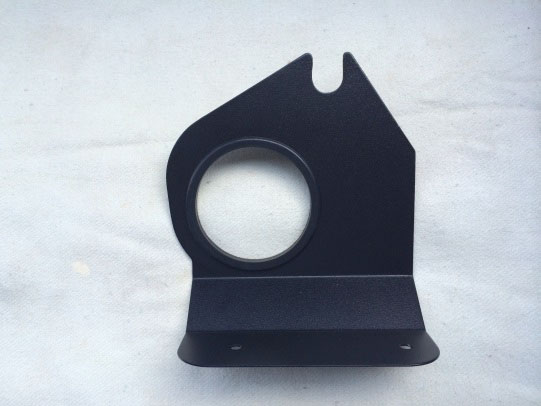
8. Install the thin large diameter grommet into the hole in the fender mount; applying a small amount of grease can ease installation.
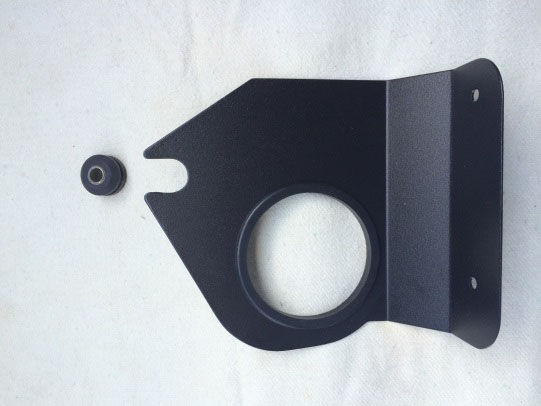
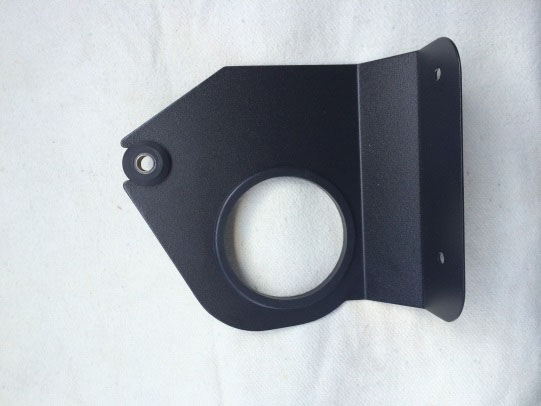
9. Slide the old grommet into the new fender mount.
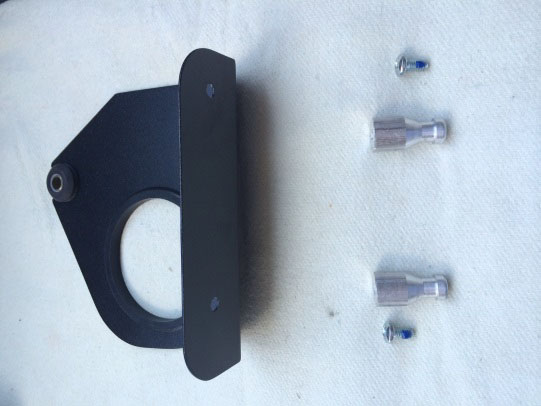
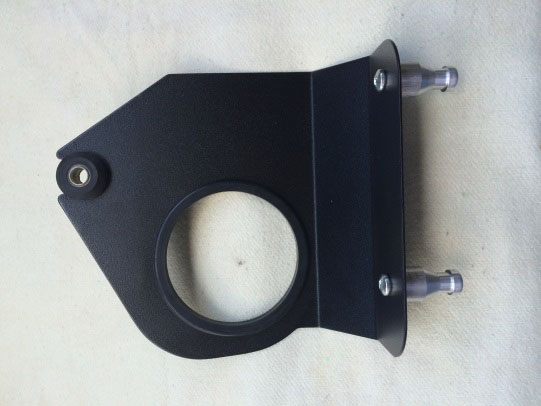
10. Install the supplied dowels onto the underside of the fender mount as shown, using the new philips head screws; apply a small amount of thread locker to the screw threads.

11. Apply a small amount of grease to the two dowels, then install the fender mount assembly inside the fender making sure the dowels are seated in the grommets. Install the fender retaining bolt (5/16” or 8mm) through the old grommet; torque 67-75 lb-in.
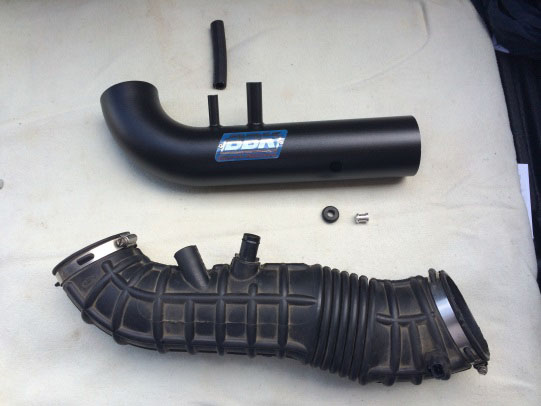

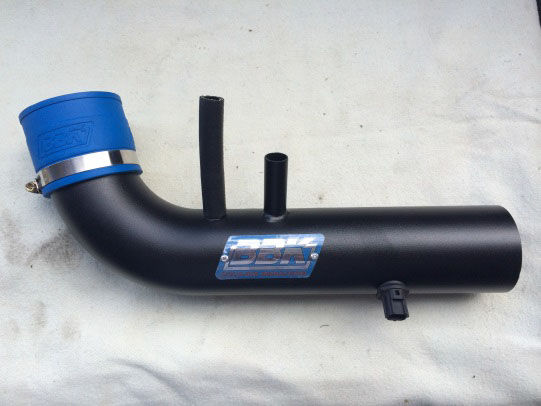
12. Install the small supplied grommet into the new intake tube. If your car is equipped with a temperature sensor, transfer it into this new grommet; applying a small amount of grease can ease installation. If your car does not have a sensor, plug the grommet with the supplied plug.
13. Install the short rubber hose onto the intake tube nipple as shown.

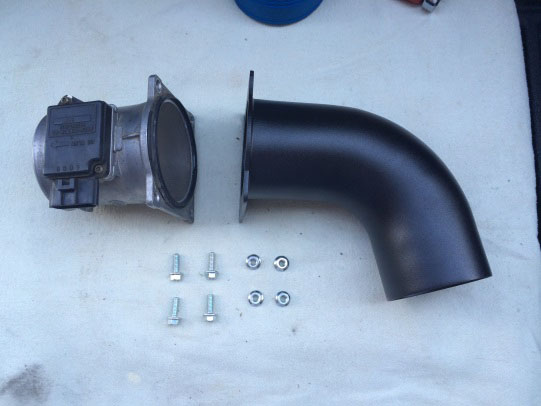
14. Remove the MAF sensor housing from the air filter box adapter (10mm).
15. Assemble the MAF sensor housing to the new intake elbow with the supplied fasteners (3/8” & 7/16”).
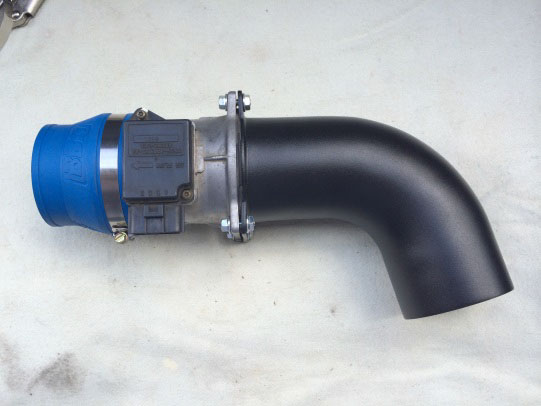
16. Install the jump-size adapter to the MAF sensor housing & tube assembly as shown. Install the appropriate sized clamp loosely (5/16” or 8mm).
17. Install the straight adapter to the intake tube assembly as shown. Install the appropriate sized clamp loosely (5/16” or 8mm).
18. Remove the protection from the TB inlet previously installed in step 4.
19. Install both assembled tubes into the engine bay. Applying a little grease onto the intake elbow can ease installation through the fender mount grommet.
20. Connect the auxiliary hoses to the intake tube as shown.
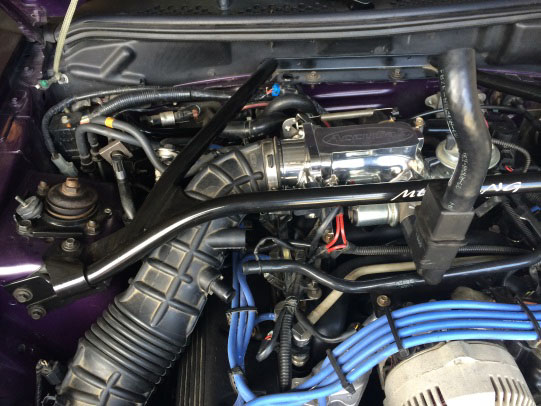
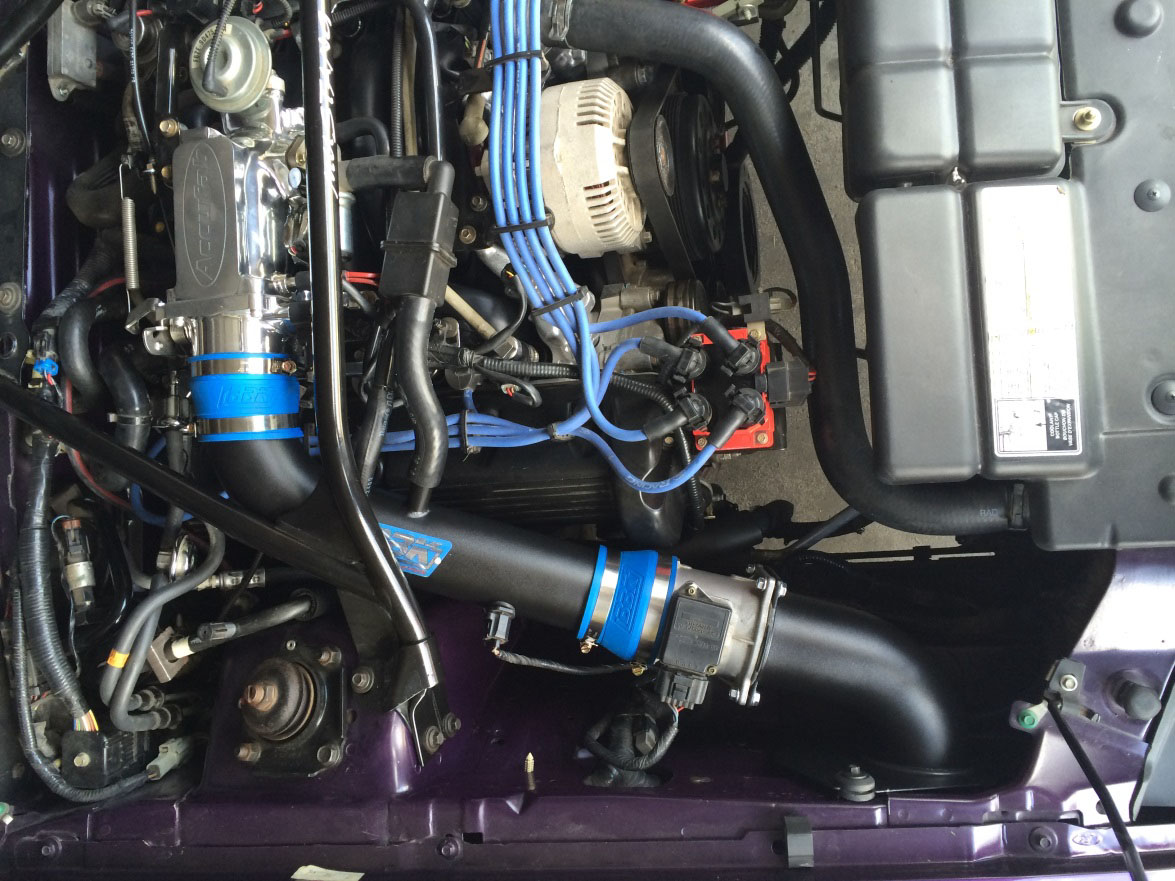
21. Position the intake tubes providing clearance to all adjacent components (strut tower brace, valve cover, etc.), then tighten all clamps (5/16” or 8mm); torque 21-28 lb-in.
PROCEDURE: Filter (inside fender)
22. Raise the front of the car following the manufacturer’s guidelines. Support the car with stands.
23. Remove the front passenger side wheel.
24. Remove the clips and screws holding the front of the plastic inner fender to the under-body and front bumper.
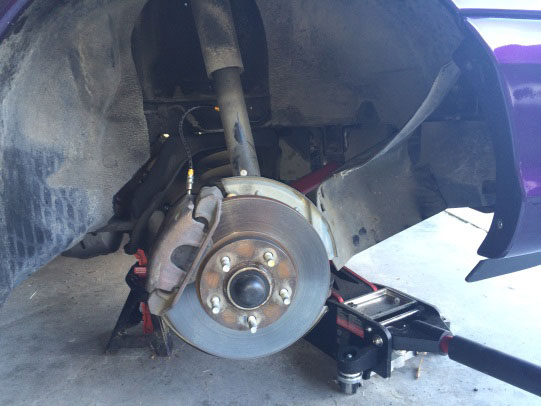
25. Gently pry the inner fender away from the front bumper towards the brake.
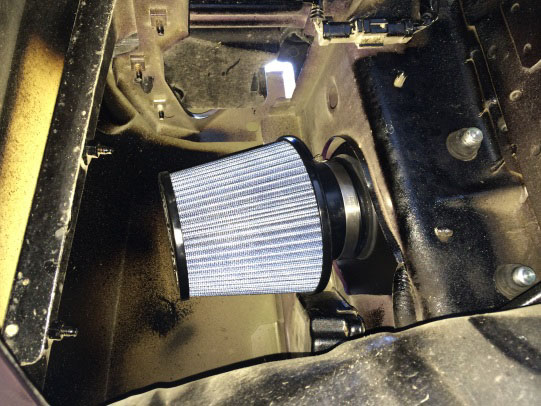
26. Install the filter onto the intake elbow as shown, tighten the clamp (5/16” or 8mm); torque 21-28 lb-in.
27. Replace the plastic inner fender, clips, and screws.
28. Reinstall the wheel; torque 85-105 lb-ft..
29. Lower car onto the ground.
30. Reconnect the battery negative cable onto the battery (5/16” or 8mm); torque 68-92 lb-in.
Installation Instructions written by AmericanMuscle Customer David Prince 8.14.2014
