 FREE 1 to 3-Day Delivery on Orders $119+ Details
Best Sellers


How to Install a BBK Cold Air Intake on your 1999-2004 Mustang V6
Installation Time
1 hours
Tools Required
- Flat Head Screwdriver
- Phillips Head Screwdriver
- 8mm Wrench or Socket
- 10mm Wrench or Socket
- 12mm Wrench or Socket
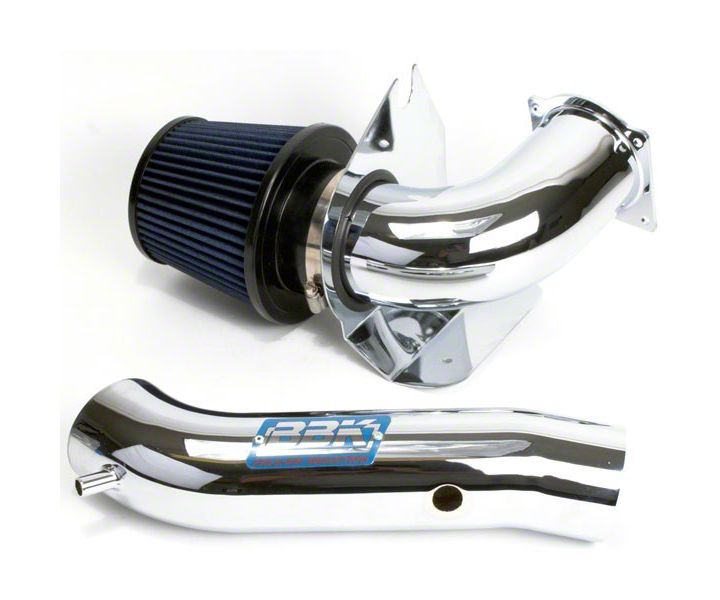
Shop Parts in this Guide
Installation
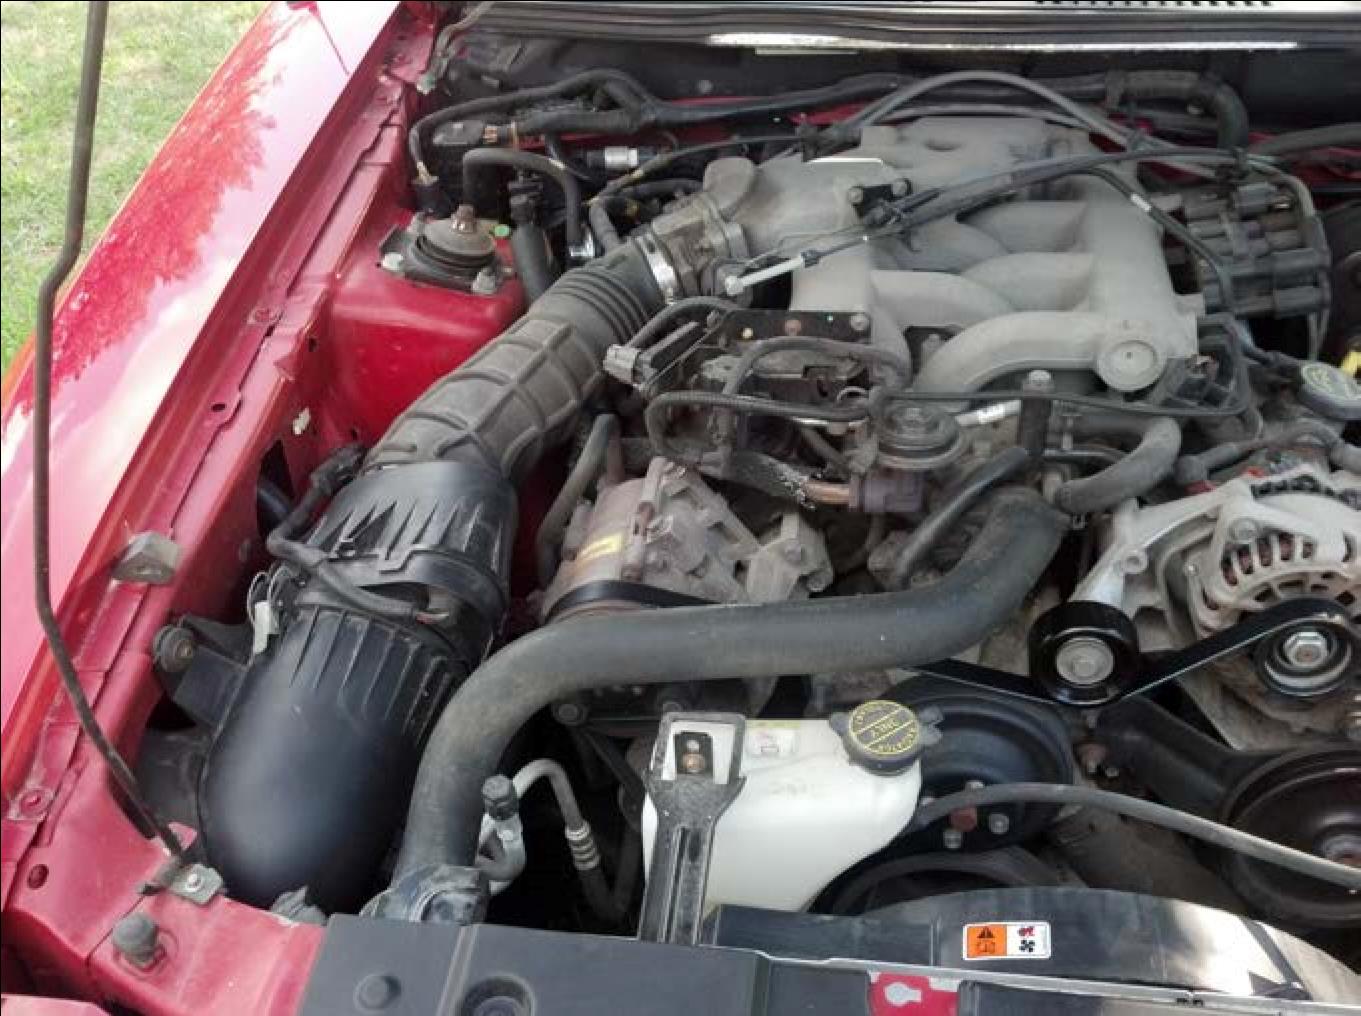
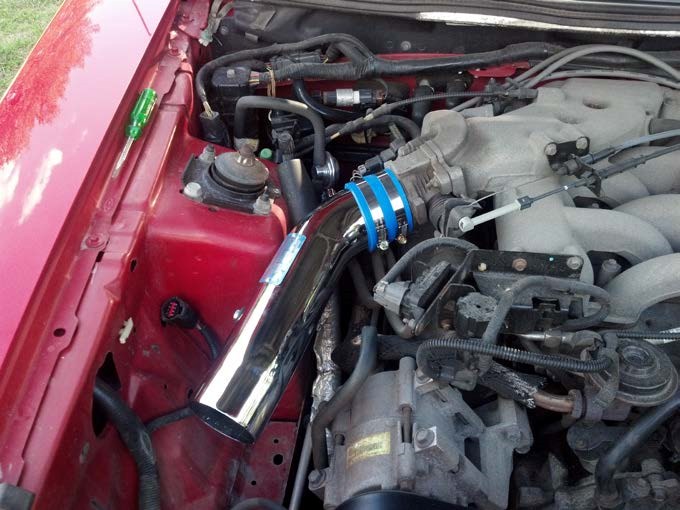
1. Start by opening the hood of the car and making sure its secured open. The stock intake of the mustang should look similar to the one below.
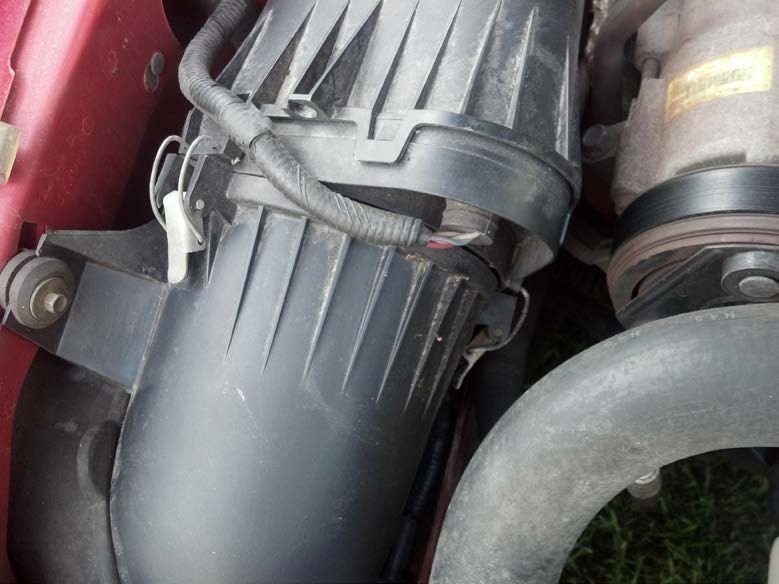
2. Next, unhook the connection to the Mass Airflow Sensor. This can be made easier by using a Flat Head Screwdriver to hold down the clip while you pull the connection out.

3. After you have the connection unhooked, you can now start to remove the stock intake by using an 8mm Wrench or Socket Wrench to loosen the bolt that’s securing the intake to the fender. Also, unlatch the two clips holding the Mass Airflow Sensor housing to the stock snorkel.
4. Now, pull up on the Mass Airflow Housing to make room for the snorkel to come out. After the snorkel is out of the car, the intake will now look something like this:
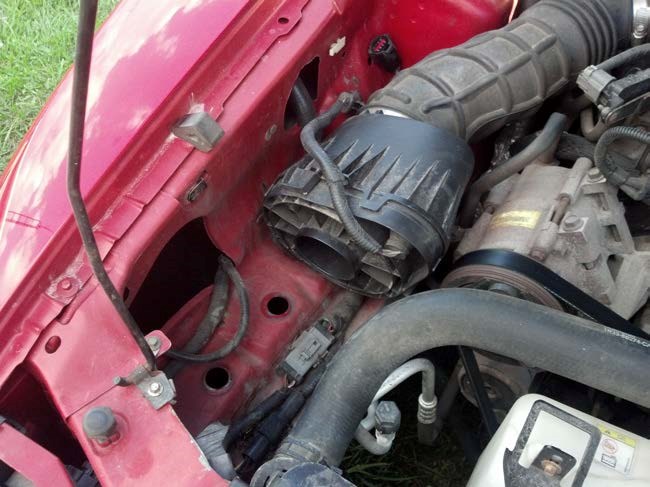
You may have noticed that one or both rubber grommets came out of the holes under the snorkel, just take them off of the stock intake and put them back in. At this time, install the aluminum mounting hardware for the new intake.
5. Now for the upper intake. Remove the hose going to the upper intake pipe and loosen the hose clamp to remove the stock intake completely. There may be a piece of plastic in the hose, so take this out carefully. After the stock intake is completely removed, the engine will look like this:

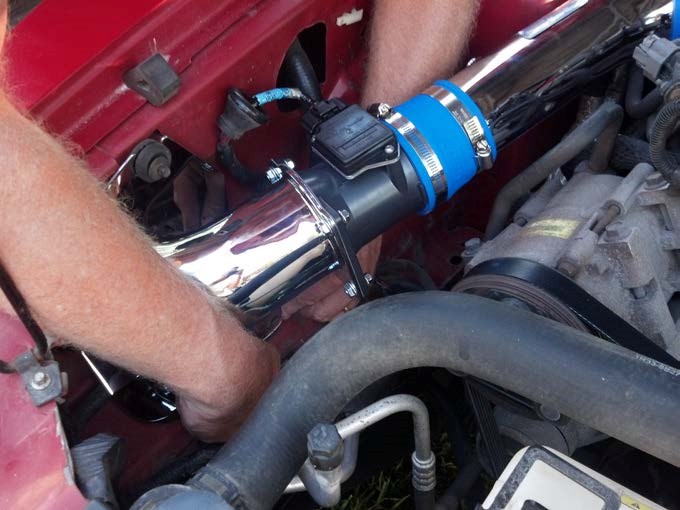
6. After the stock intake is completely off, installation of the new cold air intake can begin. Begin by taking the upper intake pipe of the new kit and fitting the smaller of the two silicon couplers to the Throttle Body and upper intake pipe. Tighten the hose clamps down just enough to hold things in place, as adjustments may be needed.
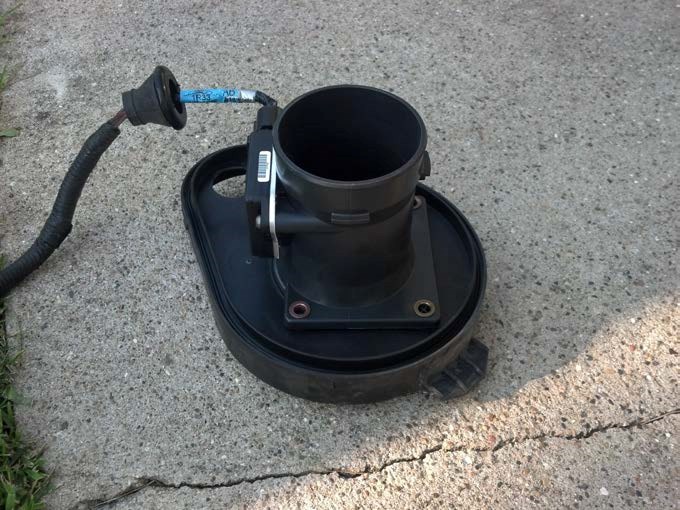
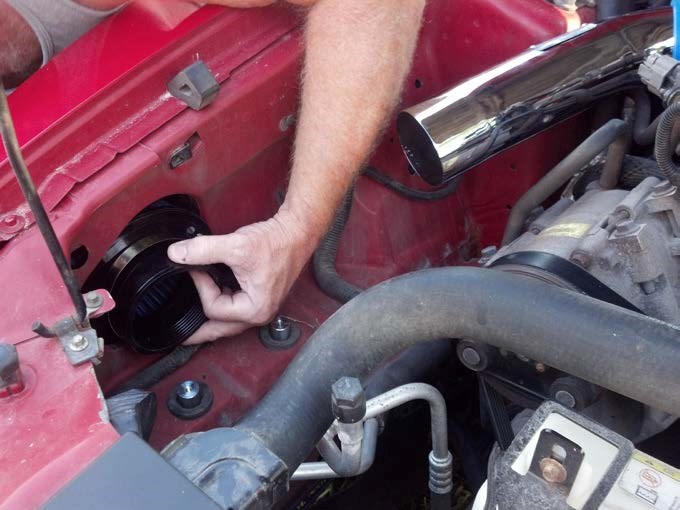
7. Now, the Mass Airflow Sensor is being reused from the stock intake, so remove that from the housing carefully, as the Sensor is very fragile. You will also have to push the grommet for the wiring through the stock housing to completely remove the sensor. Once the Sensor housing is open, it will look similar to this:
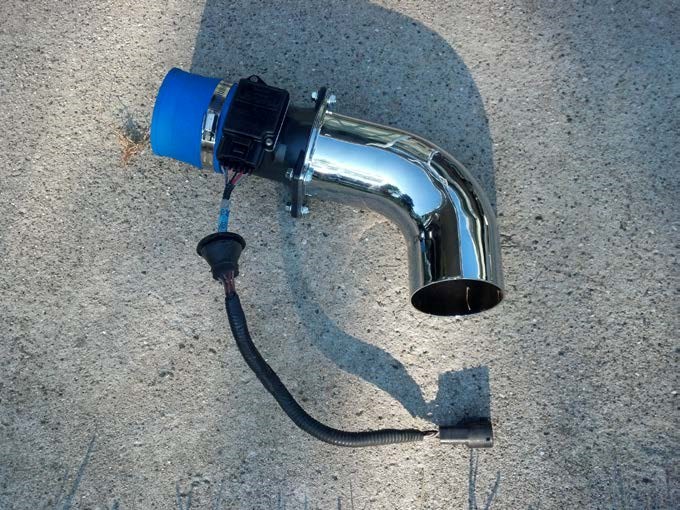
8. Next, attach the Mass Airflow Sensor to the lower intake pipe with a gasket separating the two pieces (this kit does not include the gasket so I made one with gasket material). Tighten the Sensor to the Pipe with the supplied bolts and lock nuts. Attach the remaining silicon coupler to the Sensor and tighten the hose clamp down. The assembly will now look something like this:
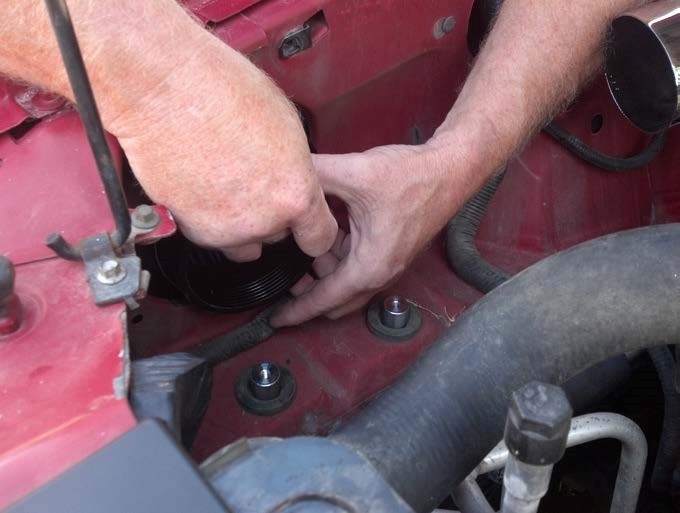
9. Before you install the filter, attach the heat shield to the lower intake pipe. The filter that is supplied with this kit must be installed from under the car because it is too big to be put through the pre-existing snorkel hole. Once the filter is in place and the pipe is attached to it, be sure the hose clamp is tightened down securely as you will not have access to it after the install is complete.
- I found it easier to have another person hold the filter in place while I inserted the lower intake pipe and tightened down the hose clamp to secure the filter.
10. Attach the lower intake pipe and the upper intake pipe and tighten the hose clamps once the pipes are lined up and in position. At this point, reattach the hose leading to the upper intake pipe and tighten down all clamps one final time. Use the supplied screws to secure the heat shield to the car, and use the old bolt and grommet that the old intake used to secure the new intake to the side of the fenderwell. Also, plug the Mass Airflow Sensor back into the corresponding plug and make sure the connection is secure.
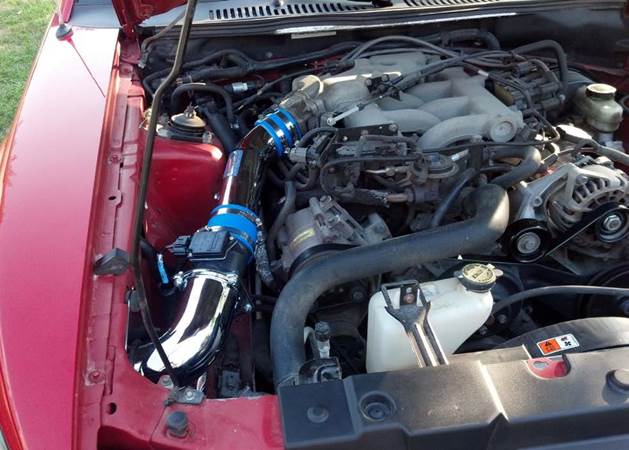
11. Installation is complete and you can now enjoy your new Cold Air Intake from BBK! Start your car now and check for and Check Engine Lights and make sure everything looks good and secure. The finished product should look something like this, enjoy!
Installation instructions provided by AmericanMuscle customer Brandon Measel 8.10.12
