 FREE 1 to 3-Day Delivery on Orders $119+ Details
Best Sellers


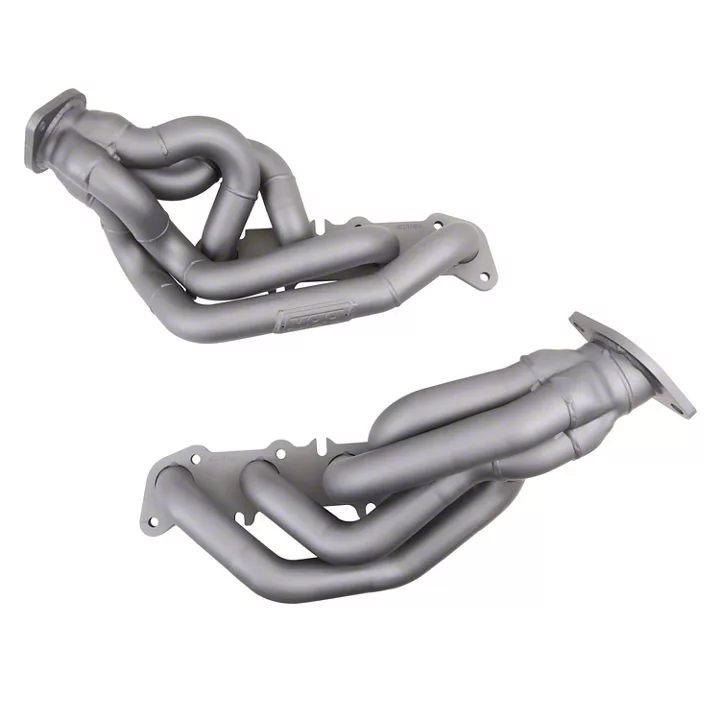
How to install a BBK Chrome Tuned Length Shorty Headers on your 2011-2012 Mustang
Installation Time
1 days
Tools Required
- 8, 10, 13, 15, 22mm wrenches
- 10, 13, 15mm sockets
- ratchet
- various length extensions
- 3/8 drive universal
Shop Parts in this Guide
Installation
You will be reusing most of the stock manifold studs for header installation. Five required bolts are provided.
STEP 1 Disconnect negative battery cable.
STEP 2 Raise car and support on stands or place on car lift.
STEP 3 From under car, unplug rear O2 oxygen sensors. Loosen clamps at front of H-pipe. Remove catalytic converter nuts at exhaust manifolds. Remove converters.
STEP 4 Remove four nuts and bolts on lower strut bar and remove bar.
STEP 5 Remove starter and unplug front O2 oxygen sensors at back of engine.
STEP 6 Unbolt steering shaft at rack and pinion connection and place shaft up out of the way.
STEP 7 Place a jacking device under the bellhousing and remove the driver side motor mount from the engine. This will give access to the bottom row of header nuts. Fig. 1
STEP 8 Remove exhaust manifold nuts. Jack up engine slightly to remove stock manifold and gasket.
STEP 9 Looking at the BBK header flange, remove the studs that correspond with the notches in the flange. On the driver side it’s the two rear studs. Those will be replaced with supplied bolts. Fig. 2
STEP 10 Make sure head surface is clean and install supplied gasket over studs.
STEP 11 Remove O2 sensor from exhaust manifold and install in collector of BBK header.
STEP 12 Position the BBK header in place over the studs and install the nuts and required bolts. This might require lifting the engine up a bit higher to get header inplace. Install nuts and two supplied bolts and tighten.
STEP 13 Reinstall the motor mount and steering shaft. Lower engine back down.
STEP 14 Remove passenger side motor mount from engine and jack motor up. Remove the exhaust manifold nuts and remove the manifold and gasket.
STEP 15 Remove studs in head to correspond to notched header flange. (Three on pass side)
STEP 16 Remove O2 sensor from stock manifold and install in collector of BBK header.
STEP 17 Make sure head surface is clean and install supplied gasket over studs.
STEP 18 Install the header on the studs, install stock nuts, install supplied bolts and tighten all. Reconnect the O2 sensor plug.
STEP 19 Reinstall the starter.
STEP 20 Reinstall the catalytic converters and clamps at the H-pipe connections.
STEP 21 Reconnect the rear O2 sensor plugs.
STEP 22 Reinstall the lower strut brace.
STEP 23 Reconnect battery terminal and start engine to check for leaks.
STEP 24 Nuts and bolts should be rechecked for tightness after 500 miles or so.
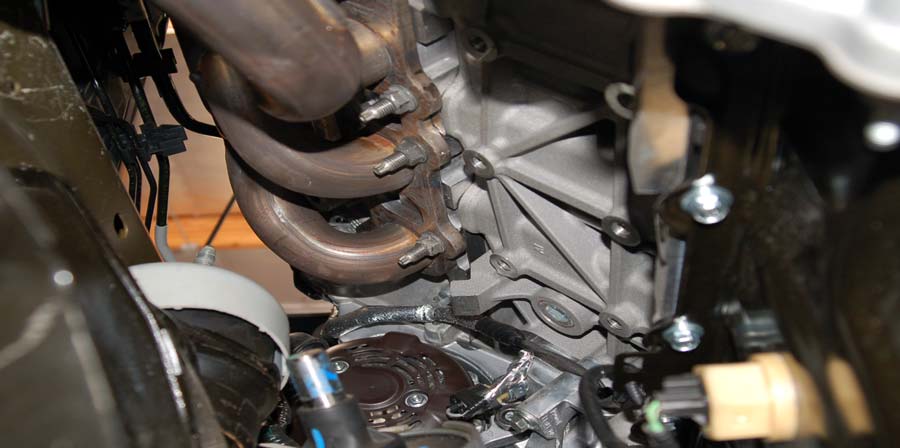
Fig 1. Motor Mount removed. Shows nut access.
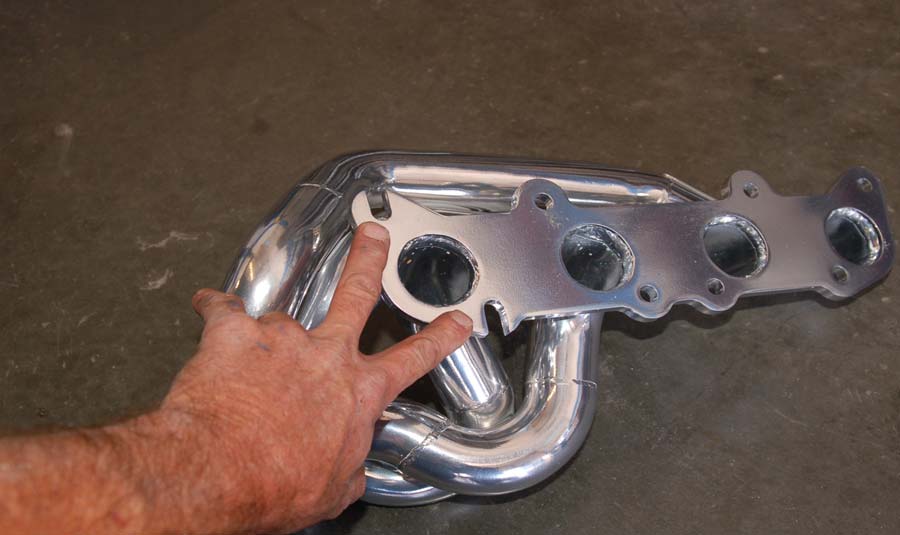
Fig.2 Shows notches where bolts will be installed and studs removed.
