 FREE 1 to 3-Day Delivery on Orders $119+ Details
Best Sellers


How To Instal a BBK Off-Road X Pipe for your 2005-2010 GT Mustang
Installation Time
2 hours
Tools Required
- Floor Jack
- (2) Jack Stands
- Ratchet
- 15mm socket
- 15mm deep socket
- Long extension(s)
- Universal joint socket
- Flat head screwdriver
- 22mm open end wrench
SAFETY:
Always wear protective eye wear.
Removal Procedures
1. Disconnect negative (-) batter terminal.
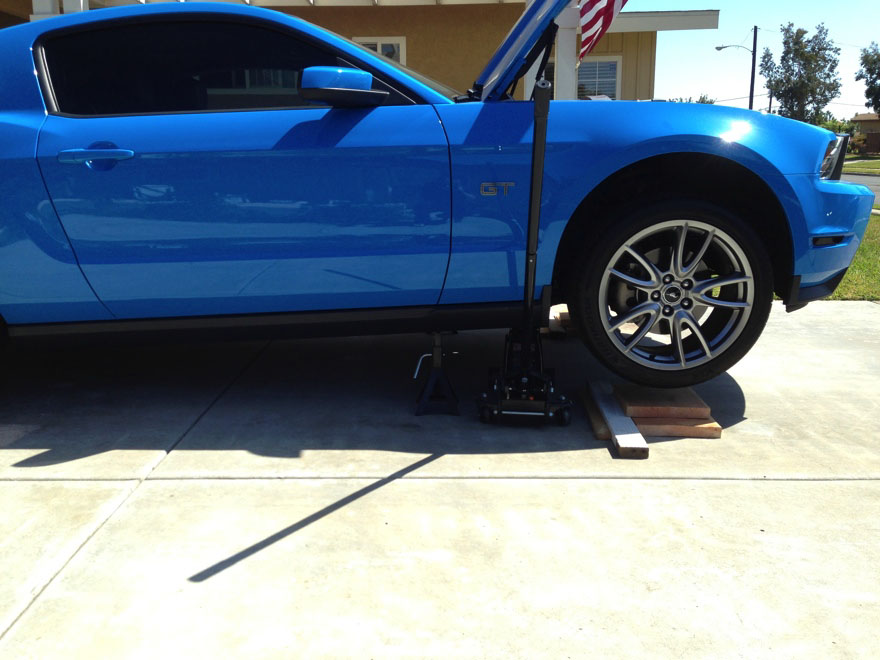
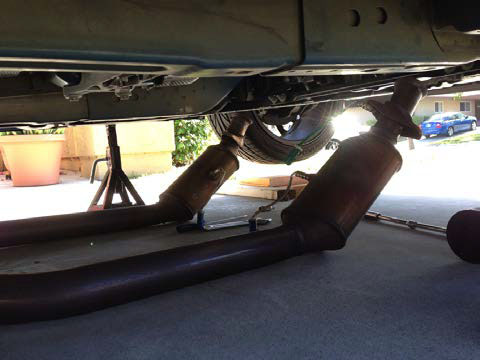
2. Lift the vehicle to give enough room to work under the car.
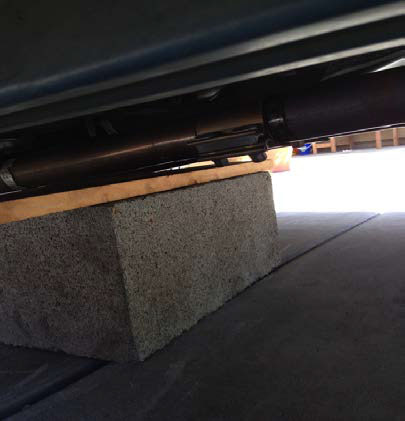
3. Support vehicle with jack stands at appropriate support points. Place blocks or wheel chocks behind rear wheels.
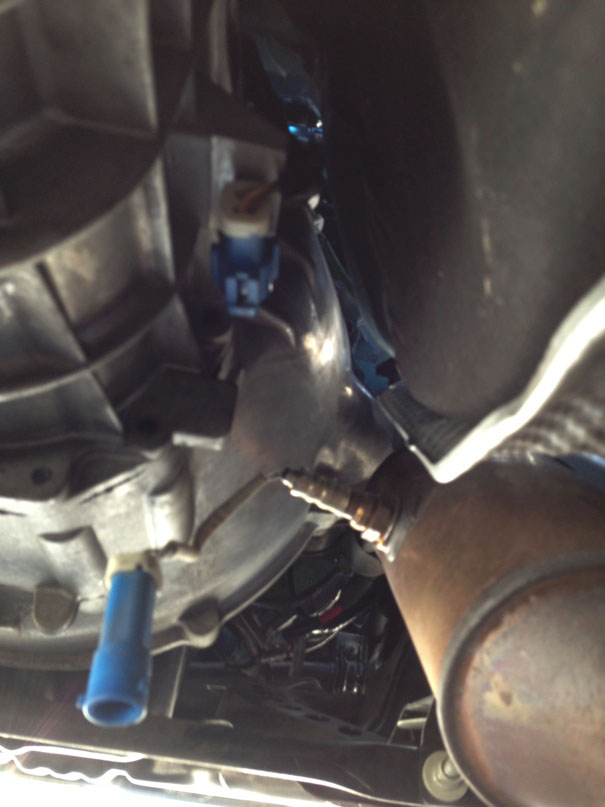
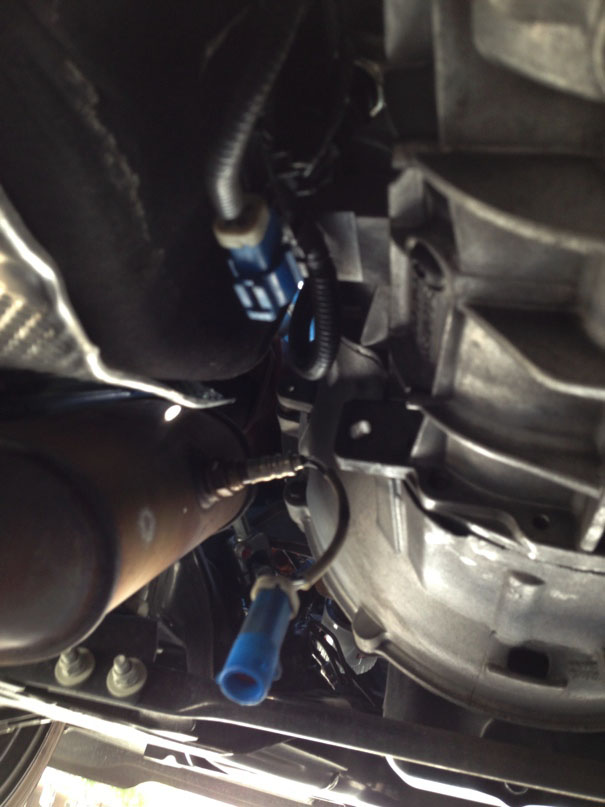
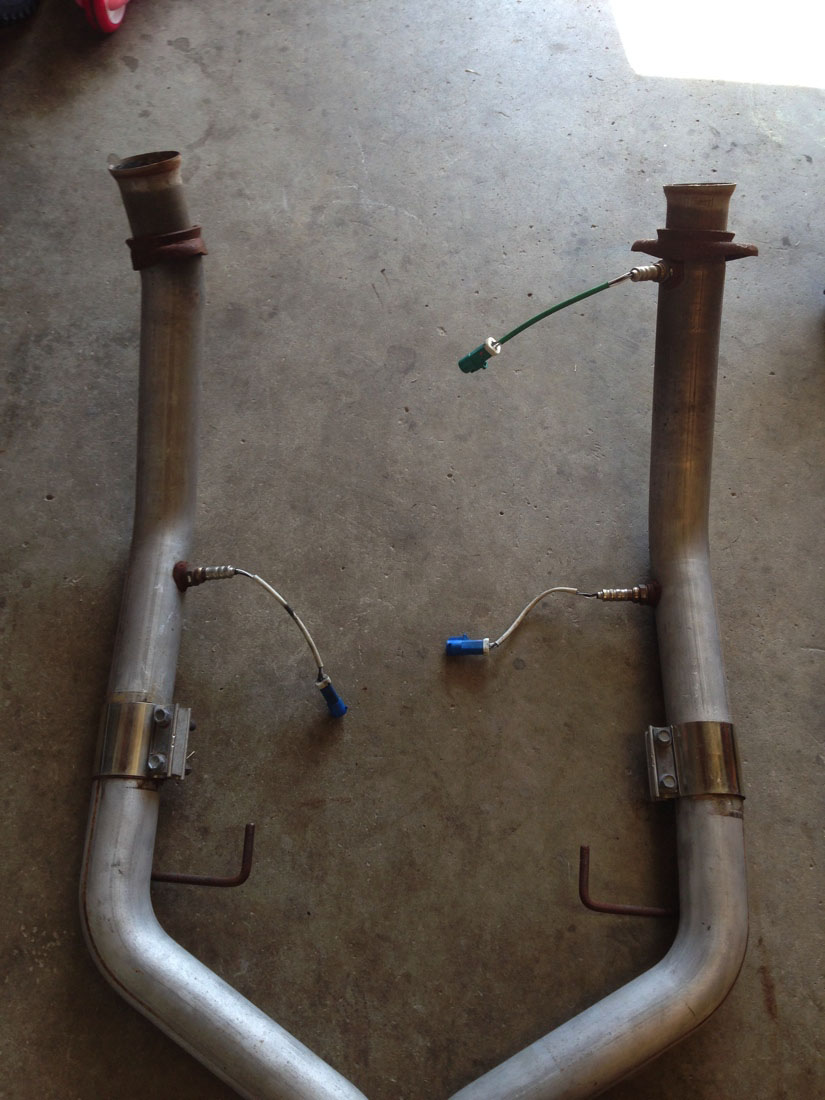
4. Unplug the passenger side front and rear oxygen sensors and the driver side rear sensor. Keep the sensors connected to piping. These will be removed once the pipe is removed from the car. The driver side front oxygen sensor is located on the exhaust manifold and does not need to be removed.
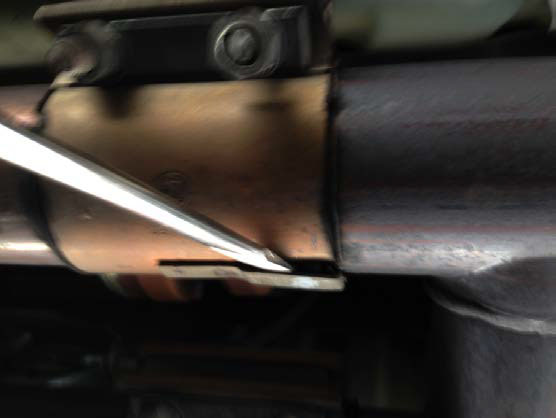
5. Separate the cat-back system by loosening the (2) 15mm nuts on each of the band clamps. Use a flathead screwdriver and pry up on the locking tabs while pushing the clamps reward towards the back of the car.
6. Unbolt the stock H-pipe from the exhaust manifold using the 15mm deep socket and long extension(s). A universal joint socket might be needed to reach the passenger side nuts.

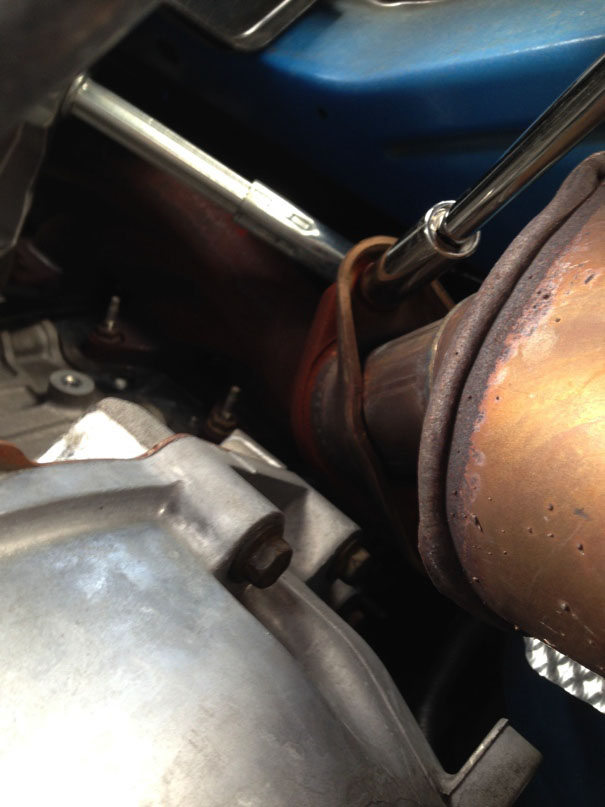
7. Remove the H-pipe from the car by sliding it back until the hangers slide out of the rubber isolators on the transmission cross member (for 05-09 GT’s). a. 2010’s can just allow the stock H-pipe to drop down carefully and slide slightly rearwards to clear the front suspension. i. OTE: Utilize something to help support the rear exhaust piping, as it will fall due to not being connected to the mid pipe.
Installation Procedures:
1. Transfer the 3 oxygen sensors to their respected place on the BBK X-pipe using a 22mm open-end wrench. Be sure to install them in the correct locations as removed from the stock H-pipe.
2. Utilizing the stock hardware, install the BBK X-pipe. a. For 05-09 GT’s: i. Guide the hangers into the rubber isolators located on the cross member.
3. Tighten the 15mm nuts that attack the X-pipe down pipes to the exhaust manifolds evenly. Use a side-to-side method to help ensure that the pipe seats properly and the collector and doesn’t allow any gaps. a. Allowing the down pipe nuts to be slightly loose can assist in being able to adjust the X-pipe for proper clearance and alignment. Ensure to tighten fully once desired setting is achieved.
4. Attach X-pipe (mid pipe) to the provided band clamps to both the down pipes and the cat-back piping. Pull the tailpipes forward by hand until they meet up against the X-pipe, then slide the band clamps forward and tighten evenly. a. Check the tailpipes to ensure they are correctly aligned and are not touching anything underneath the car. If they are uneven, you can loosen the band clamps and slide the tail piping until the desired results are achieved.
5. Finish piping install by check all the 15mm nuts on the manifolds and band clamps and ensure they are fully tightened.
6. Re-connect the oxygen sensor to their respected plugs (as removed in step 4 of Removal Procedures)
7. Reconnect the negative (-) battery terminal.
8. Allow vehicle to run (initial start might take a slight second longer to turn the engine over due to battery being disconnected) and check for any exhaust leaks.
Installation Instructions written by American Muscle customer Ross McKown 7.5.14
