 FREE 1 to 3-Day Delivery on Orders $119+ Details
Best Sellers


How to Install a BBK Off-Road H-Pipe on your 1996-1998 Mustang GT
Installation Time
2 hours
Tools Required
- 1/2" or 3/8" Ratchet
- 18" Ratchet Extension
- Swivel Socket
- 13mm through 18mm Sockets
- O2 Sensor Socket or Adjustable Wrench
- Car Jack
- Jack Stands
- 1 can Penetrating Catalyst Lubricant (recommended)
- Anti-Seize Compound (recommended)
Installation
Preparation
1. Make sure the car is in park, the emergency brake is on, and that the car has not been running for at least 2 hours to prevent yourself from being burned.
2. Disconnect the positive ( ) terminal from the battery.
3. If you do not have access to a car lift, use a Car Jack to raise the car up and place Jack Stands in safe locations under the car which will still allow you to access the areas needed to work on.
Removing the original H-Pipe
Note: Before beginning with the removal, it is recommended to allow a Penetrating Catalyst Lubricant to soak on any nuts, bolts, or studs used in removal of the stock H-Pipe.
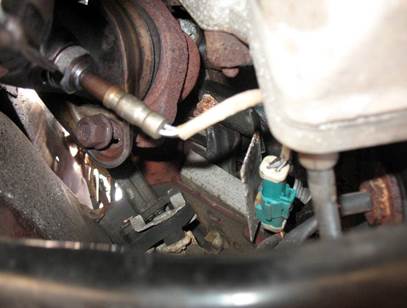
1. While under the car, locate the 4 O2 Sensors located on the stock H-Pipe. There is a sensor on each pipe before the Catalytic Converters and a sensor on each pipe located after the Catalytic Converters. Once located, unplug the wire on all 4 O2 Sensors.
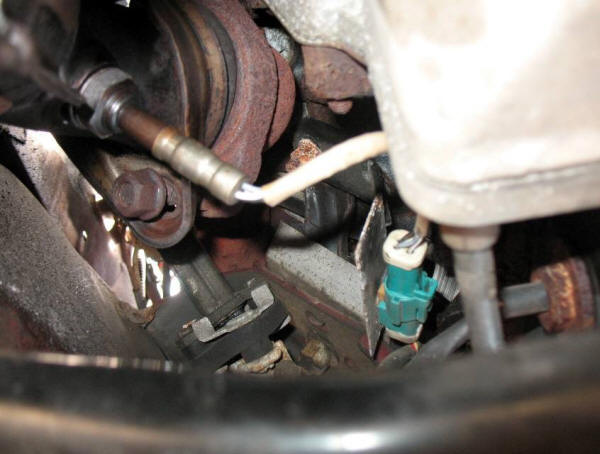
2. Use an O2 Sensor Socket with your Ratchet or Adjustable Wrench to remove all 4 O2 Sensors from the stock H-Pipe. Once removed, set them aside in a safe location.
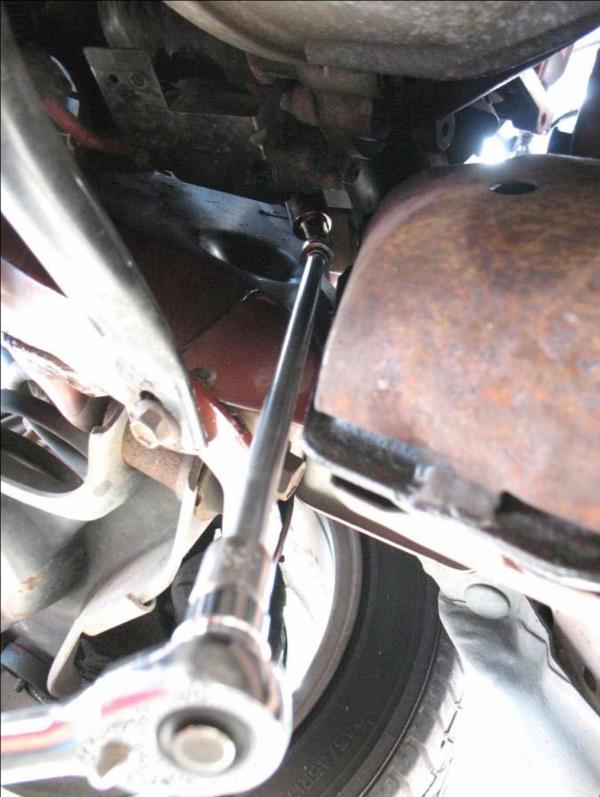
3. Locate where the stock H-Pipe bolts into the Manifold at the front of the car. Use your ratchet and 18mm socket along with any extensions necessary to remove the nuts from the studs in the manifold. There are 2 nuts on each pipe. Once removed, set them aside in a safe location.
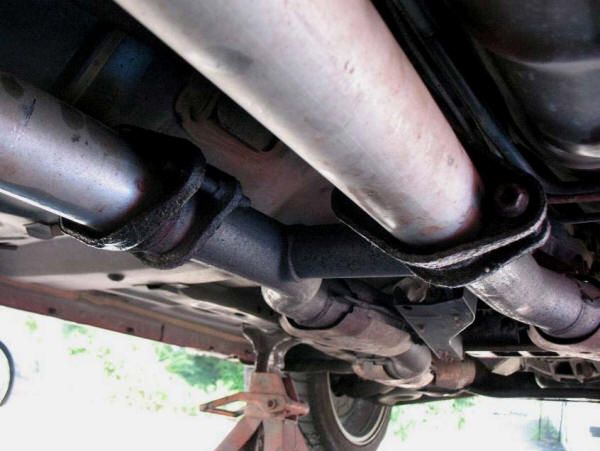
4. Locate the 2 muffler clamps at the rear of the H-Pipe where it meets the muffler. Remove the bolts from each clamp using your Ratchet and Socket. There are (2) nuts and bolts on each muffler clamp. Once removed, set them aside in a safe location.
5. Slide the hangers attached to the stock H-Pipe off of the rubber mounts and completely remove the H-pipe from under the car. Set aside the stock pipe where it will be out of your way.
Installing the BBK Off-Road H-Pipe
Note: Use of an Anti-Seize Compound on nuts, bolts, and studs is recommended while installing the new pipe to prevent rust and corrosion
1. Lay out both halves of the BBK Off-Road H-Pipe and slide the cross section of the left pipe into the right pipe. Make sure the pipe is laid out in the direction of which it will be installed.
2. Towards the rear of the pipe, Slide the hangers attached to the pipe into the rubber mounts attached to the vehicle to prevent the new pipe from falling.
3. Align the front of the new H-Pipe with the studs in the Manifold. Either using the existing nuts or new nuts, use your Ratchet and Socket to fasten the new pipe to the manifold.
4. Attach the 2 muffler clamps at the rear of the new pipe to the clamps on the muffler using either the new or existing hardware.
5. Once the BBK Off-Road H-Pipe is in place, make any adjustments necessary and make sure all nuts and bolts are tight.
6. Install the 4 O2 Sensors in the new pipe and plug the wires back into the connectors.
Finishing Up
1. If using Jack Stands, use the Car Jack to raise the car enough to remove all the Jack Stands.
2. Once the car is safely on the ground, reconnect the positive ( ) terminal on the battery.
3. Start up your vehicle and enjoy the sound of your new BBK Off-Road H-Pipe!
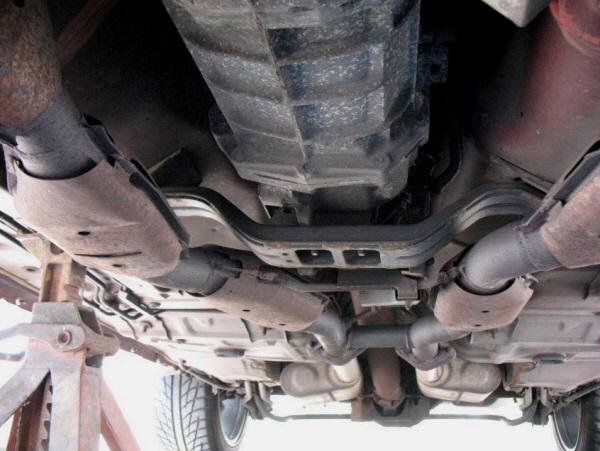
Before
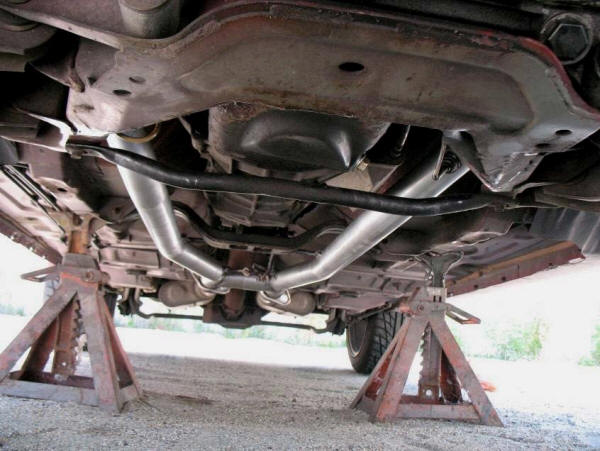
After
Installation instructions & photos provided by AmericanMuscle Customer Erik Plude 10.09.2012
