 FREE 1 to 3-Day Delivery on Orders $119+ Details
Best Sellers


How To Install a Belt Tensioner Assembly on a 1996-1999 Mustang GT
Installation Time
1 hours
Tools Required
- 1/2 inch Socket Driver
- 1/2 Inch Socket
- 15mm Socket
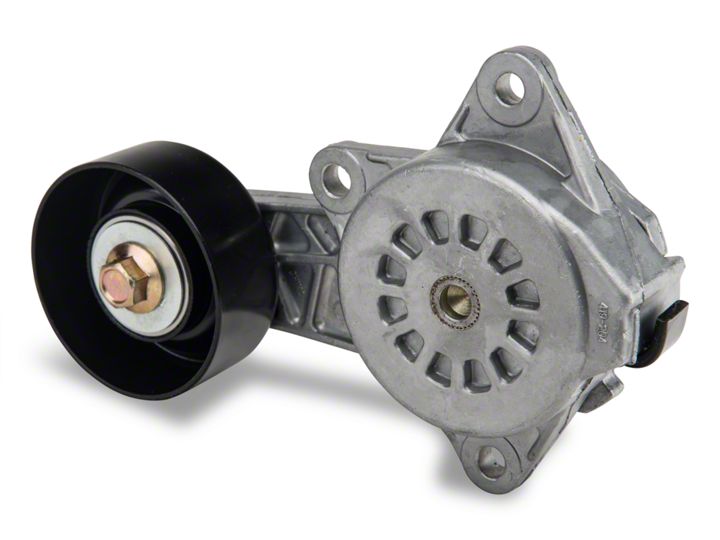
Shop Parts in this Guide
This install was done on a 1999 Mustang GT.
Tools needed:
• ½” inch socket driver
• ½” inch socket (Size of the driver for this doesn’t matter as long as you have the proper driver for the socket to fit but the ½” inch driver will make it easier)
• 15mm socket (Preferably a deep socket and same information as above)
Pre-steps: Check serpentine belt for any cracks or fraying and also the location of how the belt goes over all the pulleys. If the belt is cracked or fraying it may be time to replace the belt also.
Steps to remove old belt tensioner and install new belt tensioner:
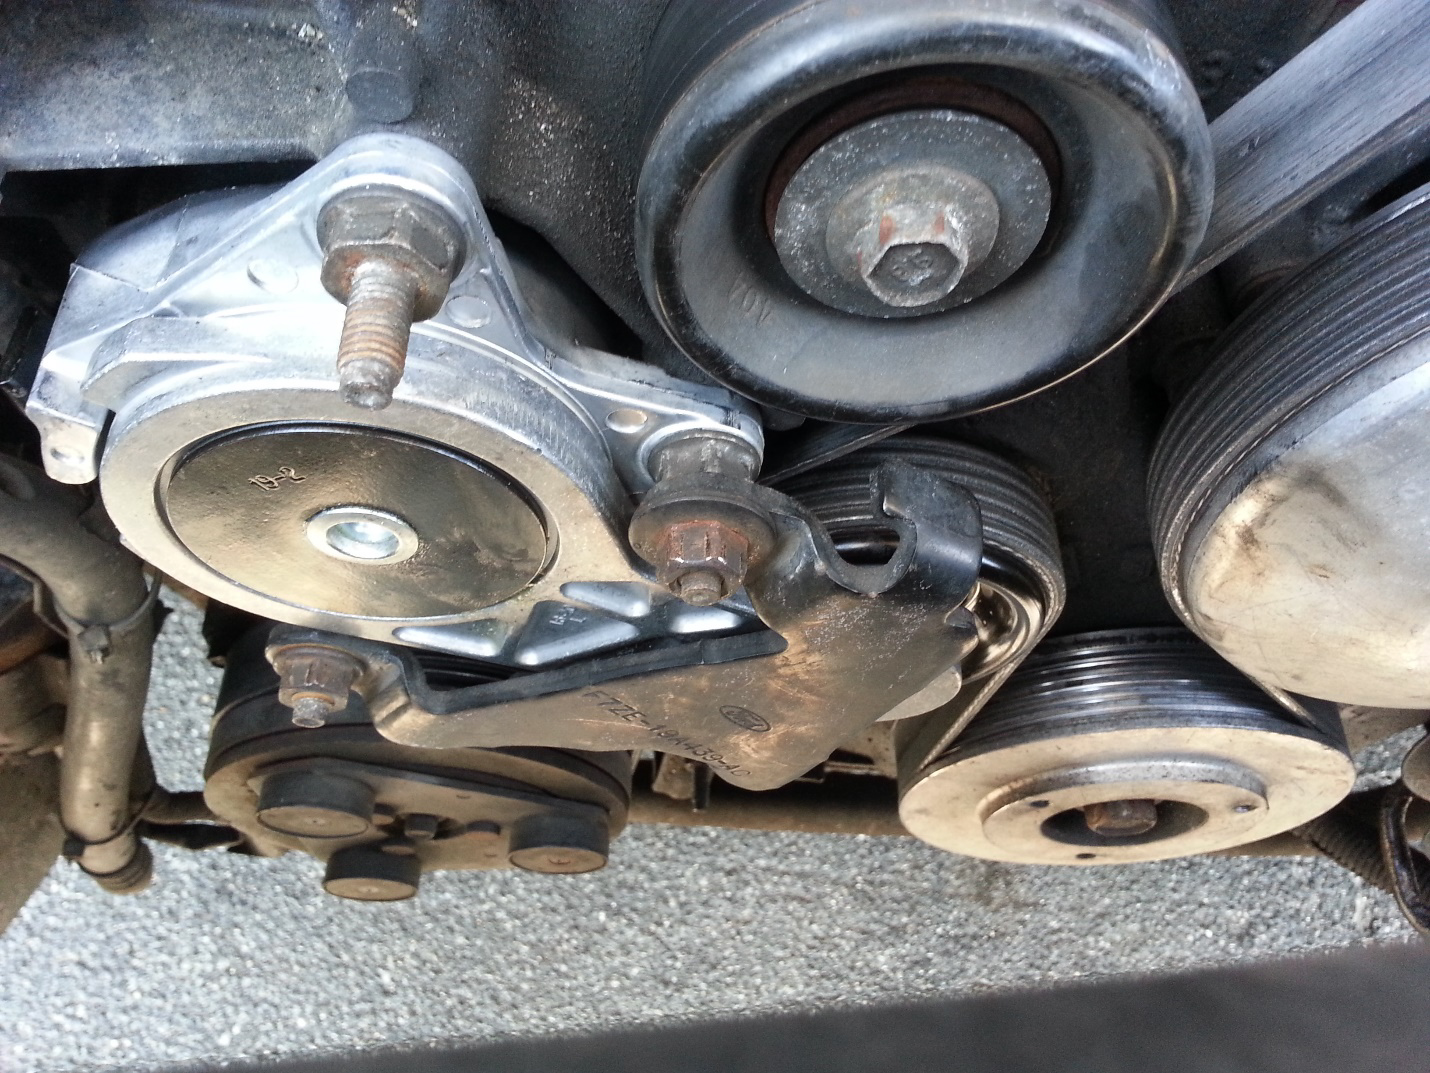
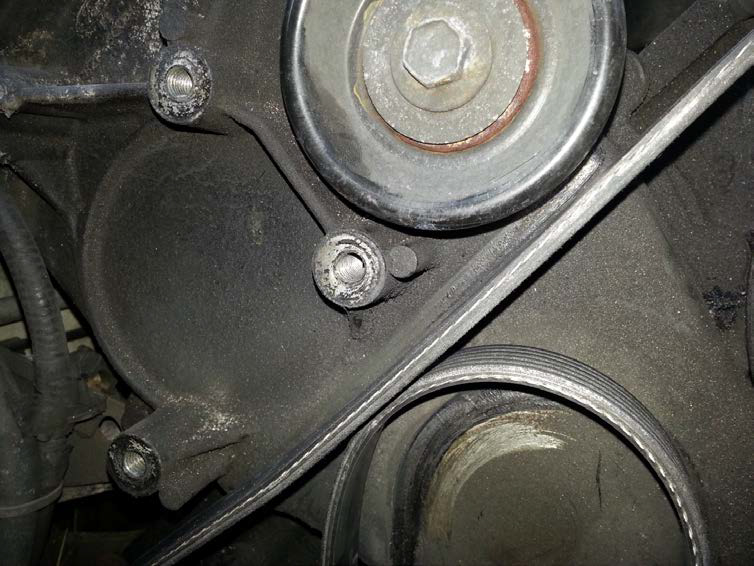
1. Remove the 2 nuts on the right and bottom holding the bracket (if you have one) covering the belt tensioner hole with the ½”inch socket. They will rotate counter clockwise. Once the nuts are removed the bracket will pull right off.

2. Place the nuts and bracket in a safe spot, as not to lose any of the hardware.
3. Take the ½” inch socket driver and place the driver in the hole of the tensioner with the handle facing the 1 o’clock to 2 o’clock position.
4. Press down in the clockwise motion and the tensioner should move down.
5. Hold the tensioner down and remove the serpentine belt from over the alternator pulley.
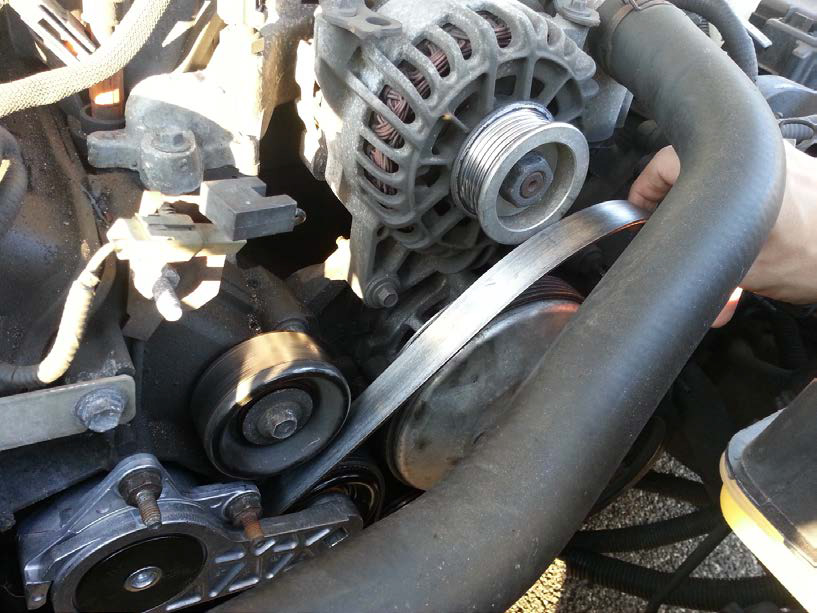
6. The belt should now be loose. (Be careful that the belt does not slip off the other pulleys unless you are replacing it also)
7. Now switch to the 15mm socket.
8. There are 3 studs that will need to be removed. (Top one at about 12 o’clock, right one at about 2 o’clock and the bottom one at about 7 o’clock) They turn counter clockwise.
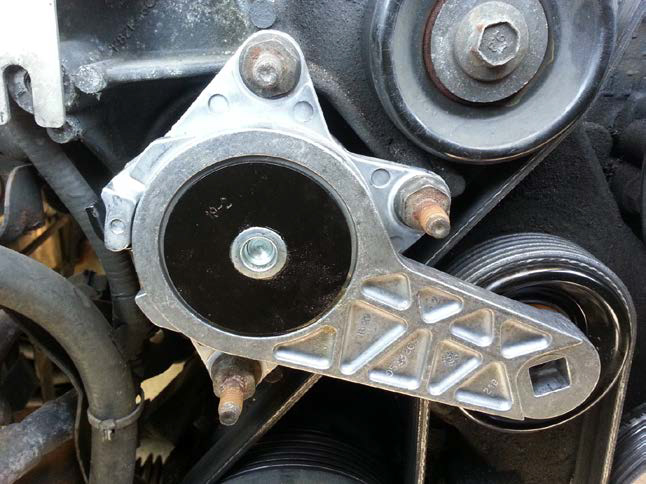
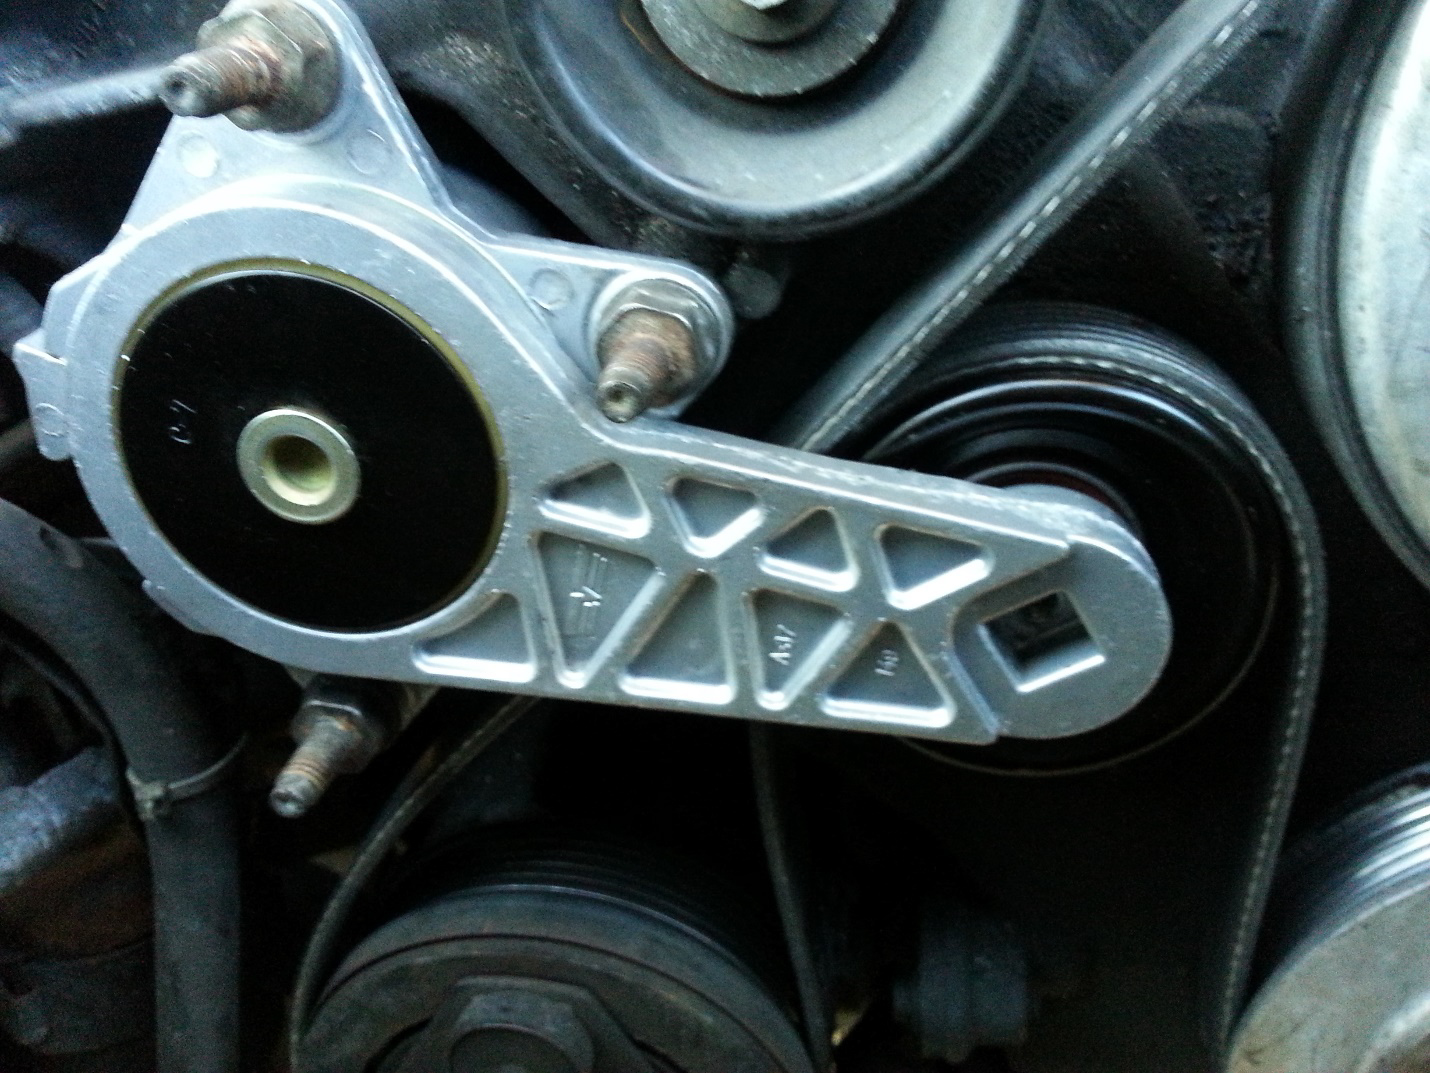
9. The belt tensioner should now easily just pull right out. You can see where my old tensioner pulley started going bad and was rubbing up on the engine. (Hold the belt up as you pull the tensioner out because the pulley will be coming out to and you do not want to belt to come off the other pulleys.)
10. Clean the mounting area and pulley area as needed.
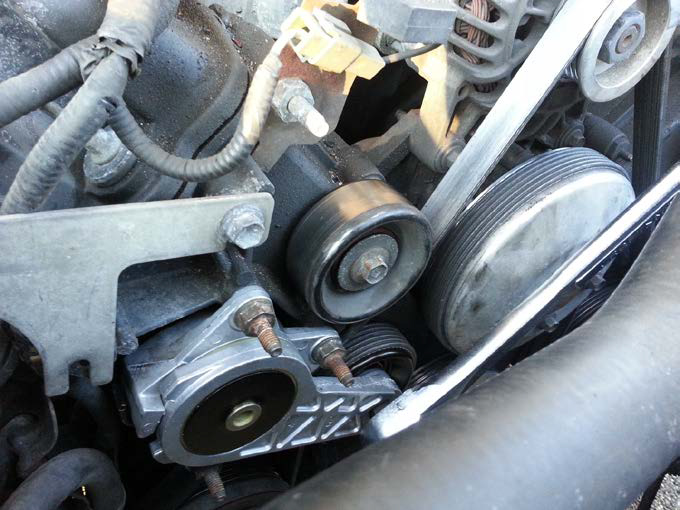
11. Place the new belt tensioner in the same location as the old tensioner with the stud holes lined up and the belt over the top of the pulley. (Don’t release the belt just yet because the tensioner could just fall out.)
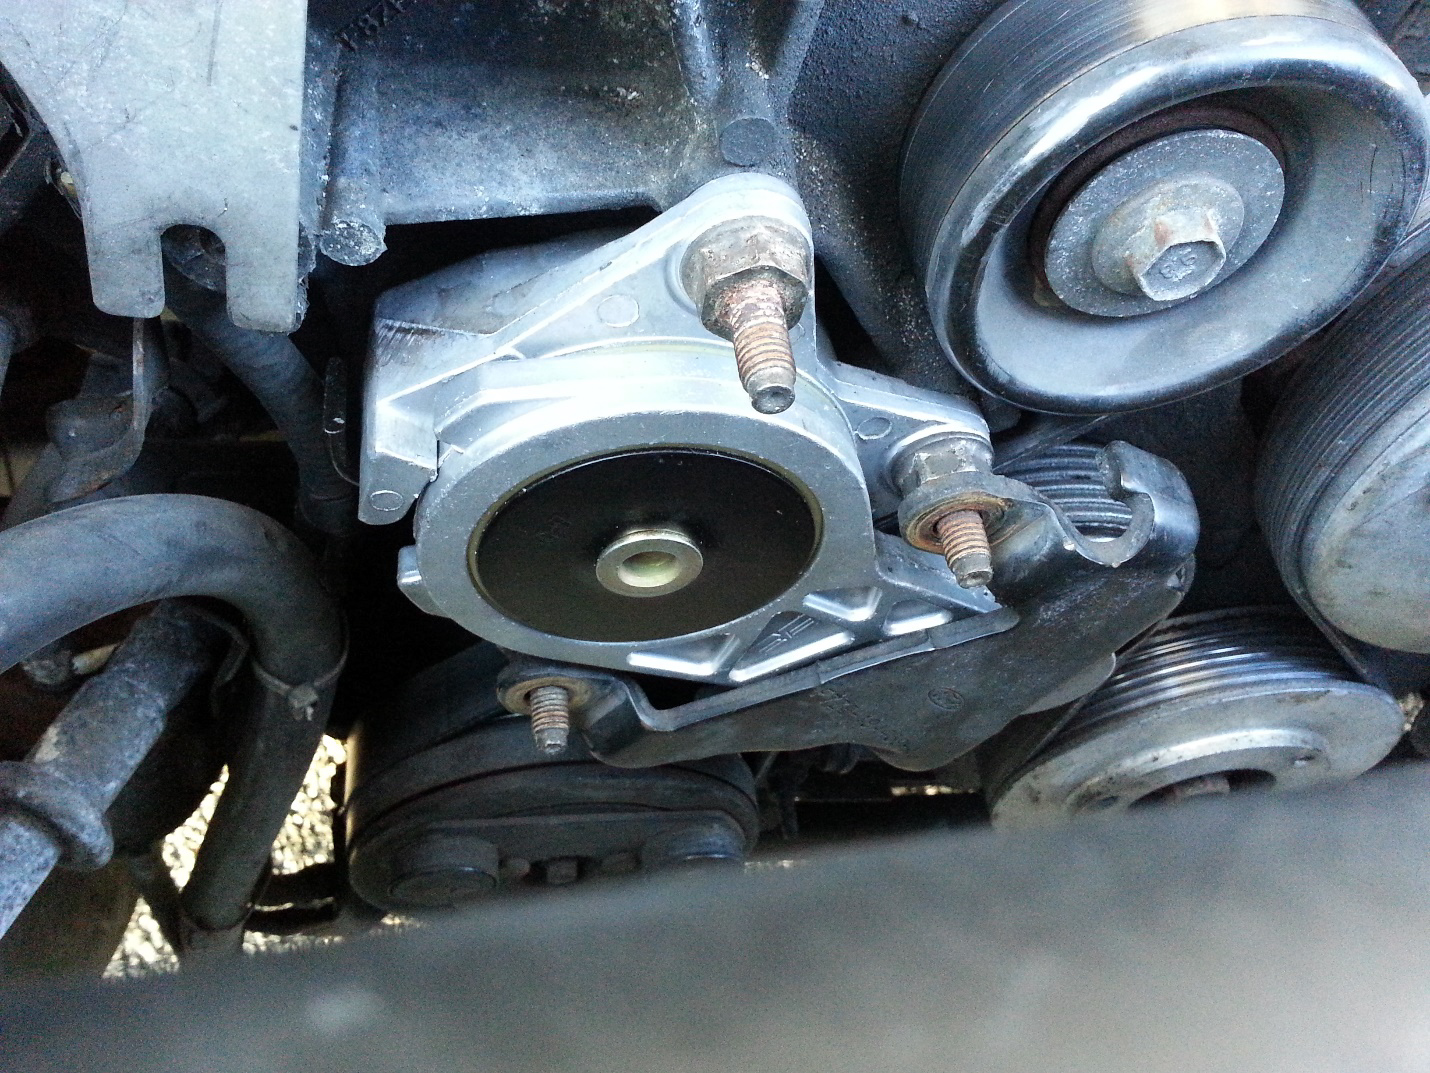
12. Place the studs back in the 3 holes and start to hand tighten them.
13. Use 15mm socket to tighten studs to 30 lbs/ft2 working in a star like pattern just like lug nuts.
14. Once tight take ½” inch driver and insert in the belt tensioner hole near the pulley.
15. Again put the driver in the 1 o’clock to 2 o’clock position and press down in a clockwise motion.
16. Slip the belt back over the alternator pulley.
17. Check the belt around all the pulleys and make they are all lined up properly.
18. If anything needs to be adjusted do it now.
19. Place bracket (again if you have one) back onto the bottom and right studs.
20. Tighten back on the nuts nice and snug with the ½” inch socket.
21. Double check the belt on more time making sure it is in all the proper groves and seated on each pulley properly.
22. Start the car and check proper rotation of the belt around the pulleys. If everything looks good close the hood and you are done!

Installation Instructions Written By AmericanMuscle Customer Ryan Lubrich 4.8.2014
