 FREE 1 to 3-Day Delivery on Orders $119+ Details
Best Sellers


How to Install a Bilstein HD Series Front Strut in your 2005-2010 Mustang
Installation Time
30 minutes
Tools Required
- 1/2 Drive Ratchet
- 3/8 Drive Ratchet
- 10mm 3/8 Socket
- 13mm, 15mm, 18mm Sockets
- 1/2 Drive Breaker Bar
- 21mm & 22mm Wrench or Adjustable Wrench
- Slotted Screwdriver
- Spring Compressor
- 7mm Hex 3/8 or 1/2 Drive Socket
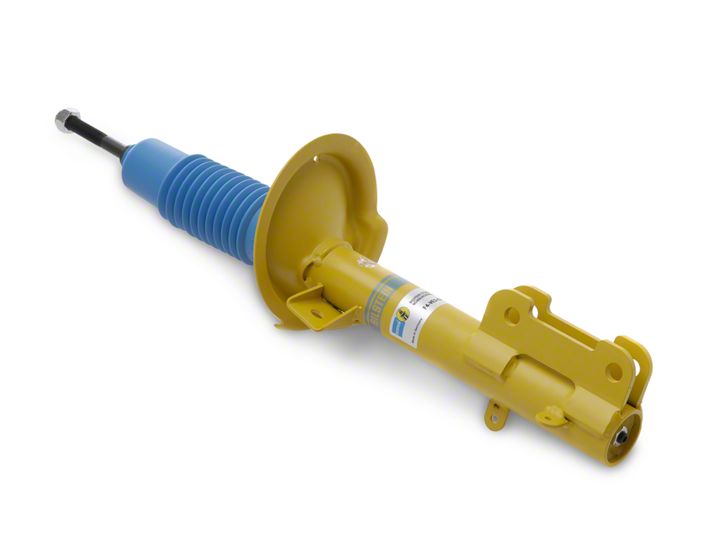
Shop Parts in this Guide
Install Time: 2 Hours
Tools Needed:
. ½ drive ratchet
. 3/8 drive ratchet
. 10mm 3/8 socket
. 13mm, 15mm, 18mm sockets
. ½ Drive Breaker Bar
. 21mm & 22mm wrench OR Adjustable Wrench
. Slotted screwdriver
. Spring Compressor
. 7mm Hex 3/8 or ½ drive socket
Installation Instruction:
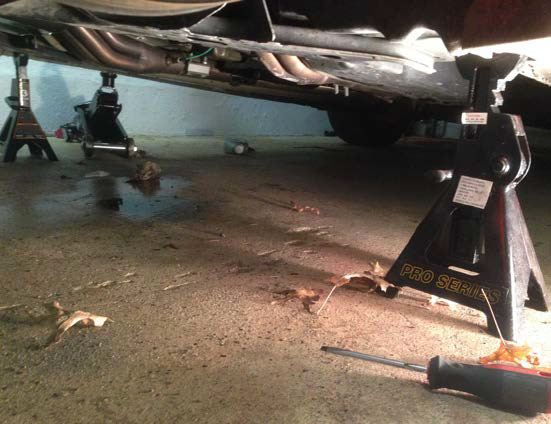
1. Loosen the lug nuts and then Jack your vehicle up and make sure it’s secure.
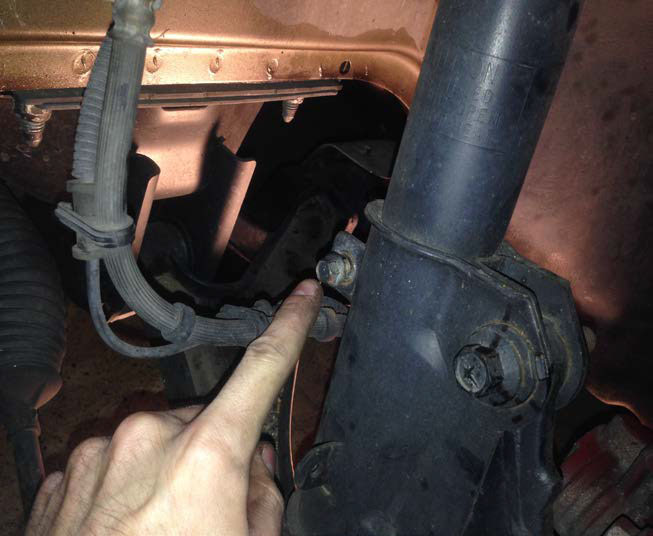
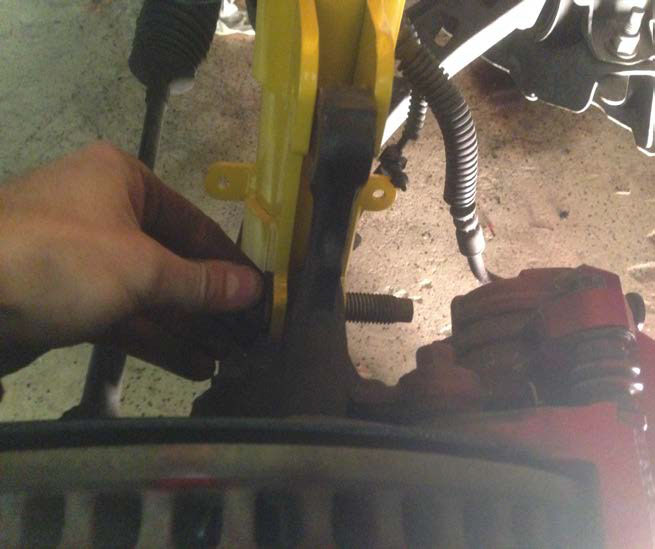
2. Remove the wheels. Then remove the brake link that is clipped into the strut housing.
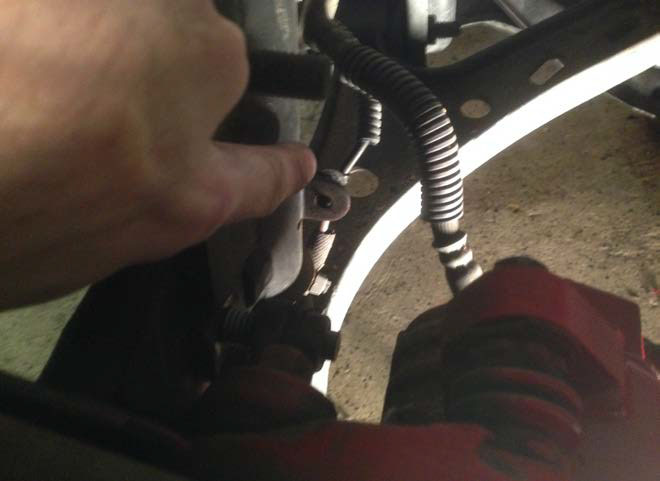
3. Next remove the sway bar bolt on the strut housing. I didn’t do this as I don’t run a sway bar at the drag strip. It’s one bolt on each side and its very easy to remove.
4. Next remove the 10mm bolt that secures the brake line.
5. Remove the 2 18mm bolts that hold the strut to the hub. They are locked with a tab so you only have to turn the bolt. They are on there tight and a breaker bar is a must unless you are a freak strong person.
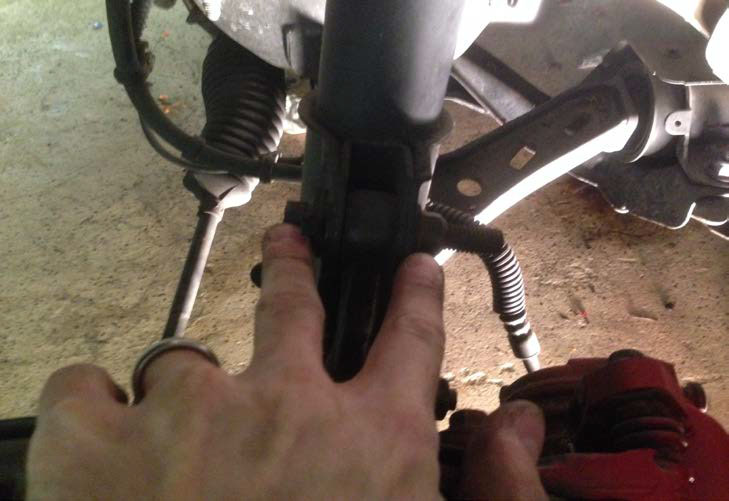
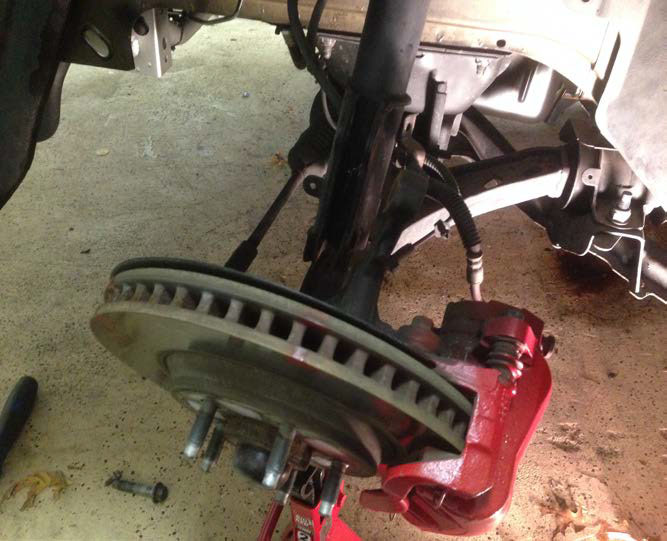
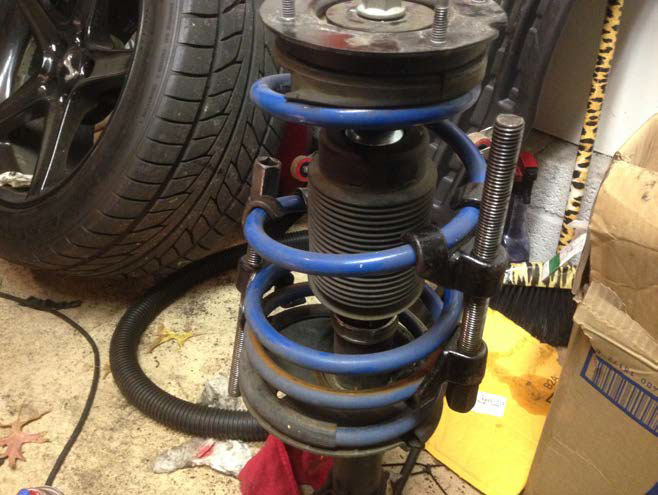
6. Now go ahead and separate the strut from the hub and remove the 4 bolts on top of the strut tower.
8. Use a spring compressor to compress the springs so you can remove the strut tops.
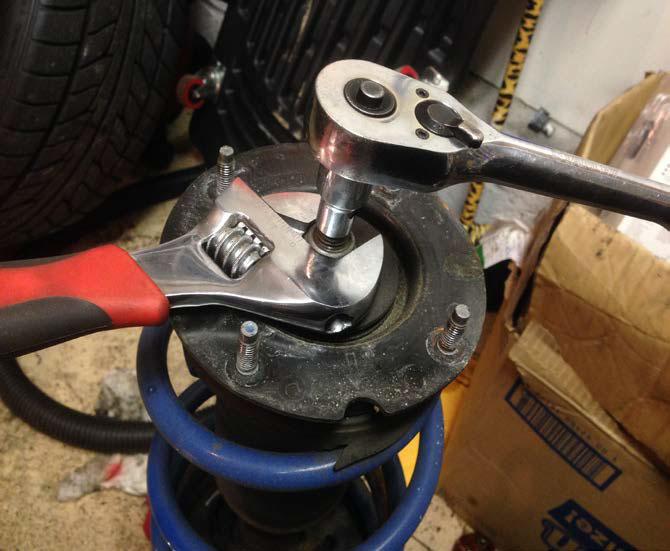
9. Use an adjustable wrench or a 22mm wrench for the stock strut. Hold the wrench and turn the 10mm ratchet clockwise to loosen the nut.
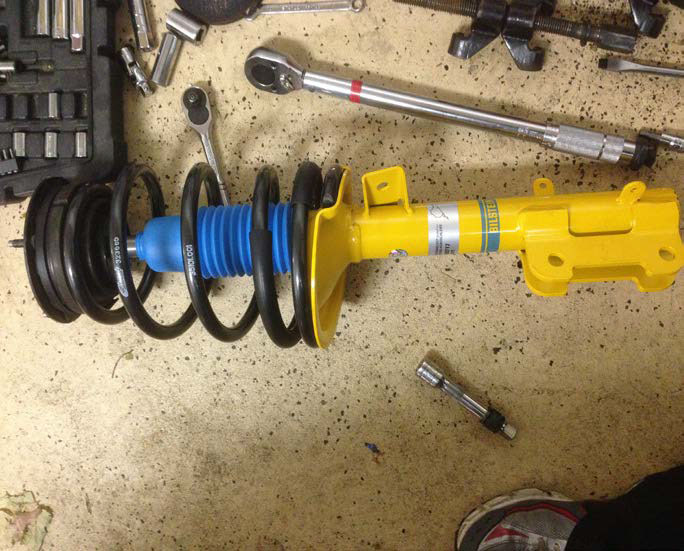
11. Now you may remove the top and remove the spring, just finishing turning the nut gently. Place your used, or new spring on the new Bilstein Shock.
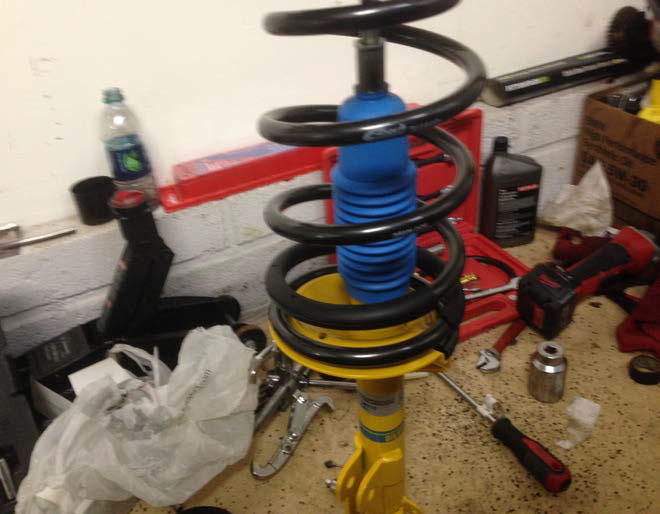
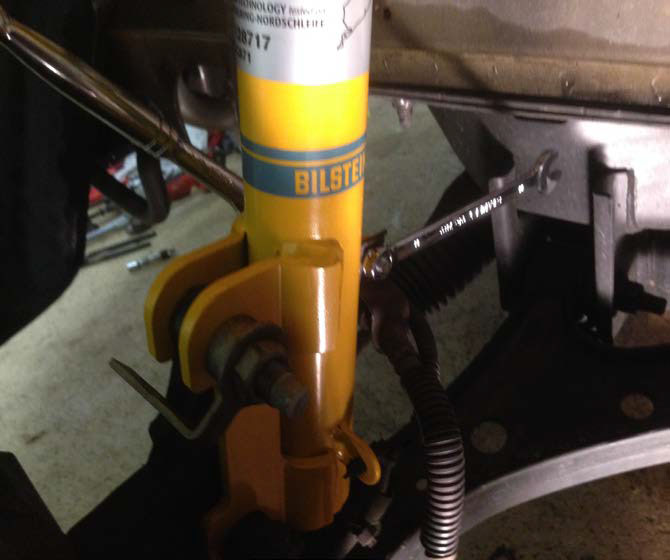
12. Be sure to seat the coil against the recess in the bottom of the strut. Make sure the same for the top of the strut. Push down gently and put the washer over the strut bolt and put the nut on hand tight. You can just tighten this nut you don't need to use a spring compress this time. Now use a 22mm wrench or adjustable wrench to hold the nut while you use the 7mm hex socket to turn “Counter Clockwise” to tighten the bolt. Use factory torque specs.

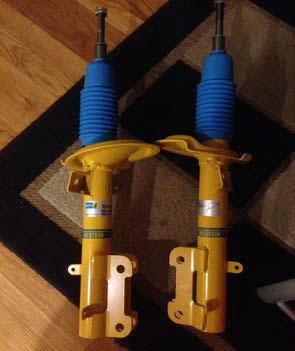
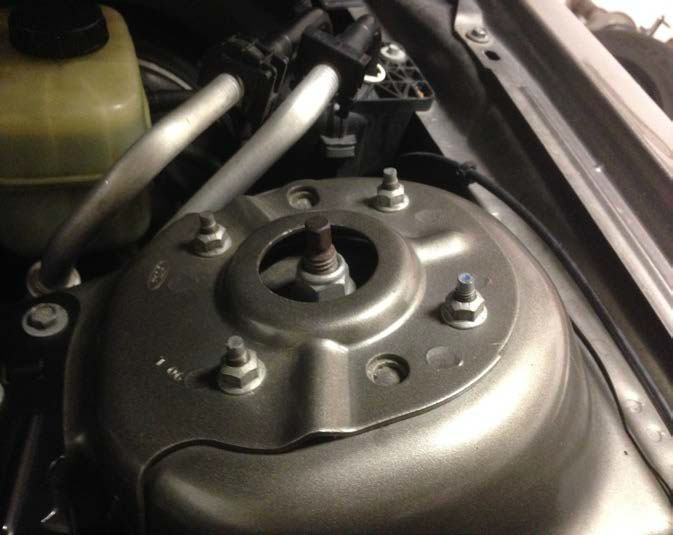
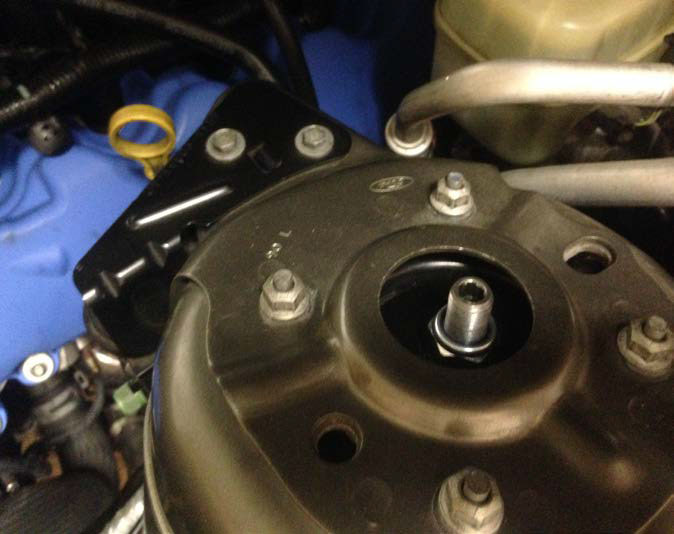
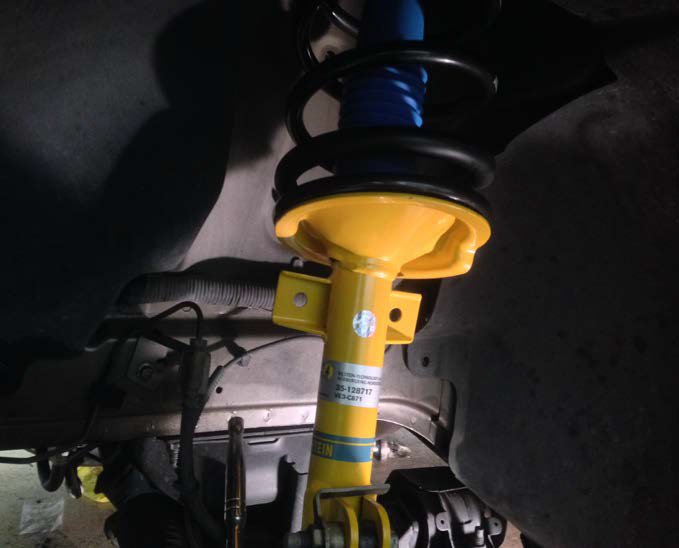
13. Now you are complete with one of the struts and can re-install on the vehicle. Also check the second image and you can rotate the arrow to point to the fender and that will correct your negative camber, you most likely will not need an alignment. I didnt, and many others have had great results. If you point the arrow inwards towards the engine you WILL need an alignment and will need some camber bolts.
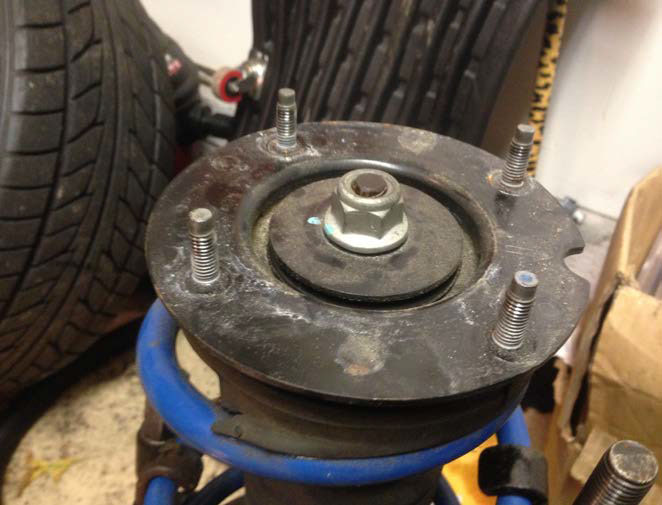
14. Now bolt up the top 4 strut retaining bolts. Make sure the arrow is facing the fender to correct negative camber. Note the strut bolt is not in the center of the hole.
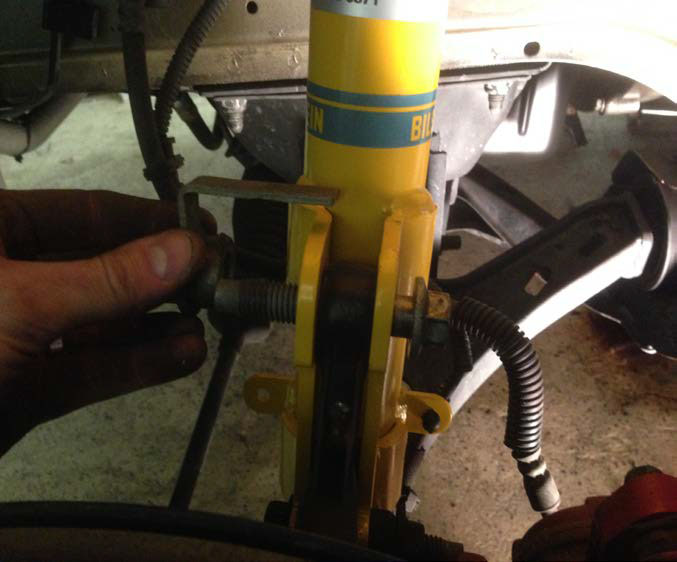
17. The Bilstein shock does NOT have a threaded hole where the brake line is secured. So I used a M7 bolt and nut with washers that are 11mm and got them at lowes. This will be fine for the brake line.
18. Now at this time if you are using your sway bar re-connect that bolt and your done! Enjoy your new solid and comfy ride in your stang!
Installation Instructions Written By AmericanMuscle Customer Corey Benoit 12.15.2013
