 FREE 1 to 3-Day Delivery on Orders $119+ Details
Best Sellers


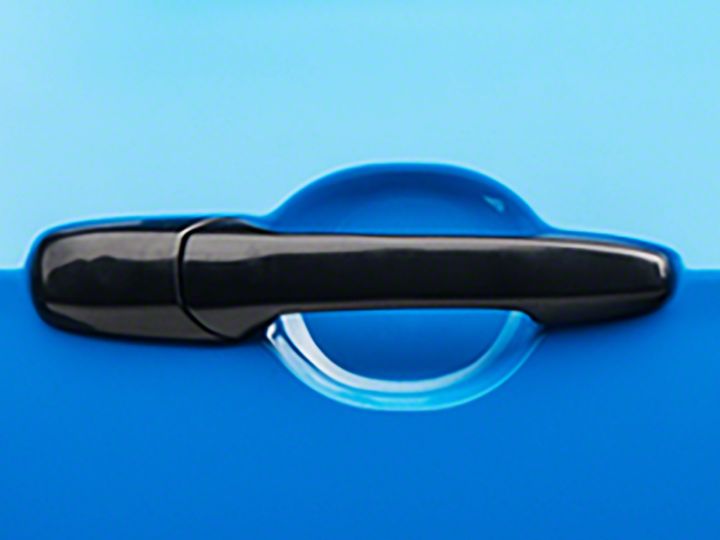
How To Install An Exterior Door Handle - LH - Unpainted - For Your 2005-2014 Mustang
Installation Time
1 hours
Tools Required
- 10mm socket
- 7mm socket
- Socket wrench
- T30 Torx bit
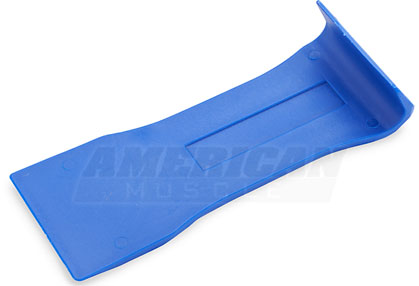
- Plastic pry/molding tool
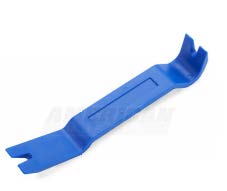
- Thin plastic pry/molding tool
- Rubber mallet
- Needle nose pliers
- Tiny flathead screwdriver/pointed tool
- Flashlight (optional, to see interior 10mm bolts easier)
Shop Parts in this Guide
Procedure:
Taking out the interior trim (10 minutes)
1) Using the pry tool along the top side of the sail panel, remove it; it should pop right out.
2) Pry up the window controls, again using the pry tool. Disconnect the connector by pressing on the tab and pulling apart
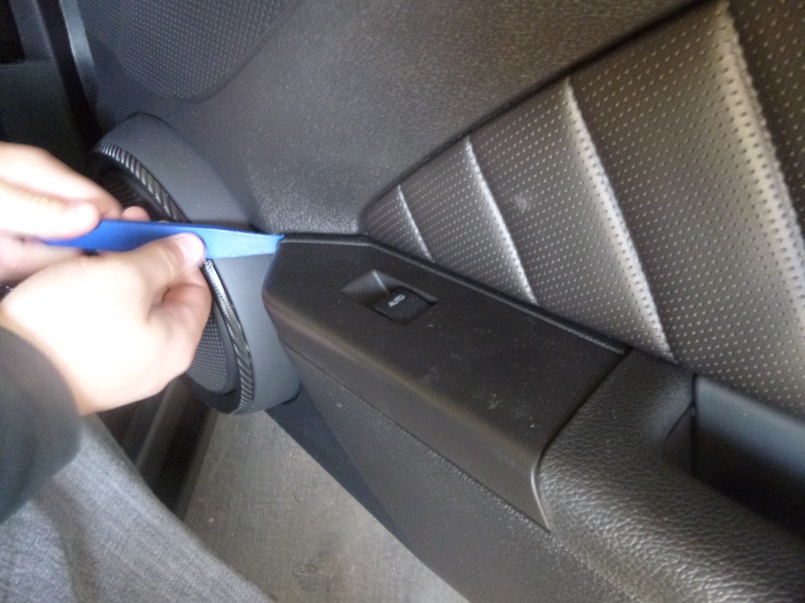
3) Pry up the door lock bezel with the pry tool

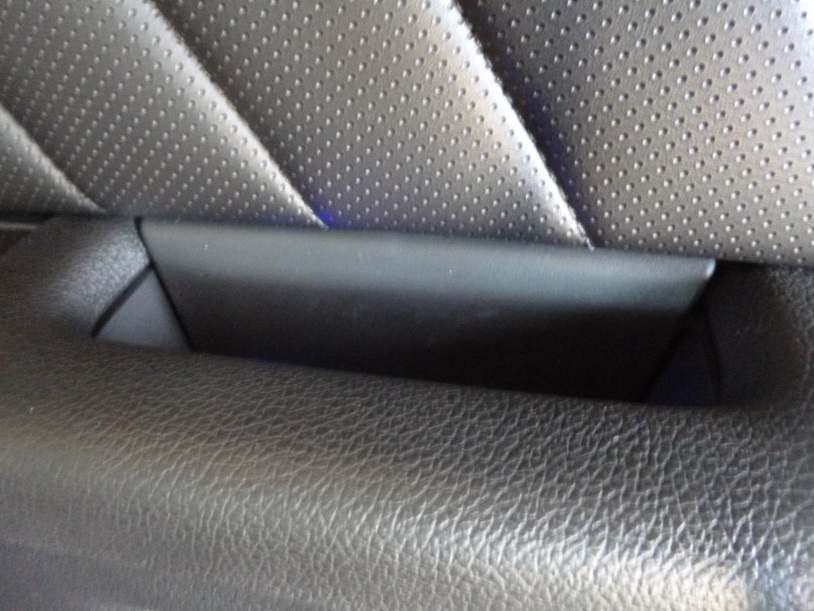
4) Pry up the door trim grip bezel with the pry tool; it is much easier to pry this up when coming through the hole in the grip.
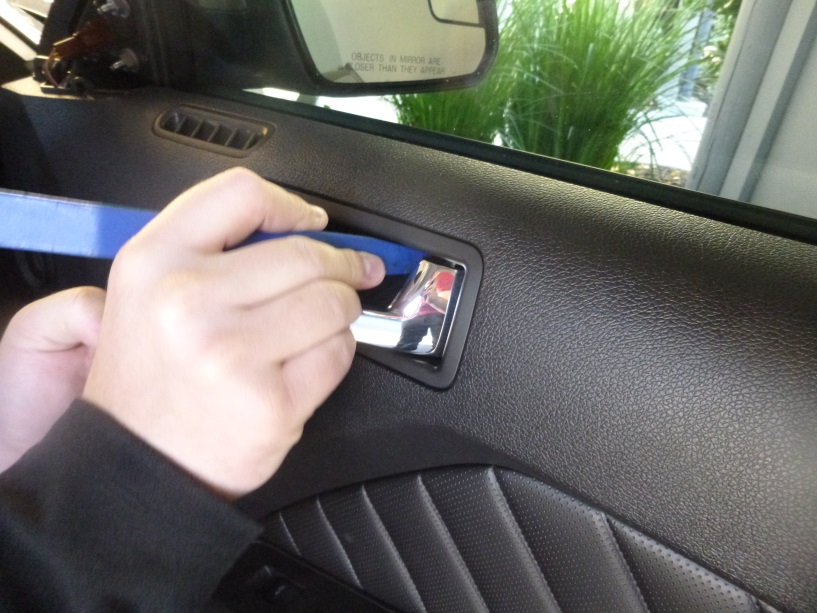
5) Using the pry tool, or a flathead screwdriver, pry up the plastic trim behind the door handles. It’s easier to pull the handle out and pry from where the handle meets the trim.
6) Using a pry tool along the outer edges, pop off the speaker cover.
Unscrewing the interior trim (10 minutes)
1) Using a T30 Torx screwdriver, unscrew the Torx screw behind the interior door handle trim
2) Unscrew the other T30 screw behind the door grip trim
3) Using a 7mm socket, unscrew the 3 bolts on the bottom of the door trim; you may need an extension or a socket screwdriver since the trim can get in the way of a socket wrench
4) Unscrew the 2 7mm bolts on the side of the door trim, next to the hinges.
5) Using a tiny screw driver or pointed tool, pry open the two bolt caps on the side of the door trim, opposite the hinges. Unscrew the bolts.
Getting at the bolts (5 minutes)
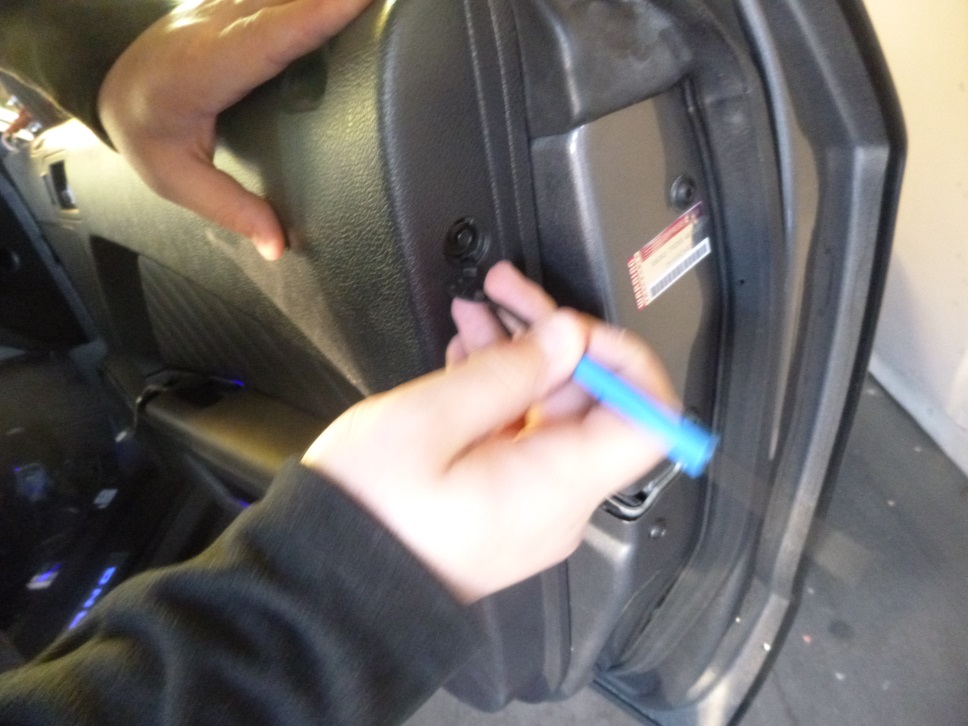
1) Slowly pull up on the door panel and pull the top part away from the door. Disconnect all the cable clips (by pressing on the tabs on the connectors).
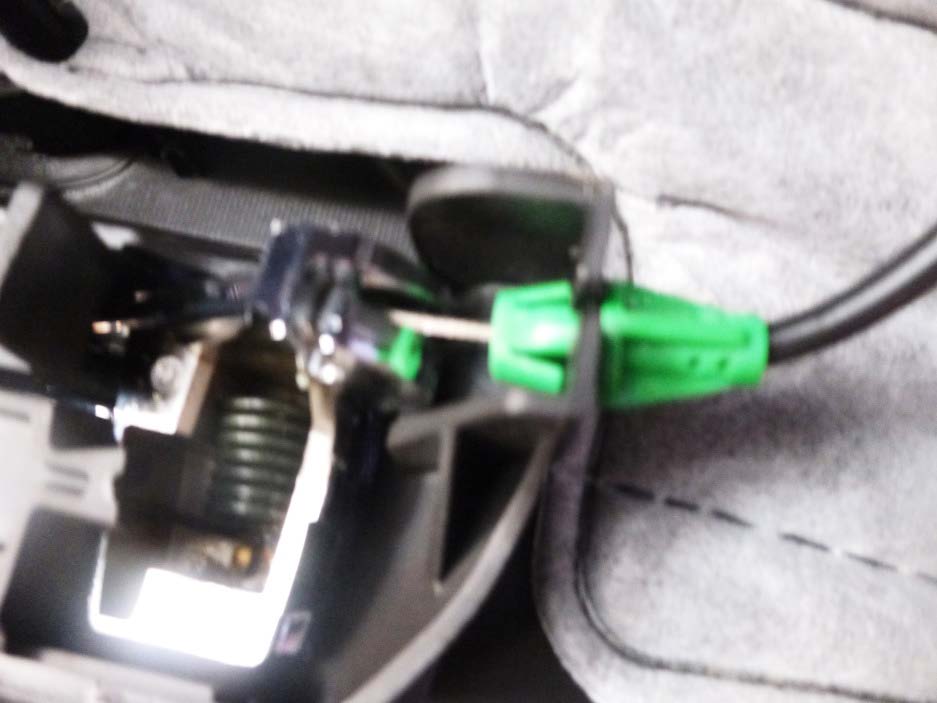
2) Using the needle nose pliers, press on the green tabs that are holding the interior door handle cable in place. Slip the green tab through the hole and slide out the cable “plug” from its resting place.
3) With all the connectors disconnected, pull the panel away from the door. You should be left with a plastic cover attached to the door.
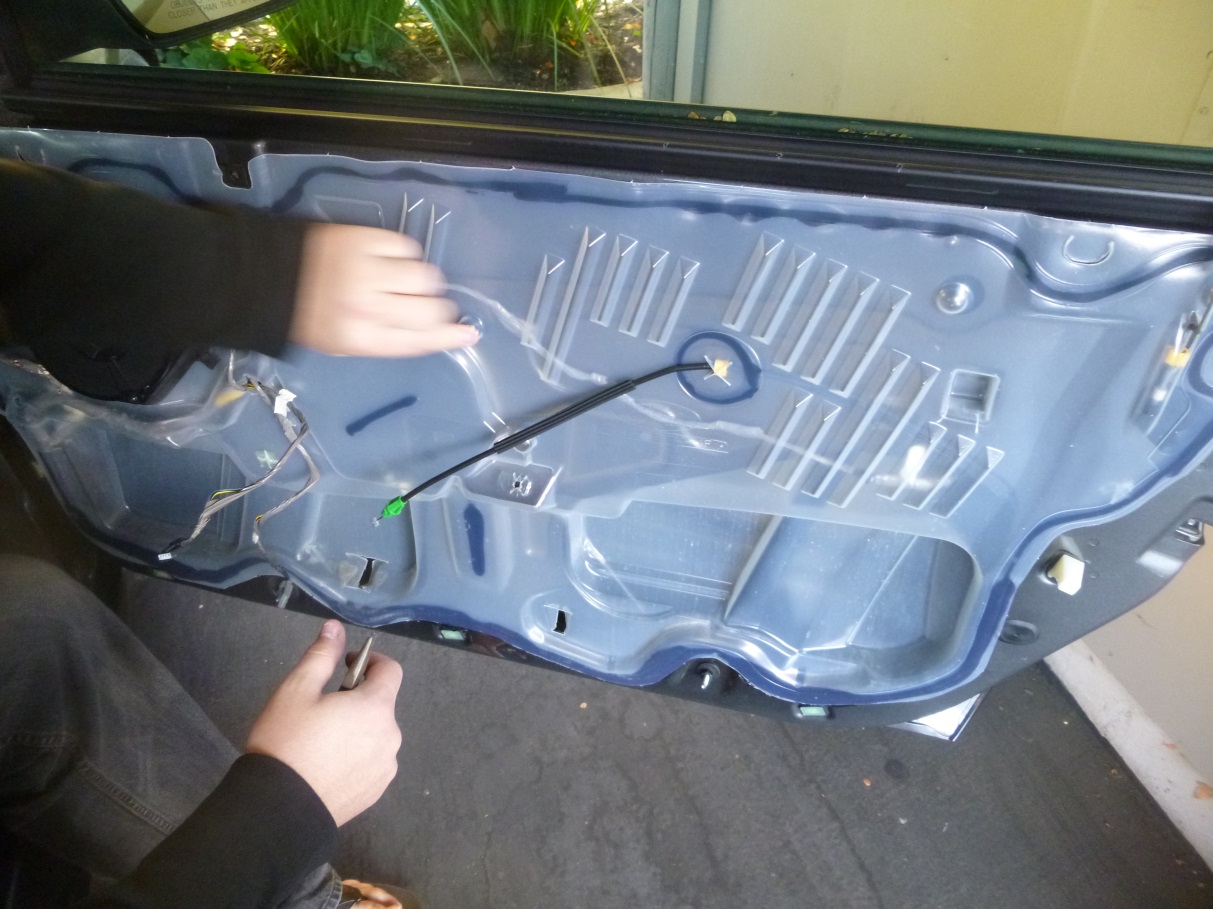
4) Peel back this cover (breaking the silicone bonds with your hands/a tool) on the right side. You’ll need to lift the cover over the door lock pin to remove it.
Actually changing the handles (20-35 minutes)
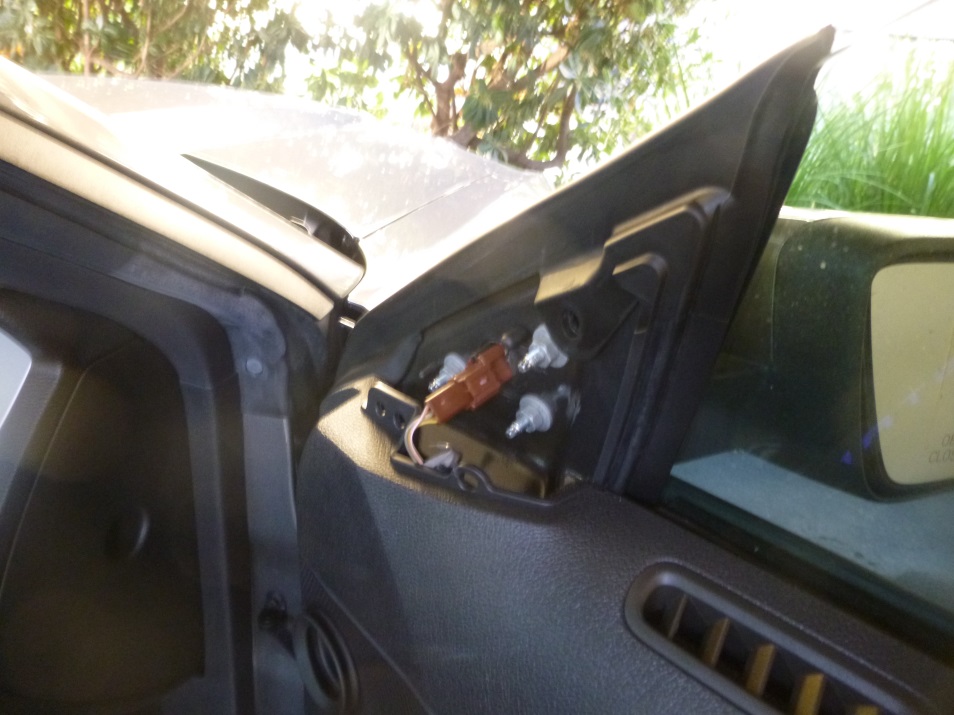
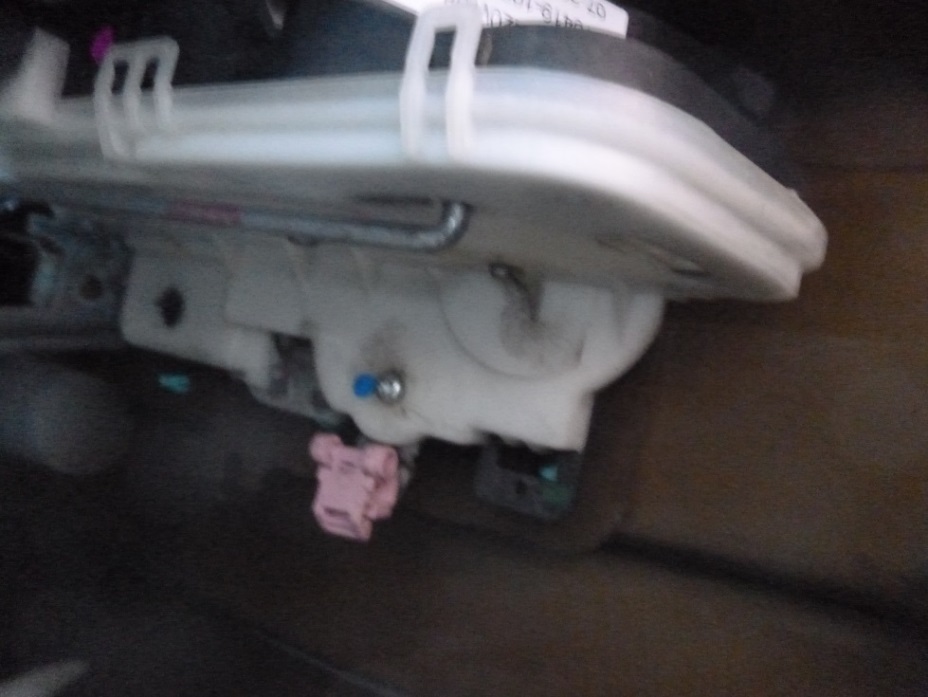
1) You should see a small metal rod that goes from the door handle to a pink plastic housing. Unsnap the housing and remove the rod from the handle housing.
2) Reaching up through the holes in the door, unscrew the two 10mm sockets holding the door handle in place. You should be able to see the two bolts through a couple different holes in the door (with glass between you and the bolt).
3) With the two bolts off, take off the left side of the handle first. The only thing holding the handle on the left side is a spring mechanism. You’ll need to pull the left side up and out (it’s kind of a tight fit) and with the door handle “open” you can move the right and left sides pretty much independently.
4) With the left side out, the right side should just slide out. Now would be the time to clean where the handles used to be or inside the door frame if you notice any issues.

5) Put the new handles back into the door. If your handles are anything like mine, they won’t sit flush without a little tap (on the bottom left side) with a rubber mallet. Definitely try to have them sit flush without the mallet beforehand, but if they won’t, tap the handle in place (very carefully obviously) with a soft cloth over the handle.
6) Reverse the whole process (apply pressure to the silicone so the plastic is secured to the door) and don’t forget to reconnect all the connectors.
NOTE: You can actually pull the handles apart (they’re two pieces) and combine the black and factory colored handles to get a different look, which is what I did.
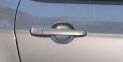
BEFORE:
AFTER:

Installation Instructions written by AmericanMuscle Customer Connor Lange 11.29.2014
