 FREE 1 to 3-Day Delivery on Orders $119+ Details
Best Sellers


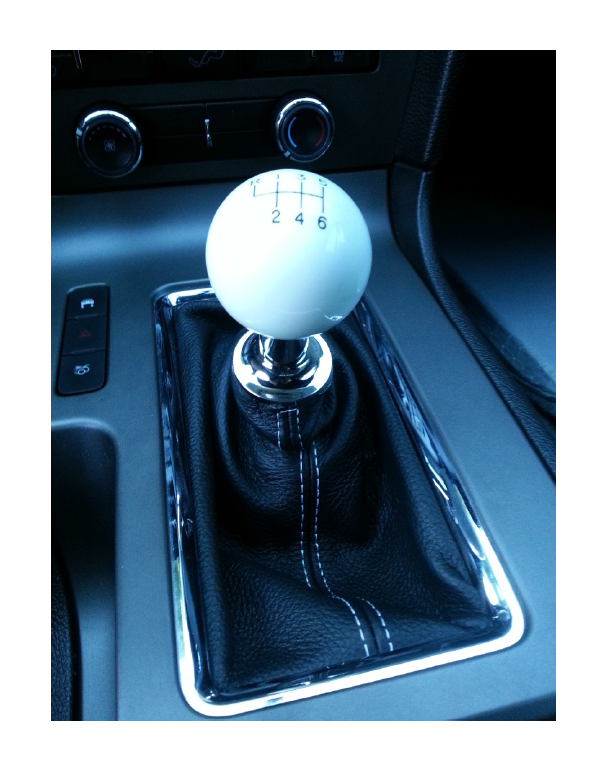
How to Install a Shift Boot on your 2010-2013 Mustang
Installation Time
1 hours
Tools Required
- Superglue
- Small flat blade screwdriver(optional)

Shop Parts in this Guide
Installation Instructions:
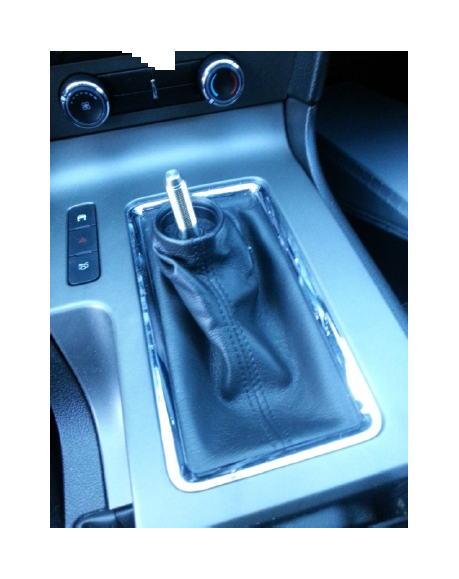
1: Remove the stock shifter knob and take everything out of your cupholders.
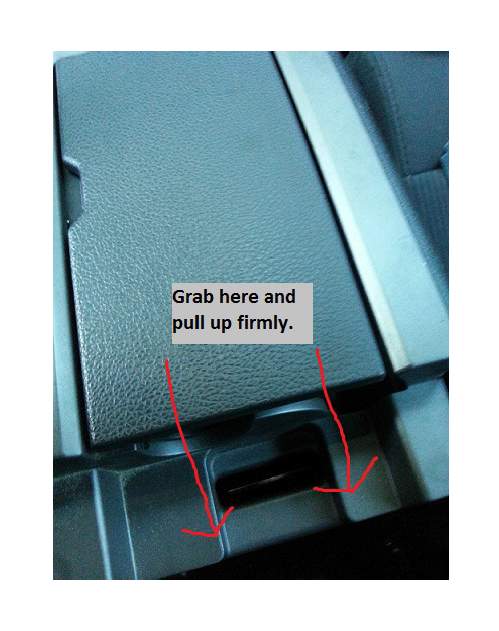
2: Open your center console, grasp the plastic trim directly behind the cup holder and firmly pull up.
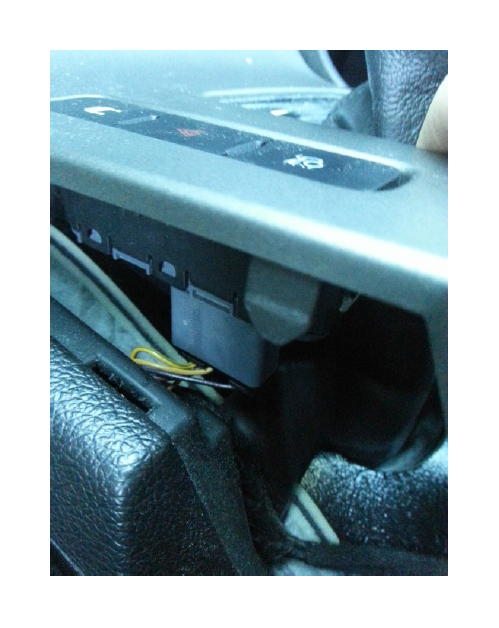
3: Disconnect the 3-button cluster by pushing in the pin (on the passenger side) and pulling down on the connector.
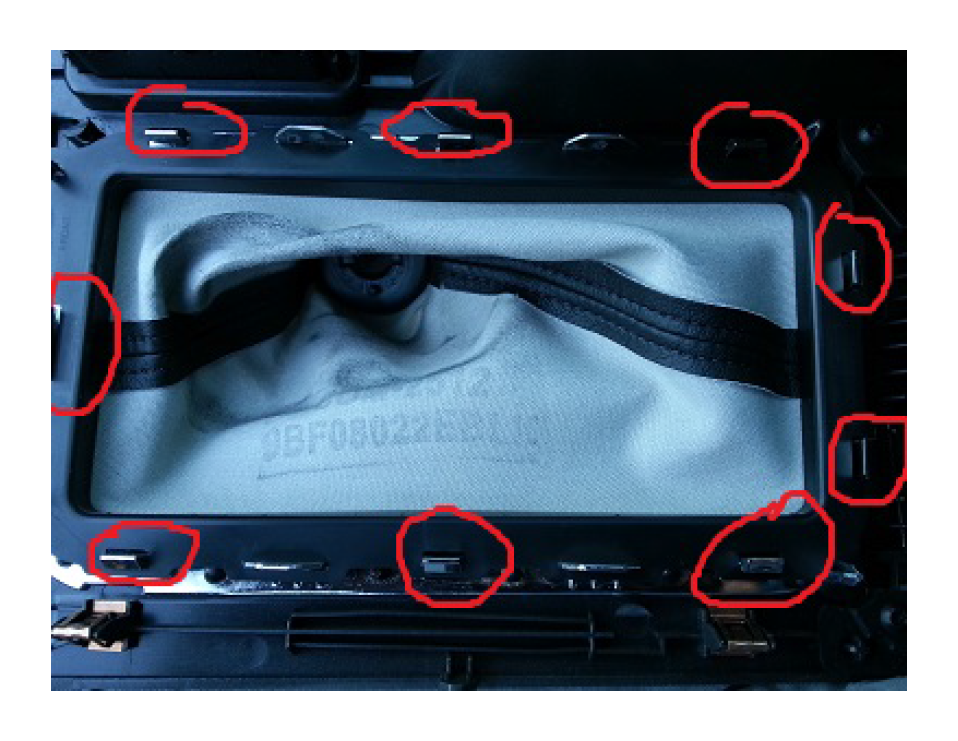
4: Remove the factory shifter boot by prying back the retaining clips (9) and lifting up on the trim ring. Be careful as this ring will easily break.
Step 5: Pull the factory boot off of the trim ring. Note: Pay attention to how the boot is orientated and glued to the ring. The boot may/will tear due to cheap quality and will NOT be reusable.
Step 6: Test fit the shifter boot on the trim ring. The longest portion of the boot goes to the back of the car. Ensure that the stitching is centered. Superglue one side of the boot at a time to the trim ring, starting with the short sides. Hold the boot to the ring until the glue is dry (20-90 seconds per side).
Step 7: Reinstall the trim ring, reconnect the 3-button cluster, line up the tabs on the center trim piece/cupholders and push down to lock the tabs in place. Reinstall your shift knob. Shift through the gears and ensure that there’s no binding or pinching of the new boot.
Enjoy your new, better looking shifter boot!
