 FREE 1 to 3-Day Delivery on Orders $119+ Details
Best Sellers


How to Install a Borla Stinger S-Type Axle-Back Exhaust on your 2005-2009 Mustang GT or 2007-2009 Mu
Installation Time
1 hours
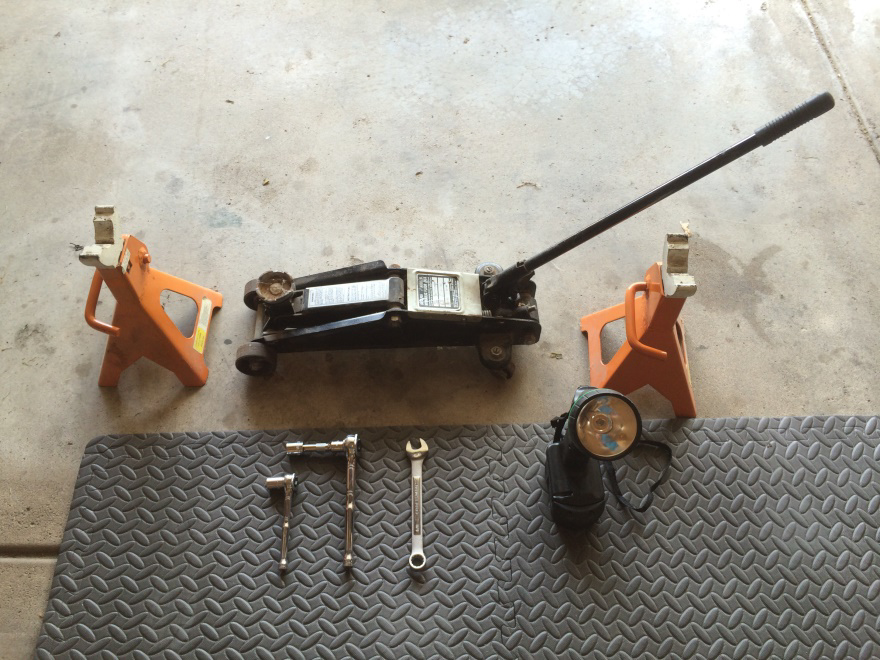
Tools Required
- Hydraulic Floor Jack or Vehicle Lift (if available)
- A Pair of Jack Stands or Vehicle Lift (if available)
- 1/4" Drive Ratchet
- 3/8" Drive Ratchet
- 13mm Socket
- 15mm Socket
- 3" Extension
- 5/8" Wrench or 15mm Deep Socket (if available)
- Flashlight (if needed)
Shop Parts in this Guide
REMOVAL OF FACTORY AXLE-BACK
1. Park vehicle on level surface and engage parking brake.
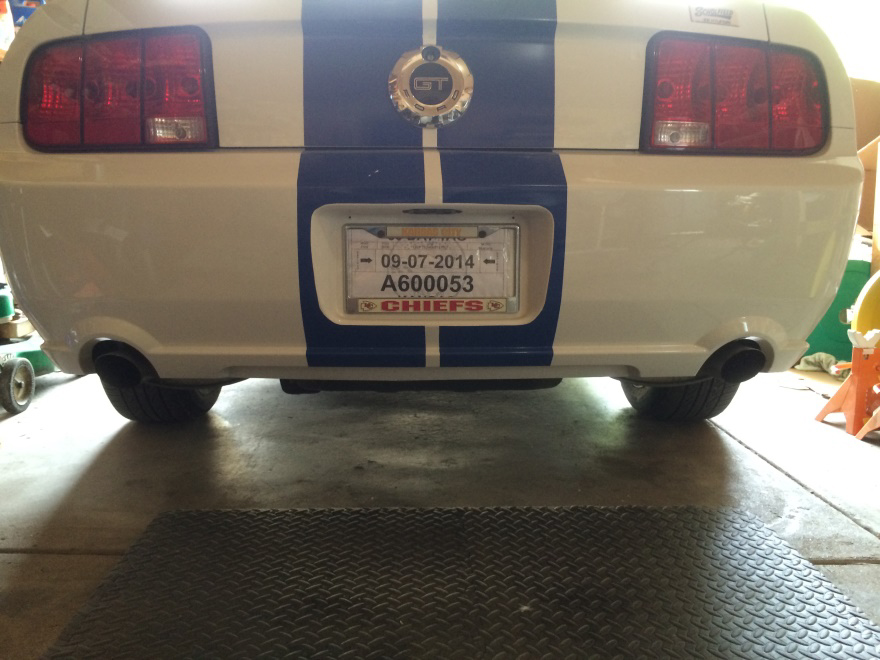
2. Raise vehicle using hydraulic jack (or vehicle lift).
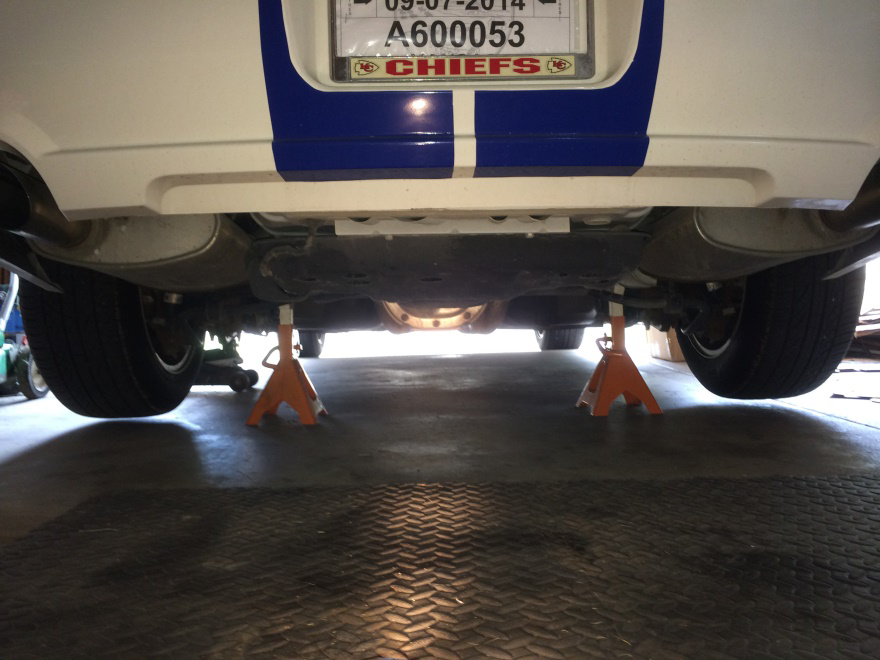
3. Place jack stands under vehicle.
4. Lower vehicle onto jack stands.
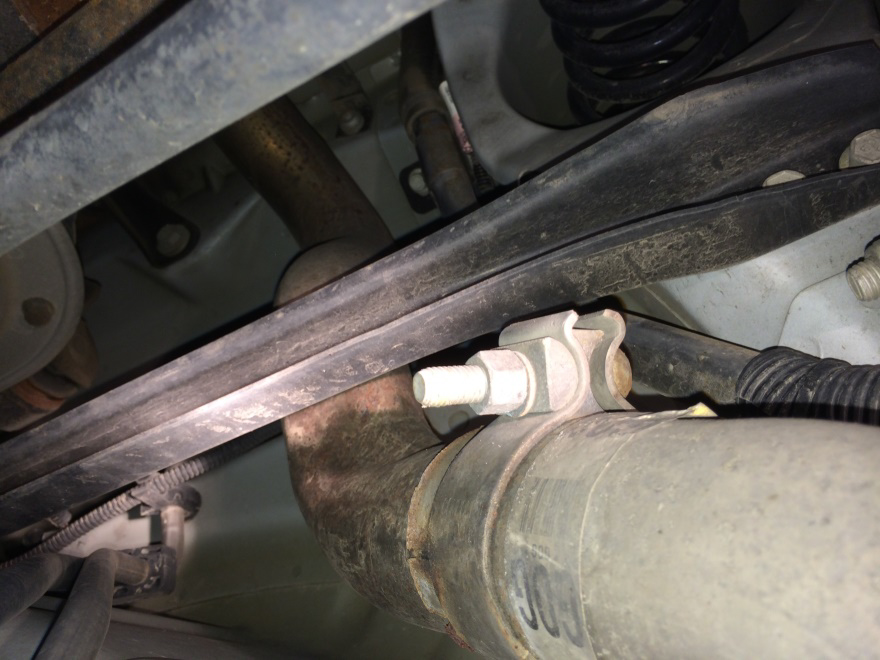
5. With the vehicle safely secured on jack stands begin by loosening the 15mm nut with the 5/8” wrench (or 15mm deep socket) connecting the factory axle-back to the factory exhaust pipes.
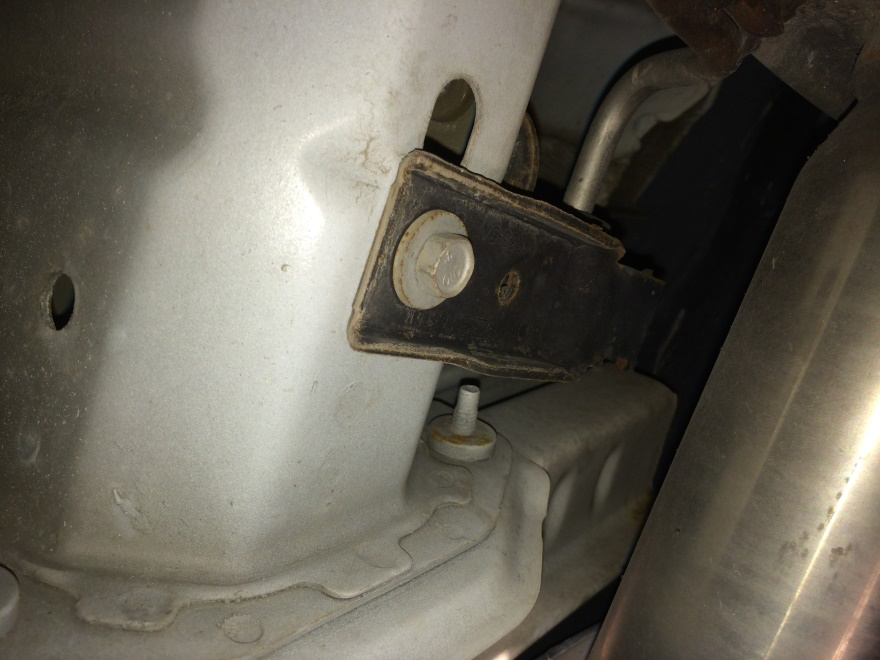
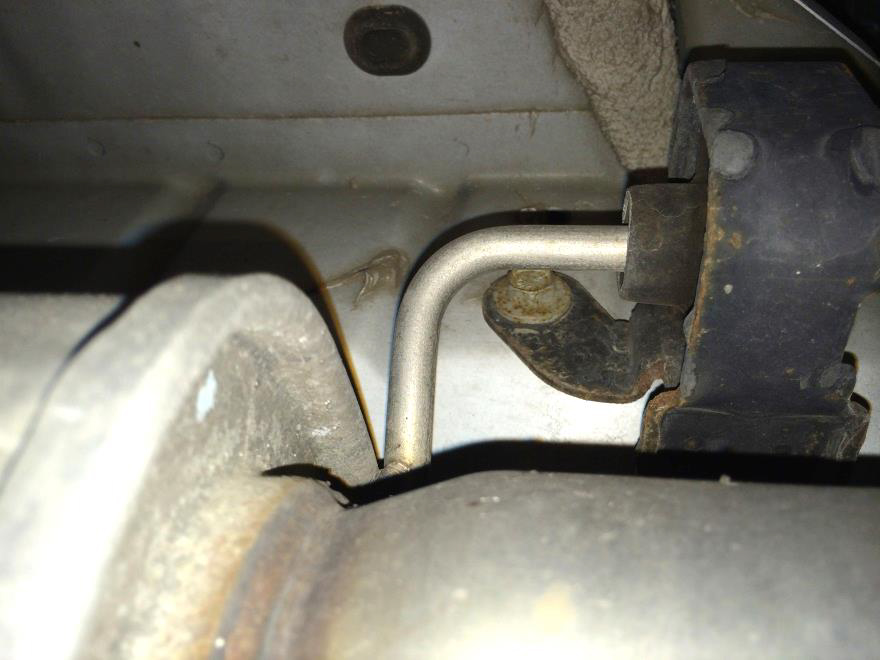
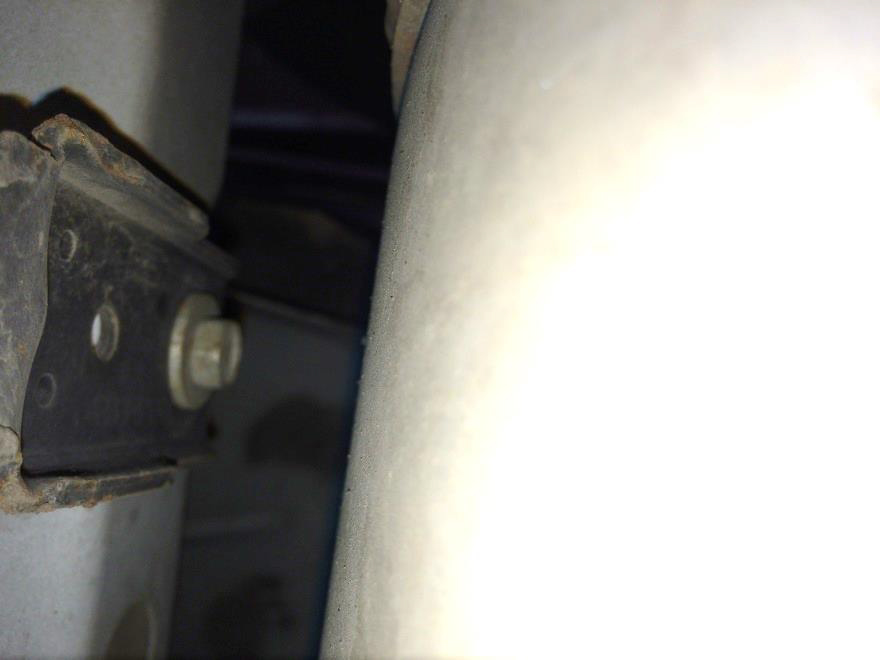
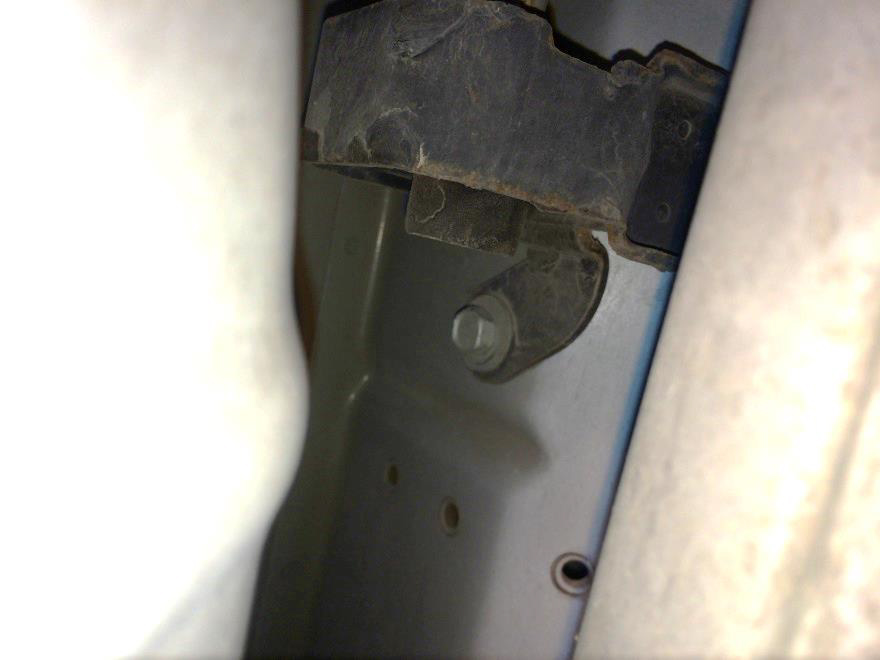
6. Next, using the 13mm socket, remove the (4) 13mm bolts holding the (2) exhaust hanger brackets to the vehicle as shown in the following images.
7. Remove factory axle-back. Please note that you may have to twist/pull/wiggle the axle-back to get it to break free from factory exhaust pipes.
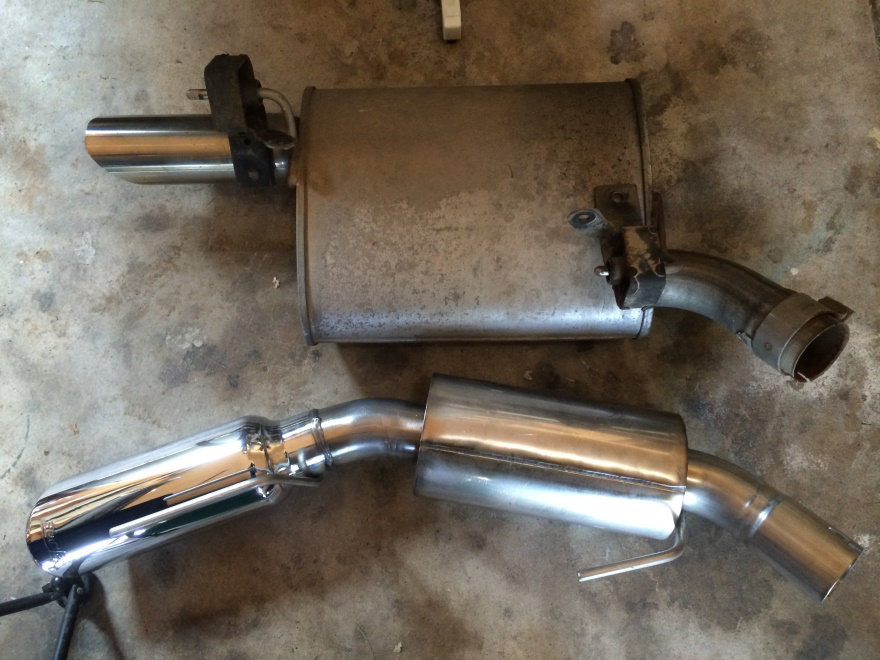
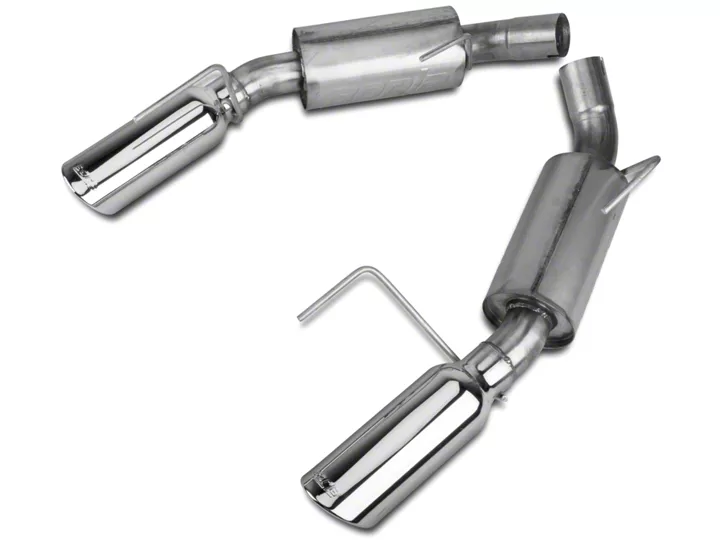
(Side by Side comparison of factory axle-back and Borla Stinger axle-back)
8. Once the axle-back is removed be sure to transfer the factory exhaust hangers over to your new Borla Stinger axle-back.
9. Place the new pipe clamps on muffler neck and slide the muffler neck into the mid-pipe. Loosely tighten the clamp bolt and the rear most hanger to the frame. Do not secure all bolts/clamps as this will hinder the adjustment of the tailpipe into the rear bumper cutouts.
10. Once you have properly aligned the tailpipe finish tightening all hanger bolts and exhaust pipe clamp.
11. Repeat this process for opposite side.
12. Be sure to inspect the installation after 20-50 miles of driving to ensure no bolts/nuts have loosened. Re-tighten or apply a high temp thread locker if necessary.
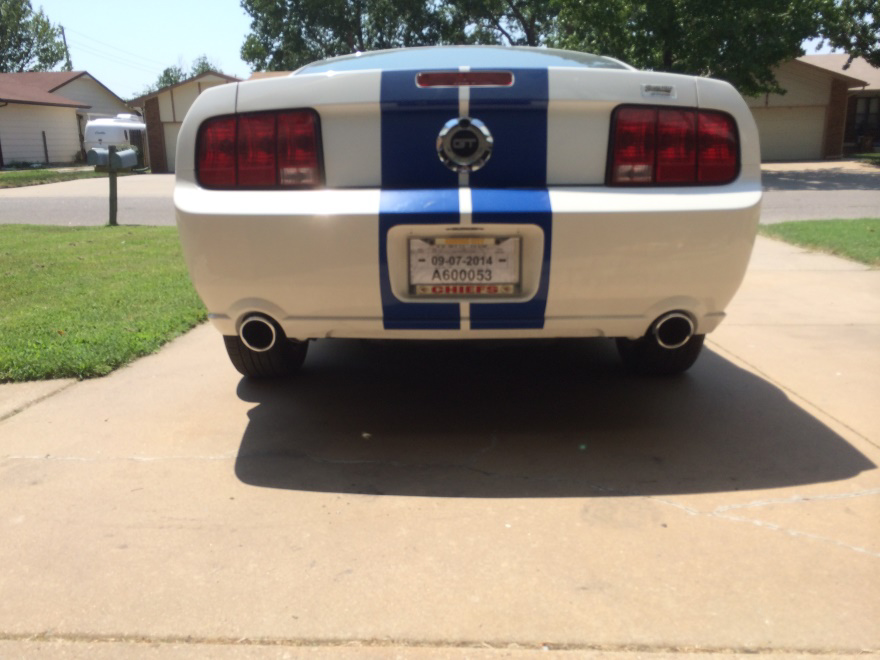
13. You have now installed your new Borla Stingers Axle-Back! Now go enjoy the noise!
Installation Instructions written by AmericanMuscle Customer Matthew Jirak 8.04.2014
