 FREE 1 to 3-Day Delivery on Orders $119+ Details
Best Sellers


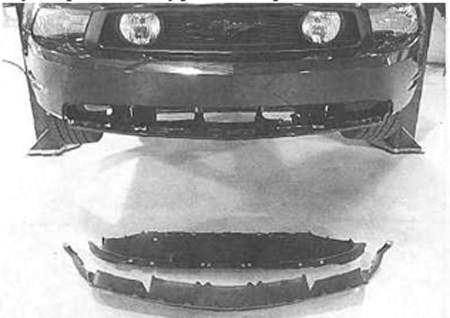
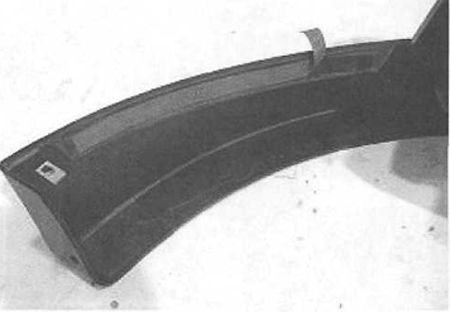
CDC Mustang Chin Spoiler (2010-2011 GT) - Unpainted - Installation Instructions
Installation Time
60 minutes
Tools Required
- Drive Ratchet
- Drive 7mm Socket
- Drive 5.5mm OR 7/32 Socket
- Short Phillips Screw Driver
- Trim Panel/Fork Tool
- 80 - 120 grit sand paper

Shop Parts in this Guide
Installation
1. You can install the Chin Spoiler with vehicle on the ground or raise front of vehicle using ramp, hoist, jacks, etc.SUPPORT THE VEHICLE PROPERLY.
2. Remove the screws from wheel opening securing wheel well liner to the factory trim piece (l per side).
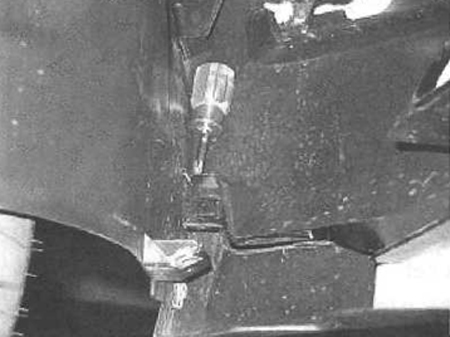
3. Remove the screws that secure the splash shield to the vehicle and remove the shield (9 total).
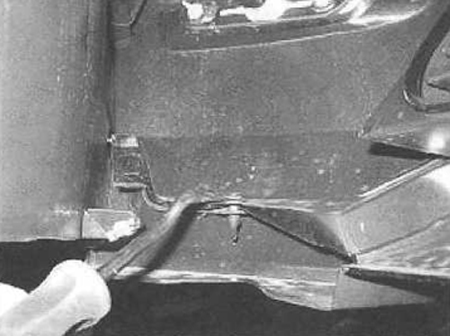
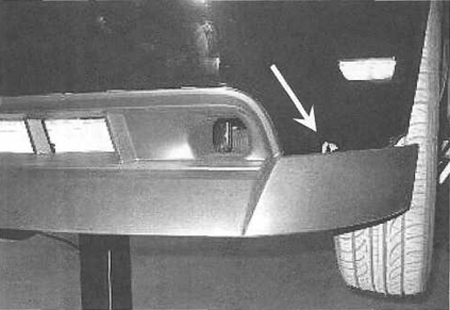
4. Remove the plastic fasteners that hold the factory lower trim piece to the fascia. Lift the head of fastener with the fork tool and remove fastener from fascia (1 per side)
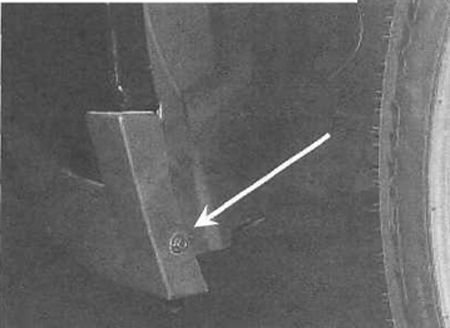
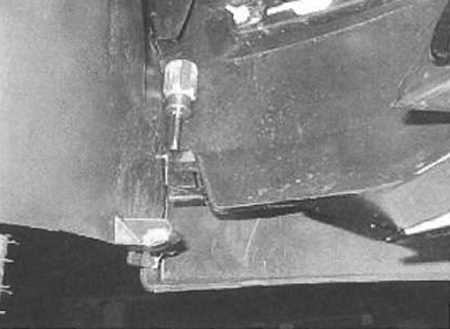
5. Remove the downward screws securing the ends of the factory trim piece to the fascia (1 per side).
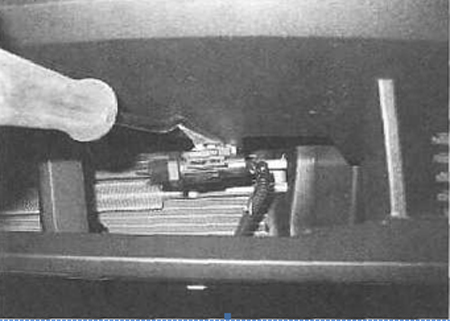
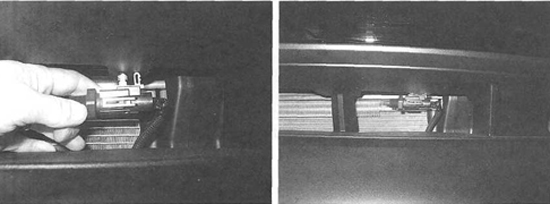
6. Remove the outside temperature sensor from the factory trim piece using a fork tool.
7. Working from one end of the factory trim piece, carefully pull the trim piece free from the fascia.
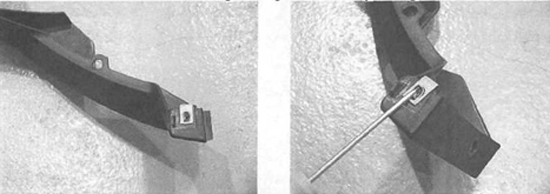
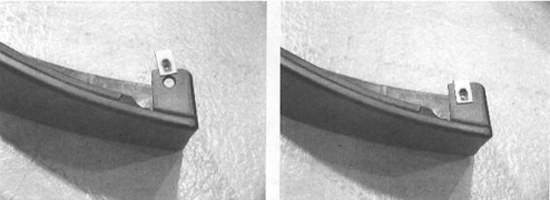
8. Remove the J-Clip in both ends of the factory trim piece for re-use on the CDC Chin Spoiler. Lift the locking tab with a small screwdriver and pull Clip from factory trim piece.
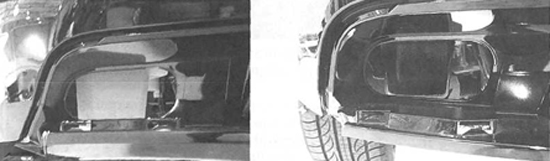
9. Relocate the horns by removing the bolt securing them to the vehicle and turning bracket up-side-down.

10. Clean the fascia where the Acrylic Bonding Tape will contact and wipe with Isopropyl Alcohol, allow alcohol to dry.It is imperative that any wax be removed from the vehicle at the tapecontact area and the area is clean for proper adhesion of Chin Spoiler.
Note:We recommend that you black out the washer reservoir bottle before installing the chin spoiler
11. Install the factory J-Clips, removed in step #8, onto the CDC Chin Spoiler.
12. Create pull tabs by peeling 2"-3" of the red backing from the Acrylic Bonding Tape on the Chin Spoiler.
13. Align the Chin Spoiler tabs with the slots in the fascia and set the Chin Spoiler into the fascia opening.Make sure that the pull tabs created above are accessible.
14. Start at the center of the Chin Spoiler, work toward one side, and push Chin Spoiler into the fascia engaging the tabs (top & bottom) as you go. Align the mounting holes in the end of Chin Spoiler. Repeat on the other side.
15. Align the Chin Spoiler along the feature line of the fascia and peel the red backing from the bonding tape. Press Chin Spoiler to fascia over the tape areas to adhere Acrylic Tape to fascia.
Note:Reach to the inside of the fascia and apply outward pressure as you press the Chin Spoiler to fascia. For proper adhesion, the temperature of the bonding surfaces must be 70 °F minimum at the time of adhesion. If necessary, warm areas with a hair dryer or heat gun. Apply pressure over tape areas of part to set tape to vehicle. As a general rule, a minimum of 15 PSI should be used.
16. Install the downward screws, removed in step #5, at each end of the Chin Spoiler.
17. Secure Chin Spoiler in the wheel wells with the factory screws.
18. Attach the outside temperature sensor to the Chin Spoiler.
19. Re-install the factory slash shield with the factory fasteners.
20. Install Push-Pin Retainer (supplied in kit) through Chin Spoiler securing to bottom side of fascia, one on each side. The holes are in the fascia from the factory.
Installation instructions provided by CDC
Best Sellers
Related Guides
-
Installation
-
Installation
-
Installation
