 FREE 1 to 3-Day Delivery on Orders $119+ Details
Best Sellers


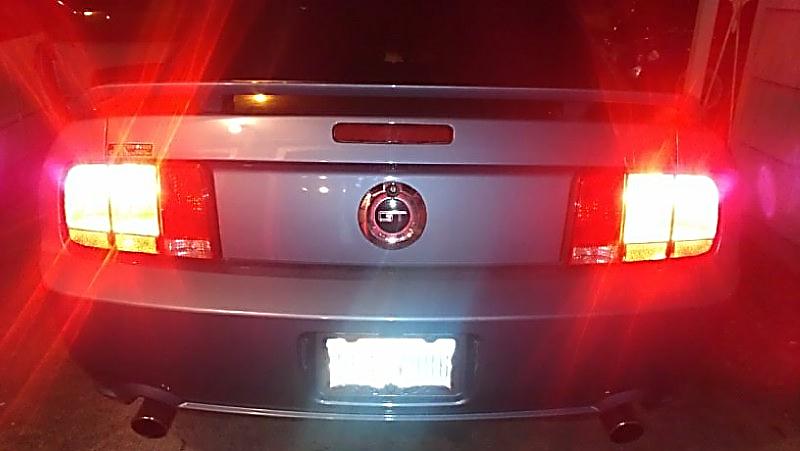
How to install your Plug-in Raxiom Sequential Tail Light Kit on Your 2005-2009 Mustang
Installation Time
30 minutes
Tools Required
- 11mm Deep Socket and Ratchet
- Wrench (Optional)

Shop Parts in this Guide
Installation
Installation Instructions:
1. First make sure your car’s engine is off and parked where you have enough room to work on your taillights. You might also want to remove big items from your trunk that way everything your working on can stay in the trunk and nothing will get misplaced.
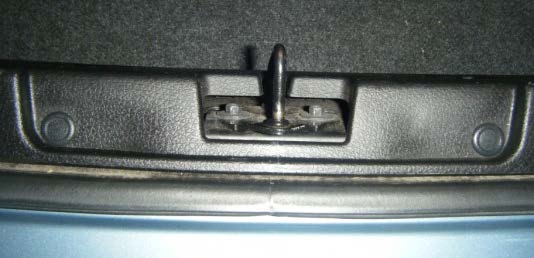
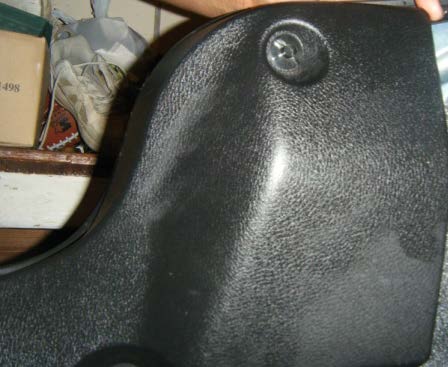
2. Begin by removing the (2) plastic pins in the middle of the plastic covering and the fasteners at the top behind the taillights.
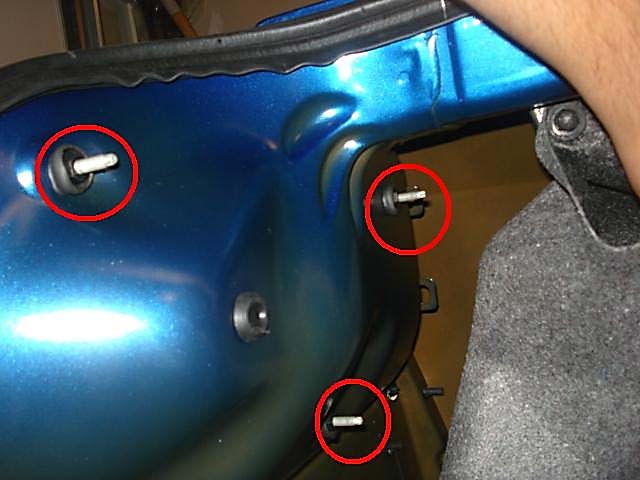
3. Using the 11mm socket, remove the (3) nuts that hold the tail light to the body. You can use a wrench if you don’t have a deep socket and ratchet, but it will be a just a little more difficult.
4. Unplug the wiring harness and remove the tail light from the vehicle. Set the light upside down in the trunk; it’s a great work area and you don’t have to worry about scratching anything.
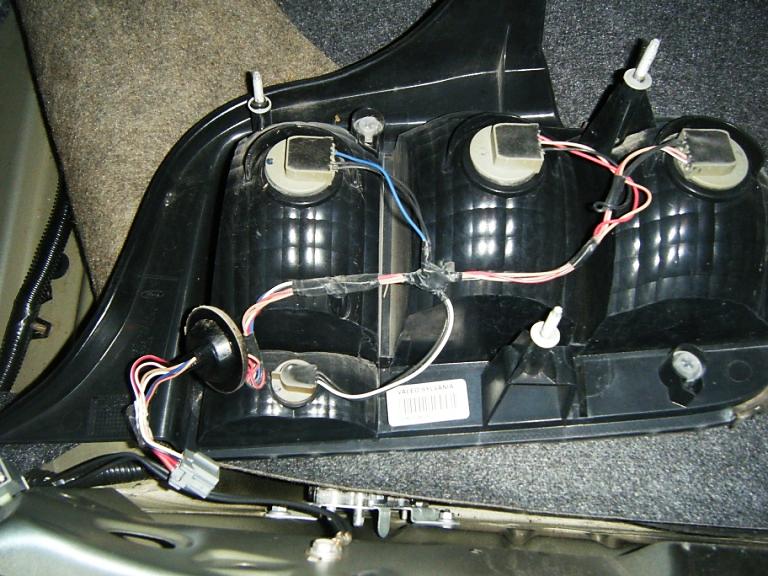
5. Remove the (3) main lights. Twist it to unlock and pull out the bulb, then remove the bulb from the socket. NOTE: The reverse light may be more difficult to remove. It tends not to want to unlock all the way but have patience and gently remove it; you can try using a small wrench for assistance.
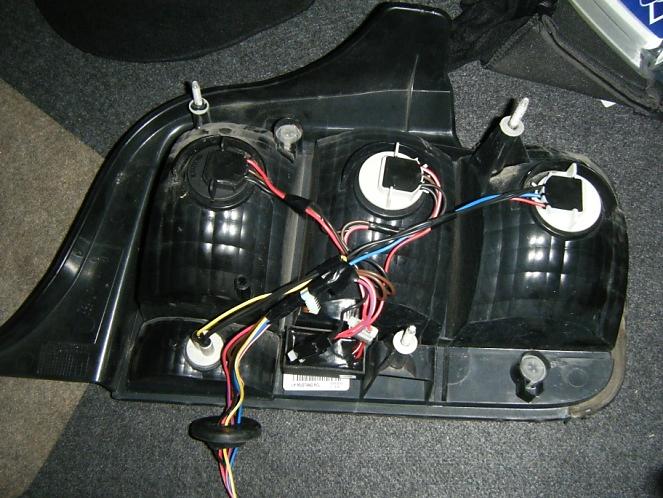
6. Put your bulbs into your Raxiom harness and install it into the tail light. The black one goes first, then the one connected to it and the last one by itself. Again, the reverse light may be more difficult to install but have patience and gently lock the reverse into position.
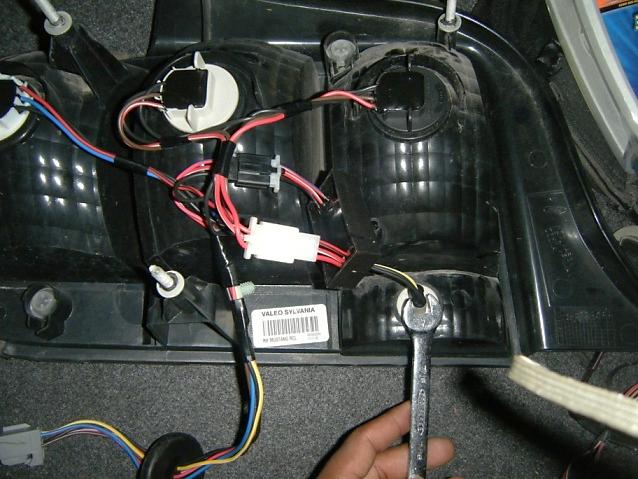
7. Once you reconnect the plugs in the taillight, make sure the rubber gasket has been pushed into the hole until it is flush with the body. This is important to provide a water tight seal. Connect the wiring harness.
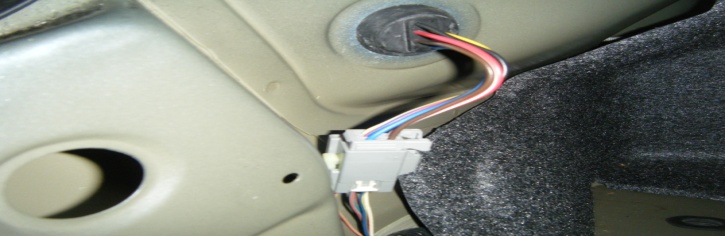
8. Set the taillight into place and test it. If it works, then you can put the (3) 11mm nuts back on and tighten them.
9. Reinstall the inner trunk trim to complete the installation.

Installation Instructions written by AmericanMuscle customer Trevin Batiste 4.20.12
