 FREE 1 to 3-Day Delivery on Orders $119+ Details
Best Sellers


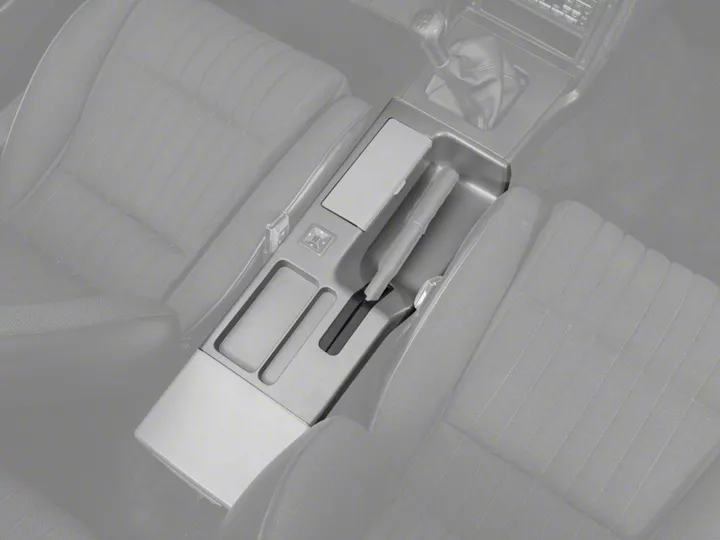
How To Install a Center Console Panel with Power Mirrors on your 1987-1993 Mustang
Installation Time
30 minutes
Tools Required
- Trim and molding tool set
- If you are desperate… a very small flathead screwdriver, but not recommended
- 5/16 socket and socket wrench
- Phillips head (star head) screw driver
Shop Parts in this Guide
Materials in the box:
One center console panel
Installation Instructions:
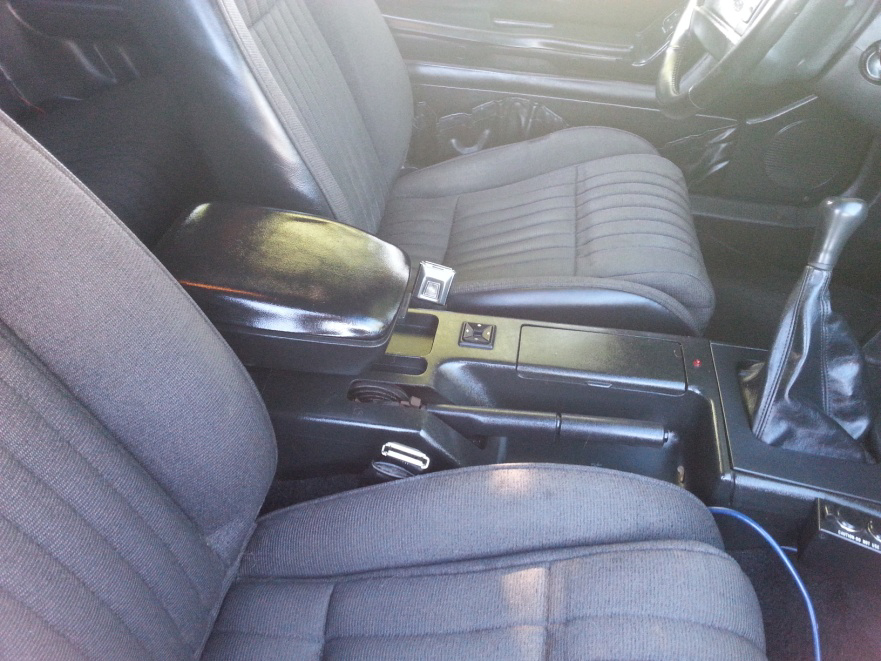
1. The center console is easy to take apart. To take it off get in the back seat.
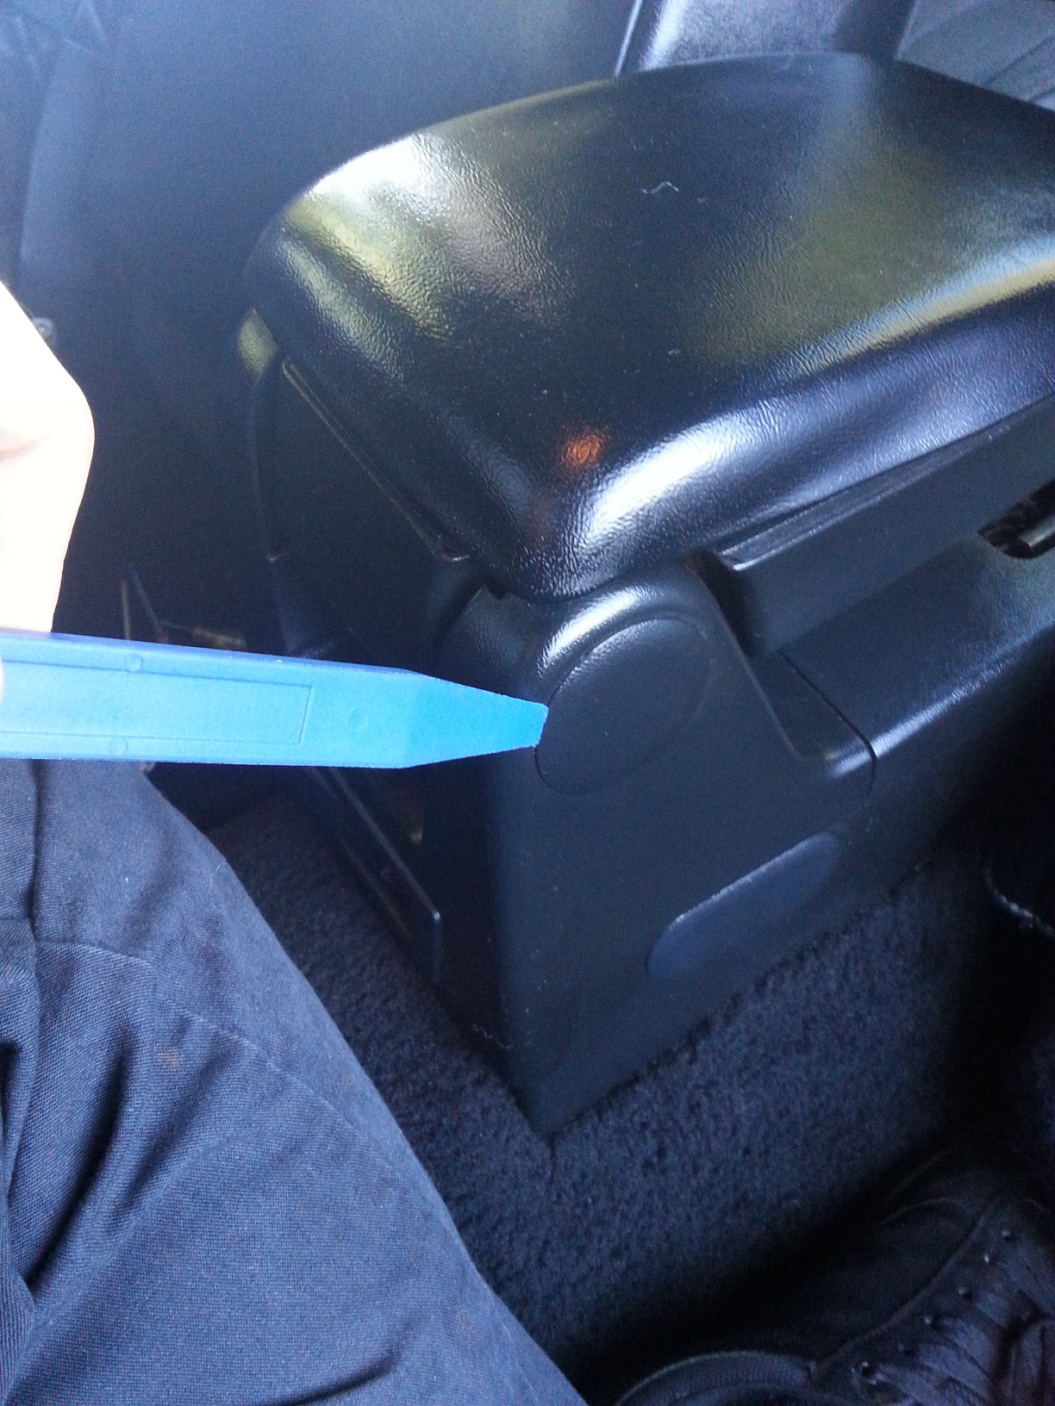
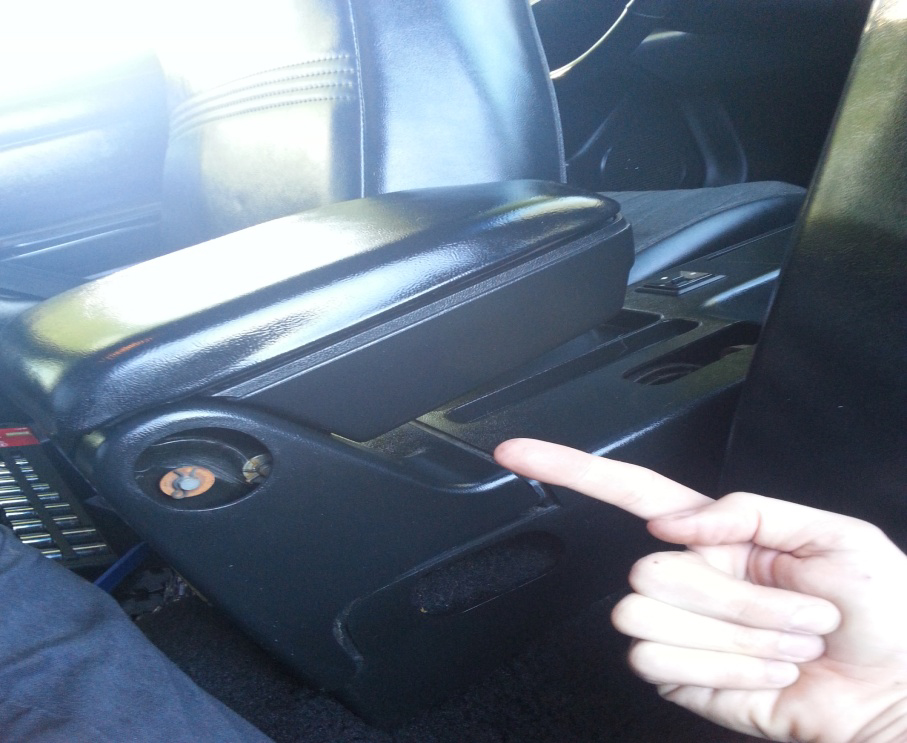
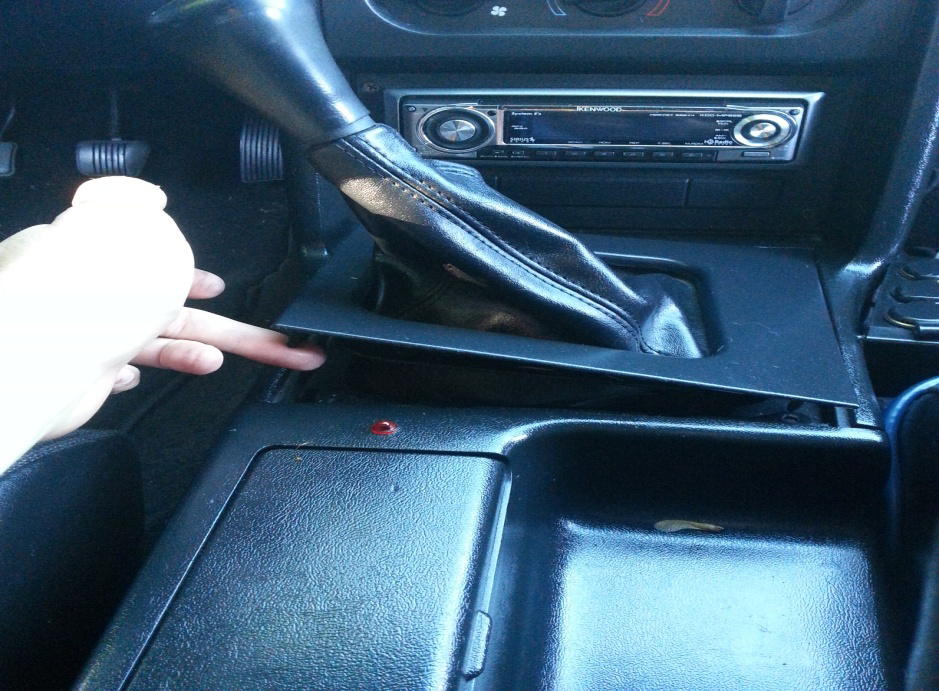
2. Take your plastic trim tool (or very small flat head screw driver) and very carefully put the tool under the end of the access plug and lift up. Do not use too much force because you do not want to break them.
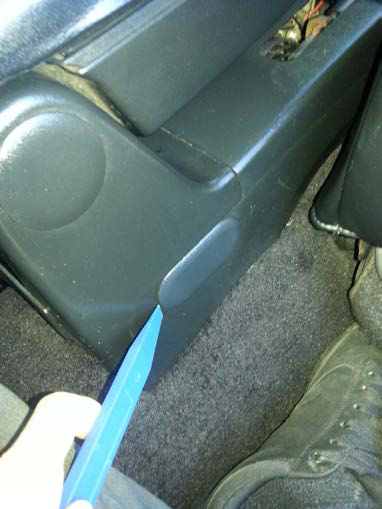
3. To take the other one off, do the same thing.
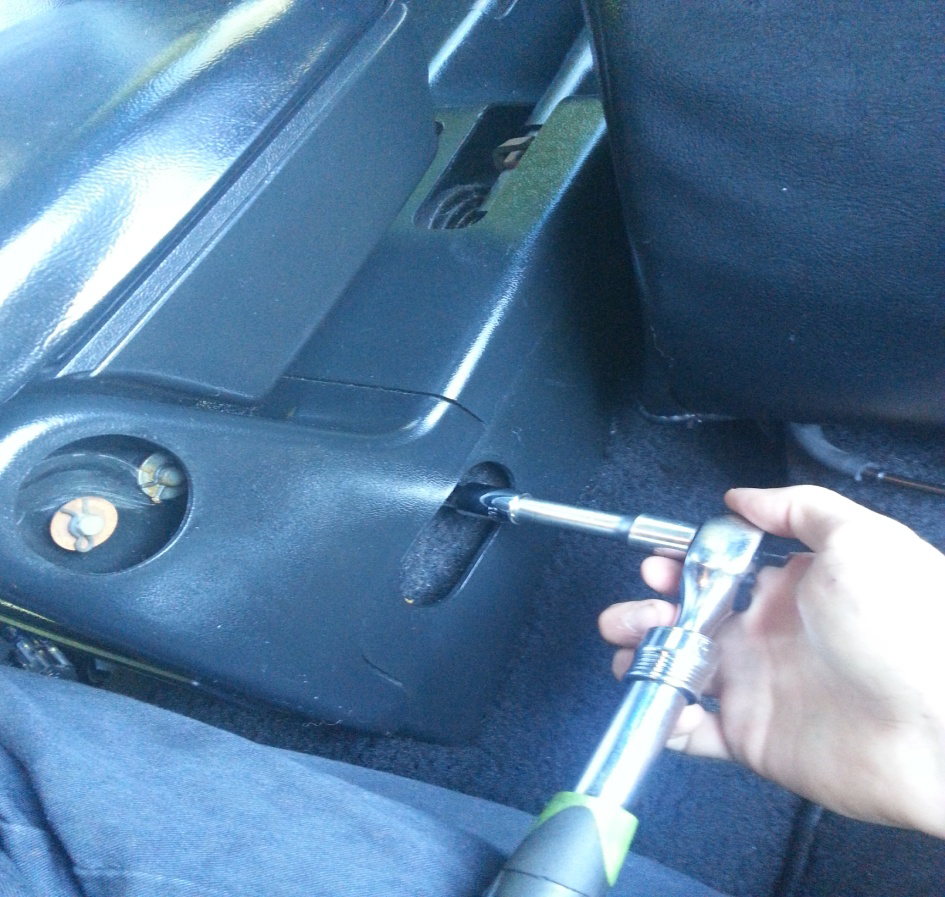
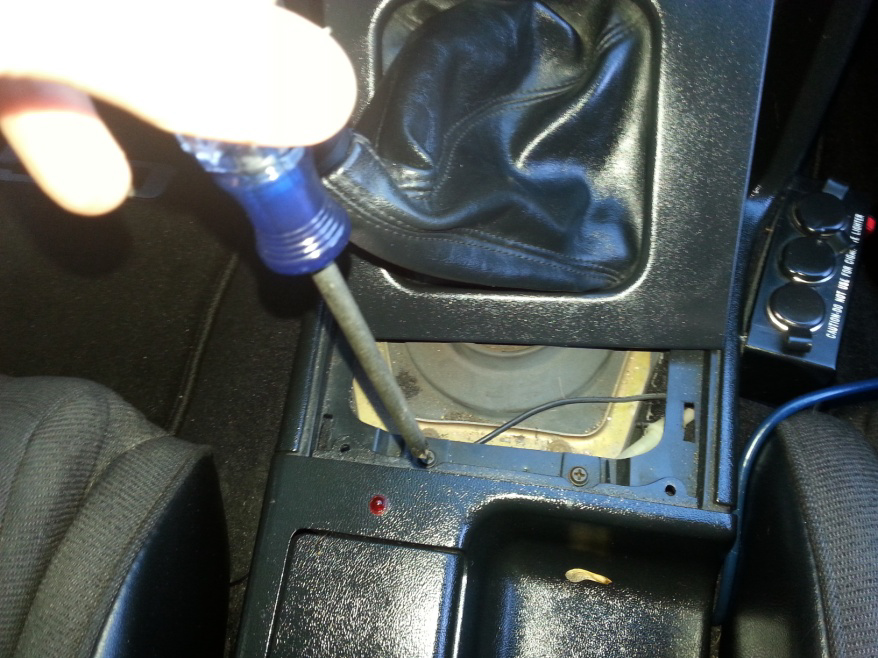
4. There are four bolts (two on each side) to take off if you wish to take the center console out. You need a 5/16 socket to do this.
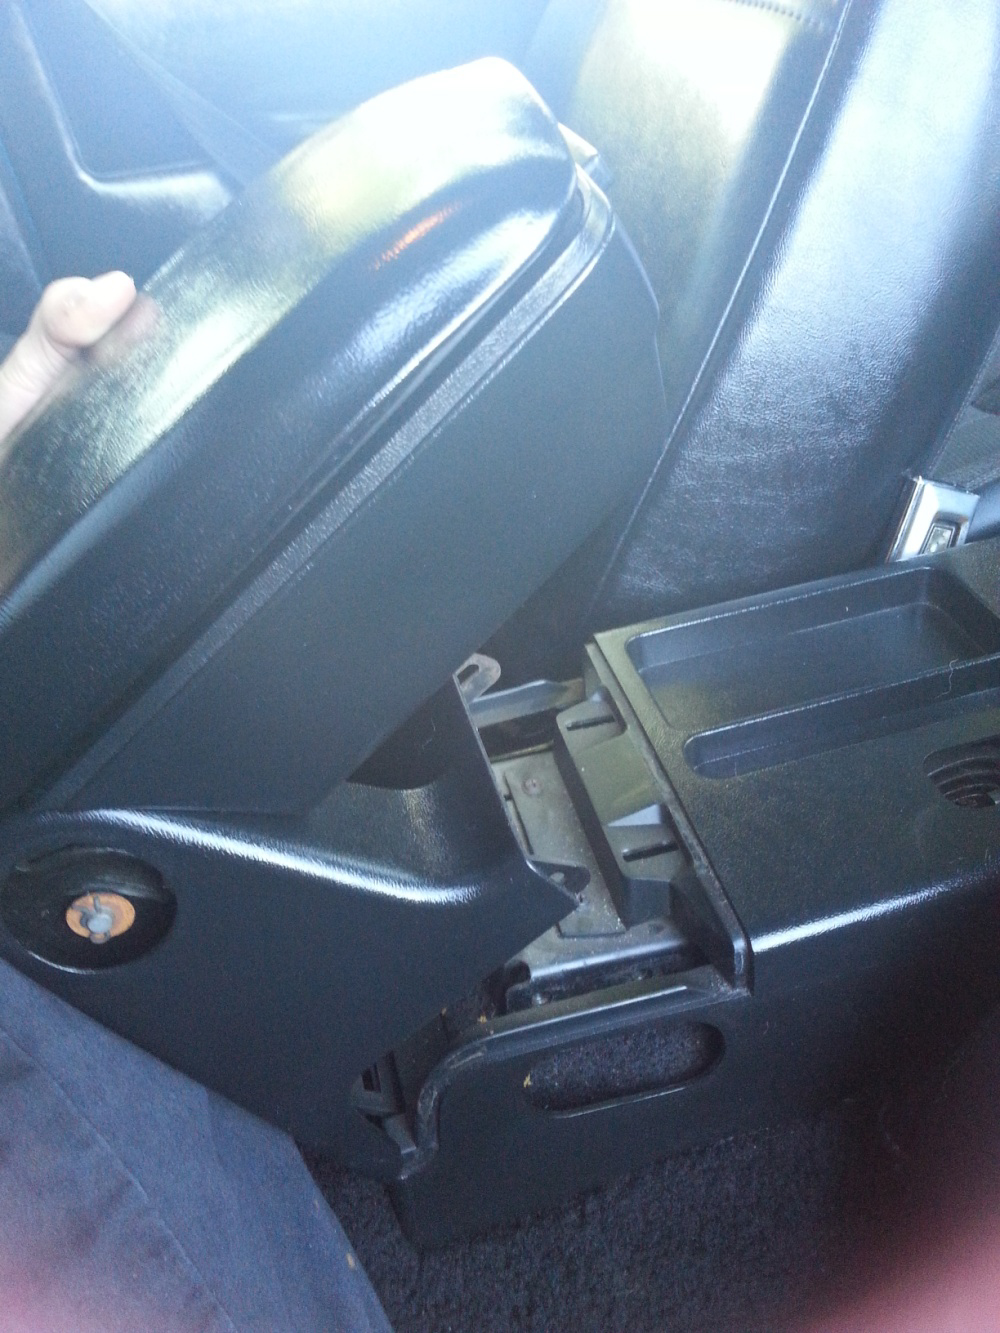
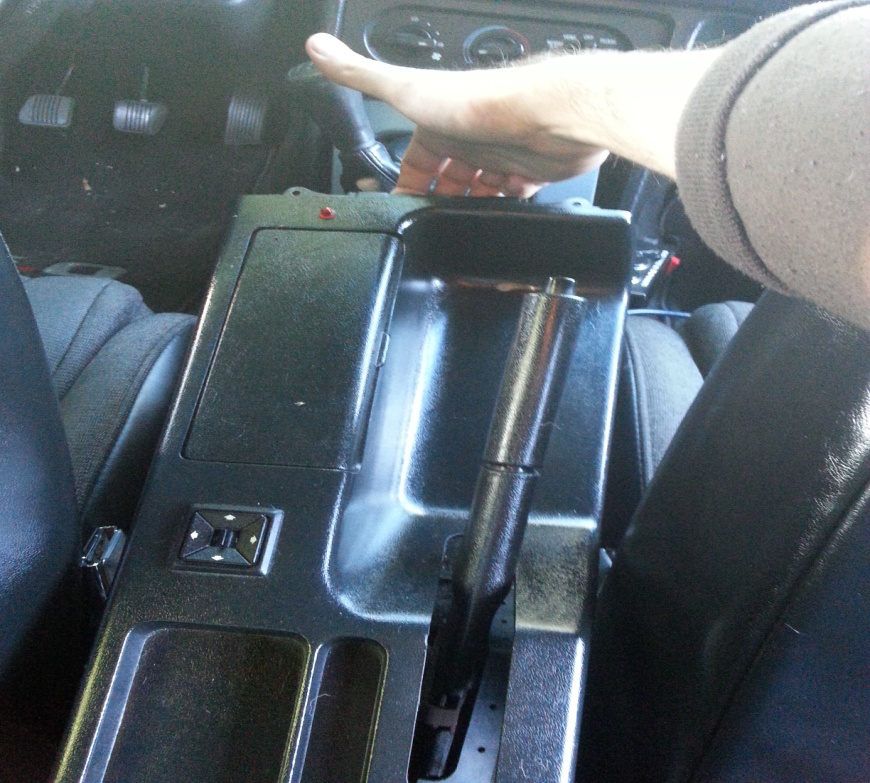
5. To take the center console out, you must simple pull back toward the rear of the car and lift up at the same time. It should come right out.
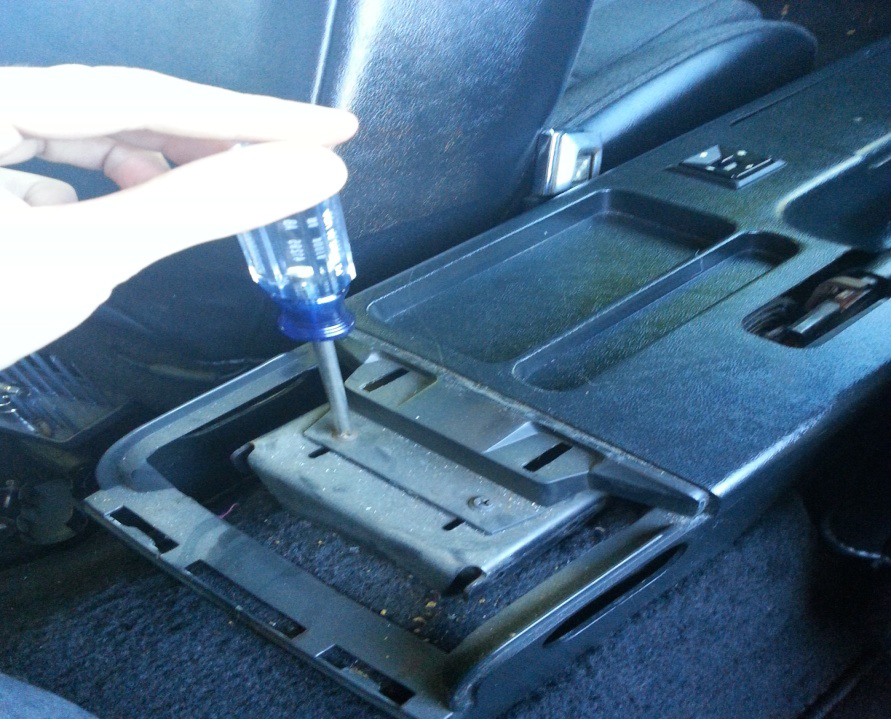
6. There are two screws that need to come out that were under the center console, take your screw driver and get them out.
7. Now you need to take the shifter boot trim. You can use your plastic trim tools or just pull up with your hands. I just used my hands.
8. Now there are two screws under the shifter boot. Take those out with your screwdriver.
9. Now all you have to do is lift up and back on the parking brake, then take off the old center console panel.
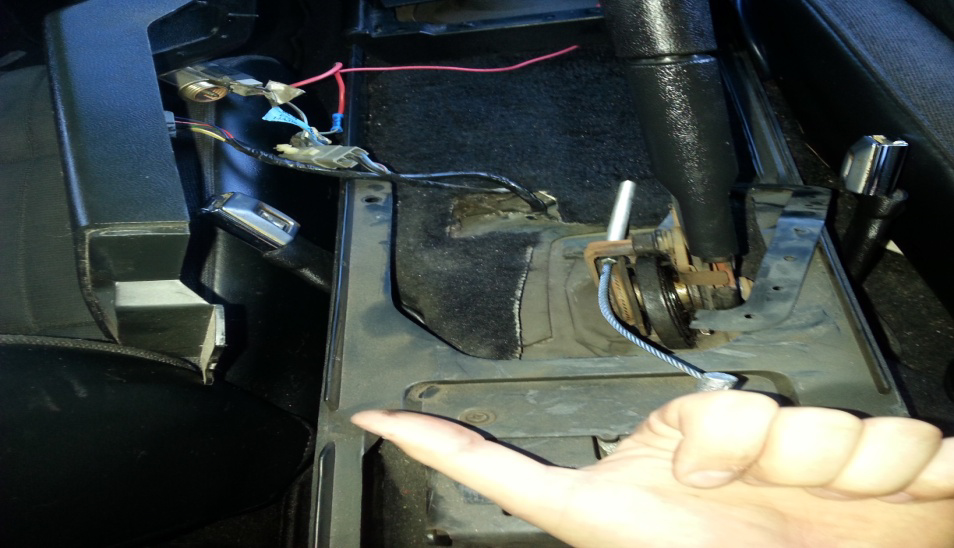
10. There are some wires that are under console, before you can fully pull it out, you need to disconnect them. Use your flat head screwdriver to pull them out.
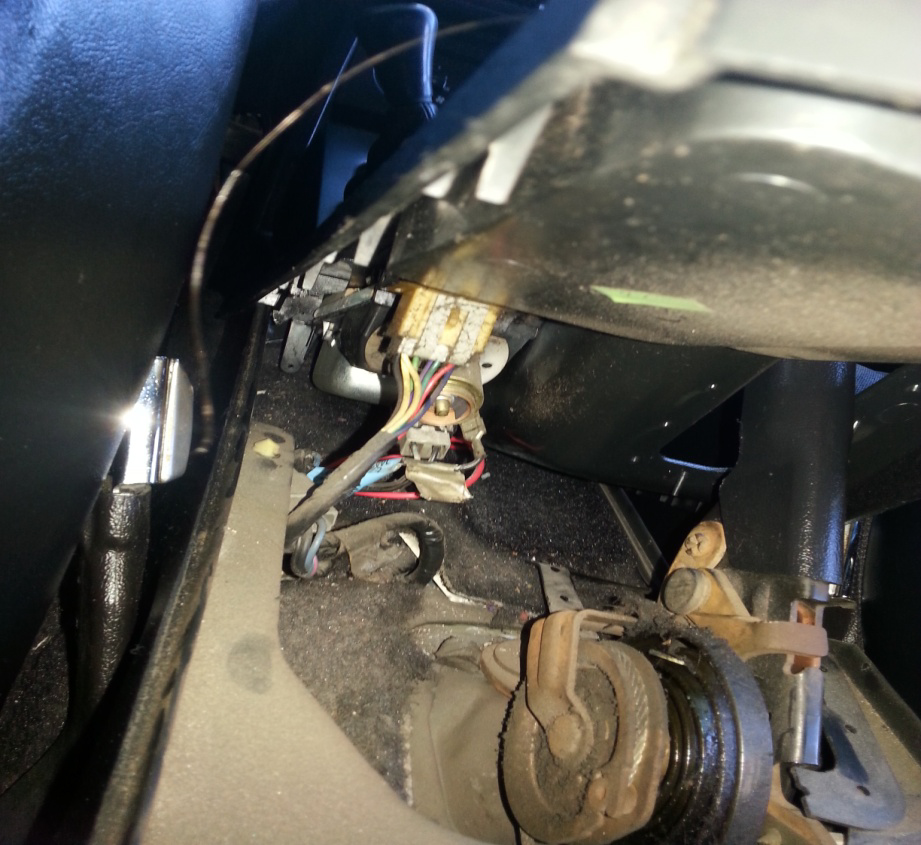
11. Vacuum any stuff that’s under the console. Now plug everything into the new console.
12. Align the console up with the holes. Put the two screws in the front that are under the shifter boot. Pop the shifter boot back into place with the palm of your hand. Put the two screws in that were in the back under the center console.

13. To put the center console back in you need to put the bottom in first. There are three tabs that need to go into the holes first, then you can put the top side in.

14. Put the screws back in, take your 5/16 socket, and tighten the bolts.
15. To put the new access plug covers in, just place them over the hole and push them in. You can also smack them with the palm of your hand too.
16. Smile! You’re done!!!
Installation Instructions written by AmericanMuscle Customer Joseph DeCresie 3.18.2014
