 FREE 1 to 3-Day Delivery on Orders $119+ Details
Best Sellers


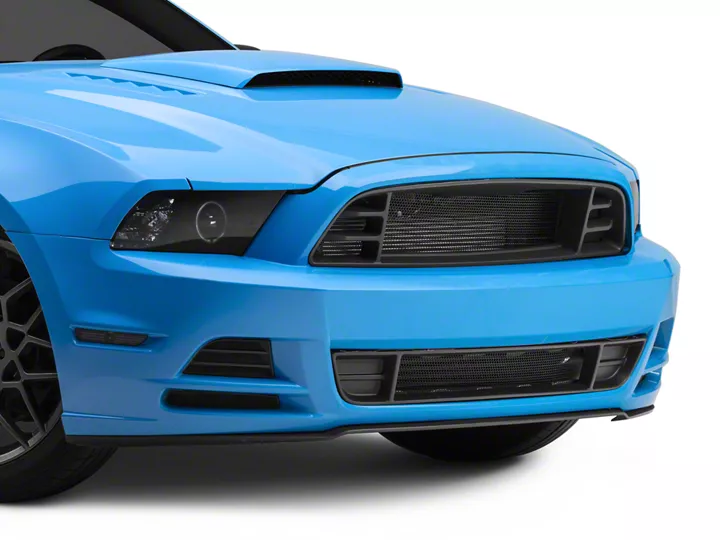
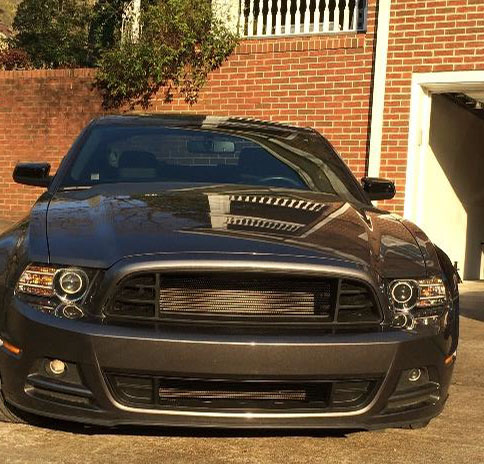
How to Install Cervini's GT500 Style Upper Grille On a 13-14 MustangGT, V6, or Boss
Installation Time
3 hours
Tools Required
- 8MM Wrench/Socket
- 7MM Wrench/Socket
- Philips Head Screwdriver
Shop Parts in this Guide

Optional Tools:
Flathead screwdriver and pliars for removing plastic push pins. Handsaw Included Parts:
(1) Upper GT500 Style Cervini Upper Grille
(2) Round Screen
(1) Hexagon Screen
(20) Black Phillips Screws
(6) Silver Phillips Screws
This install will be easier if the car is on a lift or on jack stand since it will involve removing screws on the bottom of the bumper. If you put the car on jack stands to lift the front, be sure to engage the emergency brake.
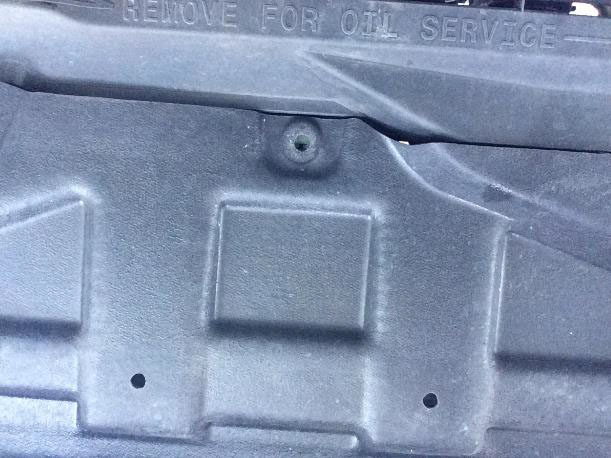
Step 1: Remove the 8 plastic push pins from the radiator cover. Once the pins are removed, the radiator cover will come off easily.
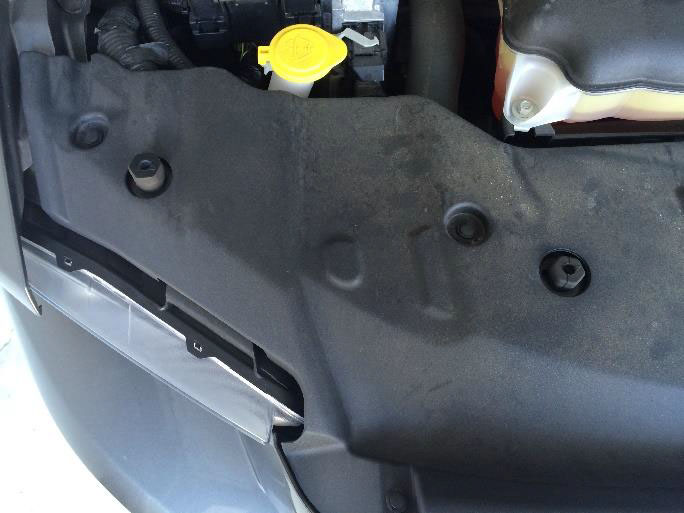
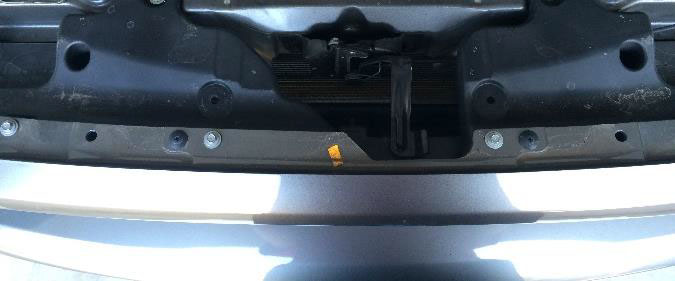
Step 2: Remove the 4 plastic push pins and 4 silver bolts from the top of the bumper.
Step 3: Remove the 3 screws from each wheel well.
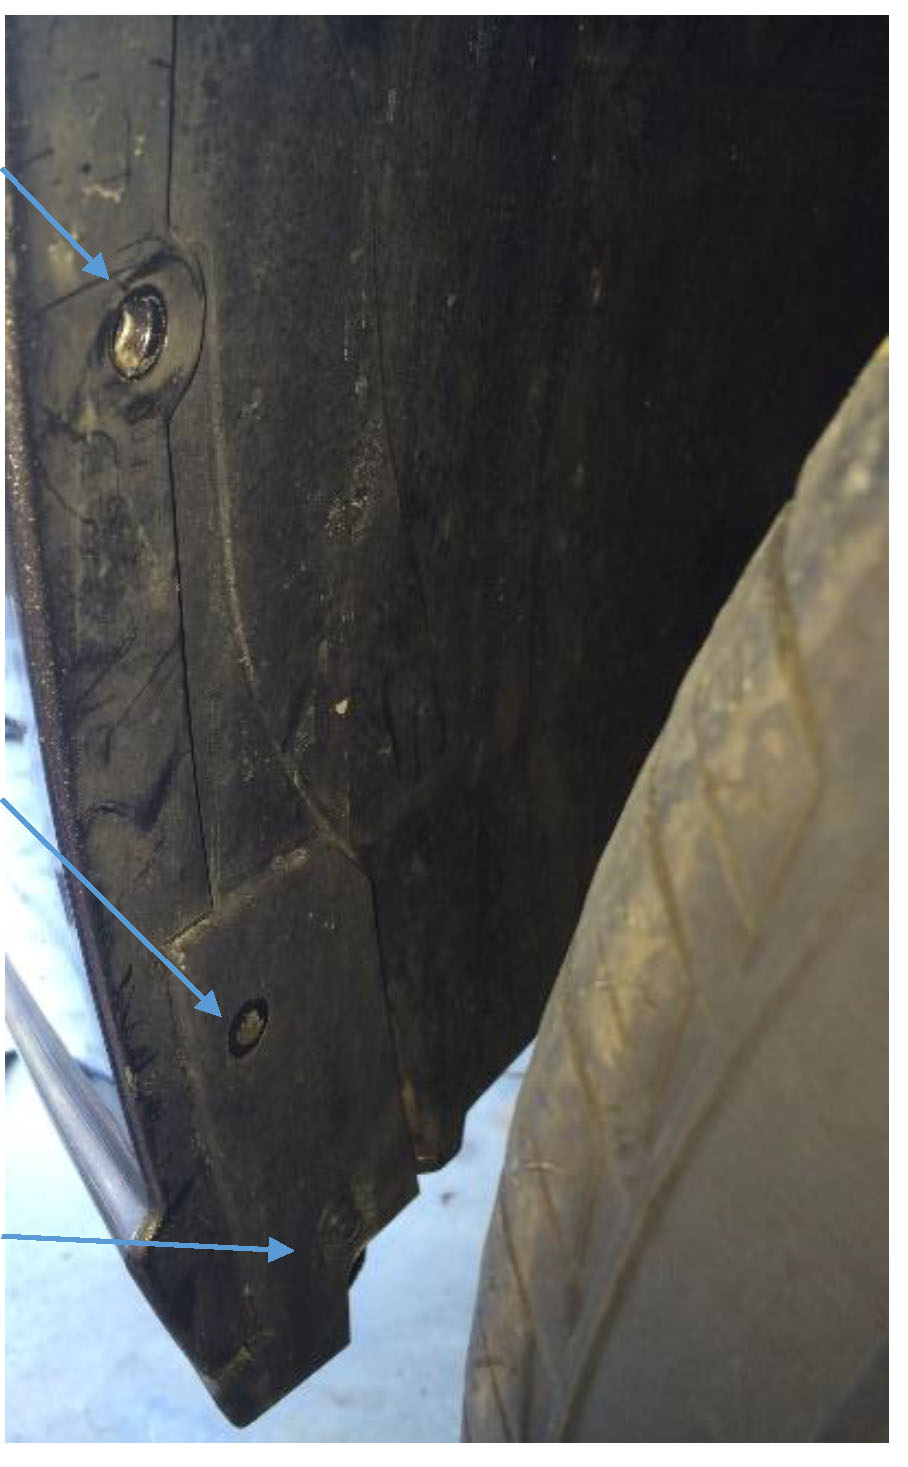
Step 4: Remove the 11 screws along the bottom of the grille. After this step the bumper is no longer attached with screws, it is held on only by clips.
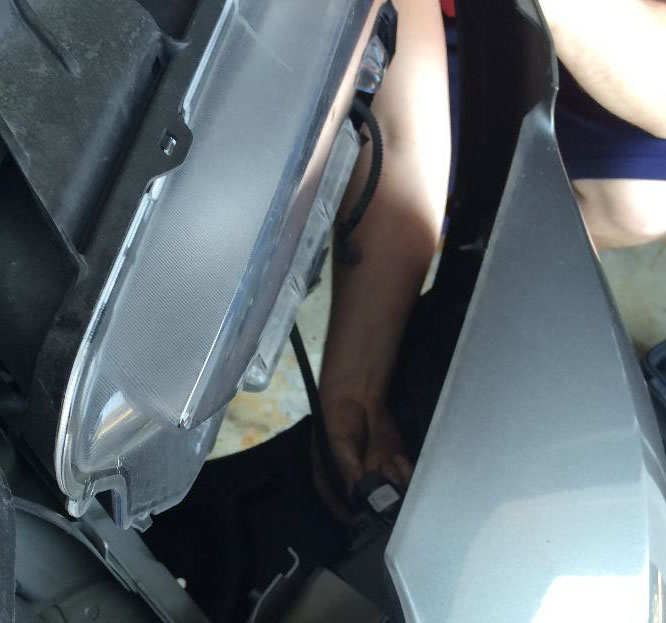
Step 5: Pull on the bumper near the wheel well to pop the bumper loose. Once loose, be sure to disconnect the turn signals and fog lights. Lastly, be sure to disconnect the temperature sensor at the bottom of the bumper.
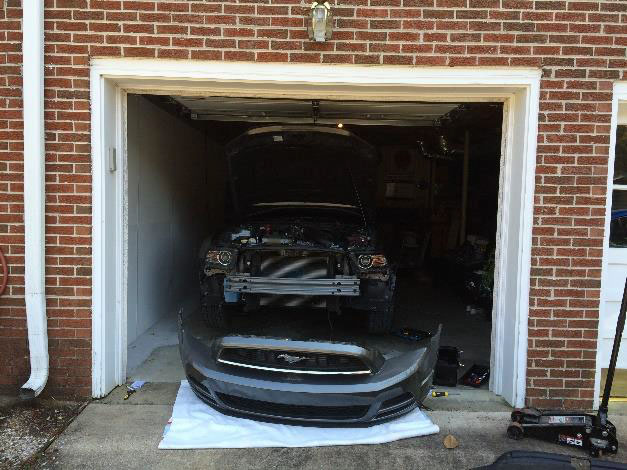
Step 6: Pull the bumper off of the car by removing the bumper at the wheel wells first, then by pulling the bumper away from the car.
Step 7: Remove the stock grille from the bumper. To do so, push on the grille from the back of the bumper while simultaneously applying pressure to the locking pins. Note: The Cervini directions do a fantastic job of showing how to attach the screen to the grille if you need to reference it.
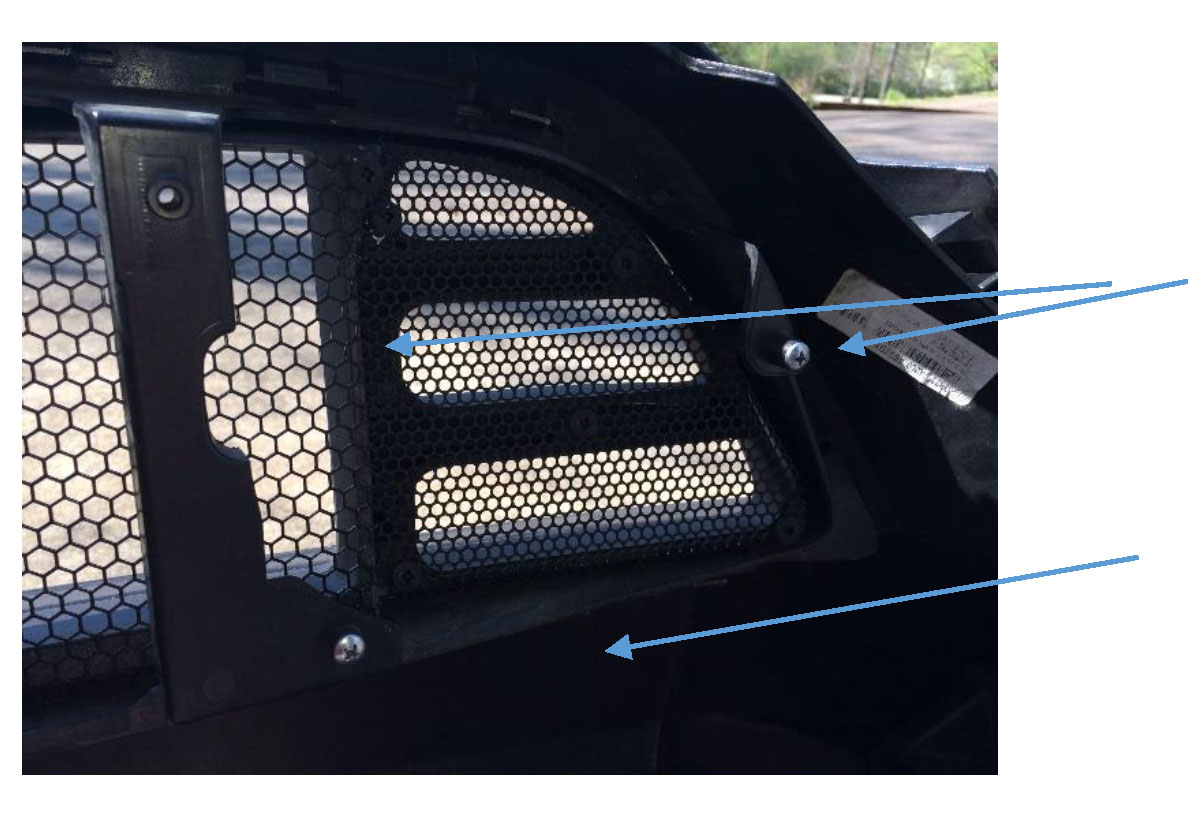
Step 8: Apply the round screens to the smaller sections on the left and right side of the grille back. Fold the bottom portion of the screen so that it bends around the bottom of the grille. Pu
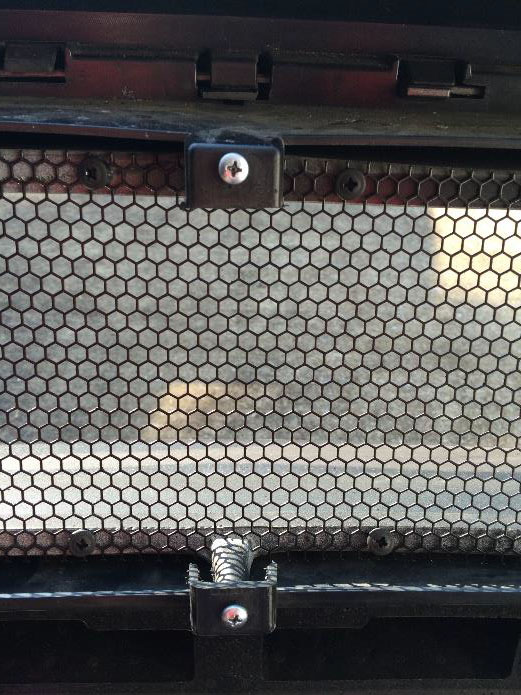
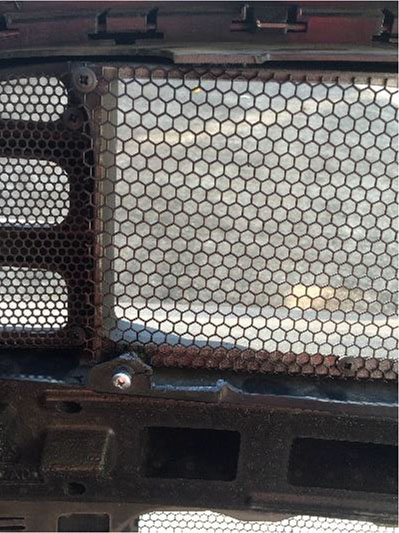
Step 9: Apply the hexagon screen to the middle portion of the grille back. Use the 10 remaining black Philips screws to attach screen to the grille. Place one screw in the top left and top right of the screen attaching those corners to the grille. Place 4 more screws in the existing holes along the top of the screen attaching it to the grille. Place 4 Philips screws along the bottom keeping in mind that we will use the 2 holes in each bottom corner to attach the grille to the bumper so be sure to leave them open.
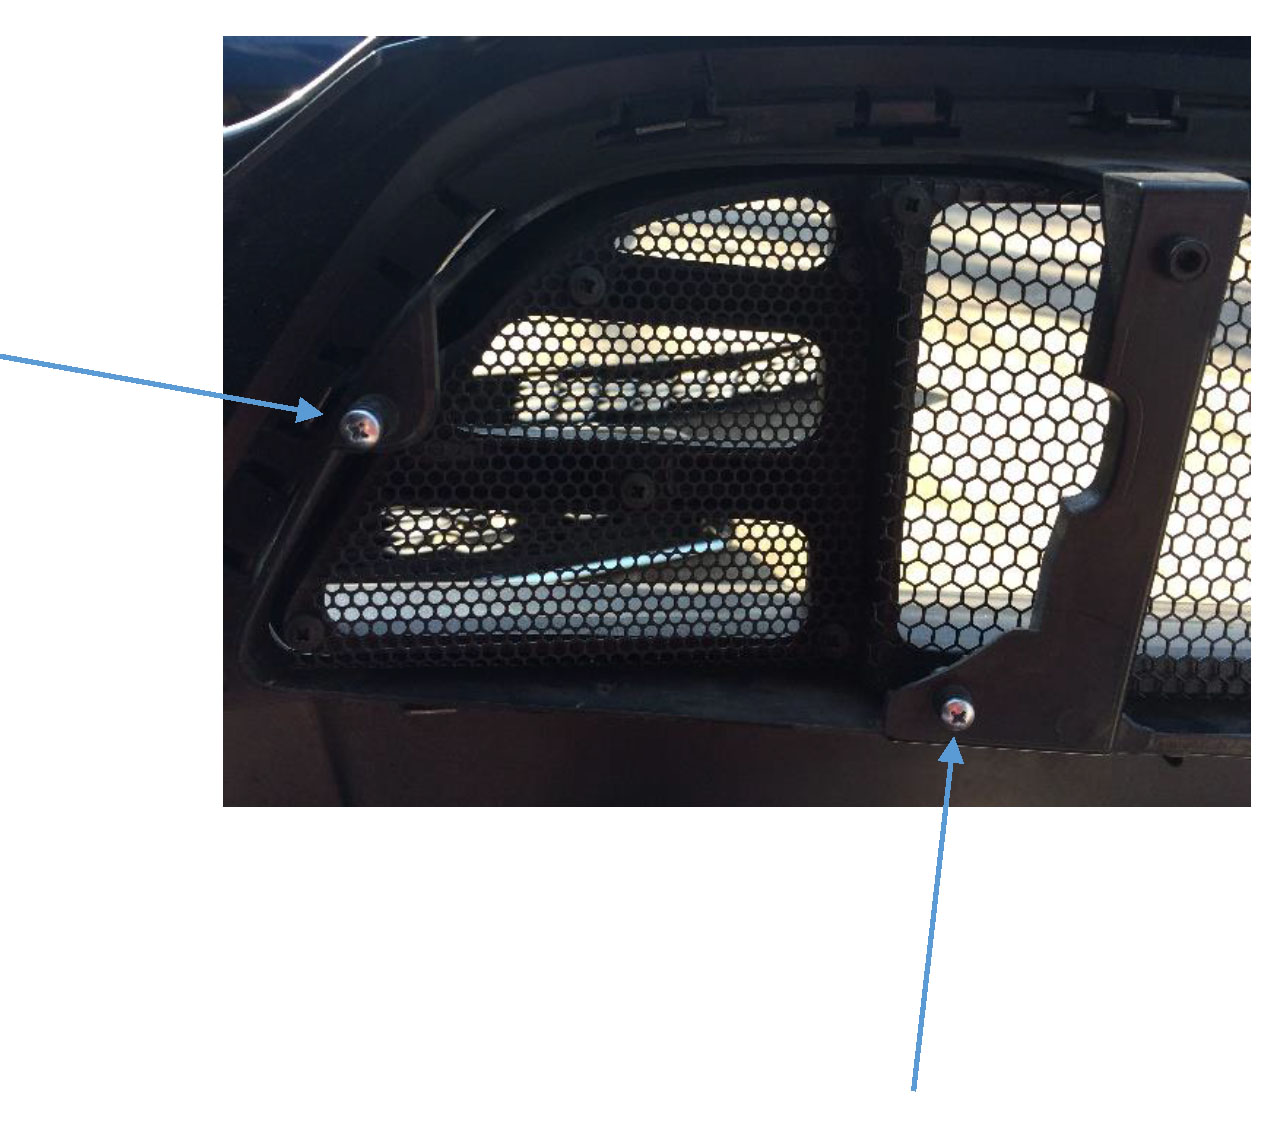
Step 10:. Using the 6 silver screws attach the grille to the bumper as shown in the example photos.

Step 11 (optional): Personally, I did not like the look of the 3 plastic bars (These are the fog light mounts for the GT owners) behind the grille so I cut them off making sure to leave the portions that attach the grille to the bumper. I used a handsaw to cut the plastic.
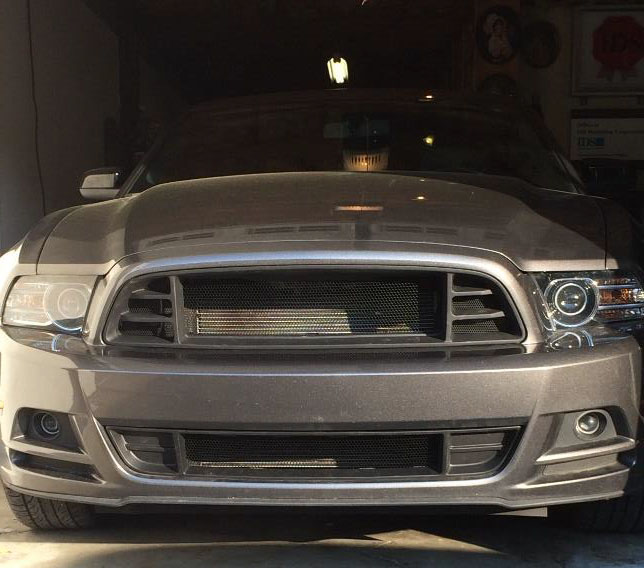
Step 12: Reinstall the factory bumper. The final product with the plastic bars removed:
Installation Instructions Created and Provided by AmericanMuscle Customer, Clinton Landers, 5/31/16
