FREE 1 to 3-Day Delivery on Orders $119+ Details
Best Sellers


How to Install a Mustang Gloss Black Composite Cold Air Intake on your 2011-2014 GT Mustang
Installation Time
1 hours
Tools Required
- FLAT HEAD SCREWDRIVER
- PHILLIPS HEAD SCREWDRIVER
- T20 “TORX BIT” SCREWDRIVER
- PLIERS or CHANNEL LOCKS
- 10MM SOCKET & RATCHET
- RAZOR KNIFE
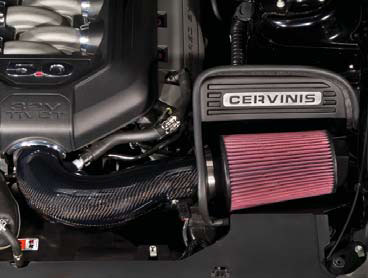
Part #8059 (Gloss Composite Black) & #8060 (Carbon Fiber) 2011-2014 Ford Mustang 5.0L Cold Air Intake
Notice: Altered Parts are Non-Refundable!
Step 1
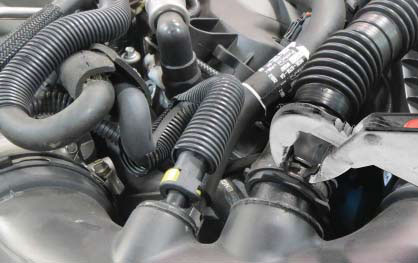
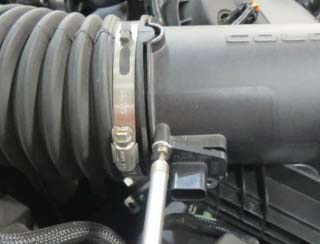
Remove the engine cover by pulling upward in the front and the rear of the cover. (If you have a strut tower brace it must be removed first). Using a flat head screwdriver, loosen the clamp that connects the factory intake tube to the throttle body. Now remove the air sound tube using a pair of pliers as showin in fig. A.
TOOL: Flat head screwdriver and pliers or channel locks.
Fig. A
Step 2
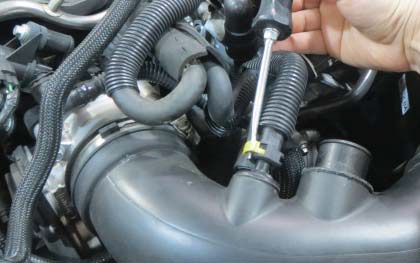
Pull and remove the yellow locking tab on the EGR valve hose where it connects to the intake tube using a flat head screwdriver as shown in fig. B. This will unlock the tube so it can be disconnected.
TOOL: Flat head screwdriver.
Fig. B
Step 3
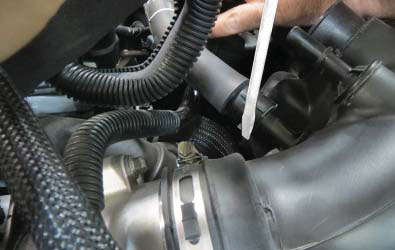
Using a flat head screwdriver, push on the edge of the grey tab to slide it over as shown in fig. C. This will unlock the tube and then it can be pulled away. The tab is located behind the larger diameter hose where it connects to the air intake tube.
TOOL: Flat head screwdriver
Fig. C
Step 4
Unplug the harness from the MAF sensor by pulling on the red tab under the plug. Then remove the 2 screw holding the MAF sensor in place as shown in fig. D
(*DO NOT TOUCH THE INTERNAL PORTION OF THE SENSOR!)
Remove the screw along the side of the airbox and then remove the intake tube and air box as an assembly.
TOOL: T20 "TORX BIT" Screwdriver
Fig. D
Step 5
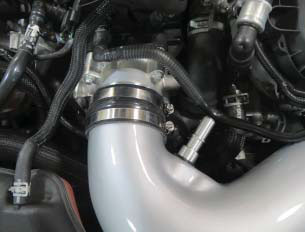
Install the silicone rubber sleeve halfway onto the small end of the intake tube. Install the large aluminum barbed hose fitting and the rubber grommet as shown in fig. E.
(*Automatic cars will also need a 1/2" hole drilled through the indicated marked dot next to the larger barbed fitting to install the small barbed fitting and rubber grommet). Install the air tube into place using the 2 hose clamps. Do not tighten clamps at this time.
Fig. E
Step 6
Note: for cars with NO TUNE, the reducing sleeve needs to be installed prior to the MAF sensor installation.
Slide the reducing sleeve into the air tube and align the rectangle hole in the sleeve with the rectangle hole in the tube. Now proceed with the MAF Sensor installation. use the factory screws to install the MAF Sensor onto the new air tube along with the new pre-cut foam gasket as shown in fig. F.
(DO NOT OVER TIGHTEN THE SCREWS!)
Plug in the factory harness.
TOOL: T20 "TORX" Screwdriver
Fig. F
Step 7
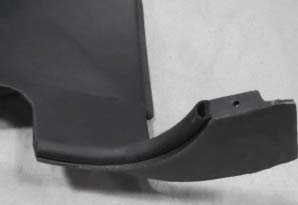
Install the "D" shaped adhesive backed foam seal to each shroud piece as shown in fig. G1 and fig. G2
Fig. G1
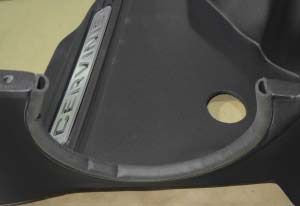
Fig. G2
Step 8
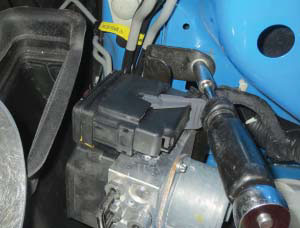
Remove the bolt that is connected to the ABS unit as shown in fig. H, the bolt will be re-used as the attachment point for the intake shroud.
TOOL: 10mm Socket and Ratchet
Fig. H
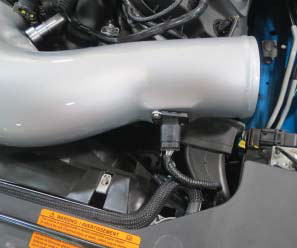
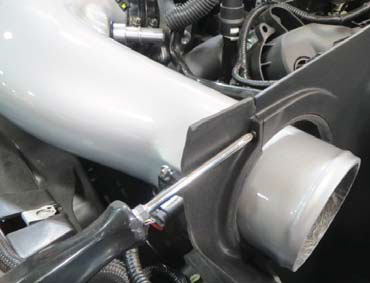
Step 9
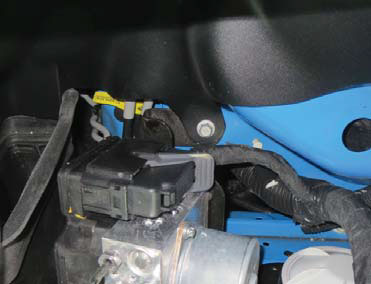
Place the larger shroud into position and reinstall the ABS bolt through the lower tab in the shroud as shown in fig. J.
TOOL: 10mm Socket and Ratchet
Fig. J
Step 10
Place the second piece of the shroud into position and re-install the airbox bolt through both pieces of the shroud as shown in fig. K.
TOOL: 10mm Socket and Ratchet
Fig. K
Step 11
Install the small black phillips screw as shown in fig. L.
TOOLS: Phillips head screwdriver
Fig. L
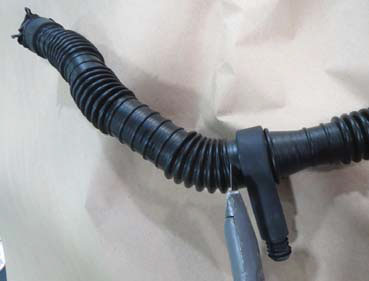
Step 12
There are two options for the Sound Tube:
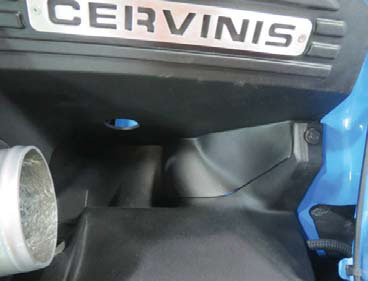
1. Cut the sound tube just before the rubber eyelet mount as shown in fig. M, then insert the sound tube into the large hole in the back side of the shroud.
2. Remove the sound tube completely.
TOOL: Razor Knife
Fig. M
Step 13
Finally, install the air filter and the edge seal as shown in fig. N. At this time, tighten all clamps and your installation is complete.
TOOL: Flat head screwdriver
Fig. N