FREE 1 to 3-Day Delivery on Orders $119+ Details
Best Sellers


How to Install Cervini's Type 3 Chin Spoiler - Textured Black on your Mustang
Installation Time
30 minutes
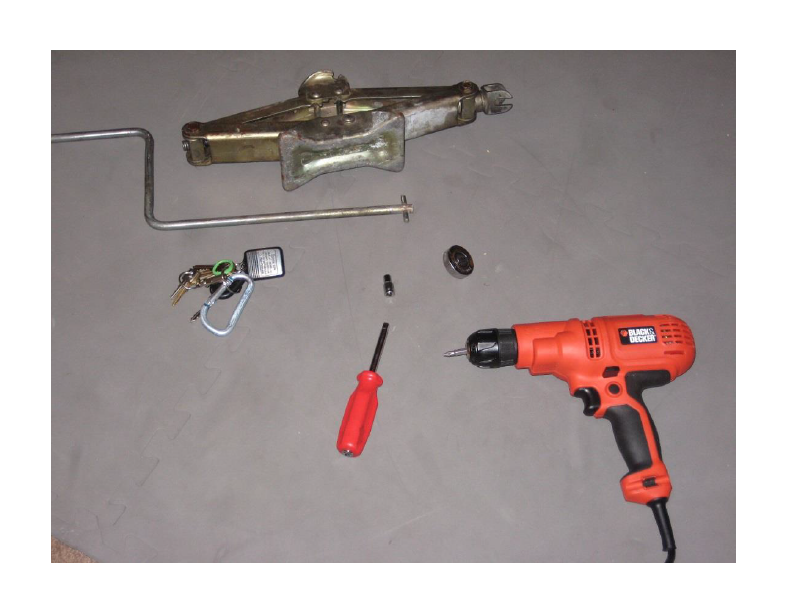
Tools Required
- 5.5mm socket
- Thumb socket driver
- Regular handled driver
- Phillips screw driver head
- Drill with a Phillips head
- Car jack
- Your car’s key
Shop Parts in this Guide
Please Note: These instructions are for a 1 person install. If you have a second person to help you, while it’s not necessary, it can make the install a lot easier. Also, this splitter comes included with some hardware, but you can also reuse the hardware originally attached to your car, for that OEM fit. Please read this guide in its entirety so that know what to expect.
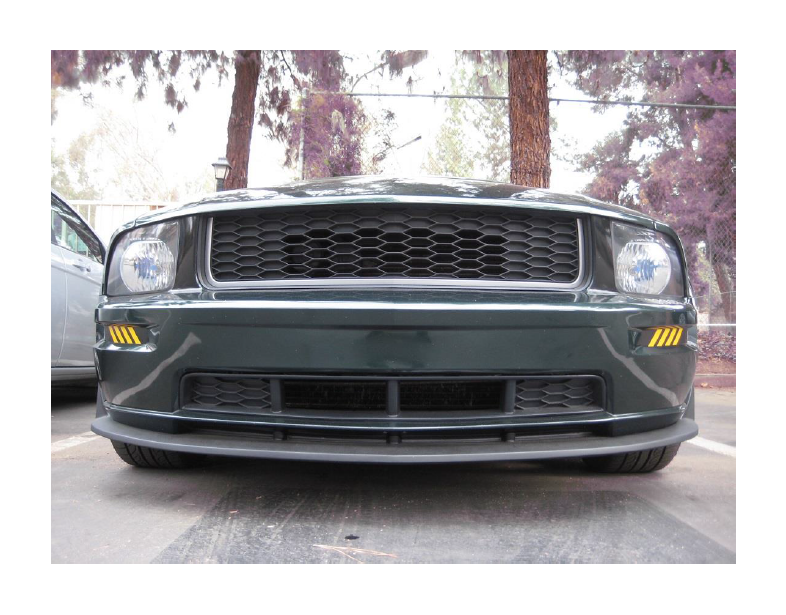
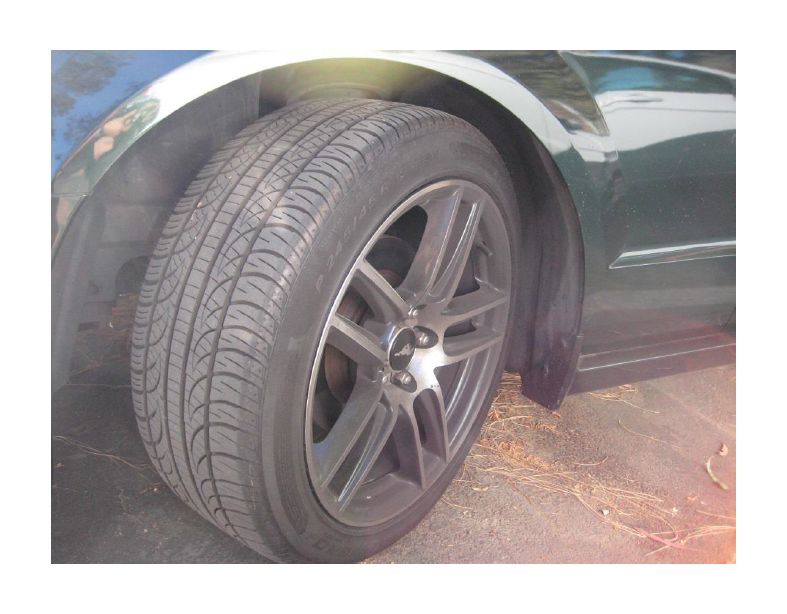
Image of Front (Splitter-less) Bumper Cover before Installation: This is an example of how a 2005-2009 Mustang GT front bumper cover looks like.

Installation procedure
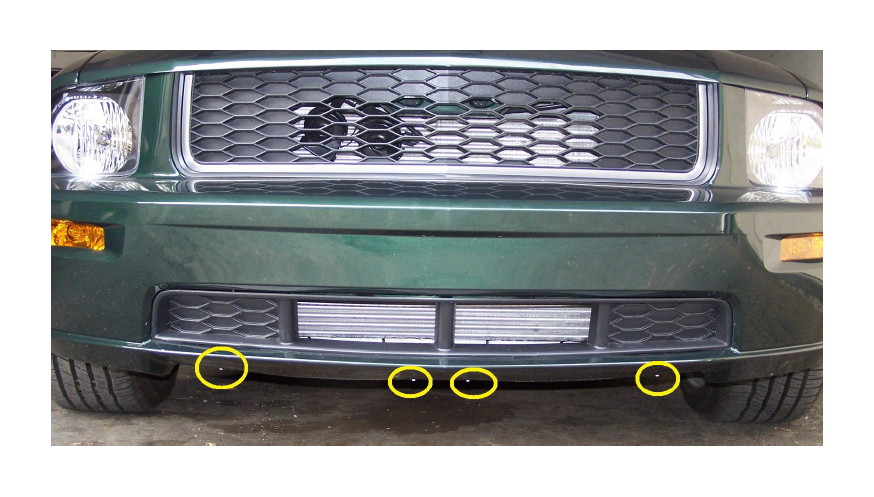
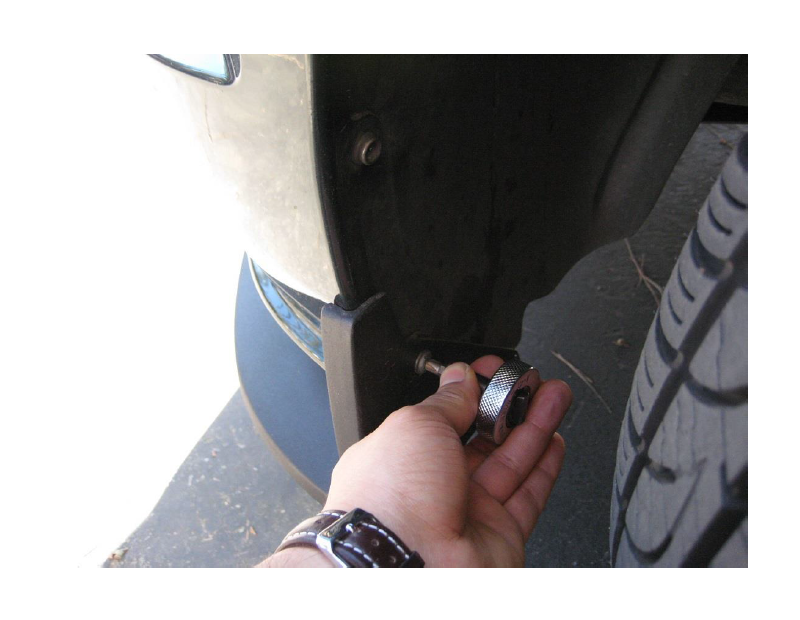
1. Start off by unbolting the front 4 bolts that hold your Splash Shield.
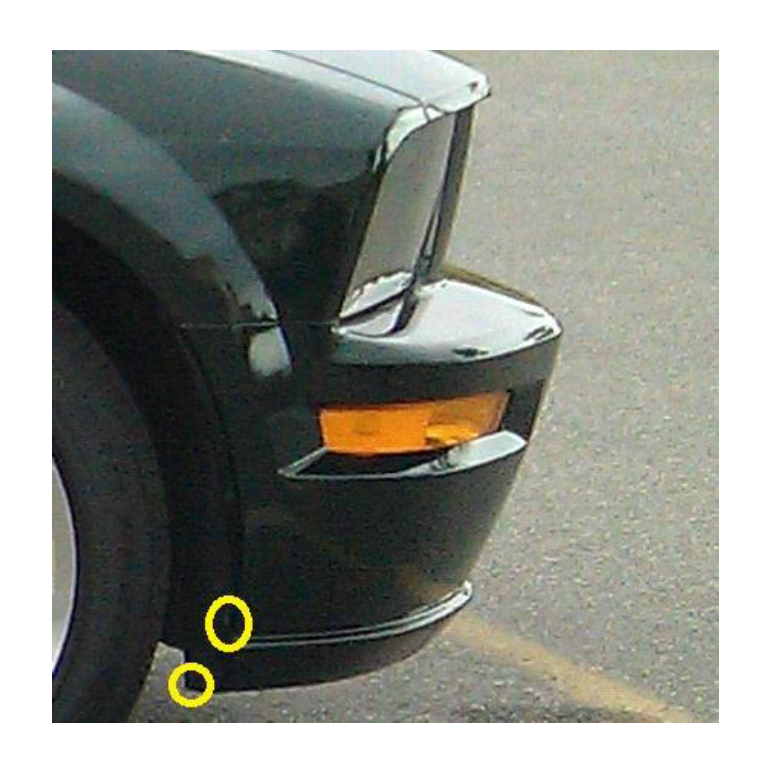
Unscrew the bottom 2 screws on each side of your inner fender. You will need to start your engine and turn your wheels left and right to have access to both sides of the inner fender screws.
OPTIONAL
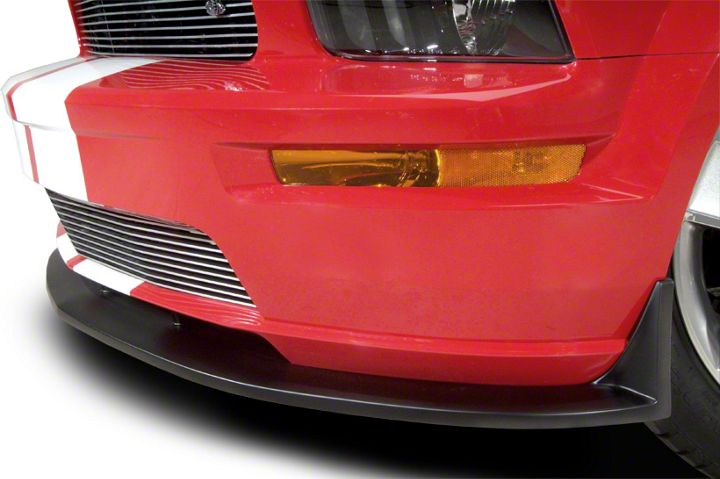
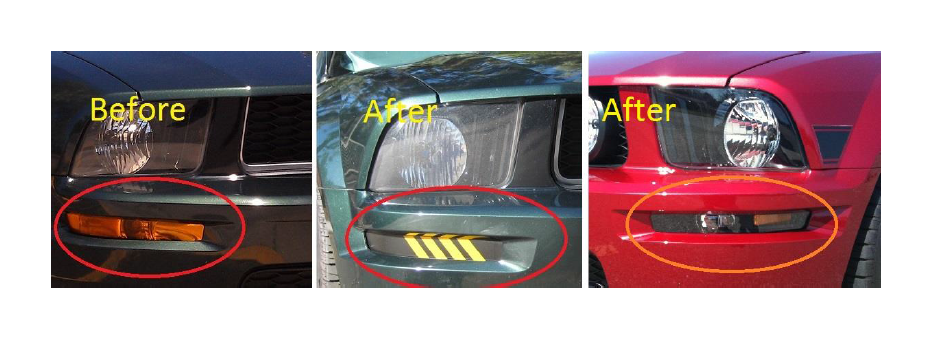
Since you will be removing the two screws of the inner fender, and since this splitter is secured with these screws on each sides of the inner fender, this may be a good time to give your mustang front end a complete make-over by changing those turn signal lenses that are stock yellow/orange turn signals with some custom ones. Here are some examples of the possibilities. The ones on the far right are sold at American Muscle and are Item #49055 "Black Turn Signal Lights (05-09 All)".
End of OPTIONAL Portion
2. In this install, we will be starting from the driver side, so go ahead, start your engine and turn your wheels to the left to give your screw driver some clearance.
With a 1 person install, beginning with upper most screw is necessary so that the splitter can have pivot when you attach the splitter onto the passenger side. NOTE: you will be reusing the original screws that came attached. Using a thumb screw driver, screw in the top screw. You don’t have to have tighten the screw real tight, just enough tightness so that the splitter can hang onto your car. NOTE: this part is the most difficult, be persistent, you will be using both your hands, and some muscle work to manipulate the splitter. This splitter is made of flexible materials, so don’t be afraid if it bends.
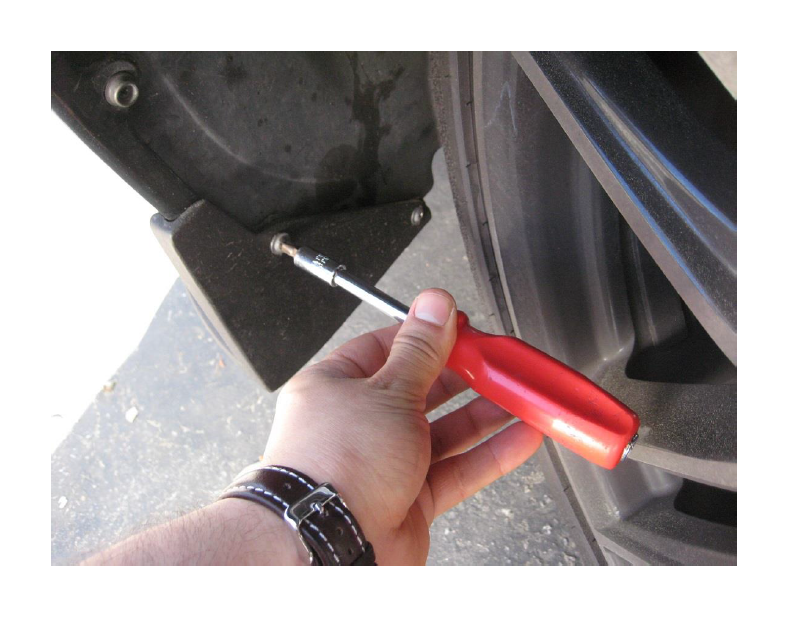
Go to passenger side and secure the splitter to the passenger inner fender, start with the top screw first so that you can have good support. Since I have my wheels turned to the left I went ahead and used the longer driver with the Phillips screw head attachment to secure my screw as tight as possible.
With the wheels still turned to left, go over to the driver side and you can use the regular long driver to secure the bottom screw of the inner fender all the way to it’s full tightness.

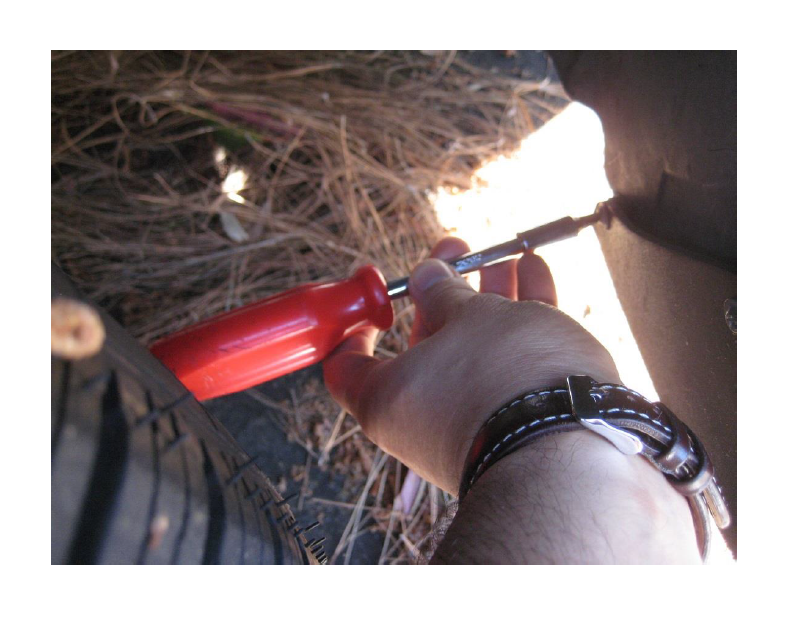
Turn your wheels to the right …
… and go to the driver side and secure the top screw of the inner fender to it’s full tightness using your regular driver.
Go to the passenger side and secure the bottom screw of the inner fender.
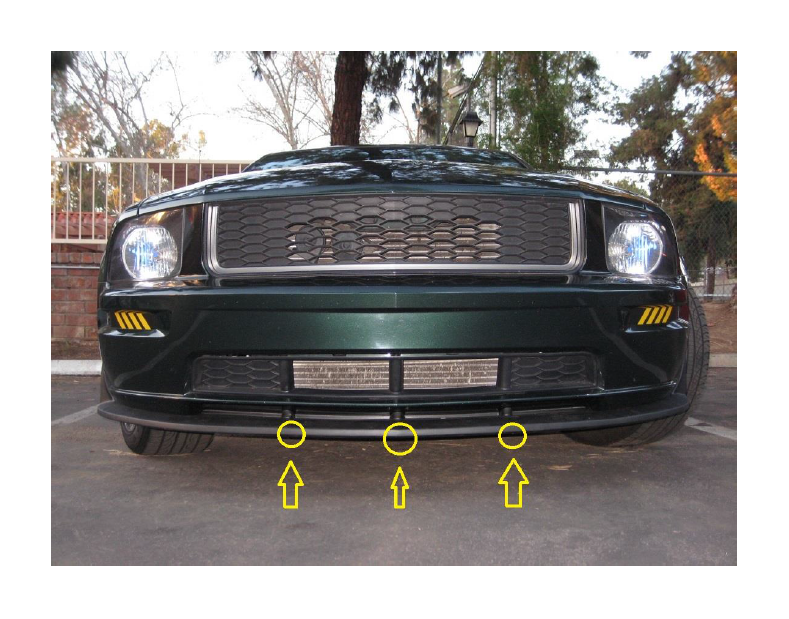
3. The bottom 3 bolts are the easiest to secure out of all the screws/bolts. NOTE: you started off with 4 bolts attached to the splash shield. Your splitter may come with 3 holes for 3 bolts, like the way mine came.
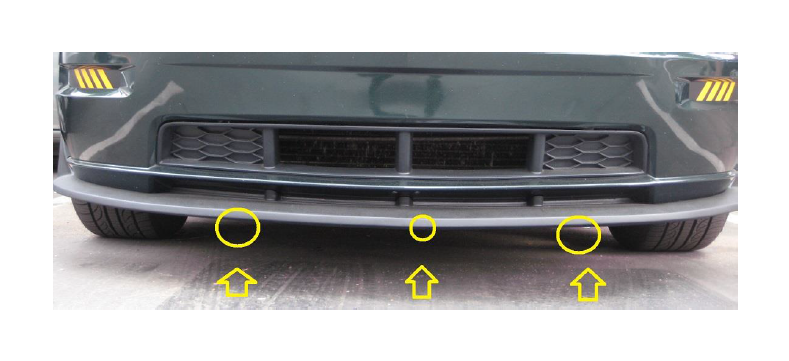
Again, you can reuse your original bolts that came with your car. Systematically, bolt on each bolt, one by one. You can start with the passenger side bolt until you have all three bolts bolted on. Note: the splitter bolt holes may not line up perfectly to the splash shield threads, so you may need to manipulate the bolt by screwing it in crookedly until it catches the thread, and as you tighten the bolt, the holes will straighten out, be persistent, it took me about 2 tries per hole to get it right. You need to secure these bolts onto your splash shield,
don’t skip this step, otherwise your splash shield will flap up and down at highway speeds and it may fall off!!!
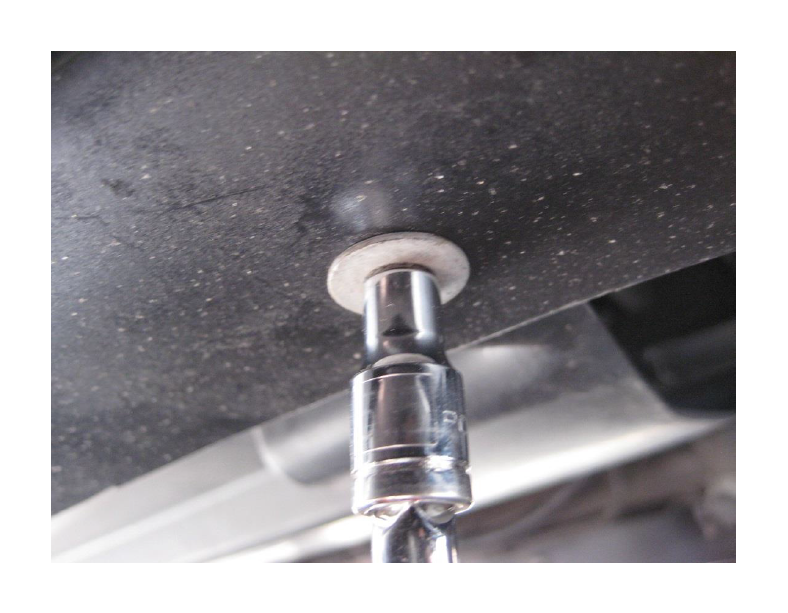
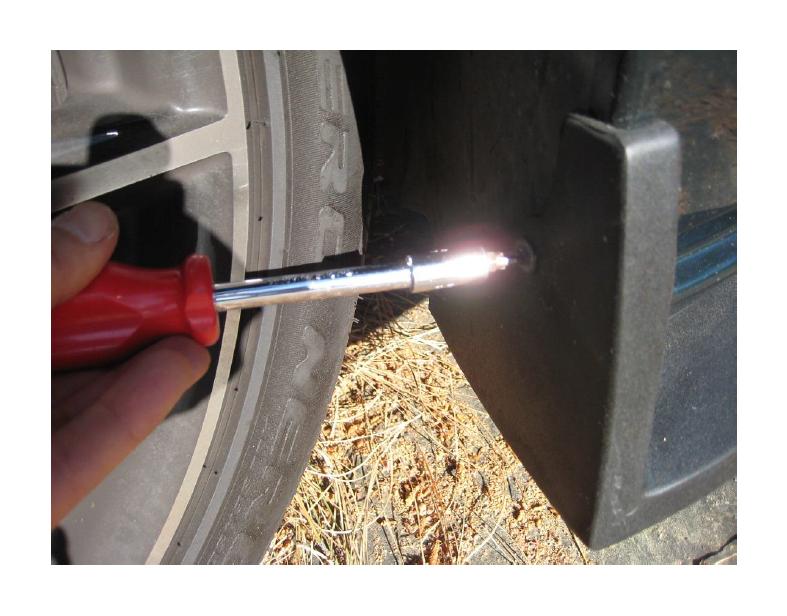
4. Jack up your car and you’re going to drill the self tapping screws, that comes with your splitter, into the three remaining holes in the splitter.
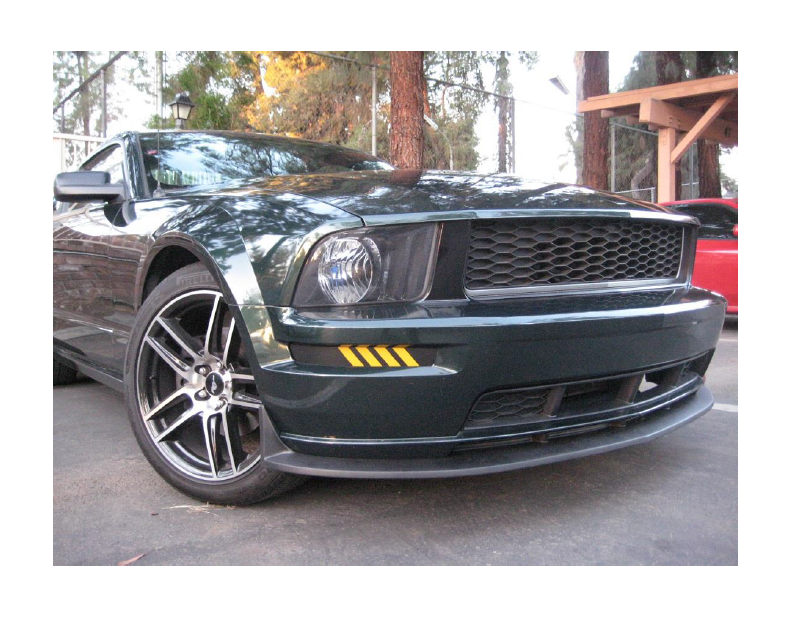
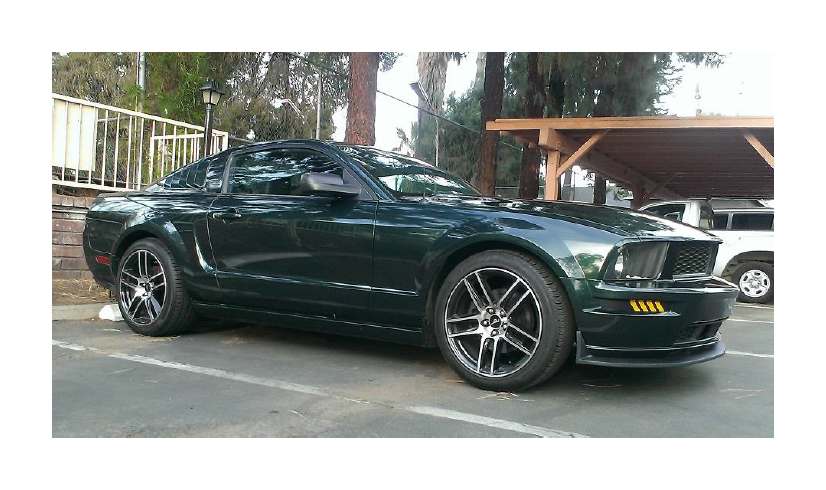
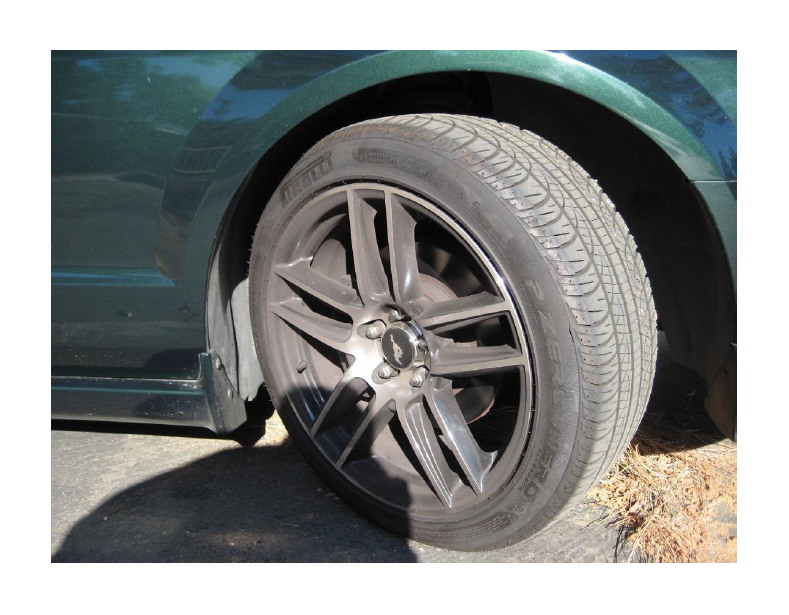
Final Product Image: Final Step, enjoy your new splitter.