FREE 1 to 3-Day Delivery on Orders $119+ Details
Best Sellers


How to install a Bondra EZ-Clutch Pedal Extension on your 1994-2015 Mustang
Installation Time
1 hours
Tools Required
- #2 Philips Screwdriver
- Straight slot Screwdriver
- Flashlight or drop light
- Hairdryer or heat gun (optional)

Shop Parts in this Guide
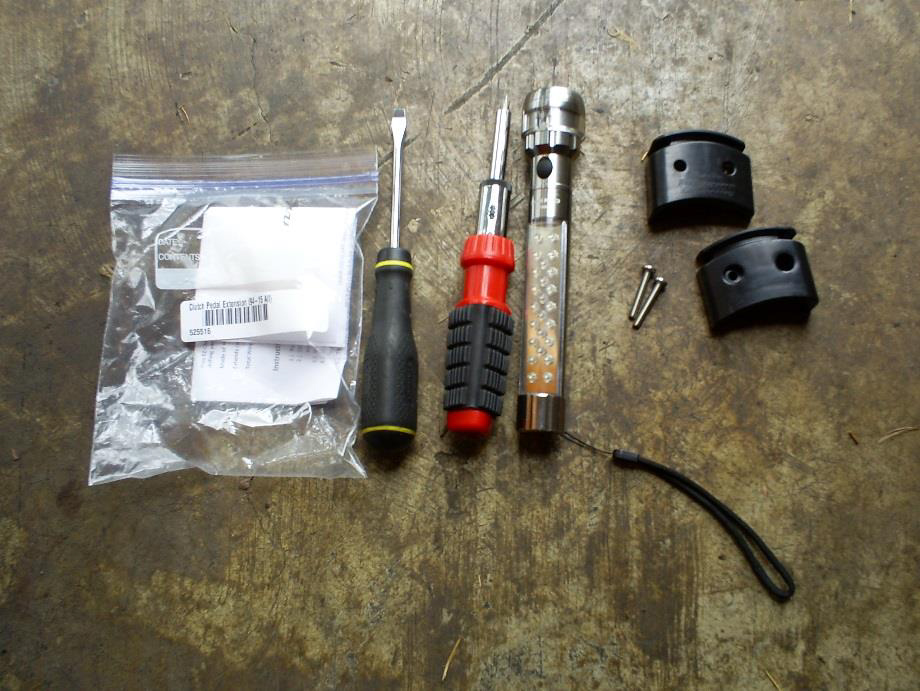
Note: The optional hairdryer/heat gun is used if the rubber pad is cold or not soft enough to accomplish the task of stretching it over the pedal extension. If the outside temperature is above 55°F, there should not be any need to heat the rubber pad.
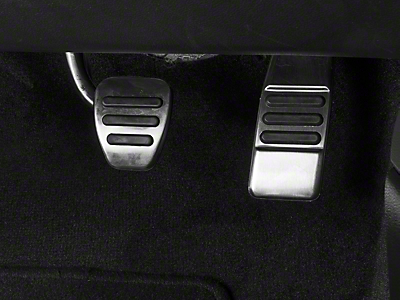
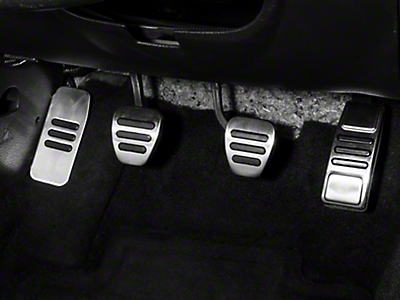
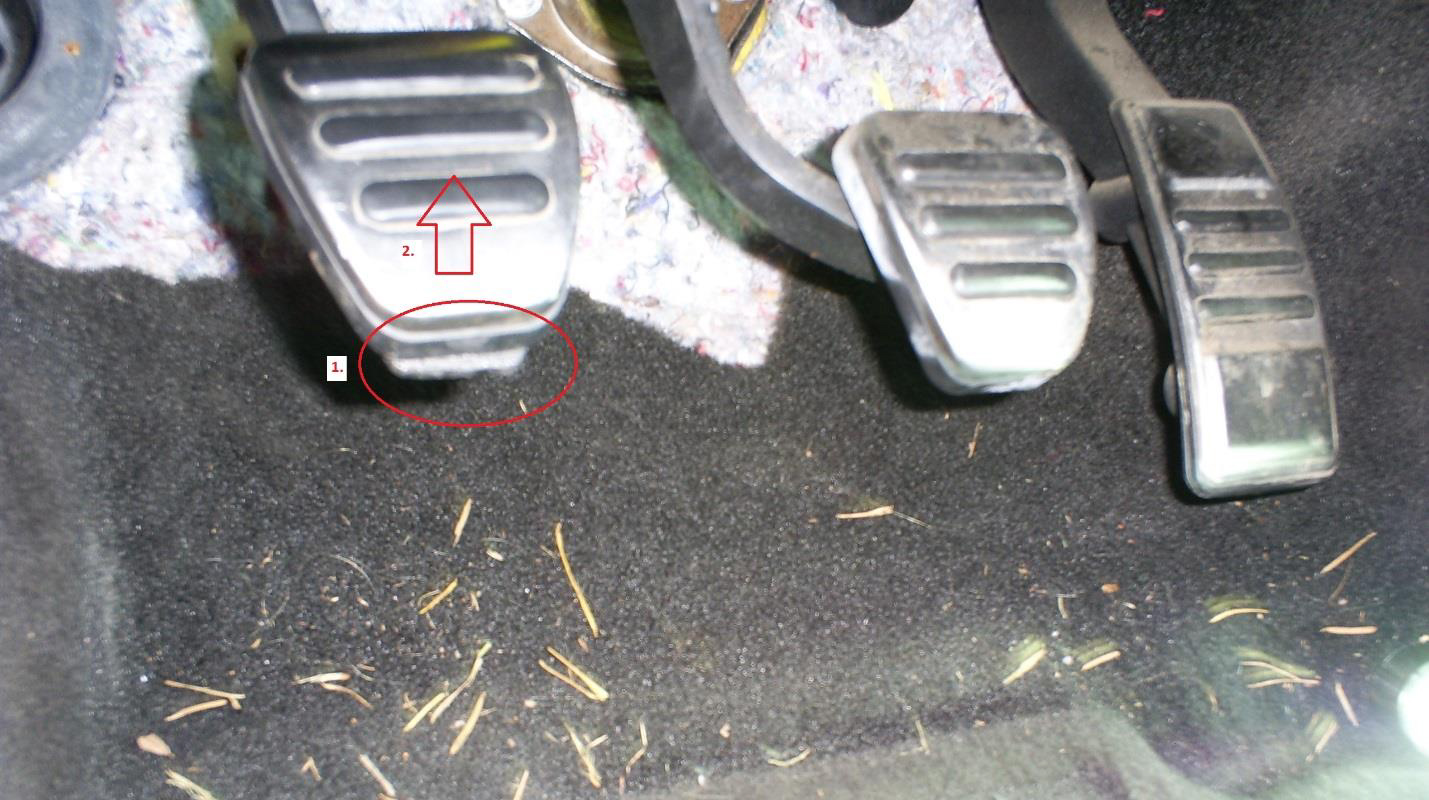
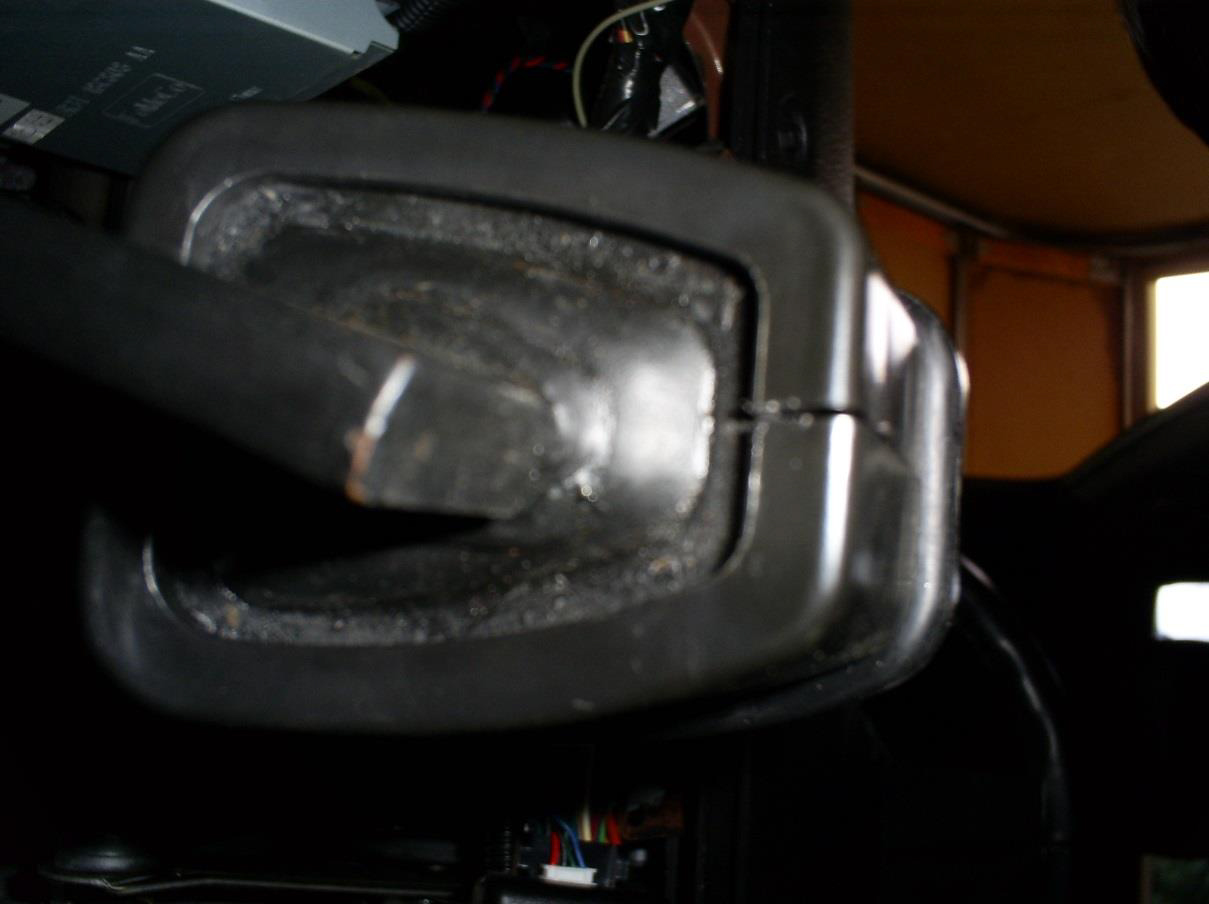
Before:

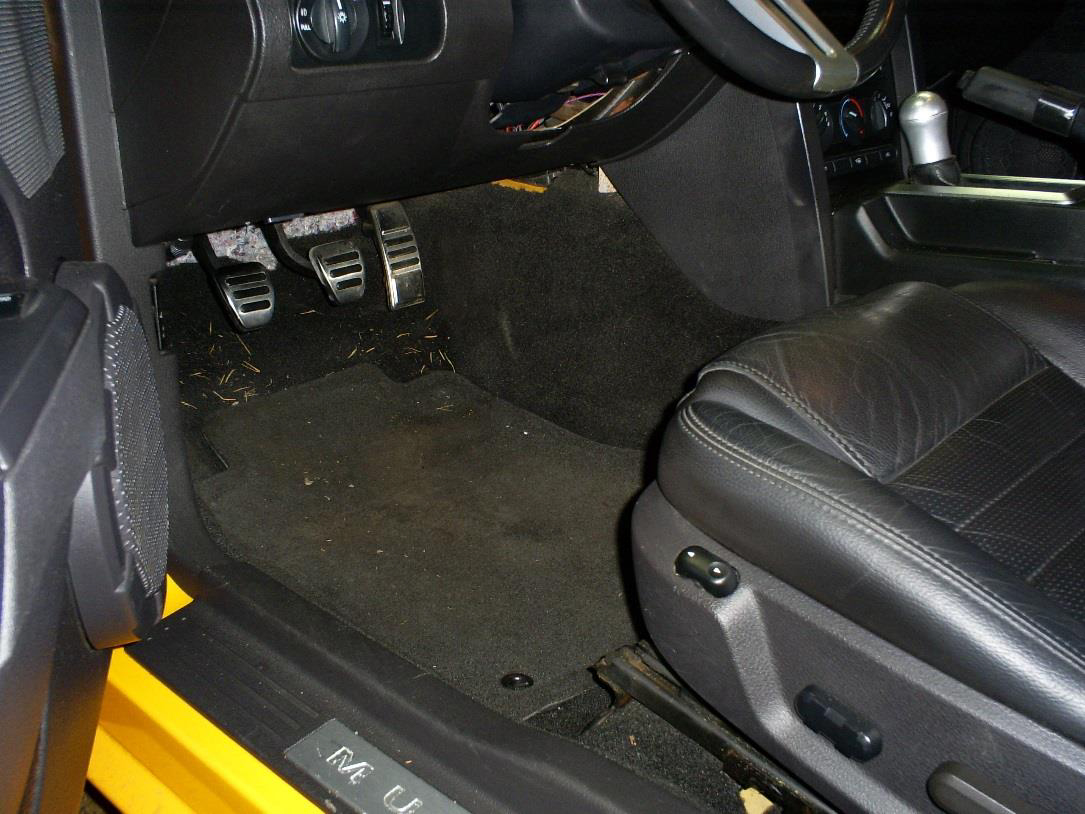
Pedal Cover Removal Procedure:
Removing the pedal cover pad is a rather easy task if done from the narrow bottom of the pedal.
1. Start by sliding back the driver seat as far back as possible to allow room to work in the area.
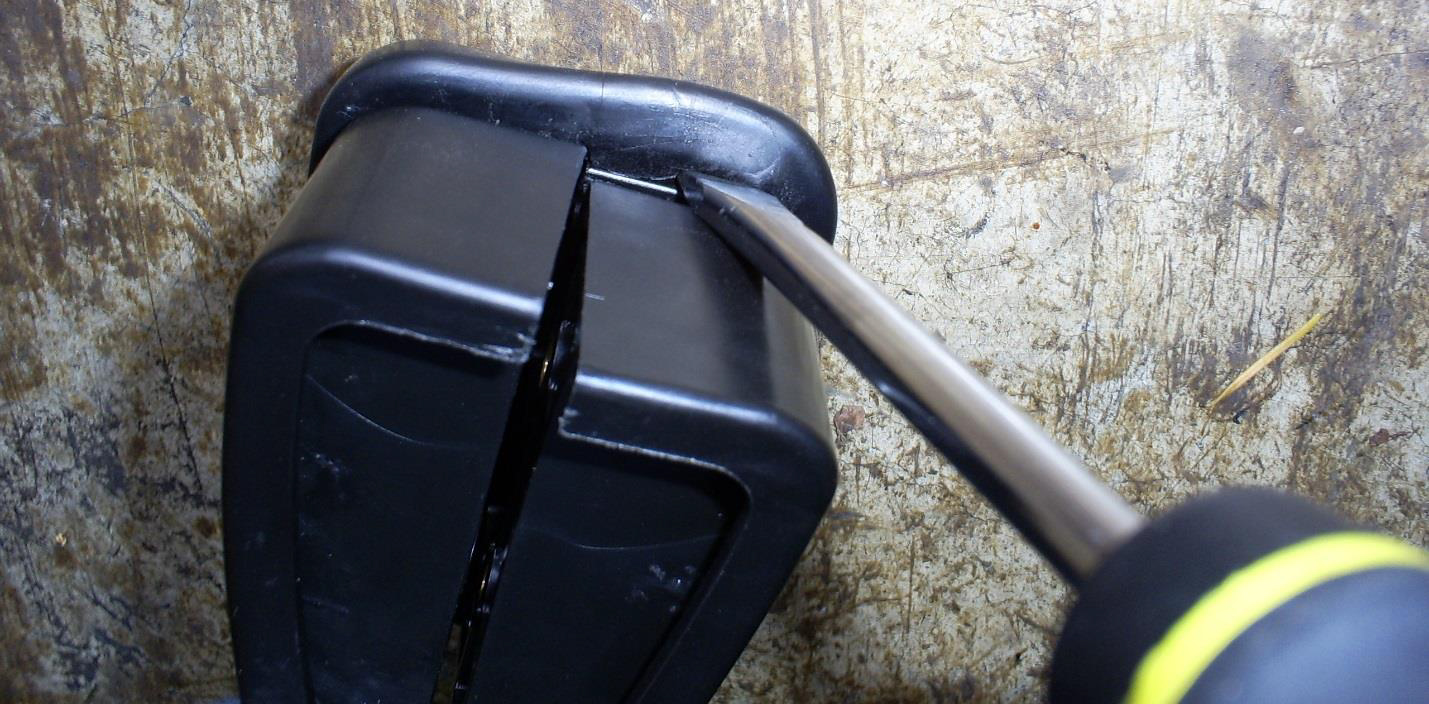
2. Start by prying up the narrow base of the pedal with the hands. The rubber pad is lipped over the metal clutch pedal, but the rubber stretches to allow the pad to slip off.
3. Once the bottom rubber lip is free from the metal pedal, slide the pedal vertically to finish removing the pedal cover pad.
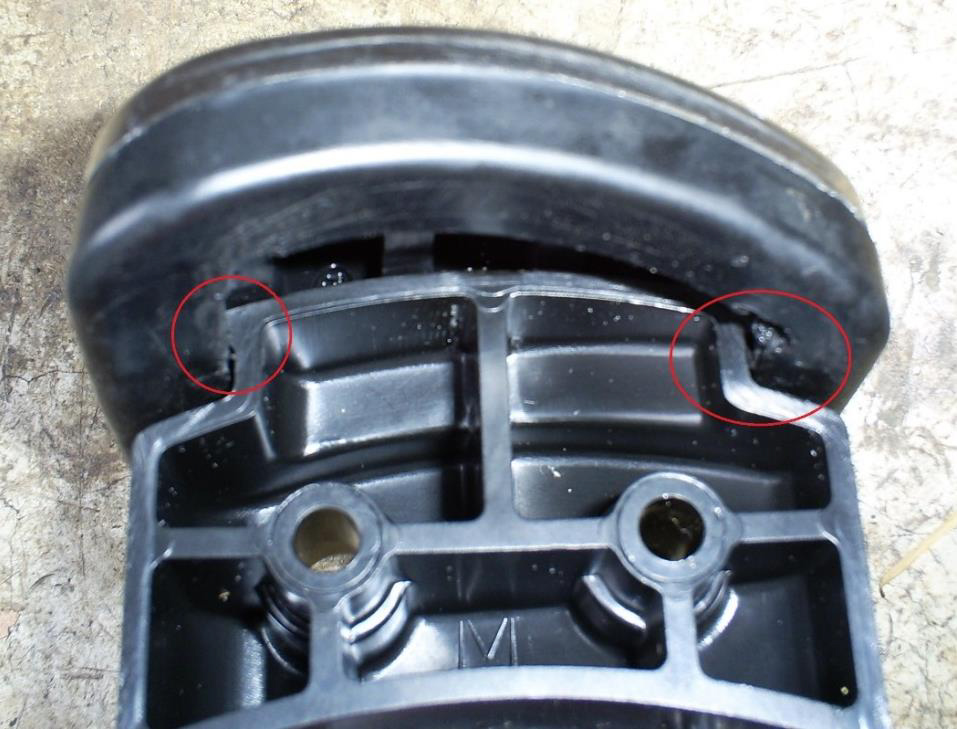
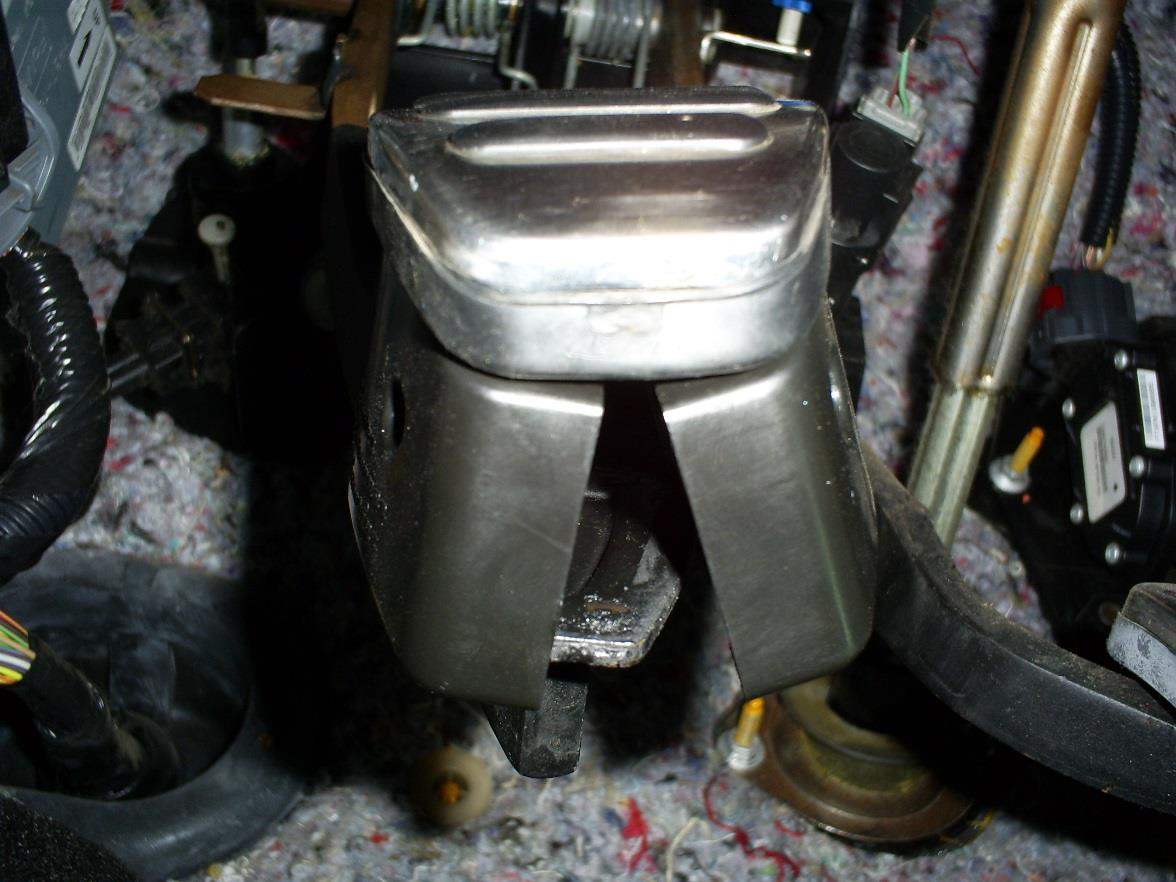
Figure 1. Pedal with cover removed.
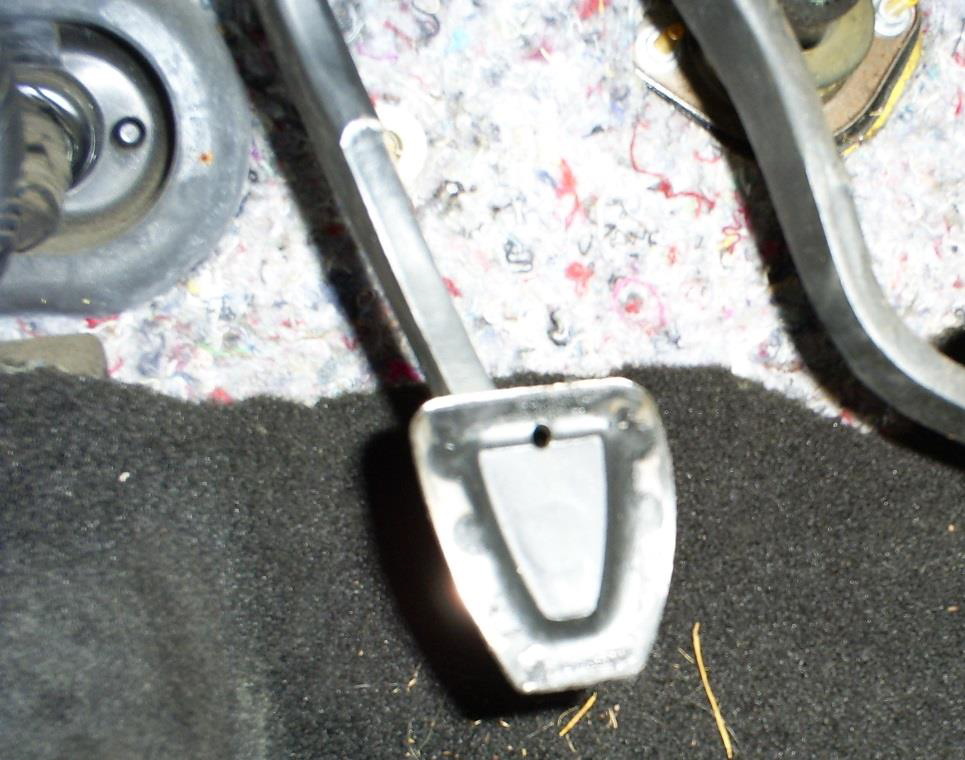
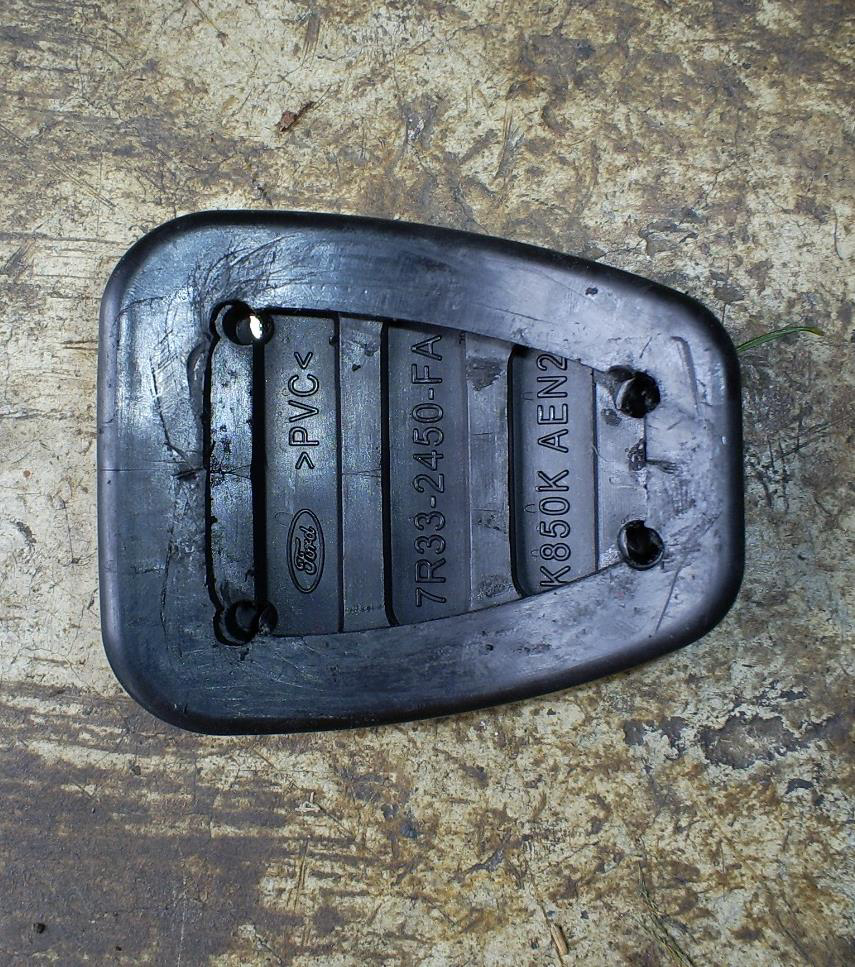
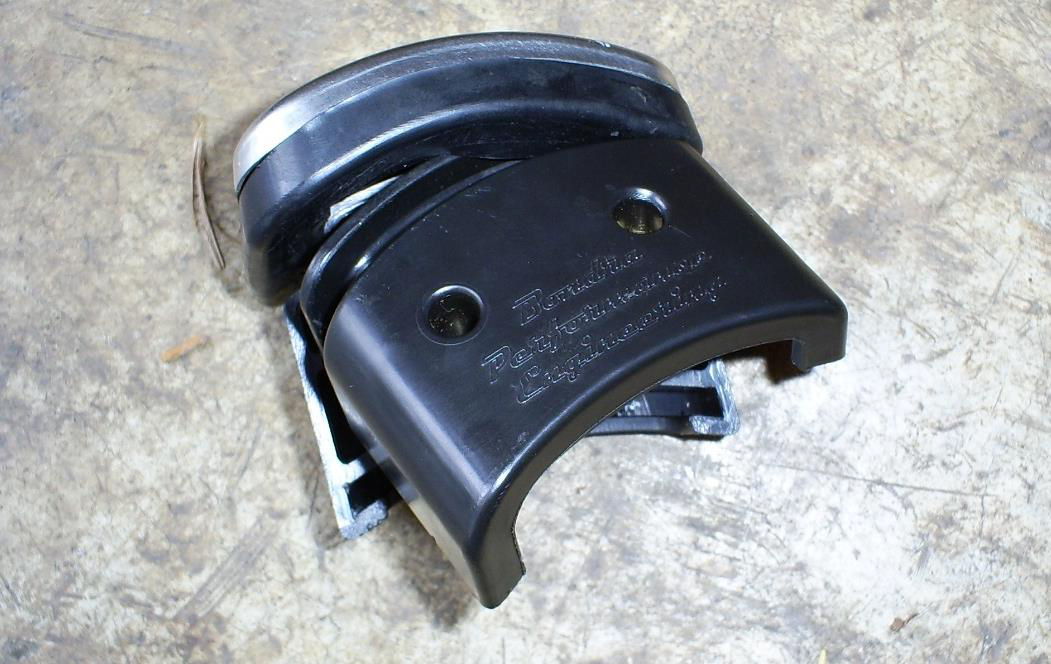
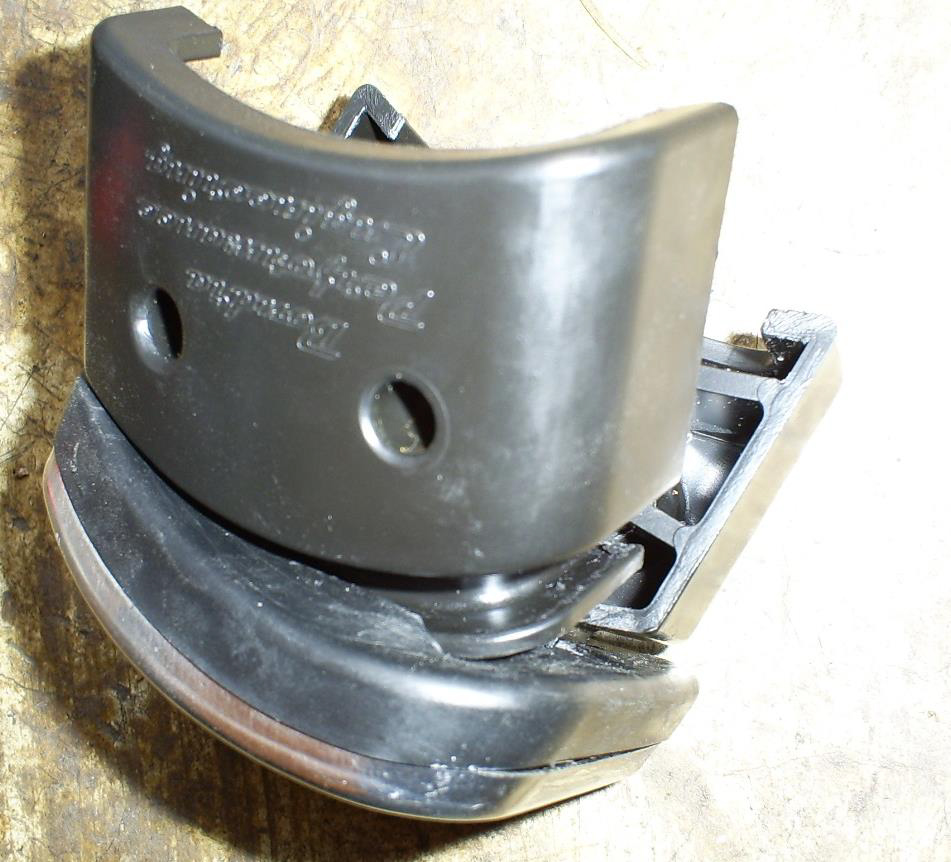
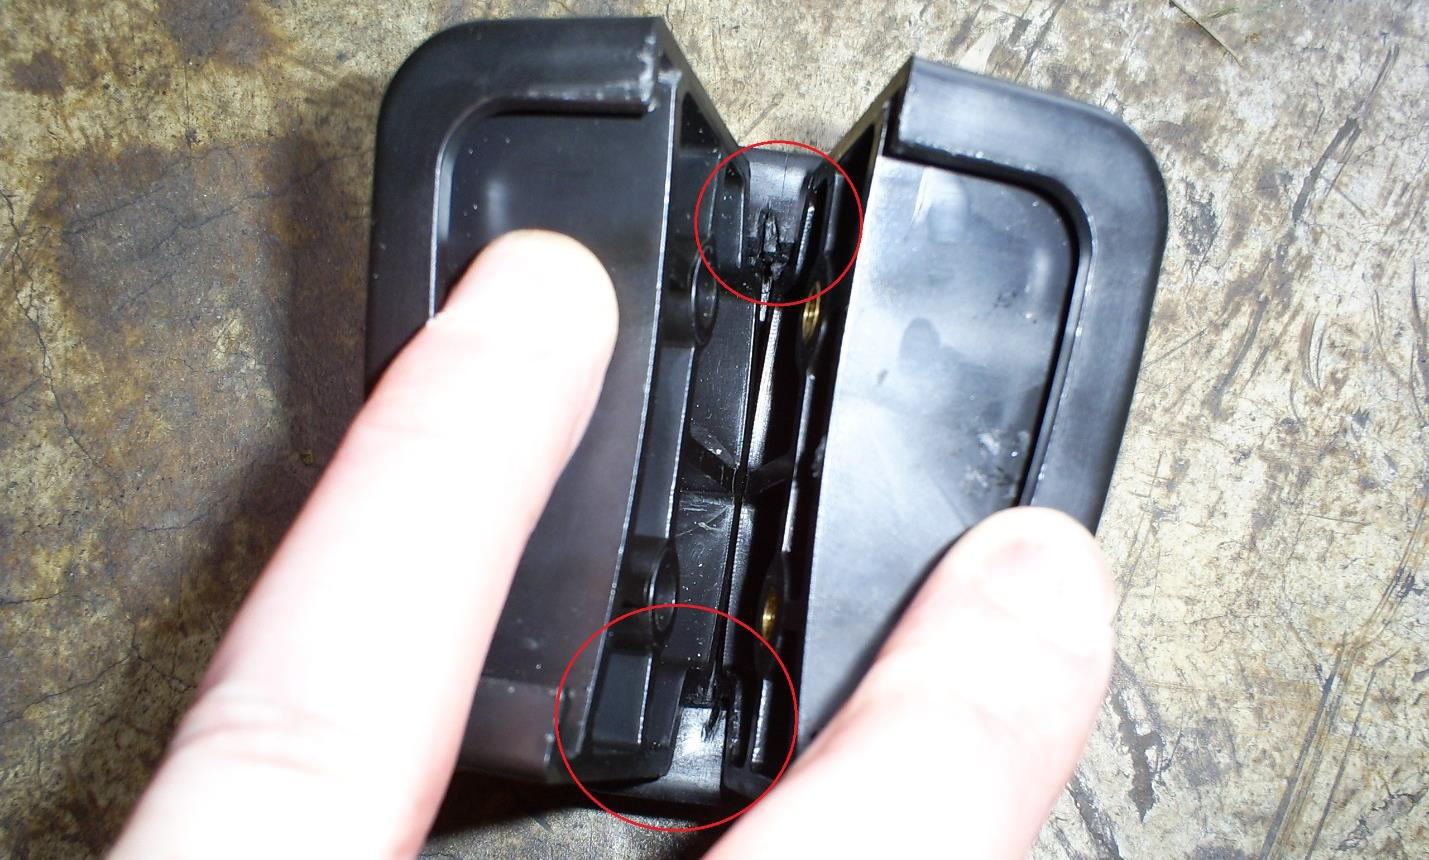
Figure 2. Rubber pedal cover pad removed (back side)
Attaching the Bondra EZ-Clutch Pedal Extension:
At this point, the rubber pad cover has been removed and is ready to have the extension attached. By far, the easiest method to attach it is first to the rubber pad then to the metal pedal. Even so, this proves to be difficult as the tolerances around the rubber are tight.
1. Orient the two halves of the EZ-Clutch so that it matches the profile for the rubber pad.
2. Take one half and begin wedge it into rubber pad. It can be helpful to attempt this task with the extension slightly angled along the diagonal of the pad’s opening.
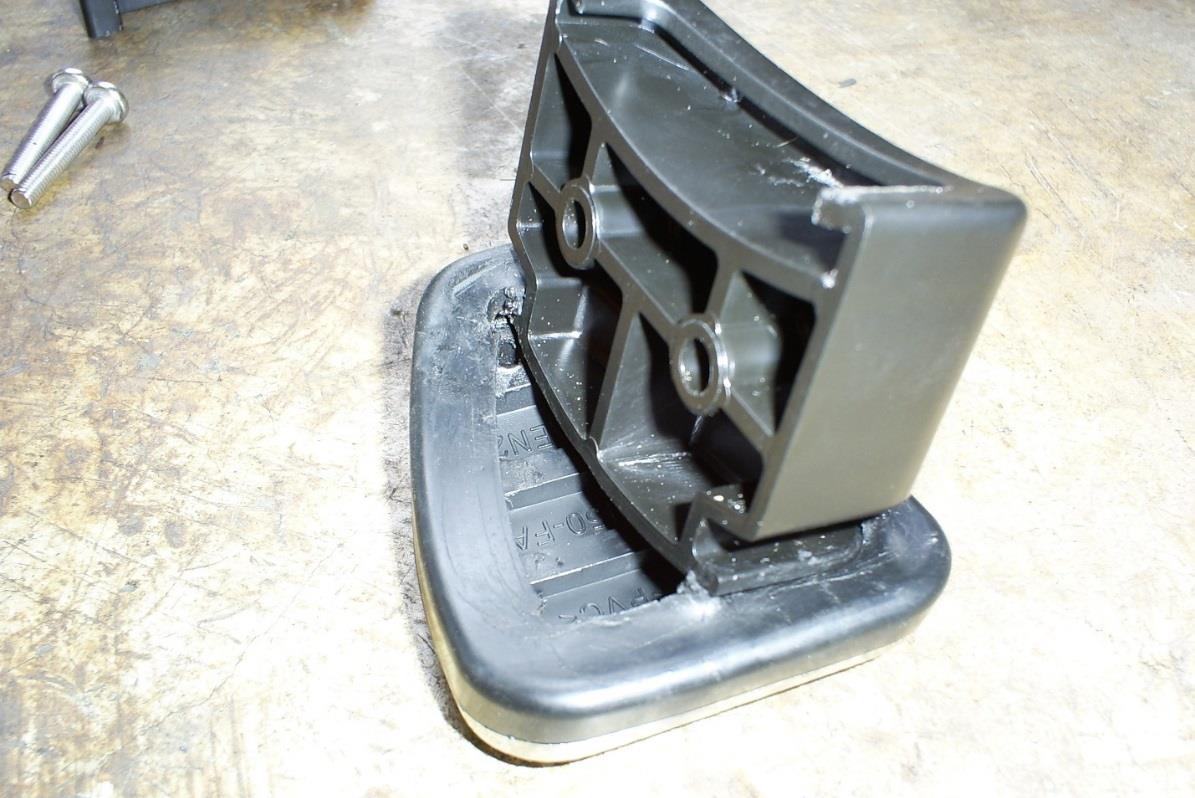
3. Ensure the extension’s channel folds under the rubber lip fully.
4. Next, insert the second extension half into the rubber opening.
5. Finish wedging in the half into the rubber housing. This is extremely difficult due to the tight clearances, but the rubber does stretch to some degree.
6. For the final side of the rubber lip, a straight slot screwdriver was helpful to wedge and slide the extension inside the opening. Be careful not to mar the plastic extension and to not rip the rubber.
7. It is important to verify that the rubber lip is fully in the plastic channel on the extension and none of the lip is left wedged under the extension.
Attaching the Extension to the Pedal:
1. Spread the extension halves like a clam shell, and slide one side of the extension over the metal pedal, ensuring the cover’s orientation is correct.
2. Slide the other side of the extension over the pedal.

3. Verify the seams meet and the pedal is secure.
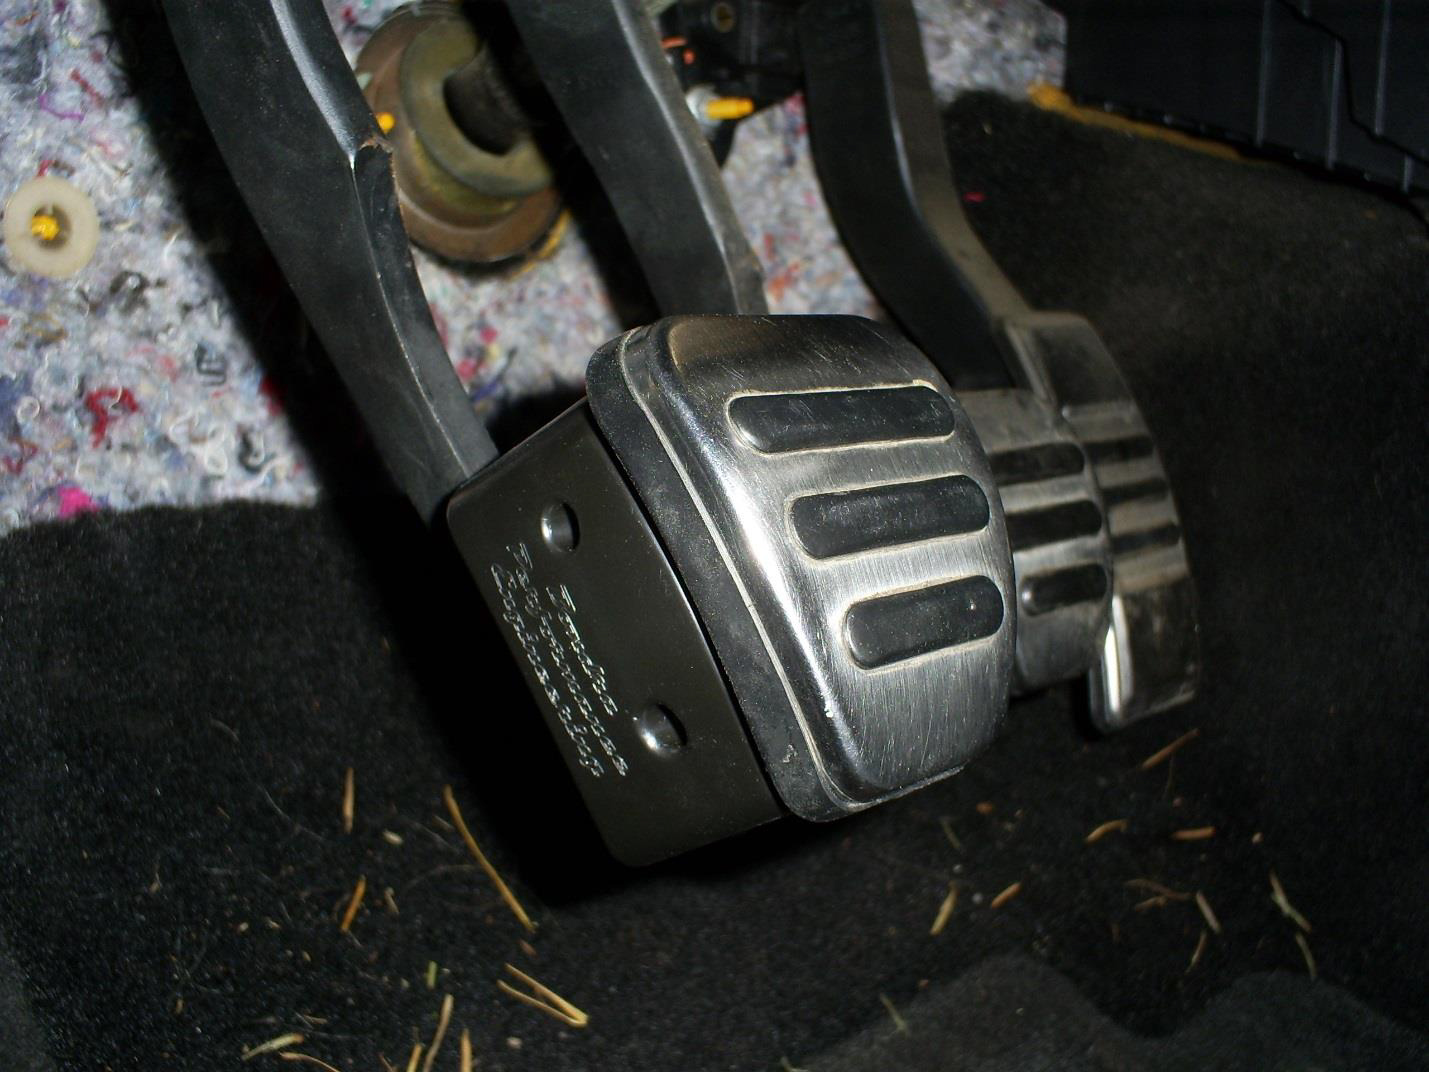
4. Install the supplied stainless steel 10-32 x 1.5” screws into the side extension half facing the passenger (right side)
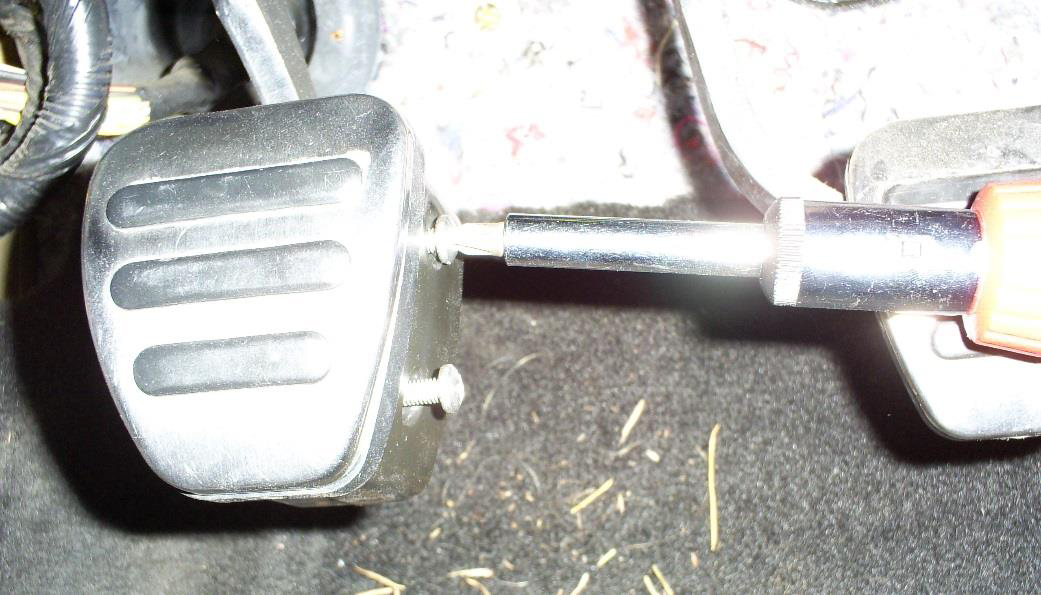
5. After the screws just begin to snug up, tighten ½ to ¾ turn. The screws should be tight, but avoid over tightening. The pedal is now assembled and ready for use.
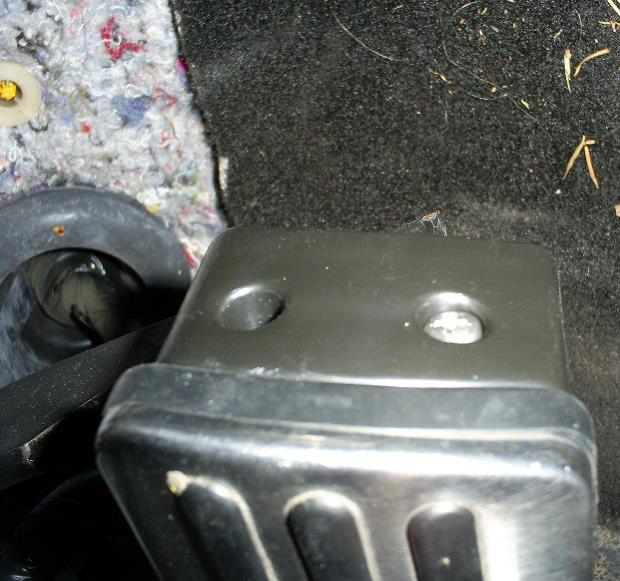
After:
Installation Instructions written by AmericanMuscle Customer Justin Callistini 3/15/2015