 FREE 1 to 3-Day Delivery on Orders $119+ Details
Best Sellers


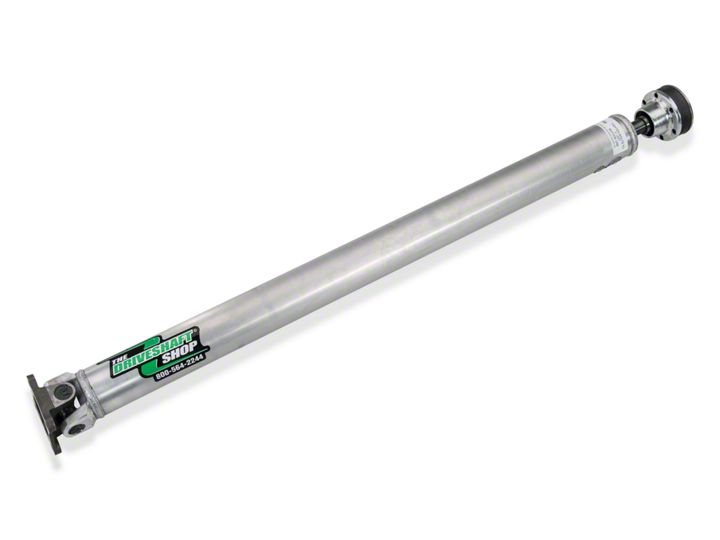
How to Install a Driveshaft Shop Aluminum One Piece Driveshaft on Your 2011-2014 Mustang GT and Boss
Installation Time
3 hours
Tools Required
- Ratcheting Socket Wrench
- Socket Extensions
- 1/2" Drive Breaker Bar
- Torque Wrench
- 8mm Allen (Hex) Head Socket
- 10mm Socket
- 10mm Open Ended/Box End Wrench
- 12mm Socket (12 Point)
- 13mm Socket
- Pry Bar
- Rubber Mallet
- Jack Stands and/or Wooden Blocks
- Blue Thread Locker
- Impact Wrench (optional)
- An Extra Person will make the job go faster
Shop Parts in this Guide
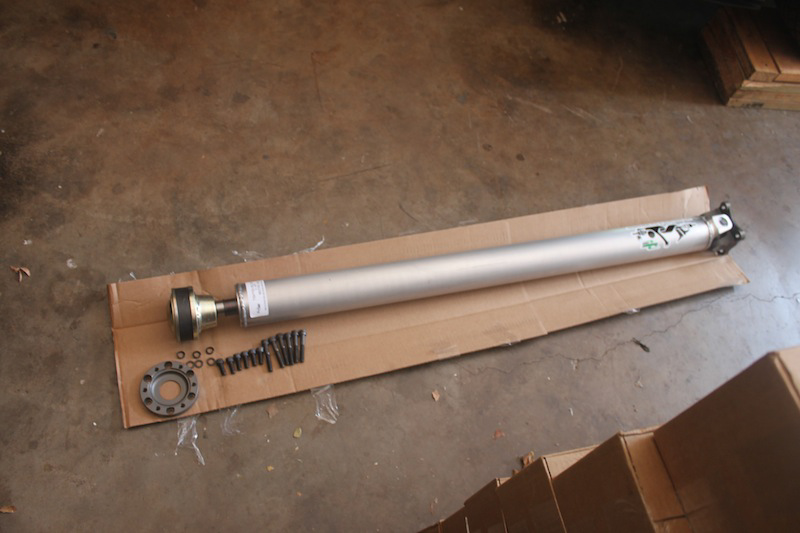
1. Carefully unpack contents: Driveshaft, 6 short Allen (hex) bolts, 6 long Allen (hex) bolts, 6 washers, pinion plate adapter.
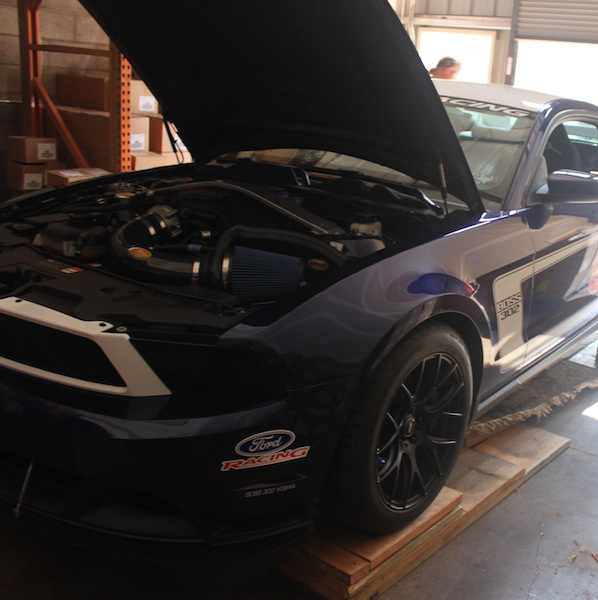
2. Raise the rear end of the car. You may want to use tall jack stands. If using shorter jack stands, add some wooden blocks to help to give you more work room.

4. Raise the car’s front end. Again you can use wooden blocks or jack stands in the appropriate place.
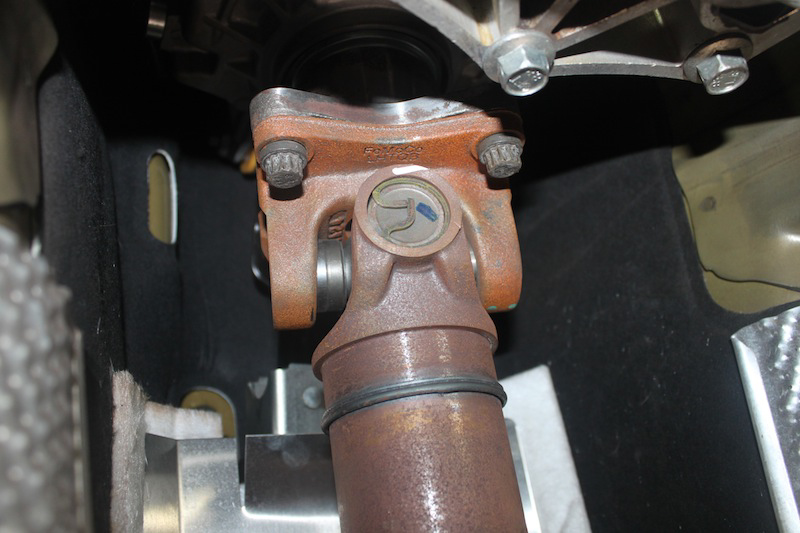
5. Take twelve point 12 mm socket and use breaker bar to loosen the 4 transmission flange driveshaft bolts (front end of car). Remove 3 bolts using socket wrench, but leave 1 bolt on finger tight.
6. Rotate rear wheels to turn driveshaft to allow easier access to bolts. You will need to disengage parking brake and put the care in neutral to do this.
7. When loosening/tightening bolts, will need to engage parking brake and put into gear.
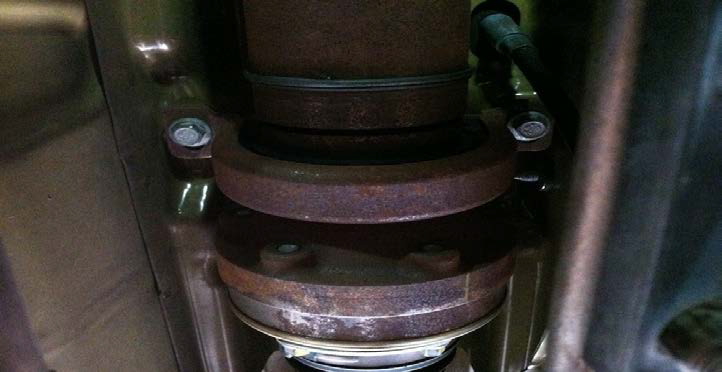
8. The middle of the drive shaft is held on by a factory safety loop with two bolts. Use a 13mm socket with an extension to remove the two bolts.
9. The bracket is attached to the driveshaft and will not come off. There are also 2 spacers underneath the bolts that will also come off when the bolts are removed.
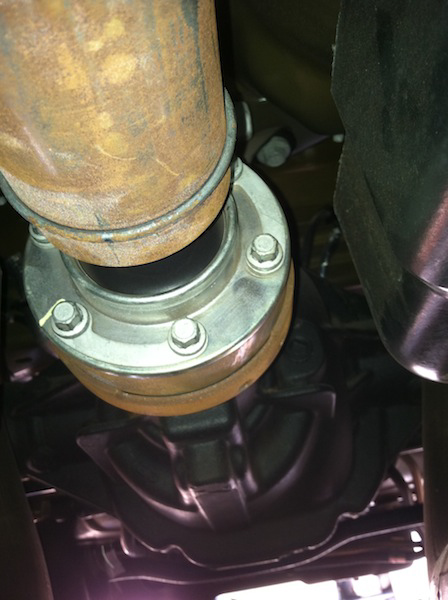
10. Go to the rear end of the car. Loosen bolts on pinion flange with breaker bar using 10mm socket. (Using an impact wrench will help for this step since the stock bolts have thread locker.)
11. Remove bolts with 10mm open ended/box end wrench. Rotate the rear wheels in order to turn driveshaft to allow easier access to bolts. Will need to disengage parking brake and put in neutral to do this. When loosening/tightening bolts, will need to engage parking brake and put into gear.
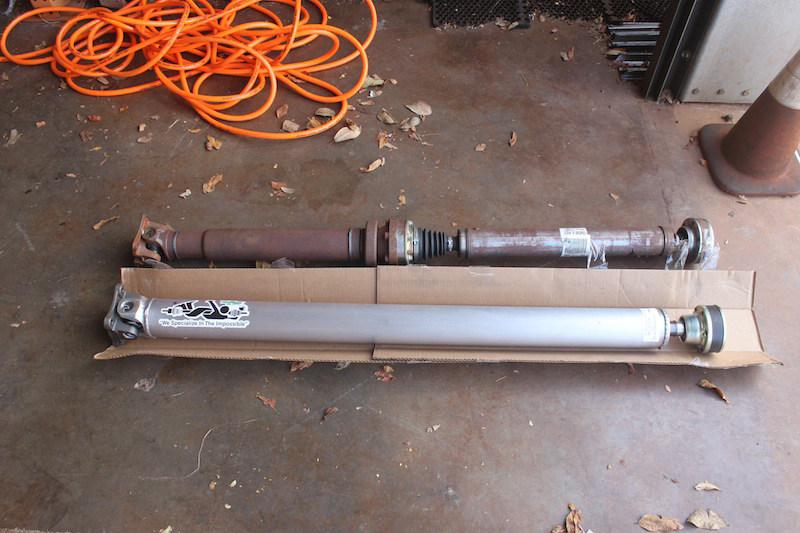
12. Go to front of car and remove final bolt on the transmission flange. Use pry bar to remove the driveshaft off the flange. Once that is done pull the driveshaft toward the rear end of the car.
13. It’s a good idea to have a friend help you remove the stock shaft on this step since it is heavy and may be cumbersome to remove by yourself. You don’t want to damage it. The new drive shaft is about 20 lbs lighter than the stock!!!
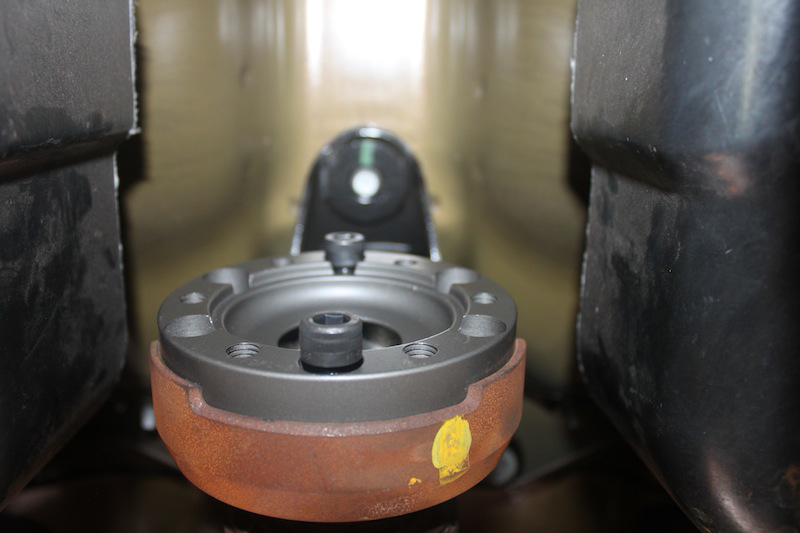
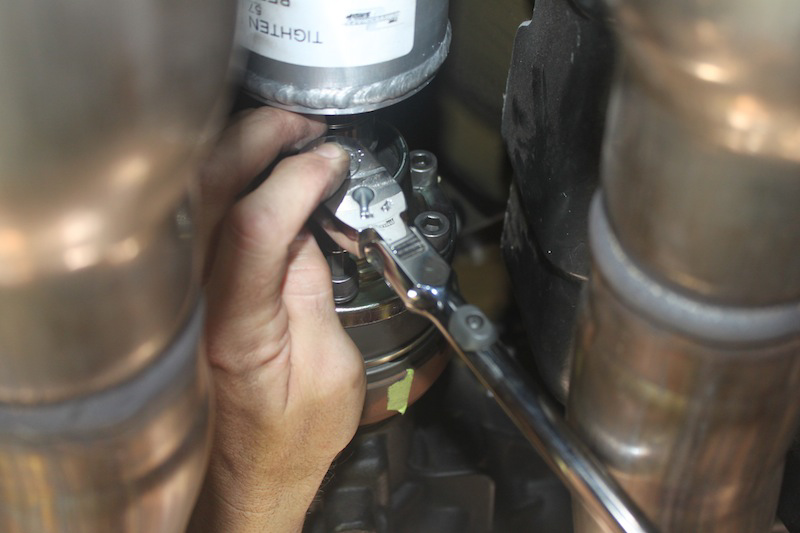
14. Install the pinion plate adapter on the rear differential pinion flange.
15. First install 2 short Allen head bolts by lining up adapter plate with holes. Carefully use a rubber mallet to evenly tap the adapter plate into the factory pinion flange.
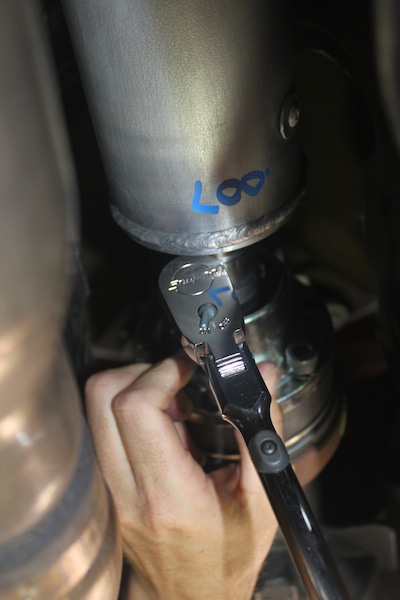
16. Install the 6 short Allen head bolts with blue thread locker using 8mm Allen head socket. Tighten and torque bolts in a star like pattern to 57 ft-lbs.
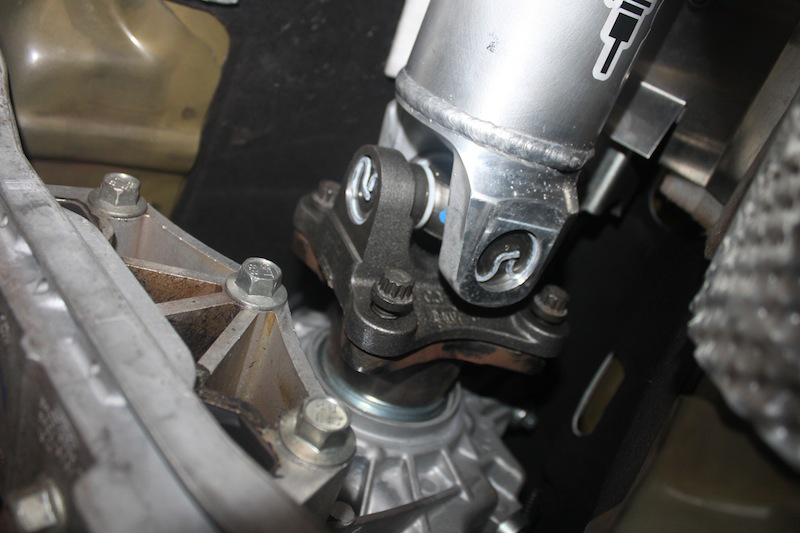
17. Install pinion flange end of new drive shaft first. Align the shaft with the screw holes and loosely put in 2 long Allen head with 8mm Allen head socket to hold rear end of driveshaft in place.
18. Next align the front end of driveshaft at the transmission flange screw holes and loosely put in the 2 stock bolts finger tight.
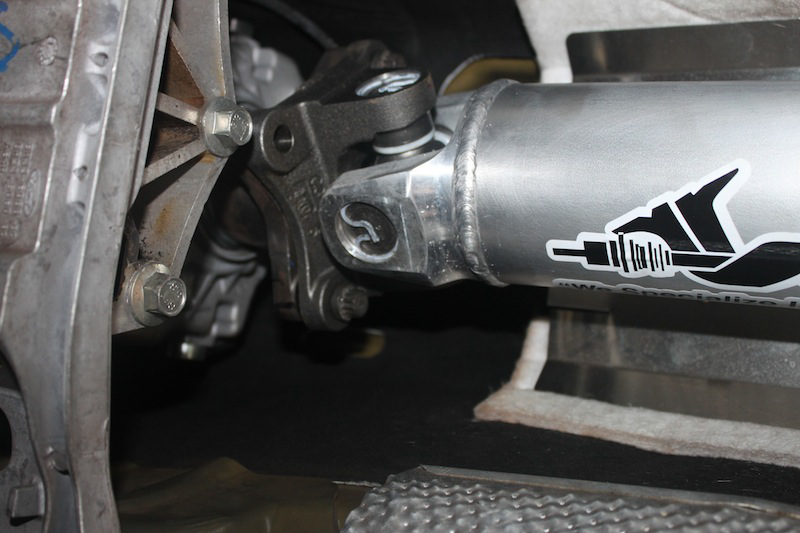
19. Put in all 6 pinion long Allen bolts, finger tight on rear end side.
20. Go to front end and put in 4 transmission bolts, finger tight. Now at pinion end, pull out one bolt at a time, apply blue thread locker, and reinstall the six bolts.
21. Torque and tighten the bolts in a star like pattern using a 8mm Allen head socket to a final torque of 57 ft-lbs.
22. At transmission flange end, remove one bolt at a time, apply blue thread locker, and reinstall bolts. Tighten all four bolts and torque to 76 ft-lbs using 12 point 12 mm socket.
23. Place car at ride height after all bolts torqued and check the distance shown below. This distance must be between 3-1/4” and 3-3/4”. If any longer or shorter, do not drive the car. Call the manufacturer for instructions. If within spec, you are good to go.
Note: I have the Ford Racing T-springs (M-5300-T) with a stock upper control arm (non-adjustable) and I was still within the above specifications.

24. Enjoy your new driveshaft! (Note: Strongly consider placing front safety loop especially if tracking or drag racing the car.)

Installation Instructions Written by AmericanMuscle Customer Jeff Tsai 06.13.2014
