 FREE 1 to 3-Day Delivery on Orders $119+ Details
Best Sellers


How to Install Eibach Pro-Alignment Camber Adjustment Bolts on your 2005-2013 Mustang
Installation Time
2 hours
Tools Required
- Floor Jack
- 2 Jack Stands
- "18mm" Socket
- 6 Inch Extension (optional)
- Ratchet
- Socket for Your Rims (Size Dependent on Your Individual Rims)

Shop Parts in this Guide
Installation Time: Approximately 2 hour
Tools Required:
Floor Jack
2 Jack Stands
"18mm" Socket
6 inch extension (optional)
Racket
Socket for your Rims
(Size Dependant on your Individual Rims)
"In The Box"
2 (Two) Camber Adjustment Bolts - (Front Left/Front Right)
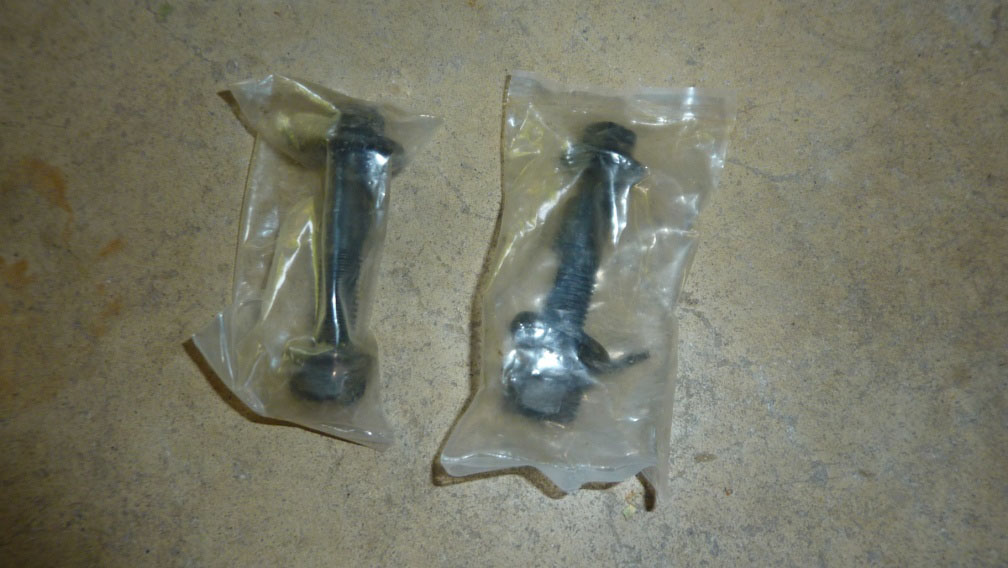
Note: This is an installation guide for Eibach Camber Bolts. These camber bolts are adjustable to aid in achieving proper tire alignment after lowering a vehicle. This is NOT a guide on how to properly align these camber bolts after lowering your vehicle. It is STRONGLY RECOMMENDED that you take your vehicle to a professional for proper alignment after lowering your vehicle and/or installing camber adjustment bolts.
INSTALLATION INSTRUCTIONS:
1) Loosen all your lug nuts to each of your front rims. Do this while your car is still on the ground.
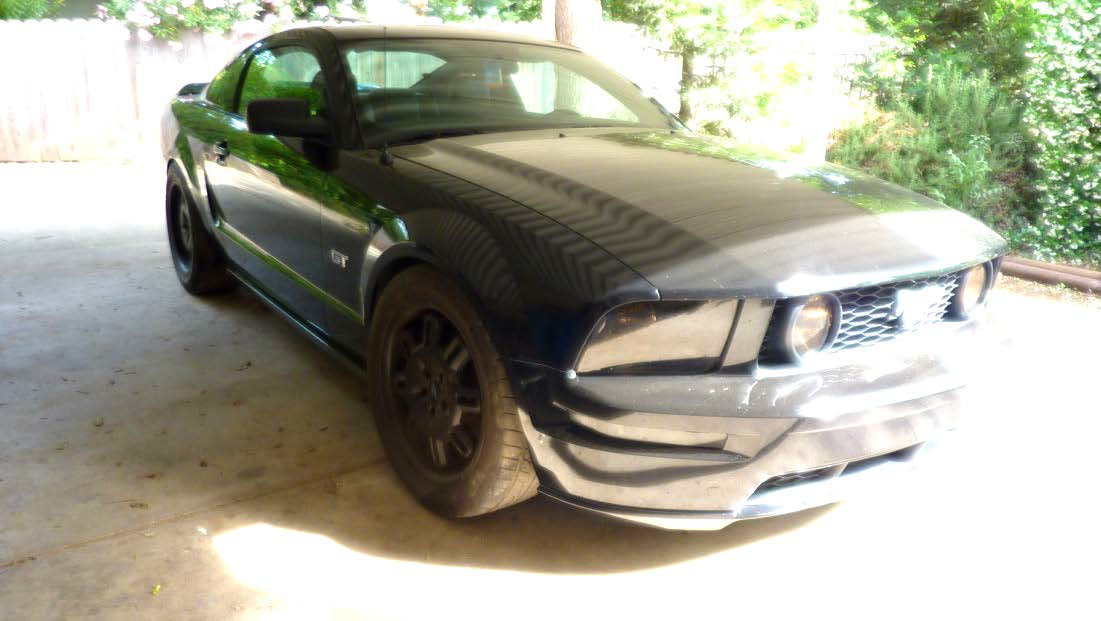
2) Once both your front right and front left rims have had every lug nut loosened, use your floor jack to lift up the front end of the vehicle. Make sure to only do this on a FLAT and SECURE SURFACE such as the picture below.
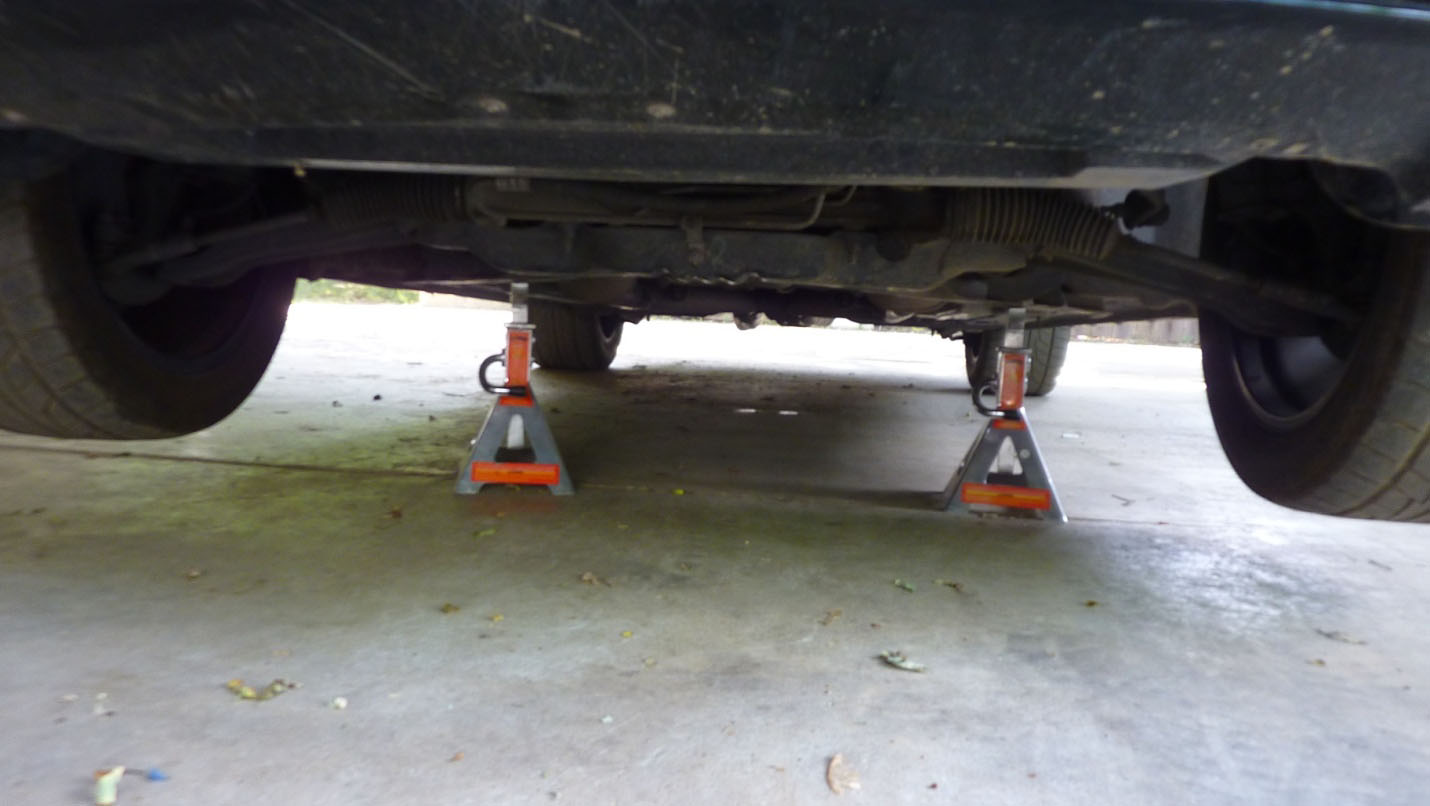
3) Raise the front end of the car, on a solid flat surface, so there is enough room for you to work freely. Make sure to keep the car lifted up with the use of jack stands and NOT the jack/lift alone. Make sure the E-Brake is on to prevent rolling of the vehicle.
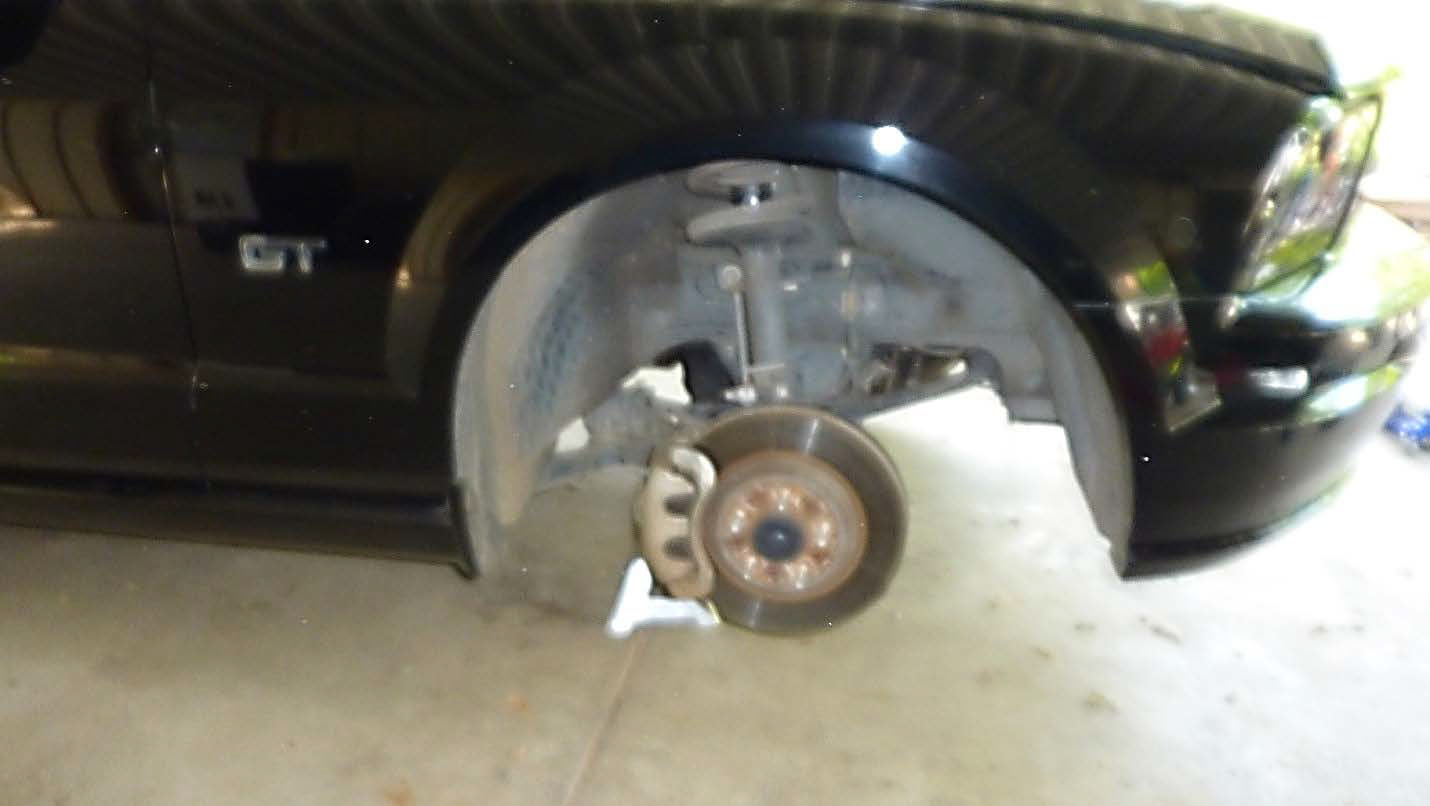
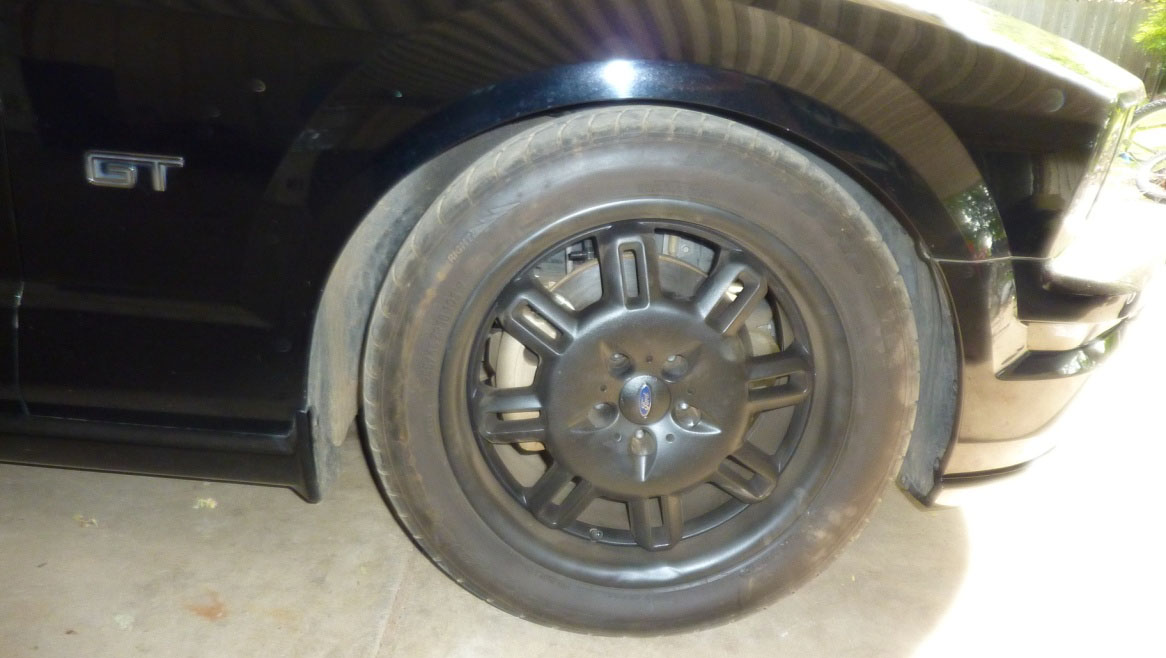
4) Now that the tires are off the ground, you may completely remove the two front wheels.
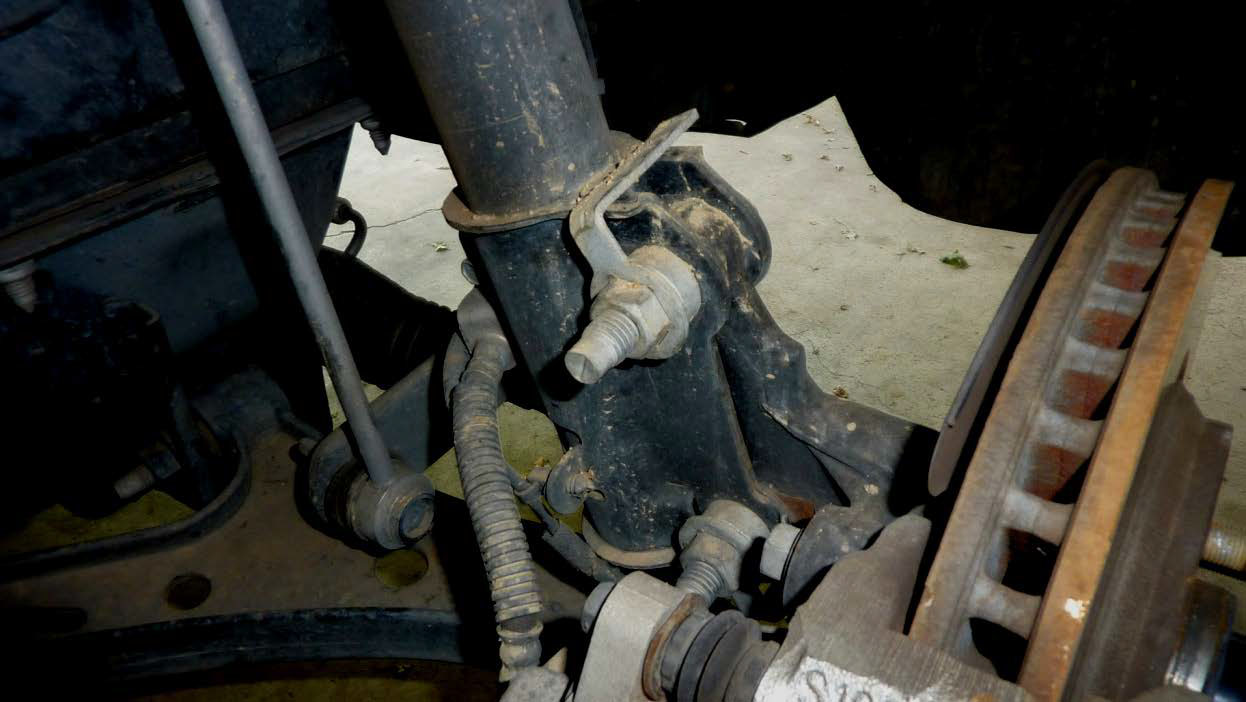
5) The camber bolt is easy to locate and can be located behind the brake disks on the spindle. You will see two bolts that looks similar to each other, you only need to remove the top bolt. The strut bolt that needs to be removed is indicated by the RED arrow below.
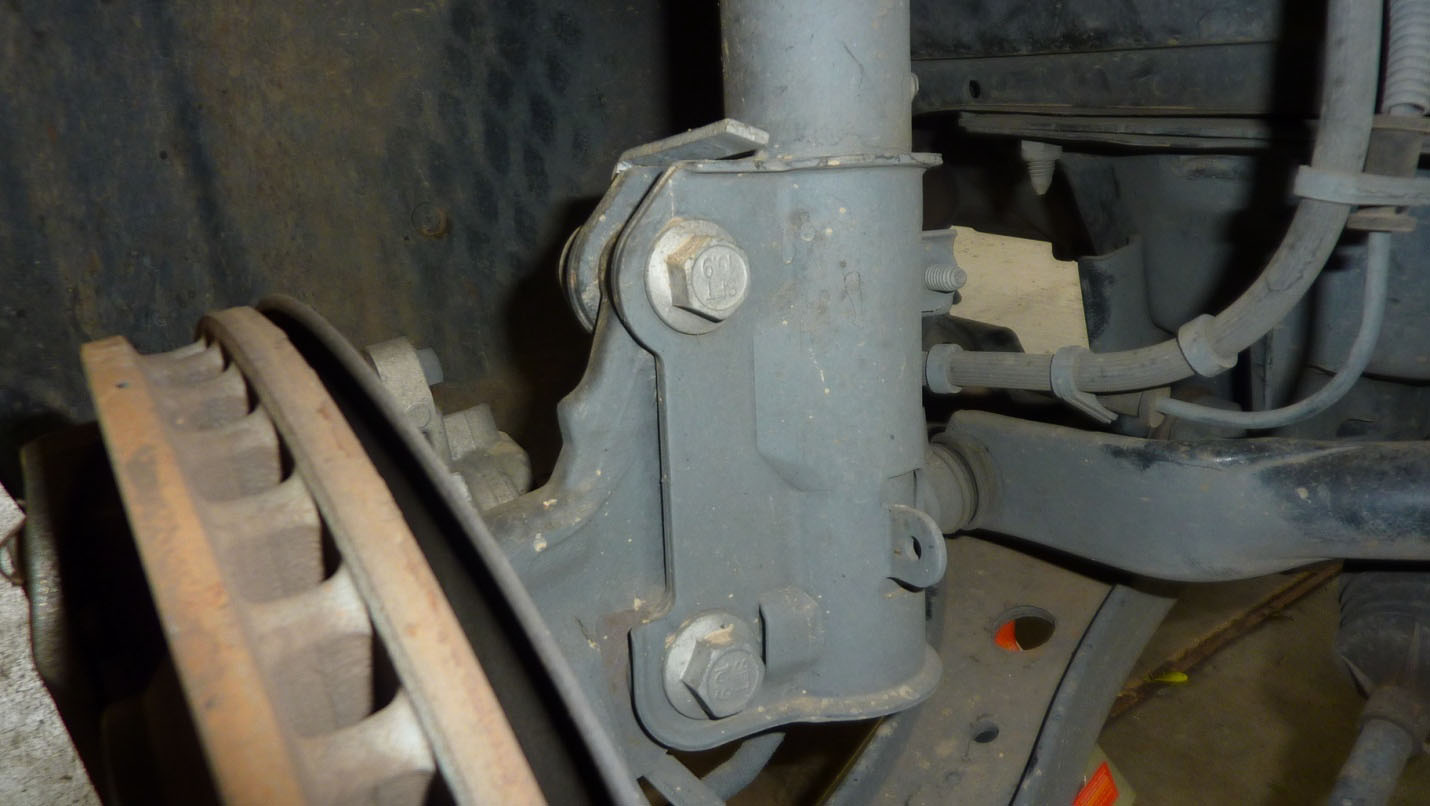
6) Use your 18mm socket to loosen the top strut bolt. You will see that the bolt will turn and so will its clip from the other side of the spindle. This will spin until it binds up with the rest of the spindle. It will then loosen as you spin the bolt.
7) Remove the top strut bolt and prepare to install the camber adjustment bolt.
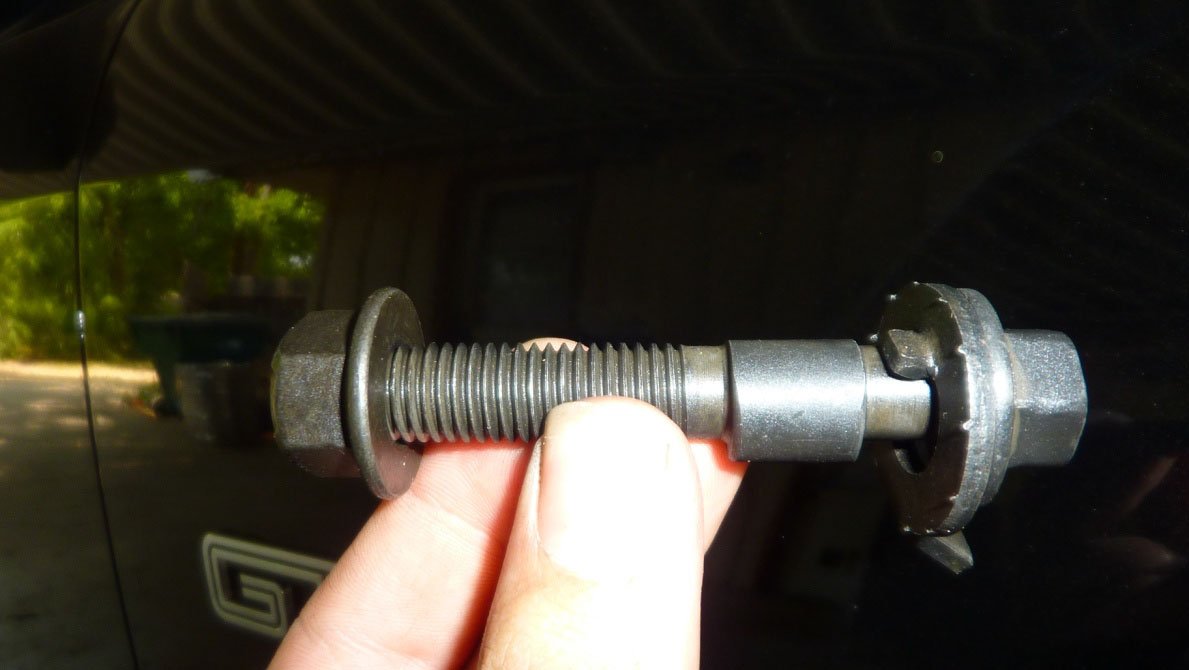
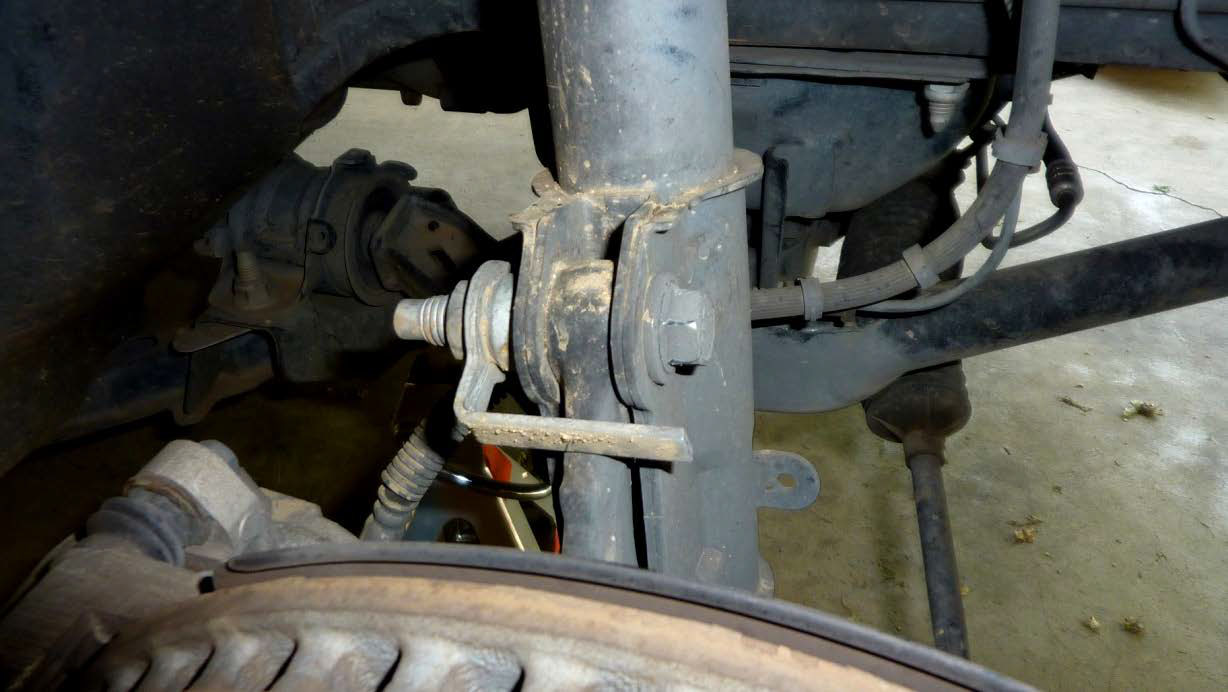
8) You will see the end of bolt that has a lobe on it, this is the end of the bolt the will face to the front bumper once installed. The "toothed" washer will rest on the outside of the spindle. Once installed correctly, your set up should look like the picture below.

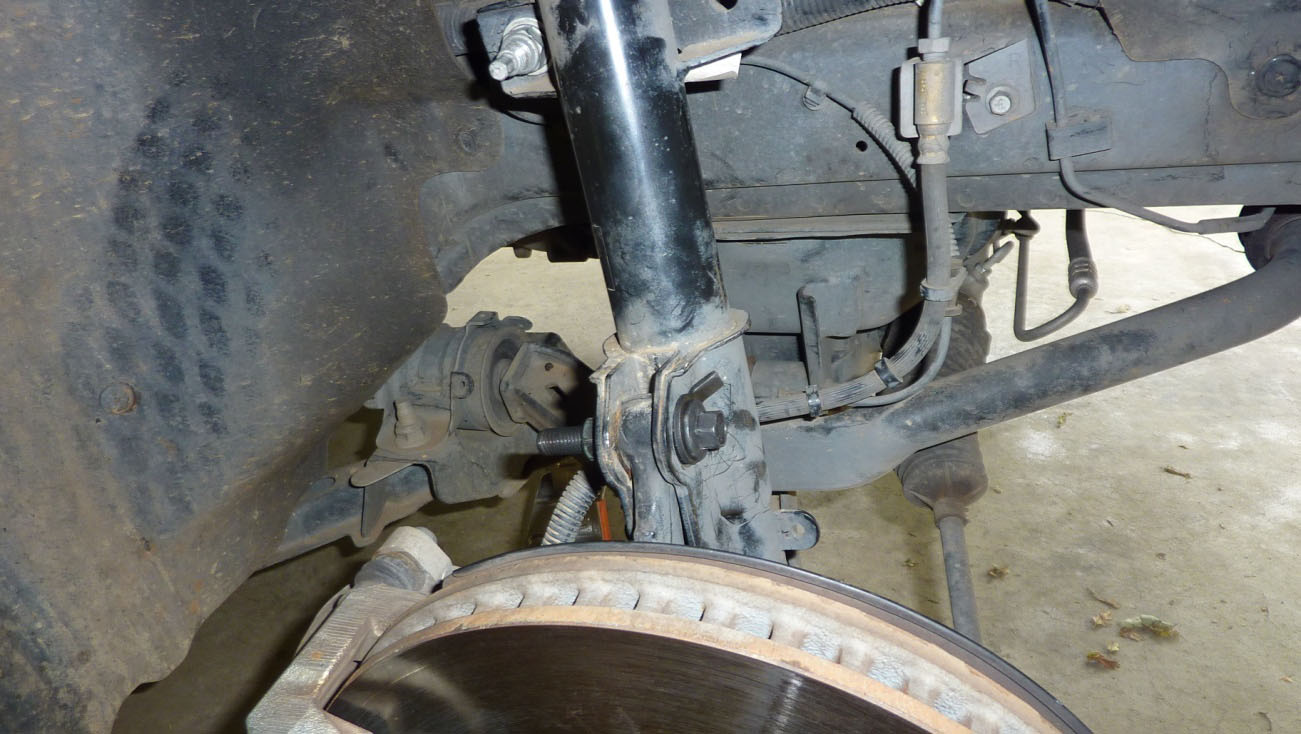
9) Sliding the camber bolt can be difficult because the lobe can bind up within the holes. With some patience and making sure that each hole is lined up, these bolts can be slid in to place without the use of any outside force, such as a rubber mallet for example. After the bolt is in place, install the nut to the nut and tighten completely. Tighten with your 18mm socket so that the nut is flush with the spindle. Approximately 70ft/lbs of torque should be more than enough to successfully tighten this comber bolt. As you will see in the photos above, the metal tab that sticks out near the head of the bolt is directed towards the engine. You can set your camber bolt in the same manner so that you can take your car in for a professional tire alignment.
10) Now that your camber adjustment bolt is installed, you can re-install your tire.
11) The instructions you have just read explains the installation of one side of your car's front end. Installation process for the opposite side has the exact same process so you can follow the same process to install the second camber adjustment bolt (Steps 5-10)
12) When re-installing your tires, make sure you tighten each of the lugs nuts to at least 100 ft/lbs of torque to insure your safety and that your wheels will stay on while in motion.
13) Take your car to be professionally aligned as soon as possible so that you can ride low to the ground and keep your tires from being worn down.
Installation Instructions written by AmericanMuscle customer Nathan Lambert 6.8.2012
