 FREE 1 to 3-Day Delivery on Orders $119+ Details
Best Sellers


How to Install a Eibach Pro-Alignment Rear Lower Control Arm on your 2005-2013 Mustang
Shop Parts in this Guide
Installation
Instruction Sheet - Mustang Rear Adjustable Trailing Arms
This part should only be installed by personnel who have the necessary skill, training and tools to do the job correctly and safely. Incorrect installation can result in personal injury, vehicle damage and / or loss of vehicle control.
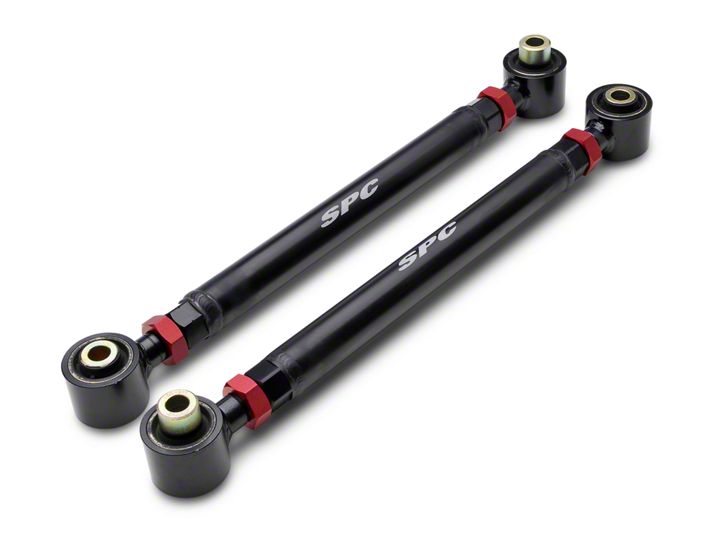
These control arms replace the stock lower rear differential arms.
1. Raise rear of vehicle and support by the rear axle housing.
2. Replace only one arm at a time.
3. It is necessary to disconnect the parking brake at the rear caliper in order to remove the trailing arm. Remove retaining clip where cable housing mounts to the caliper. Pull down on the housing and out of the bracket. Disconnect the end of the cable from the park brake lever on the caliper then pull the cable out of the trailing arm.
4. Remove one rear trailing arm by removing both fore and aft retaining bolts.
5. Adjust the new arm so equal threads are showing on both ends and the arm is the same length as the stock arm. Install the new arm onto vehicle with the wider bushing end towards the rear of the vehicle and the longer part of that bushing inner sleeve towards the center of the vehicle.
6. Tighten control arm retaining bolts to manufacturer's specifications. Make sure the rear suspension is loaded before tightening the retaining bolts.
7. Reinstall the park brake cable in reverse order of removal. The cable can be routed below or above the new control arm.
8. Replace the other arm following the same procedure.
9. Adjust both arms equally to attain the proper pinion angle desired. Tighten lock nuts on the ends of both control arms.
Always check for proper clearance between suspension components and other components of the vehicle.
