FREE 1 to 3-Day Delivery on Orders $149+ Details
How to Install a Ford Racing A/C Delete on Your 1996-2010 Mustang GT, 1996-2004 Cobra & Mach 1
Installation Time
2 hours
Tools Required
- 3/8” Ratchet and Extensions
- 1/4” Ratchet and Extensions
- 8mm, 10mm, 13mm sockets
- Small Flat Head Screw Driver (help remove electrical connectors)
- AC/fuel line disconnect tools
- Channel Locks
- Protective eye glasses

Shop Parts in this Guide
IMPORTANT NOTE BEFORE BEGINNING INSTALLATION:
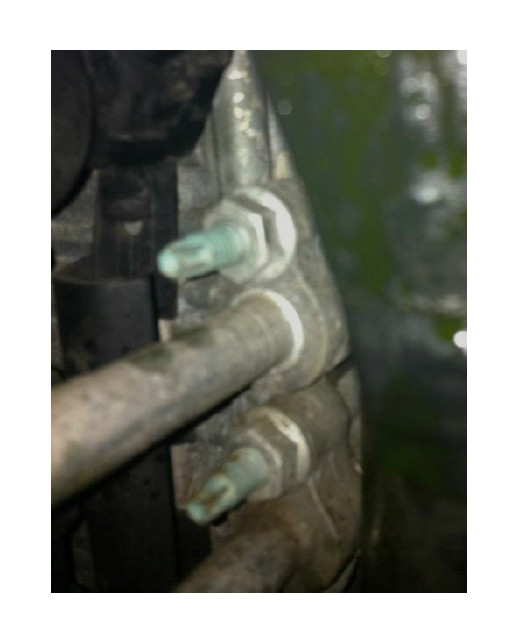
Bring your vehicle to a shop that services air conditioning systems. Have the refrigerant evacuated from the system and disposed of properly. This typically cost no more than $50. DO NOT ATTEMPT THIS AC DELETE MODIFICATION WITHOUT DOING SO. You can get refrigerant sprayed all over, cause an environmental hazard, make a huge mess and possibly injure yourself (eyes, lungs, etc…) Even with getting it professional removed, be careful when opening up the first AC line. As in my case, they didn’t fully remove everything and a little bit of green refrigerant sprayed into my engine bay (you will be able to see in the pictures). It’s advisable to wear eye protection when at least opening up the first AC line.
Installation Instructions: **Please note that this guide was completed on a 4.6L 2v engine**
1. Raise your vehicle and support it properly with jack stands.
2. Under the hood, disconnect the negative battery terminal and set aside.
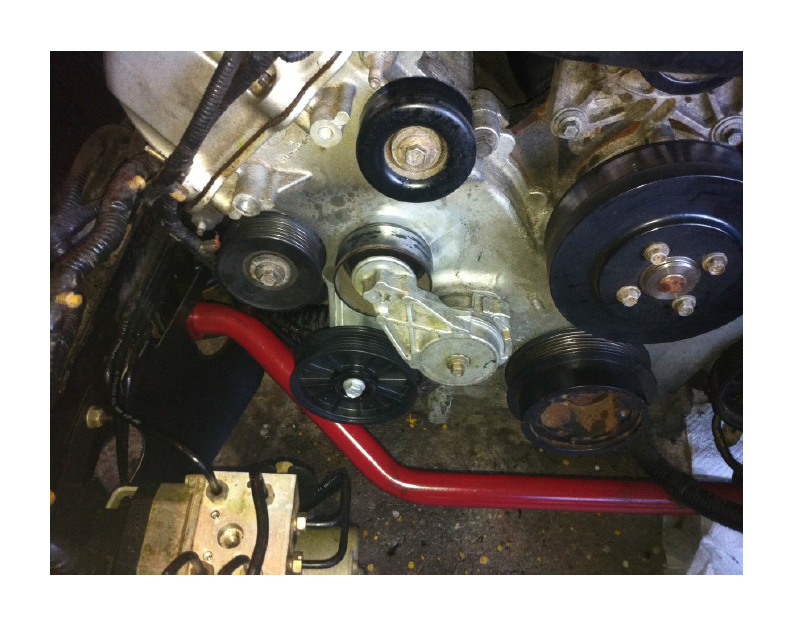
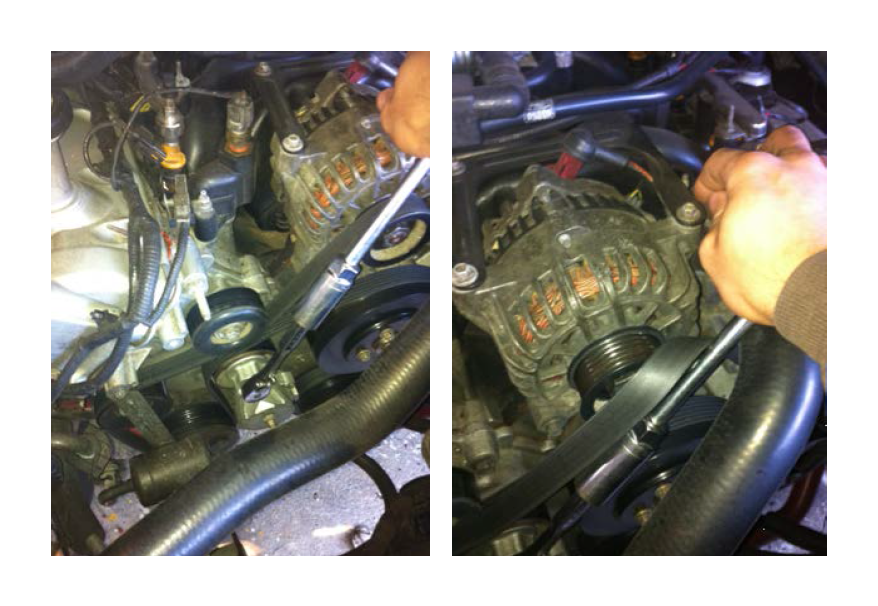
3. Using a 3/8” drive ratchet, insert the drive into the belt tensioner and turn clockwise. This will release the tension off the belt and you should be able to slip it up and off the alternator pulley. I used a larger socket and extension to slip over the handle of the 3/8” drive ratchet for extra torque to make this step easier. Remove the belt. Once the belt is off, SLOWLY let the tensioner back into resting position.
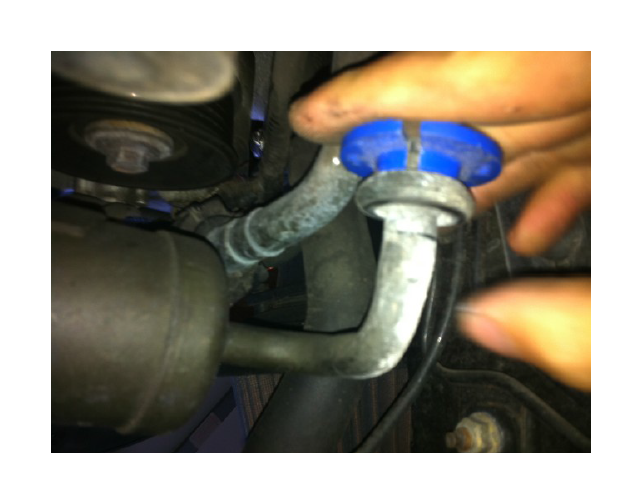
4. Using the AC Disconnect tool, slide the appropriate one over the AC line at the couplings closest to the compressor. Push it into the side that has a little notch all the way around (one side will be flush with the coupling; one side will have a slight opening for the tool to slide in). Push it in firmly and you should hear a click. You can then pull the lines apart at the coupling. NOTE: The couplings will have a black plastic “lock” over them. You will have to remove that “lock” first.
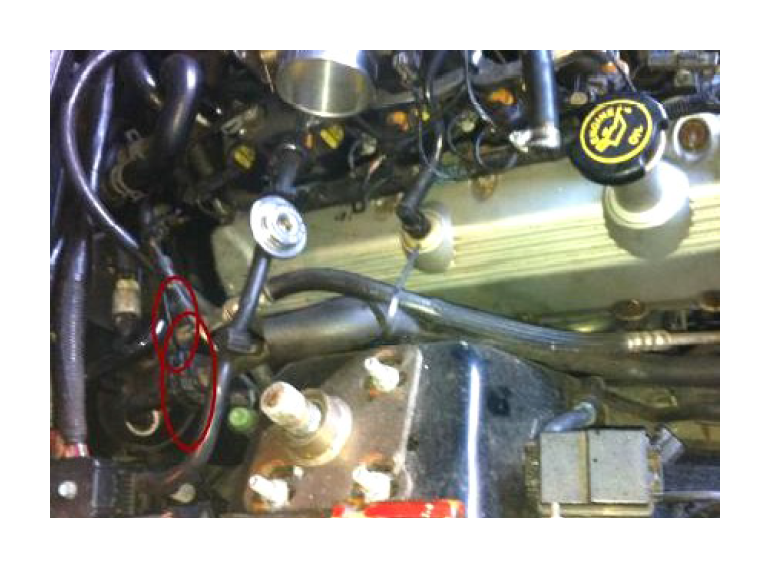
5. Disconnect the electrical connector from the AC Compressor.
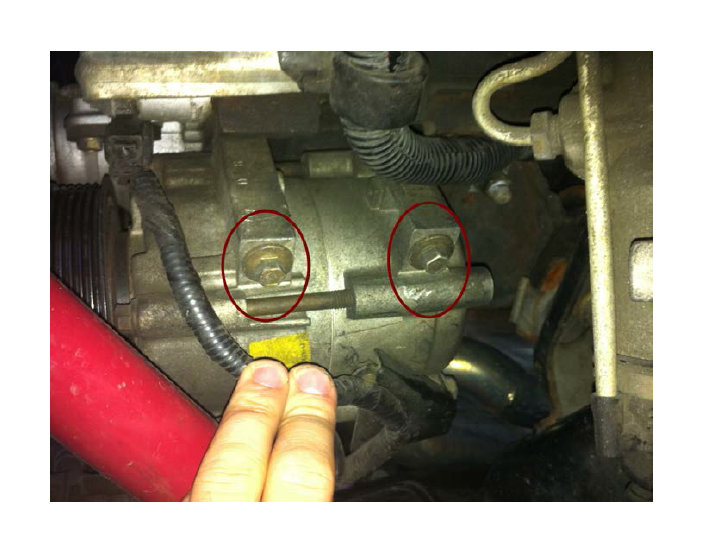
6. From under the vehicle, remove the (3) 10mm bolts holding the AC compressor to the engine block. There are (2) located on one side and (1) on the other.
7. You should be now able to remove the AC compressor and set aside.
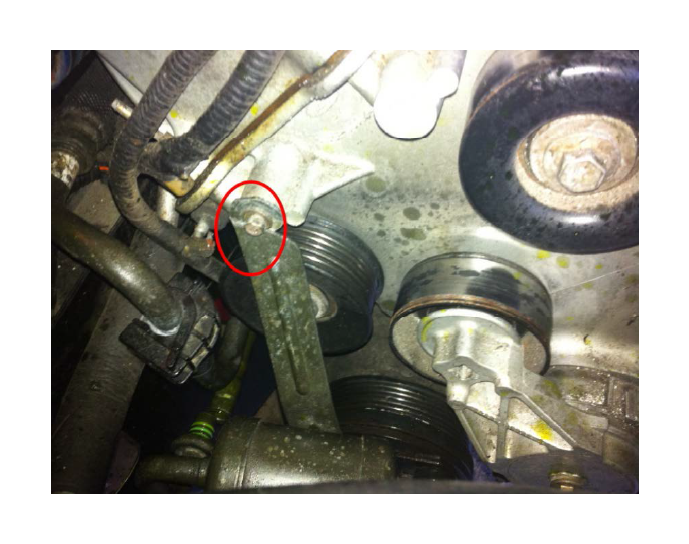
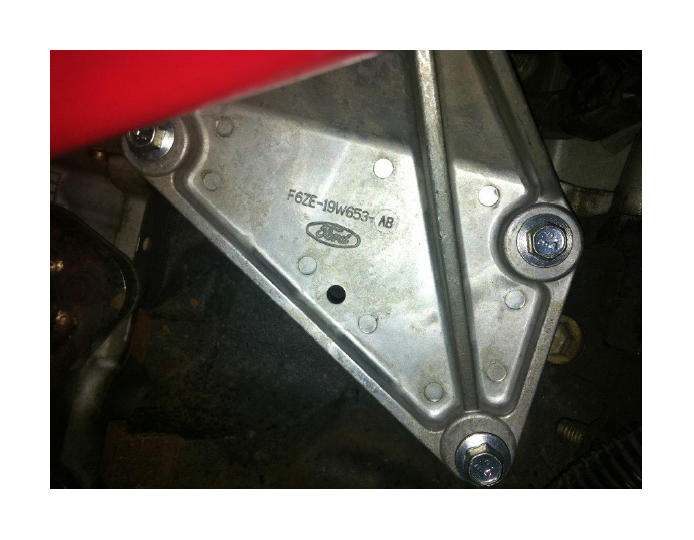
8. From back under the hood, remove the 8mm bolt holding the AC line bracket on to the front of the timing cover.
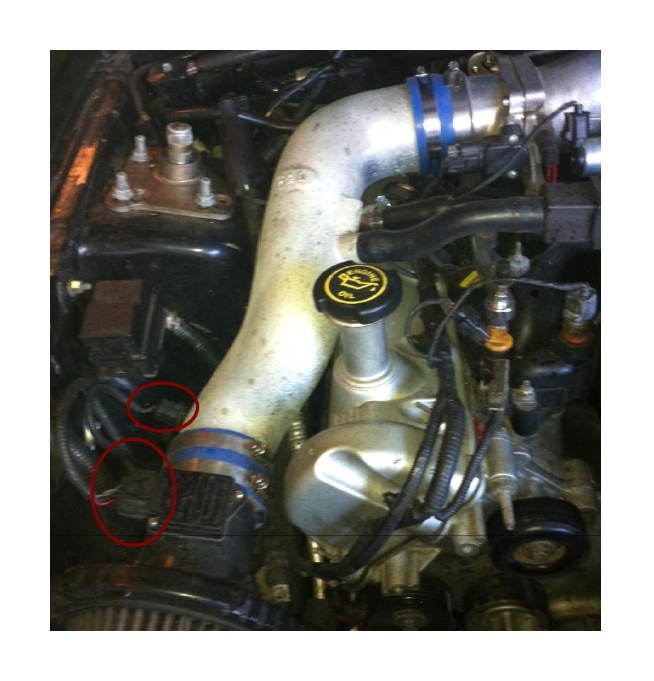
9. Remove the air inlet tube/air filter assembly and place to the side. Be careful to remove the MAF sensor plug and inlet temp plug connectors without damaging them.
10. Follow the AC lines to the firewall and using your disconnect tool, remove them at the couplings by the firewall.
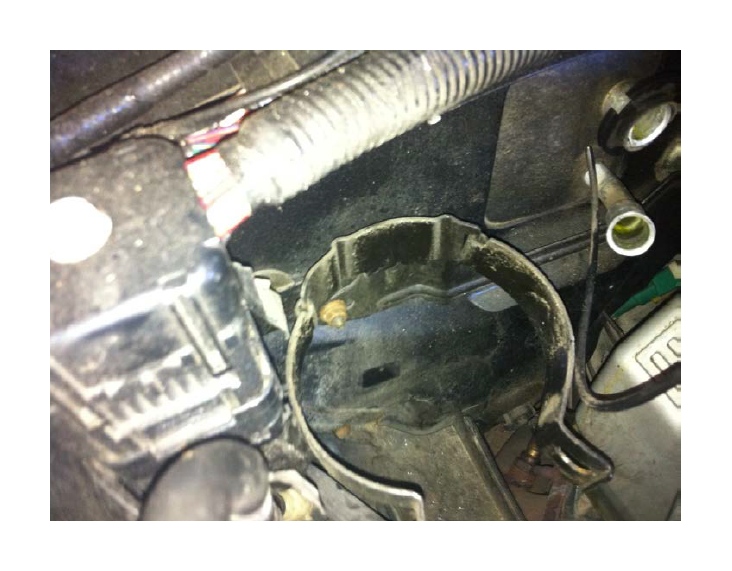
11. You can now remove the reservoir canister and bracket holding it in place. The picture below is after the reservoir has been removed, lines have been disconnected, but the bracket still remains. There are (2) 8mm nuts holding the bracket to the firewall. You should cap the lines with any rubber/plastic cap from a hardware store that fits.
12. Follow the AC lines to the AC condenser (mounted in front of the radiator). Using a 13mm socket, remove the (2) bolts holding both lines in place and remove the lines.
NOTE: Follow steps 14-20 if you want to remove the AC condenser as well. If not, skip ahead to step 21 for the installation of the AC Delete Pulley.
13. Although not 100% necessary, it is much easier if you drain and remove the radiator for this step. You can do this multiple ways, but my preferred method is to get a large catch pan (or bucket) and place it under the lower radiator hose. Using a pair of channel locks, squeeze and slide off the hose clamp. Then remove the radiator hose and watch the torrent of coolant fall into the catch pan. The bigger the catch pan, the better! If you have a large rubbermaid storage container, that sometimes works best!
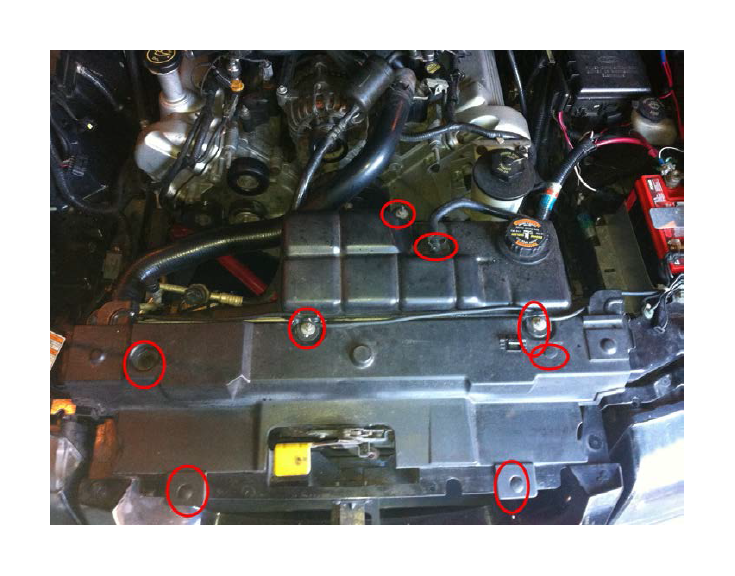
14. Once drained, removed the coolant over flow tank and top radiator hose. Also, remove the plastic radiator support cover, which is held on with push pins. Set all items aside.
15. Disconnect the electrical connector going to the fan.
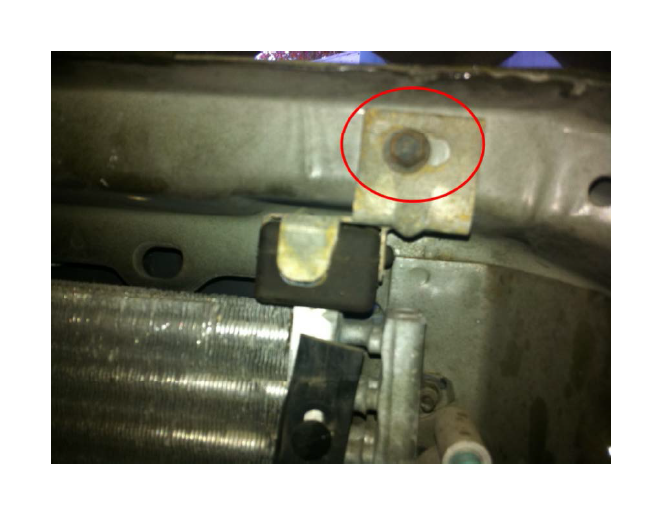
16. Remove the top radiator supports (metal tabs with rubber bushings); there should be (1) 8mm bolt holding each in place and a metal tab.
17. You cannot remove the entire fan and radiator assembly.
18. Remove the (2) small brackets that hold the AC condenser coil in place with 8mm bolts.
19. Lift up and remove the AC condenser coils.
20. Take out your AC DELETE KIT; it should come with (3) bolts.
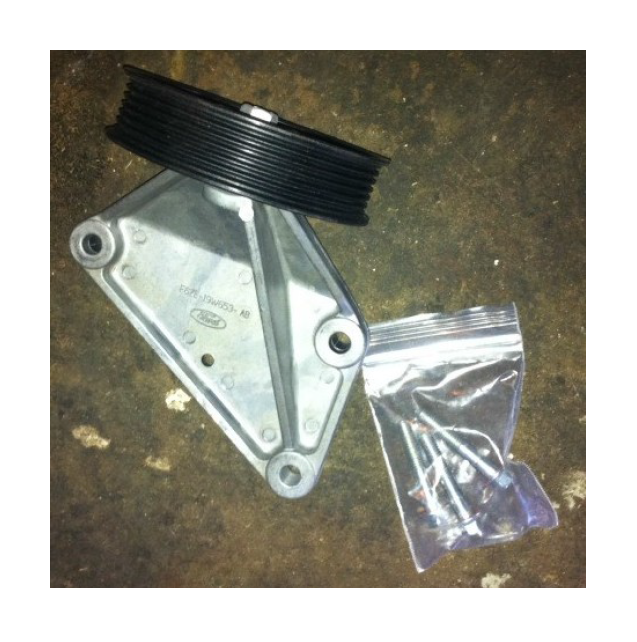
21. Line up the holes with the (3) holes that the AC compressor bolted to and tighten. Do not over tighten – 25 ft/lbs should be plenty.
22. Reinstall all items (radiator components, inlet tube/filter assembly and belt) back in the reverse manner you took them off (except for the AC components). Reconnect your battery. Remember to fill up your cooling system with coolant if you decided to drain it. Check it after letting the car run up to temp as the level may have dropped and you may need to add more.