 FREE 1 to 3-Day Delivery on Orders $119+ Details
Best Sellers


How To Install a Front Lower Control Arm And Ball Joint Assembly Driver Side on your 2005-10 Mustang
Installation Time
2 hours
Tools Required
- Floor Jack
- Jack Stands
- 18mm & 21mm Wrench
- 15mm, 18mm, & 21mm Socket
- 13/16 Socket
- 2 Ratchets
- Breaker Bar
- Torque Wrench (0-150ft/lbs)
- Fork opening ball joint separator
- Hammer
- Blue Loctite
- Penetrating Oil
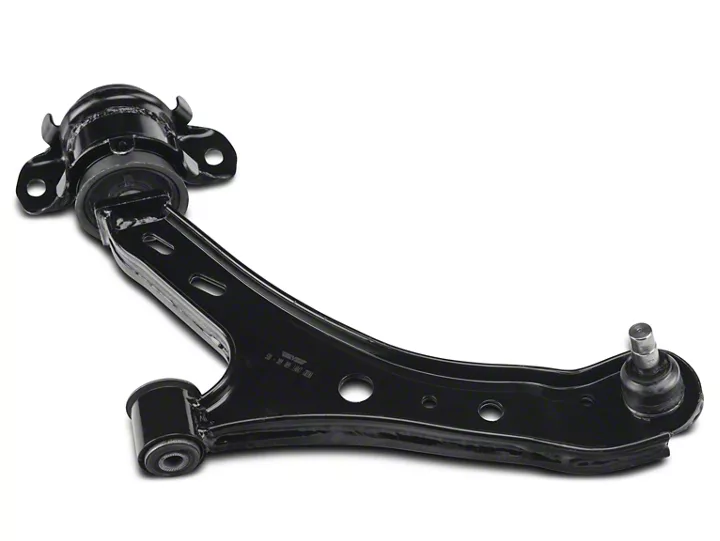
Shop Parts in this Guide
Removal Procedure:
1) With vehicle on the ground, use a breaker bar to loosen the lug nuts with a 13/16 socket.
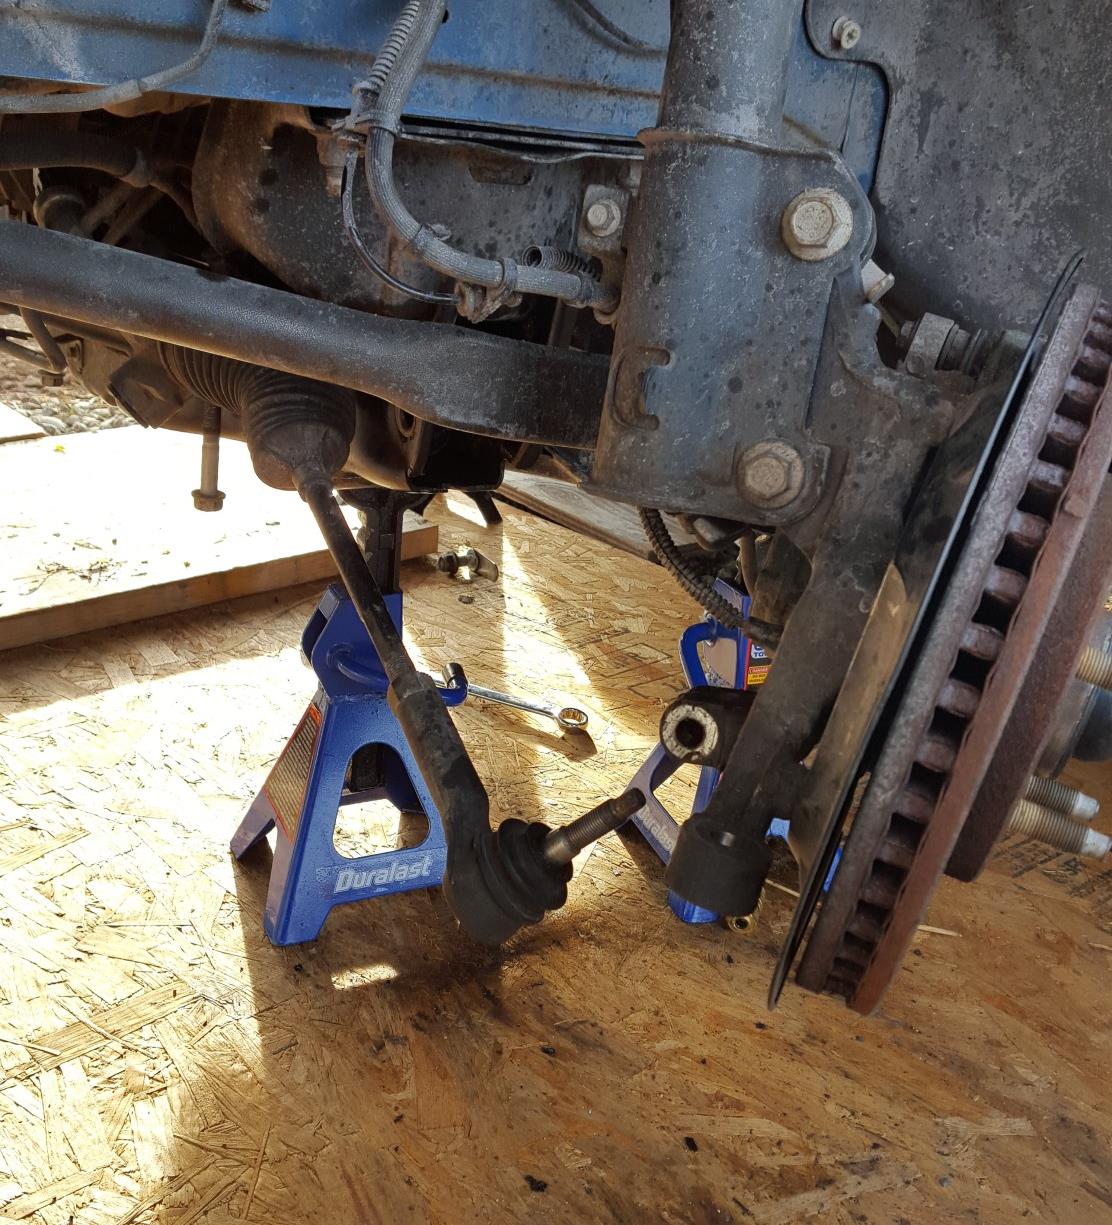
2) Engage parking break, raise the vehicle and support it securely with jack stands.
3) Remove lug nuts and the wheel.
4) Remove Tie Rod end link nut with 18mm socket and move out of the way.
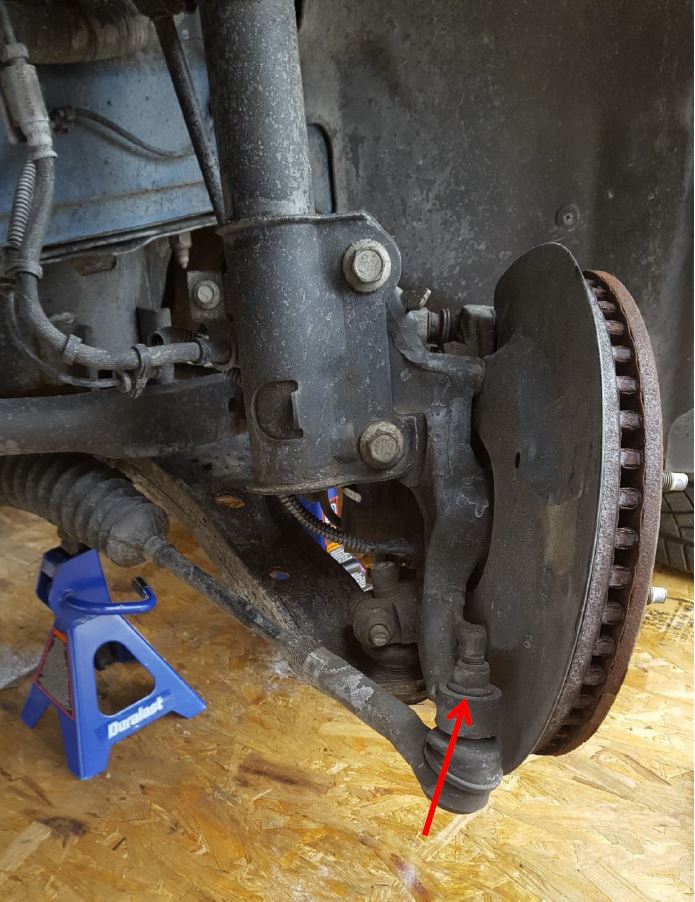
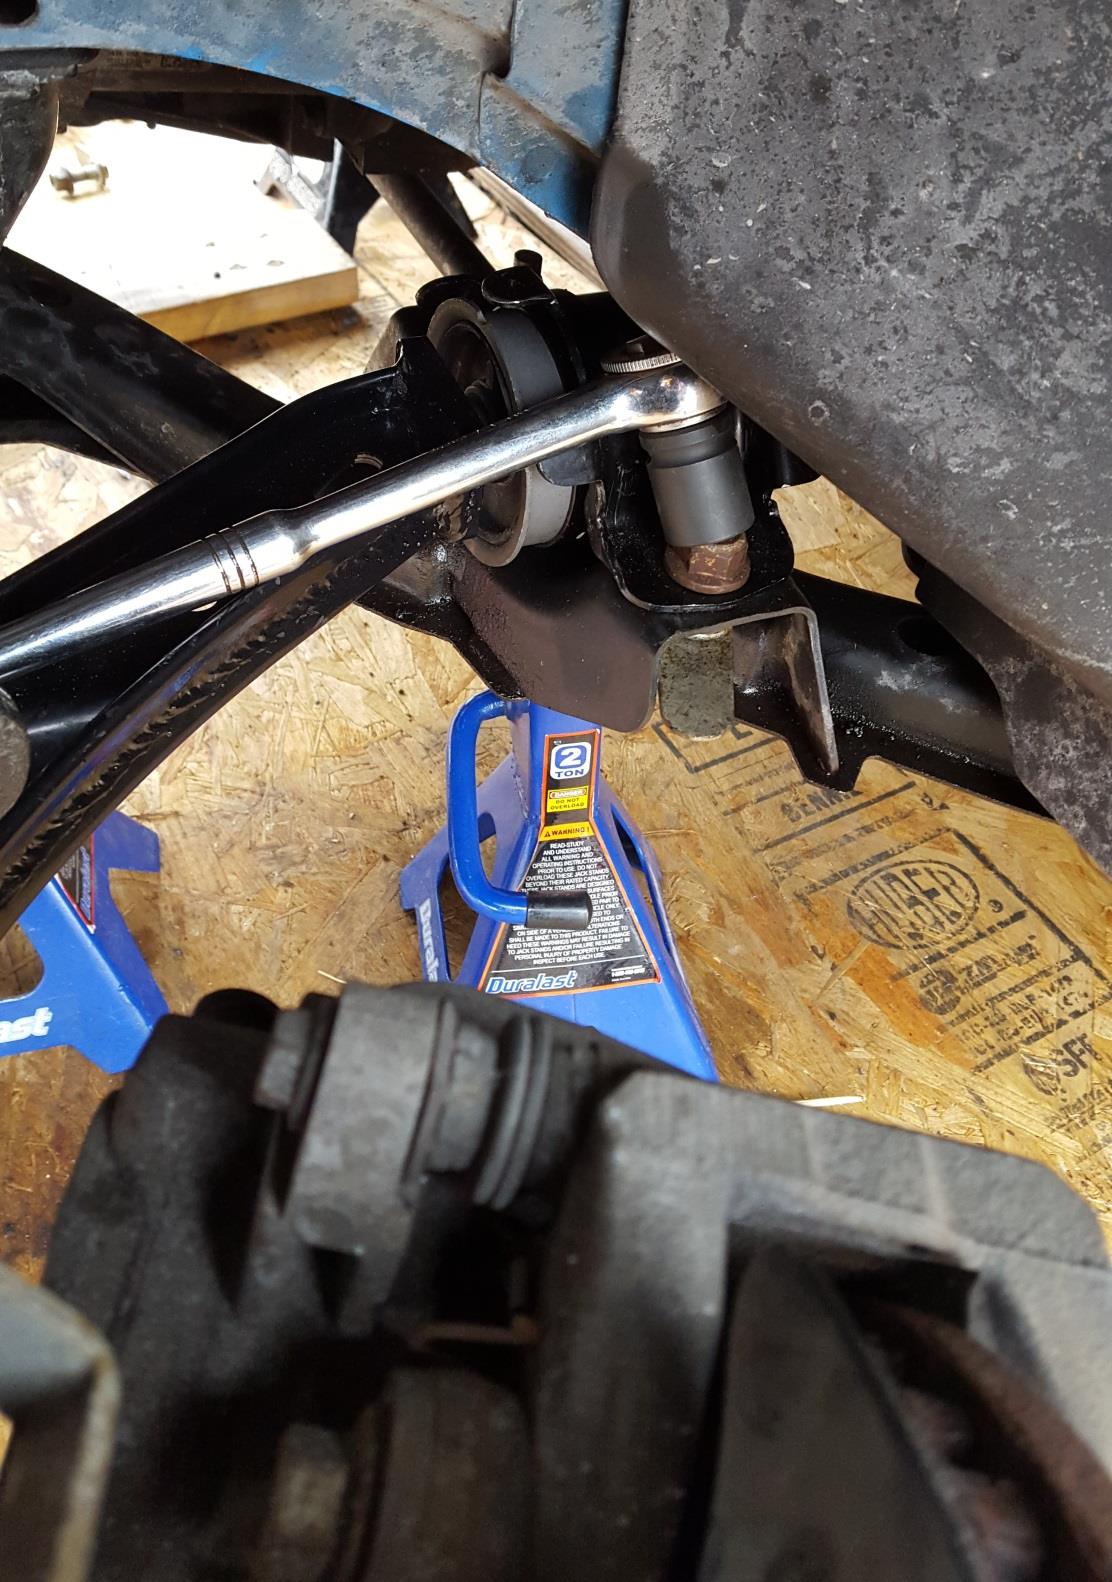
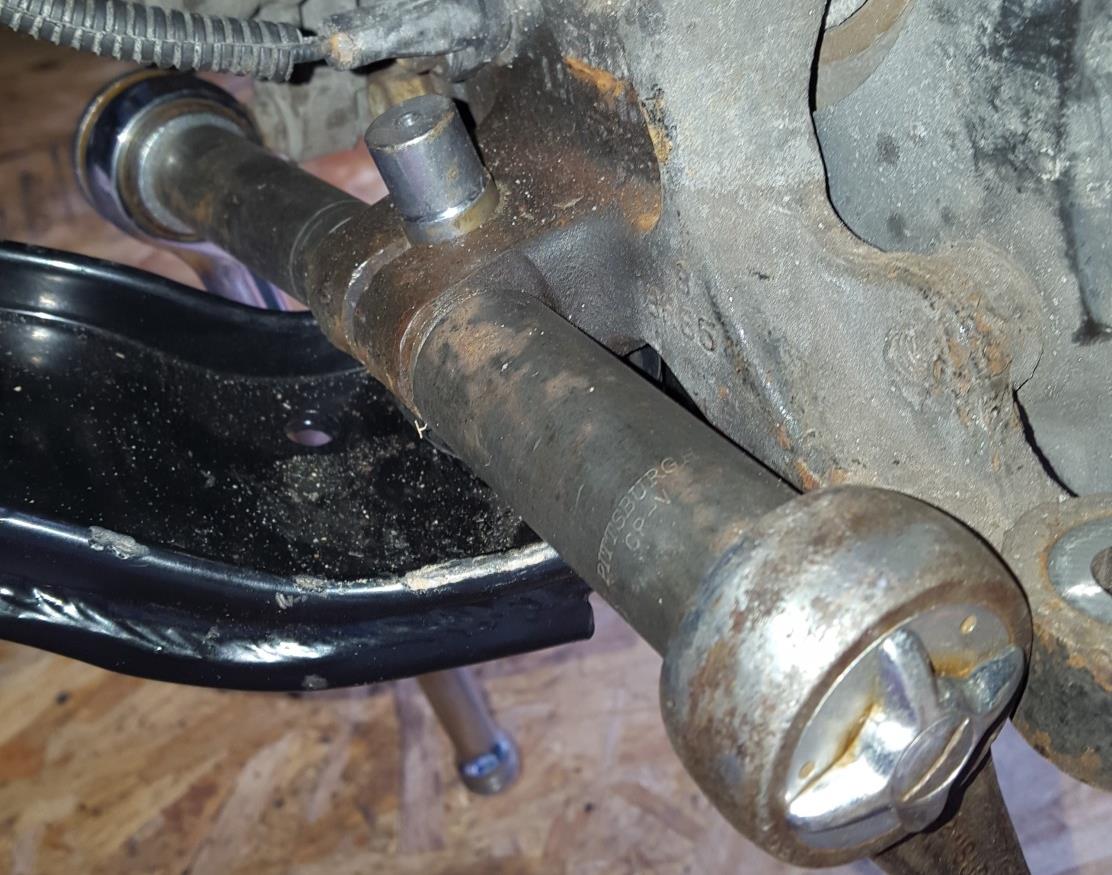
5) Remove steering knuckle pinch bolt with 18mm socket on the nut and 15mm socket to hold the bolt head. (Use of penetrating oil is recommended)
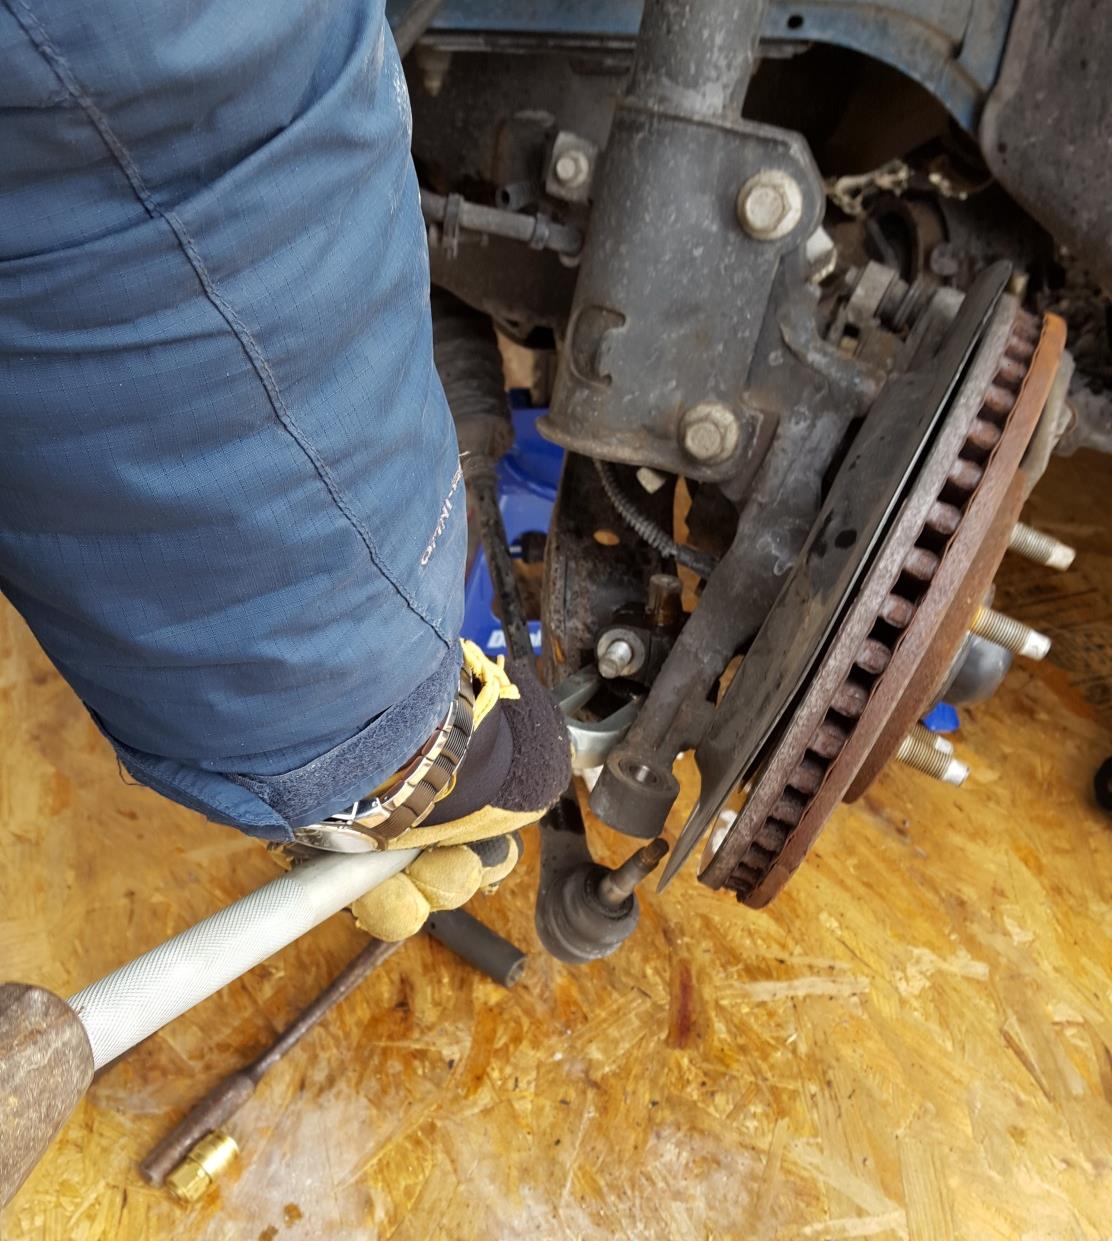
6) Use a hammer and a Ball joint separator fork to pry apart the steering knuckle from the ball joint and control arm.
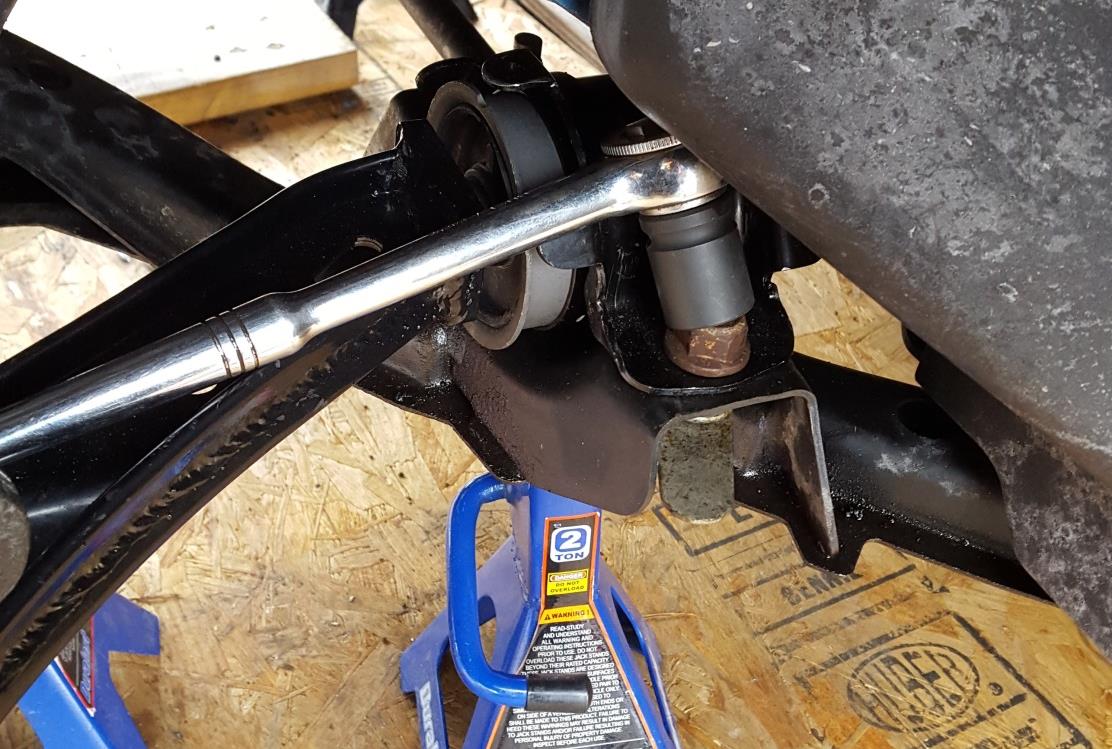
7) Using an 18mm socket remove both steering gear mounting bolts from cross member, they sit above the steering gear. (Use of penetrating oil is recommended)
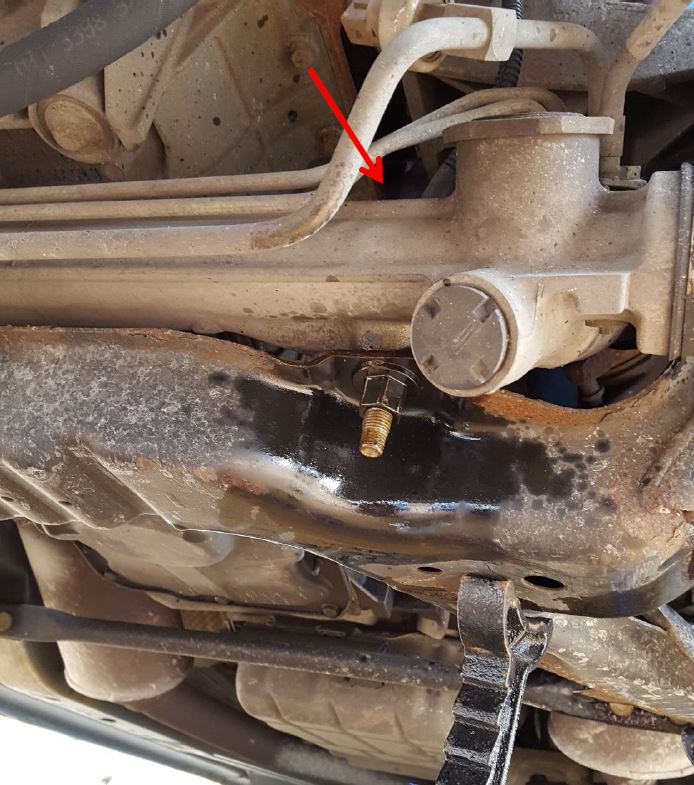
8) Pull the steering gear a bit forward so you have enough room to access the forward pivot bolt on the control arm.
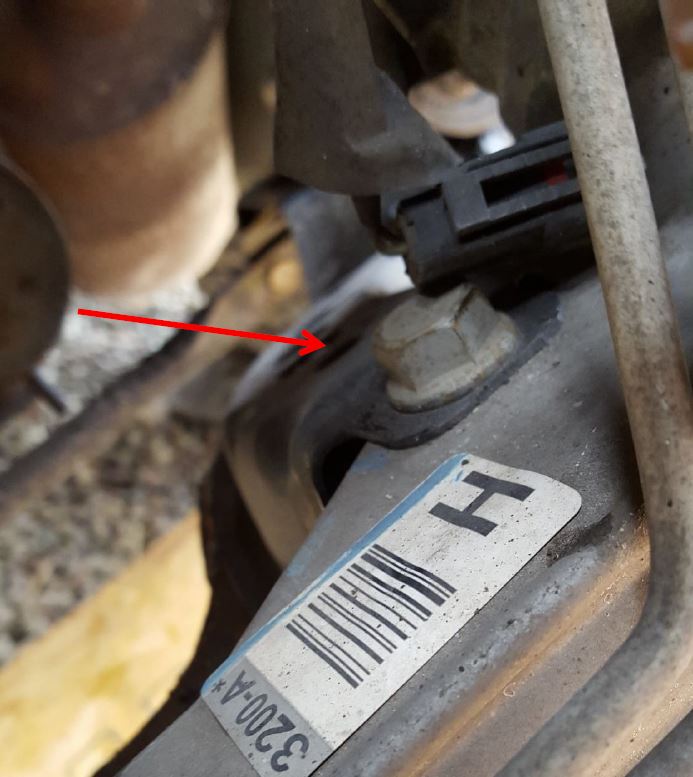
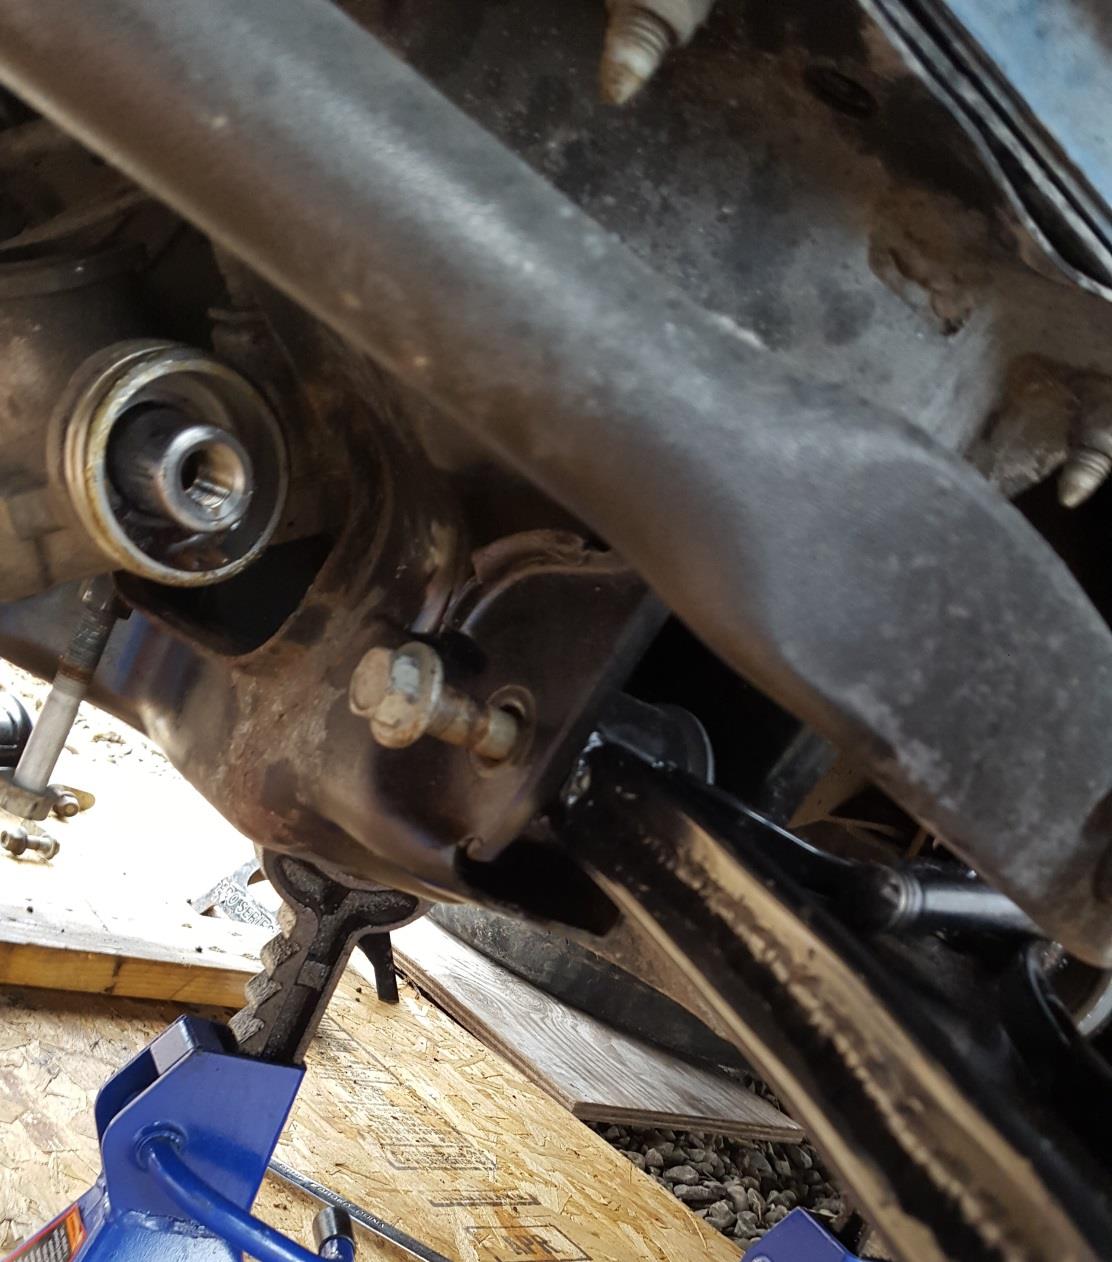
9) Using an 18mm socket remove the forward pivot bolt. (Use of penetrating oil is recommended)
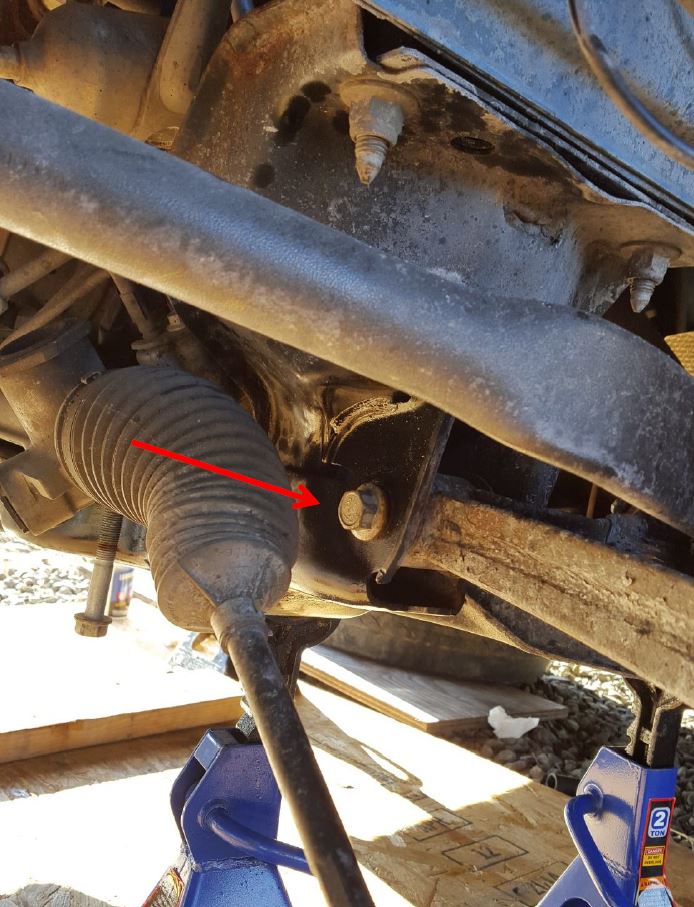
10) Using a 21mm socket/wrench (whichever fits best for you) remove the 2 rear mounting bolts. (Use of penetrating oil is recommended)
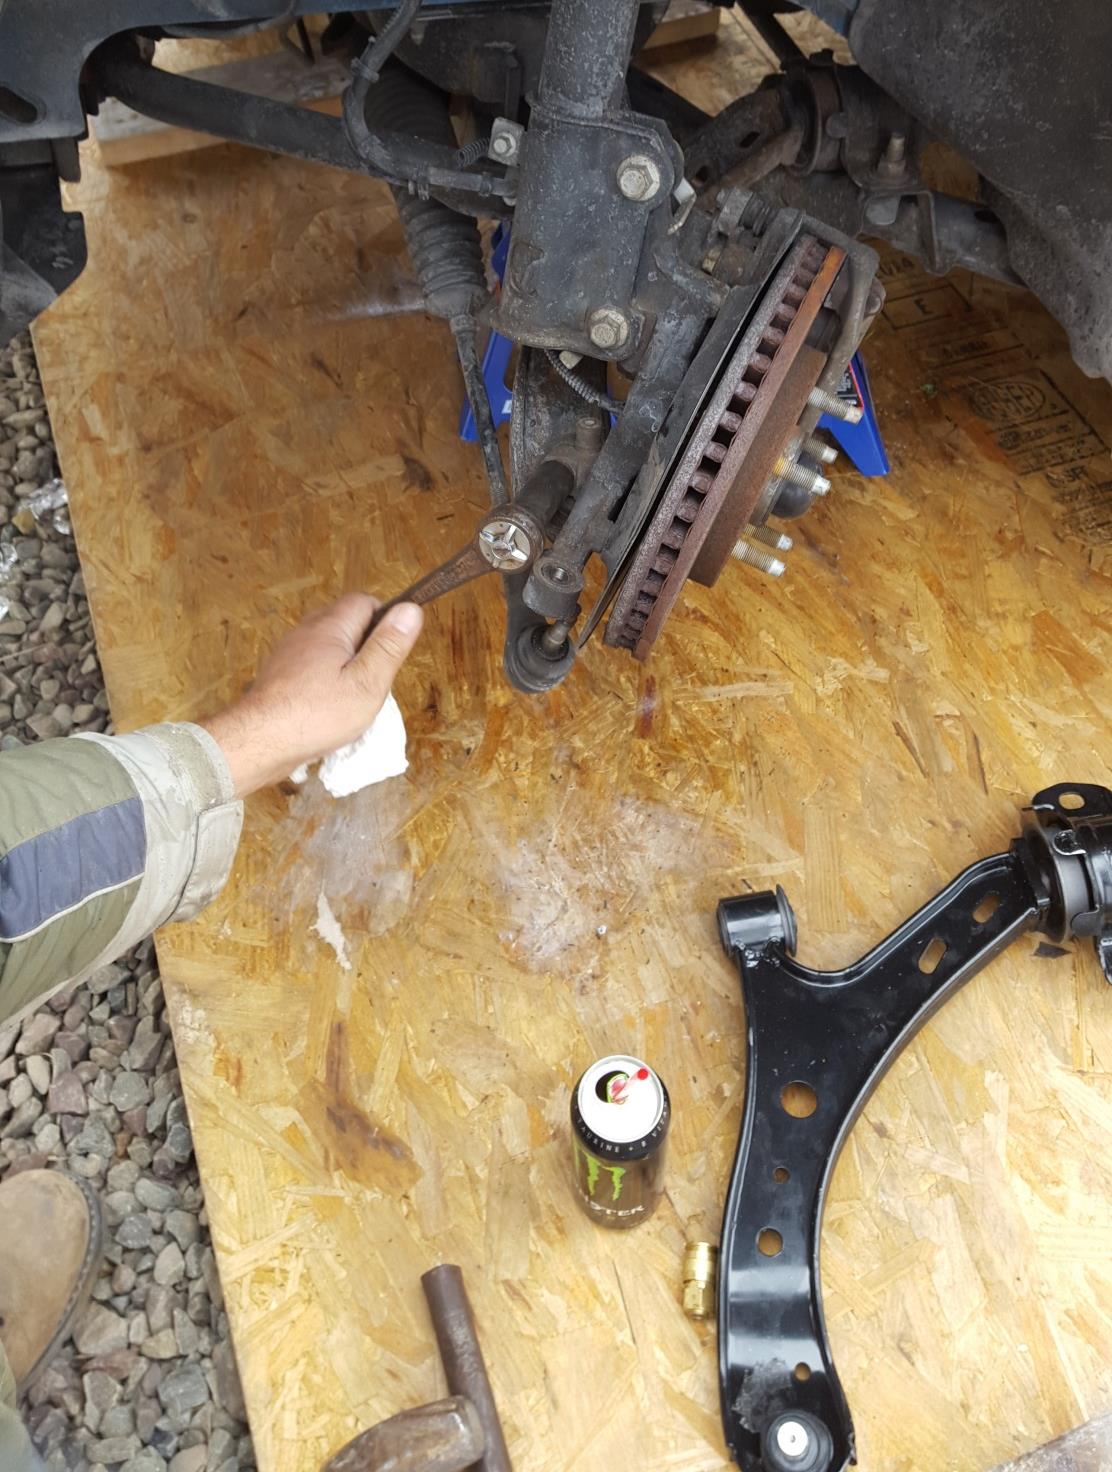
11) Have someone hold the brake assembly out of the way and pull the control arm out.
Installation:
1) Position the new control arm into place, with the pivot point in first.
2) Use blue Loctite on the forward pivot bolt and tighten it into place with an 18mm socket
3) Insert the ball joint into the steering knuckle by lifting the brake assembly up and pushing the arm down until it aligns and fits in. Make sure the groove on the ball joint stud is aligned with the hole for the steering knuckle pinch bolt (the bolt should slide in easily if aligned properly).
4) Put a bit of blue Loctite onto the steering knuckle pinch bolt, slide it in and tighten the nut. You may want to hold the bolt head from the other side with a 15mm socket.
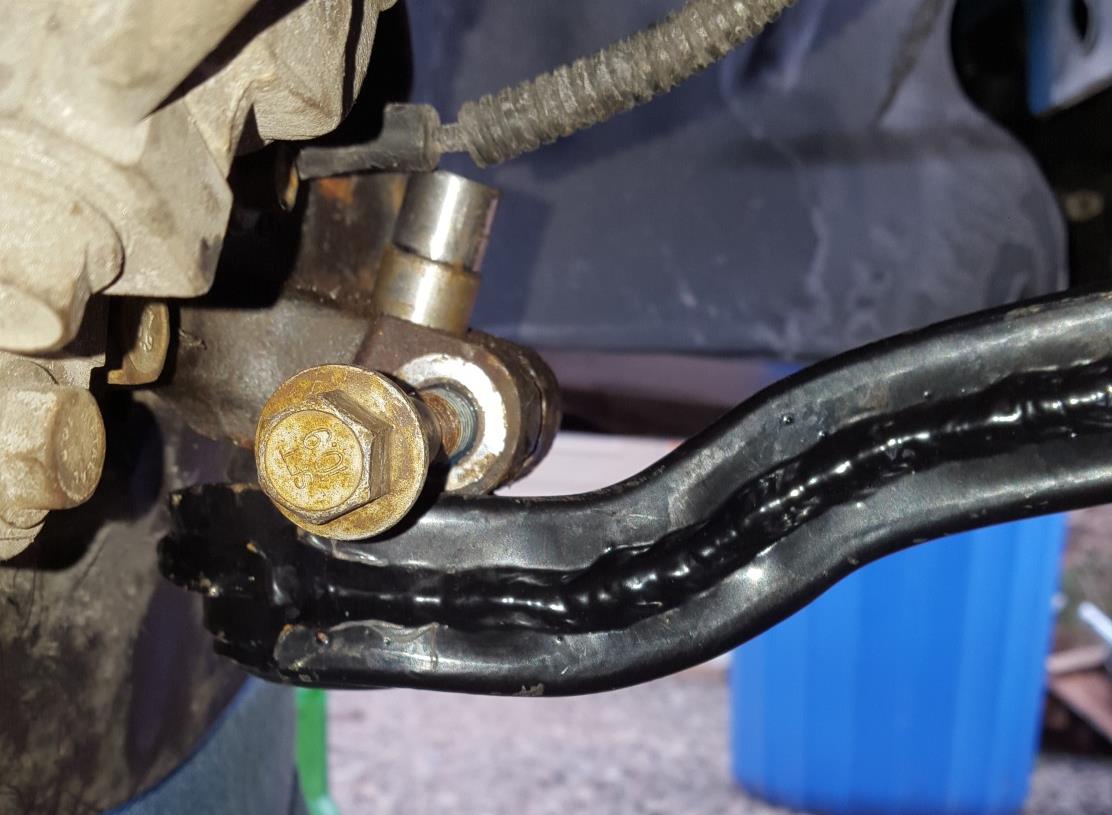
5) Install both rear mounting bolts with 21mm socket/wrench.
6) Re-Insert tie rod end link and tighten.
7) Re-Install steering gear and torque bolts to 85lbs.
8) Torque forward pivot bolt to 129lbs.
9) Torque rear mounting bolts to 129lbs
10) Torque steering knuckle pinch bolt to 79lbs.
11) Put the wheel back on and install lug nuts.
12) Lower vehicle safely and torque the lug nuts to 100lbs in a star pattern.
All done!
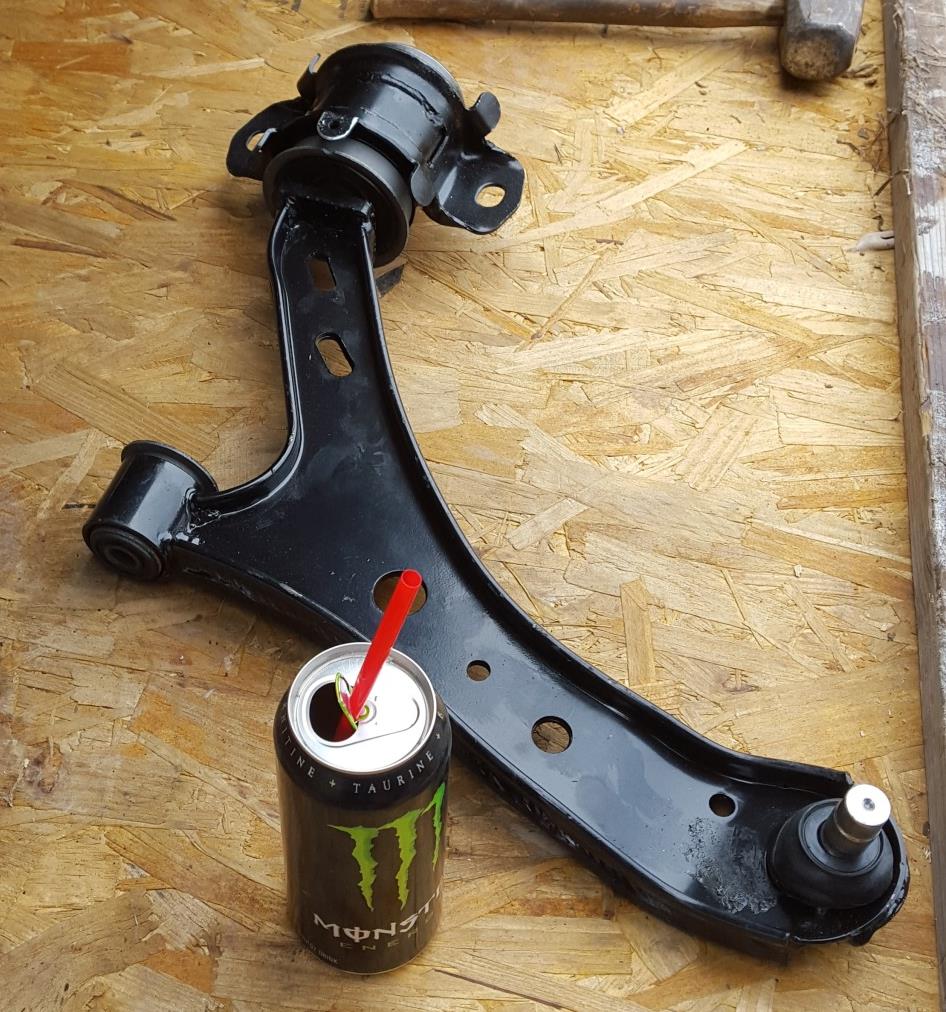
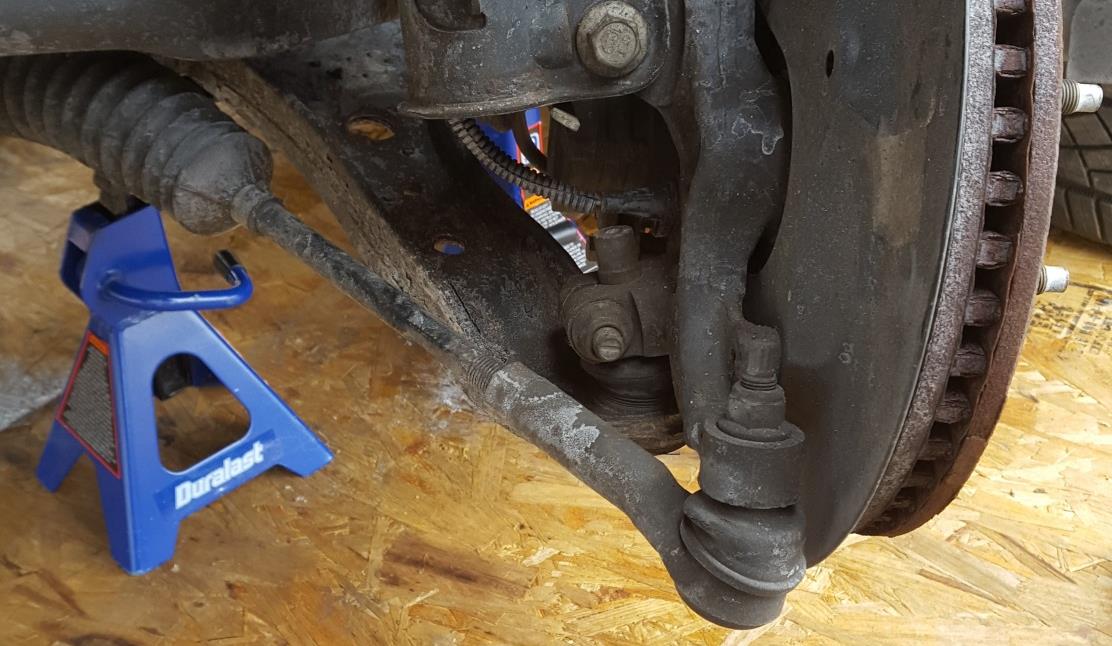
Before:
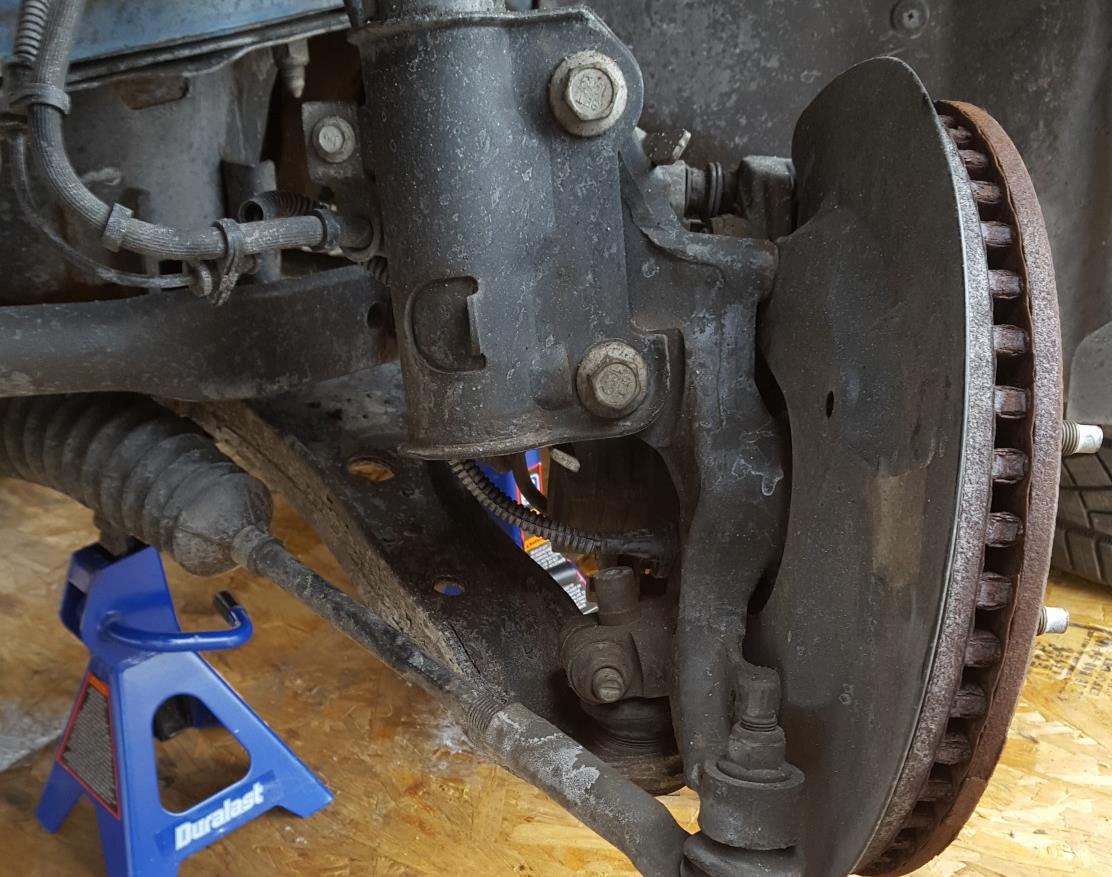
After:

