 FREE 1 to 3-Day Delivery on Orders $119+ Details
Best Sellers


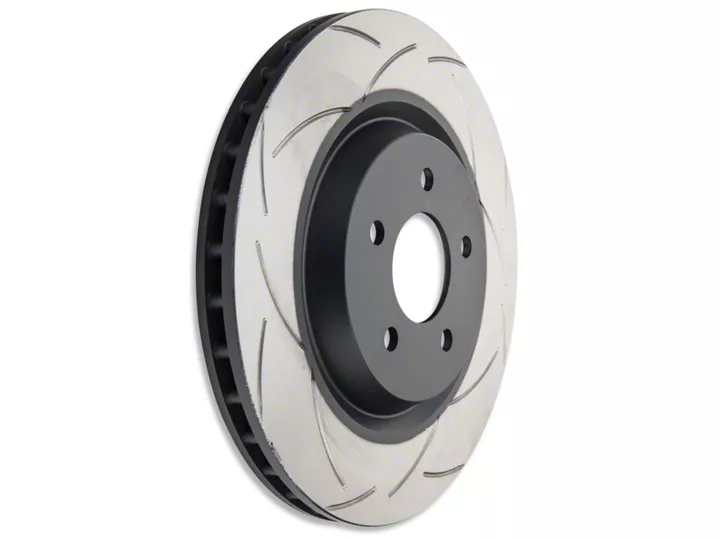
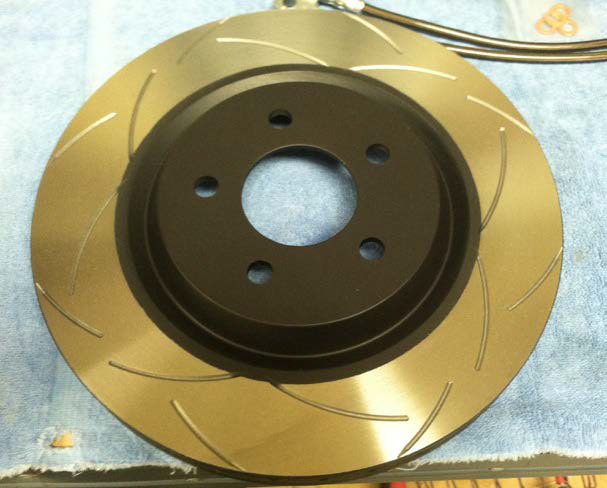
How to Install Front Rotors on your 1994-2004 Mustang Bullitt, Cobra and Mach 1
Installation Time
2 hours
Tools Required
- Jack
- Jack Stands
- Lug Wrench or 13/16" Socket
- Socket Wrench
- 15mm Socket
- Torque Wrench
- Metal Coat Hanger
Shop Parts in this Guide
Time Required: About 2 hour.
Tools Required:
Jack
Jack stands
Lug Wrench or 13/16” Socket
Socket Wrench
15mm Socket
Torque Wrench
Metal Coat Hanger
Optional Tools:
Rust Penetrate
Ball Peen Hammer
Rubber Hammer
NOTE:
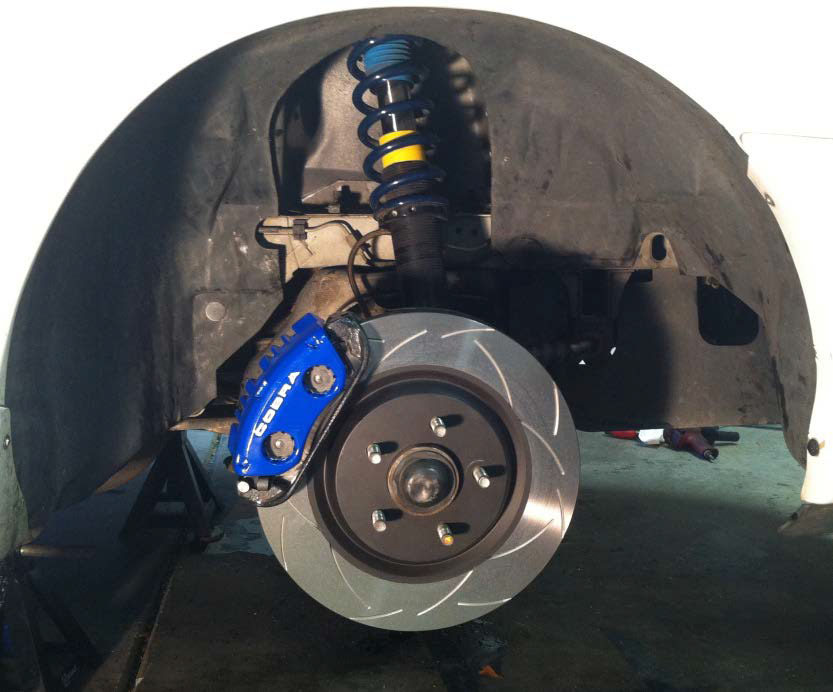
The installation of these rotors was part of a complete brake upgrade on my GT to Cobra brakes. Therefore, the brake calipers in the before pictures look slightly different than the Cobra ones. However, the rotor replacement procedure and the bolt locations are exactly the same on the GT, Cobra, Bullitt, and Mach 1, so this guide will still be 100% accurate for those who are only swapping factory Cobra, Bullitt, or Mach 1 rotors for these DBA T2 rotors.
Step 1:
Loosen lug nuts using either your lug wrench or a 13/16” socket.
Step 2:
Raise and support the vehicle on jack stands.
Step 3:
Remove wheels.
Step 4:
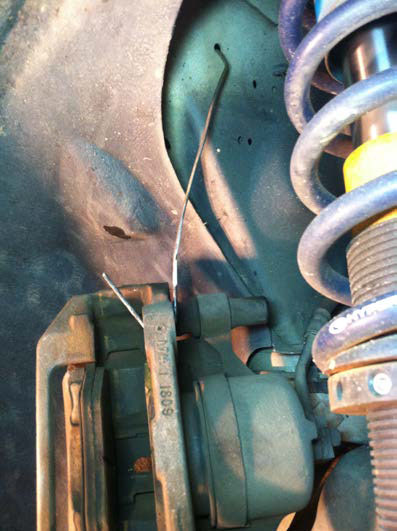
Using a coat hanger, make an S hook. This will be used to hang the caliper in step 6.

Step 5:
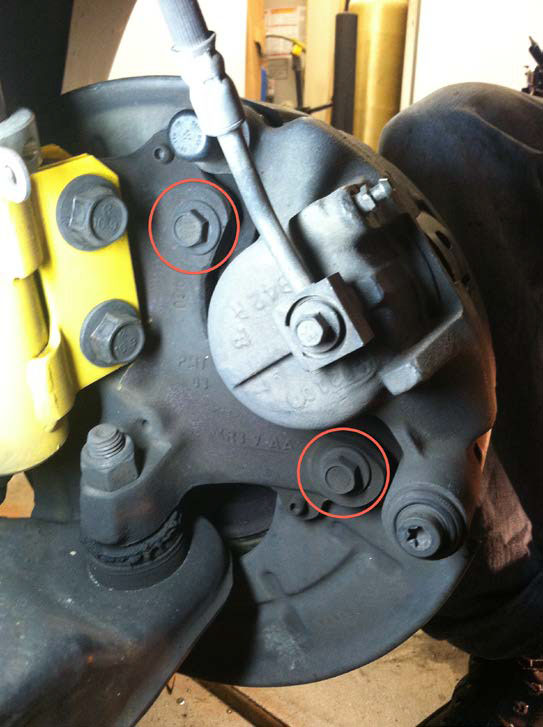
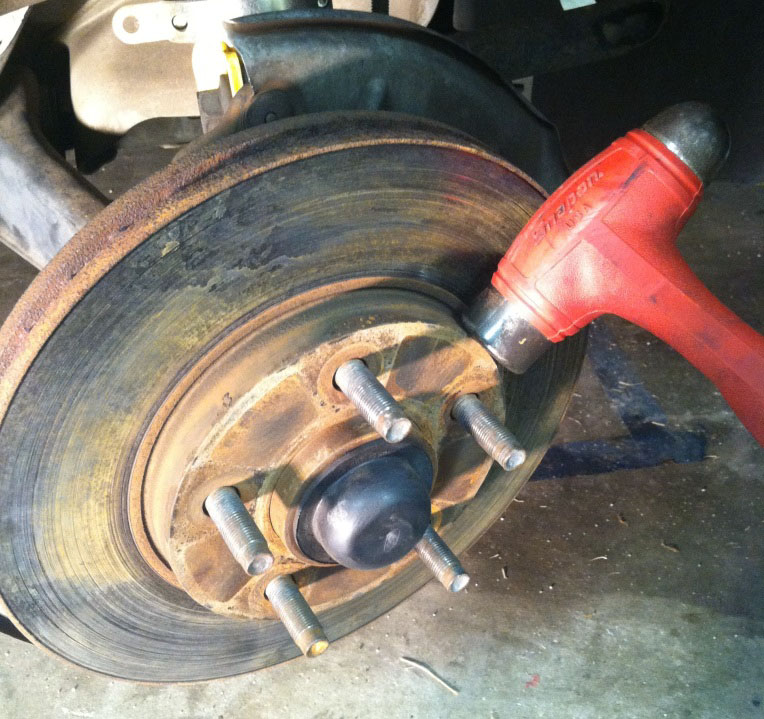
Using a socket wrench and 15mm socket, remove the brake caliper and bracket assembly from the spindle. It is NOT necessary to remove the caliper from the bracket. Simply remove the bolts holding the bracket onto the spindle.
Step 6: Hang the caliper using the hook you made in step 4. DO NOT let the caliper hang from the brake hose as this can cause internal damage to the hose.
Step 7:
Remove the brake rotor. Depending on how long it has been since the rotor was last removed, there may be rust build up on the spindle, which can make the rotor difficult to remove, as mine were. If this is the case, use a rubber hammer to remove the rotor.
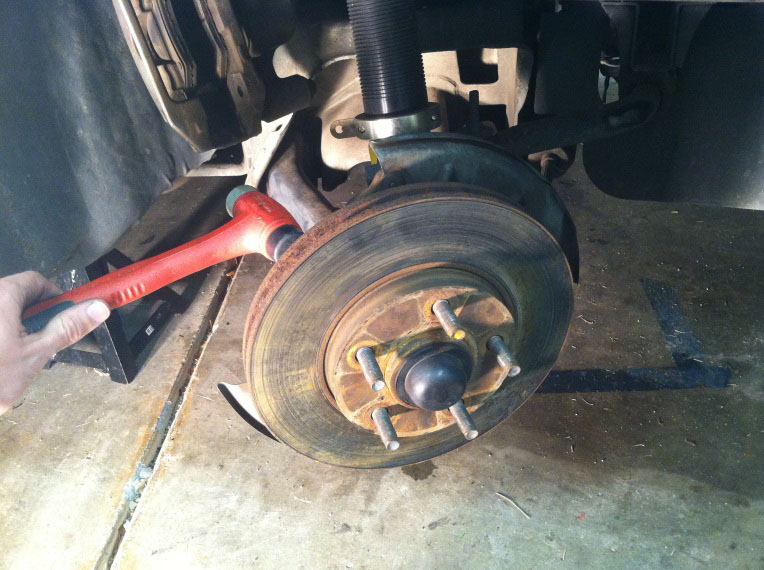
If the rotor still will not come off using a rubber hammer, you can use a ball peen hammer to help loosen the rotor. Then use the rubber hammer again, if necessary.
Step 8:
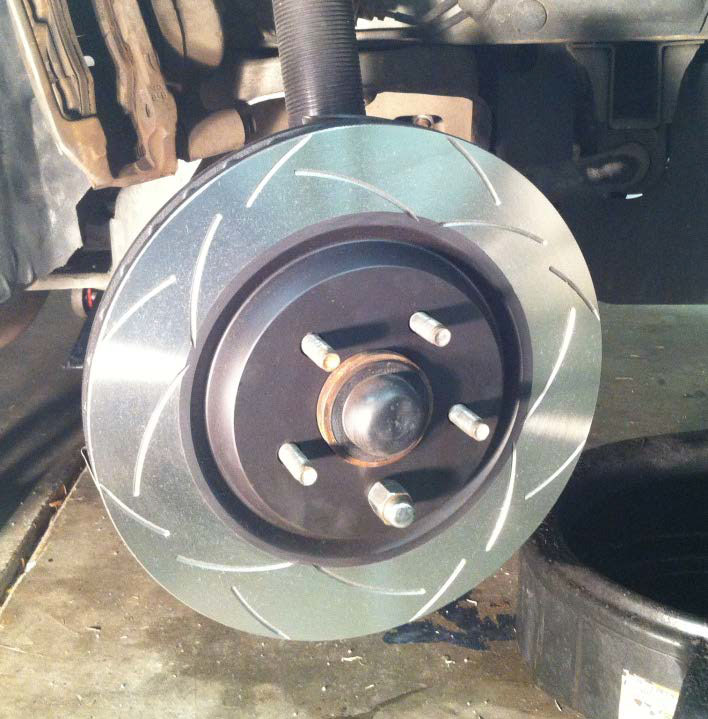
Install the new rotor. You can use a single lug nut to hold the rotor straight to make it easier to deal with while you re-install the caliper.
Step 9:
Re-install the caliper/bracket assembly. Torque the bracket bolts to 90 ft-lbs.
Step 10:
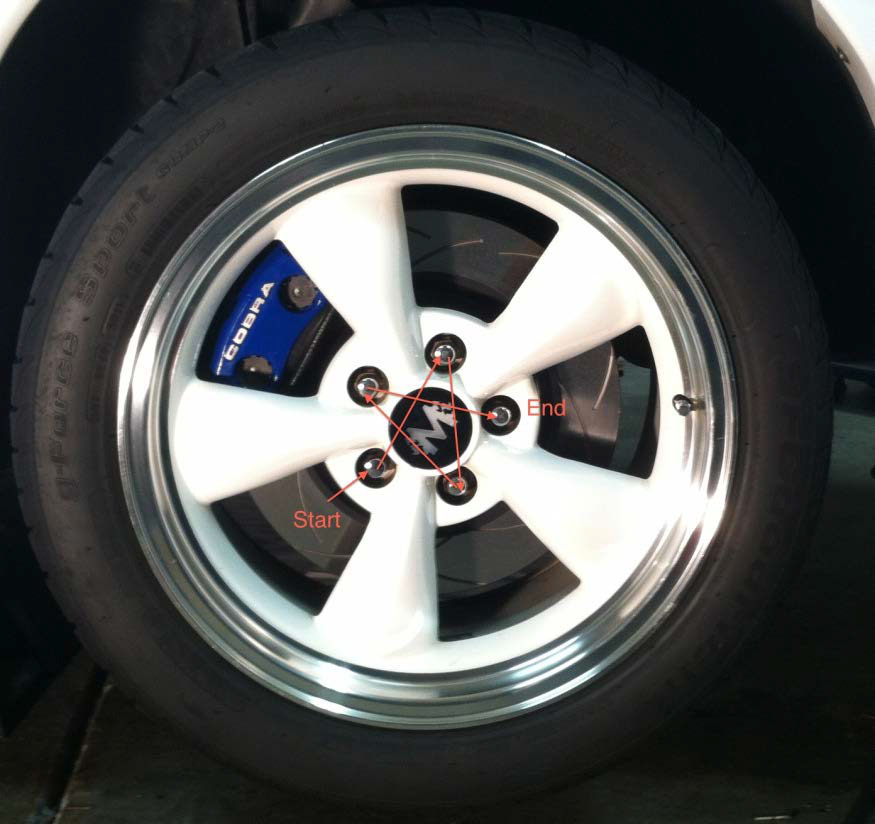
Remove the single lug nut that was installed in step 8 and re-install the wheel. Torque each lug to 100 ft-lbs, using a star pattern.
Congratulations! You’re done!
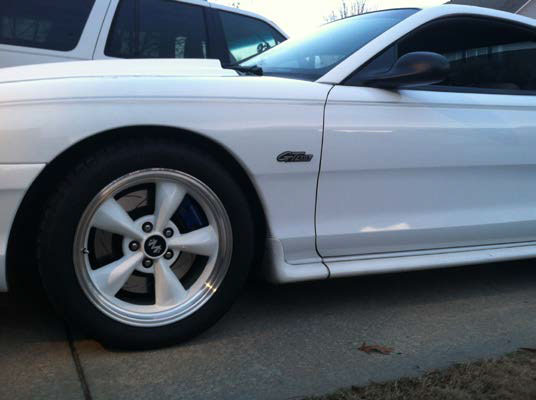
After
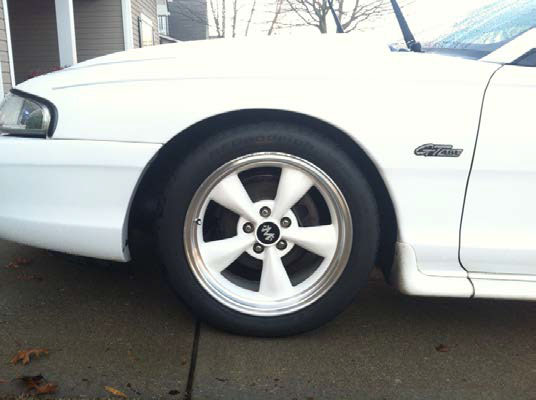
Before
Installation Instructions Written by AmericanMuscle Customer Kevin Cross 1.1.2014
