 FREE 1 to 3-Day Delivery on Orders $119+ Details
Best Sellers


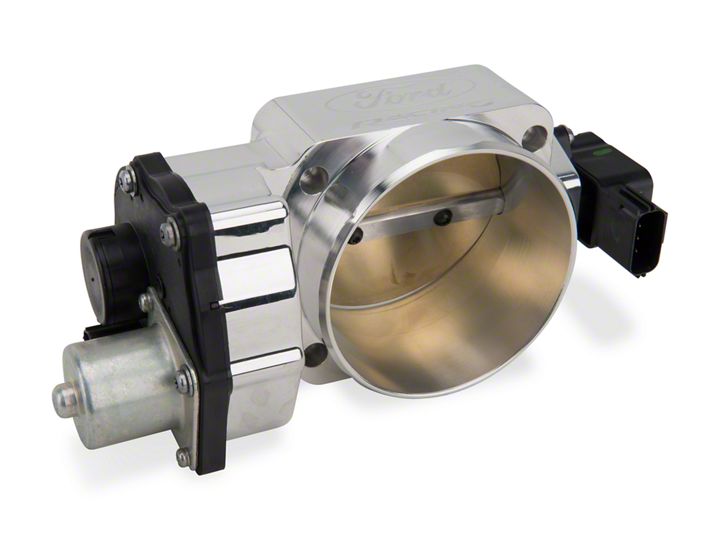
How to Install a Ford Racing 90mm Throttle Body on your 2011-2013 GT Mustang
Installation Time
1 hours
Tools Required
- Standard Flat Head Screwdriver
- 2 Safety Pins
- 10mm Wrench
- Allen Head Wrench
Shop Parts in this Guide
Time Necessary: Approximately 1 hour
Tools Required:
Standard flat head screw driver
Two safety pins
10mm wrench
Allen head wrench
Installation Procedure:
1. Disconnect Battery
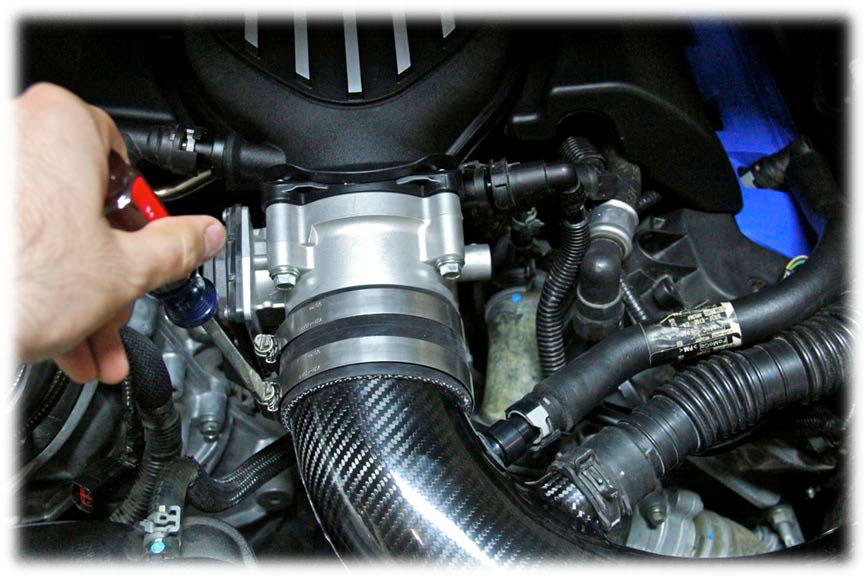
2. Loosen hose clamps that are currently attached to your current throttle body
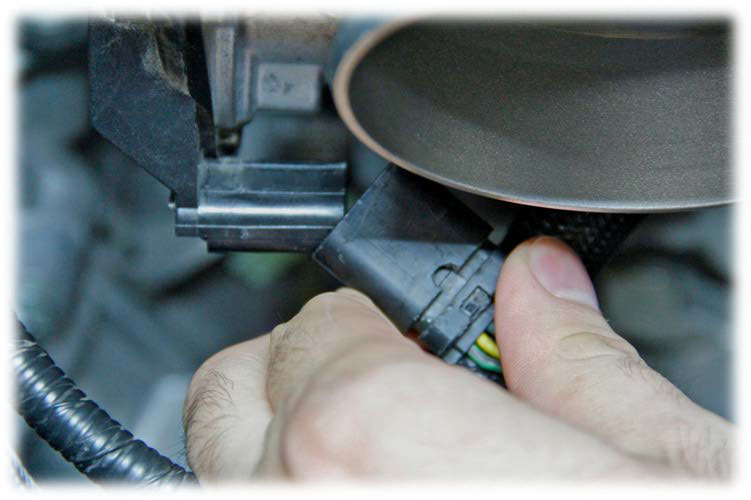
3. Unplug the throttle position sensor
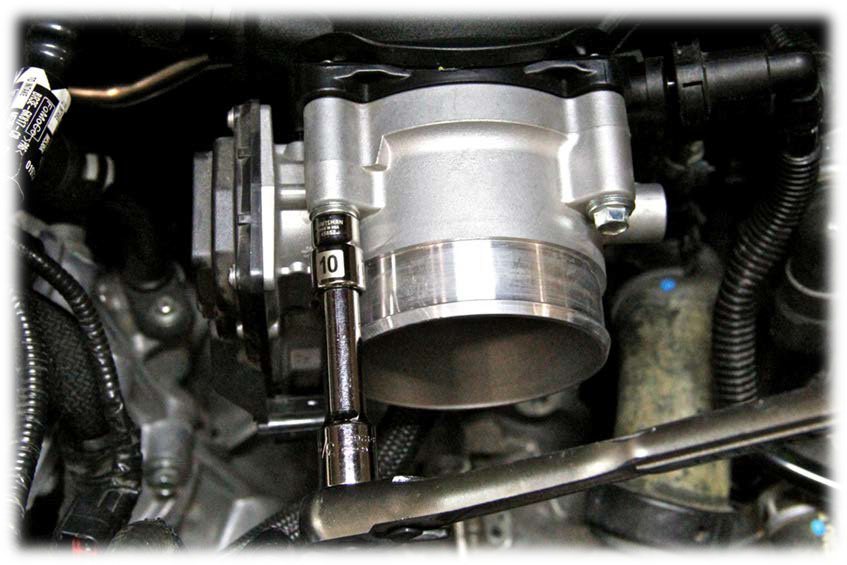
4. Unbolt the 4 bolts holding the current throttle body in place
5. Slide the 4 bolts through the ford racing throttle and the specifically designed spacer for the Boss 302
6. Start to tighten the 4 bolts onto the manifold (DO NOT OVER TIGHTEN)
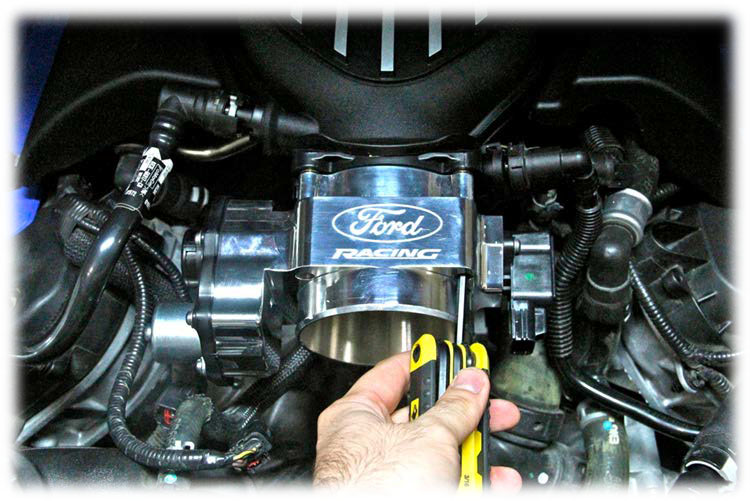
7. Slide on the silicone coupler onto the ford racing throttle body. This will not be easy. If you can purchase one that will go on easier then by all means do so.

8. The ford racing manifold comes with a new throttle position sensor as seen below

Before connecting the intake to the silicone coupler; using the new throttle position sensor, plug in the “big gray plug” onto the throttle body, and secure it with the red clip that is attached
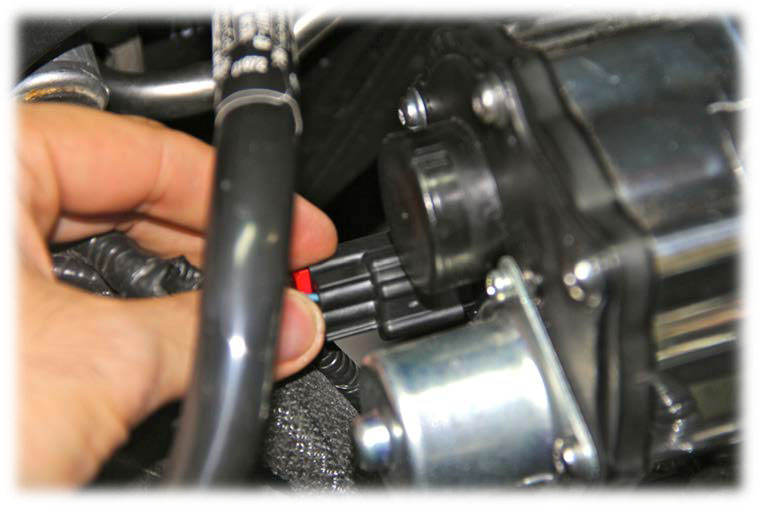
9. Plug in the second “black clip that is on the throttle position sensor to the opposite side of the throttle body and secure it with the red clip that is attached
10. This part is tricky so PAY ATTENTION. The stock throttle position sensor WILL NOT connect to the new throttle position sensor as seen below
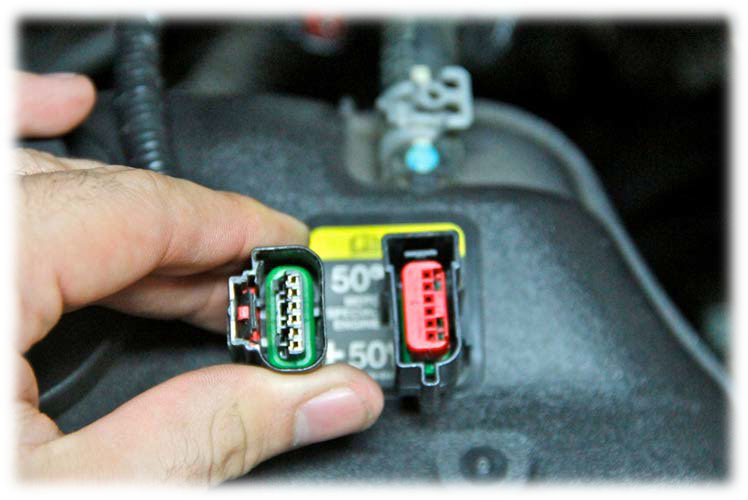
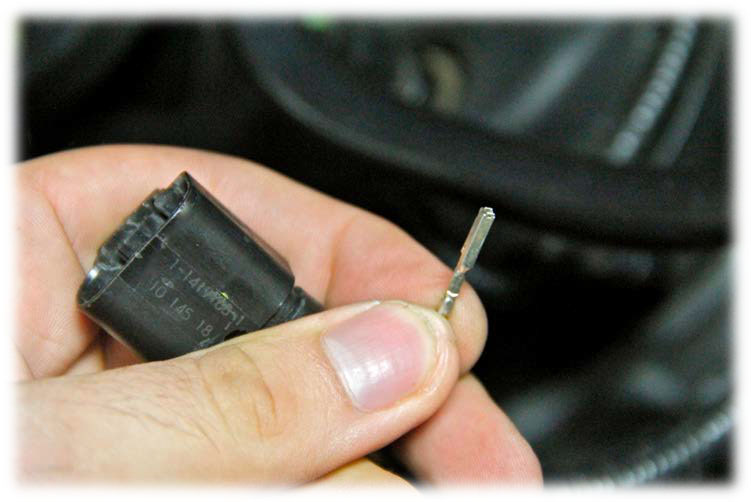
You will have to take off the red plastic cover that is on the inside of the stock throttle position sensor (use a small thin screw driver to remove it)
11. You will see 6 connectors on the stock throttle position sensor. Using two safety pins, place one safety pin in the space next to one individual connector and the second safety pin onto the individual connector itself.
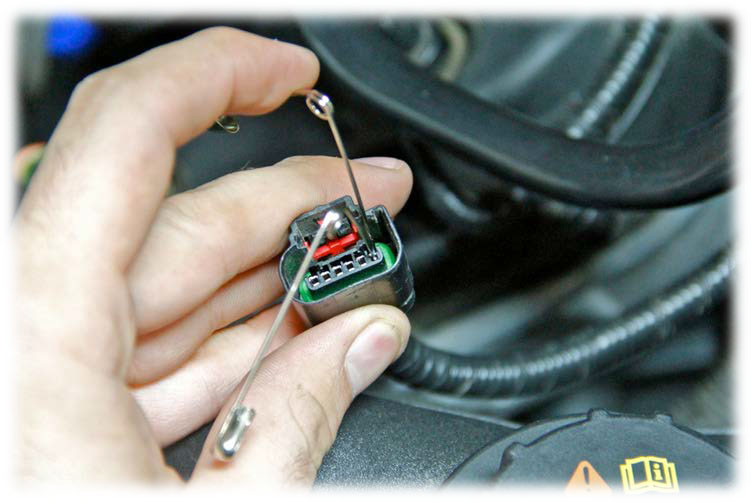
Push the second safety pin down and you will feel it slide down. Do not force it! DO ONLY ONE AT A TIME so you won’t get the wires mixed up.
Make sure that the order of the connectors is as follows
1: yellow/violet
2: blue/green
3: brown
4: blue/orange
5: yellow
6: green violet

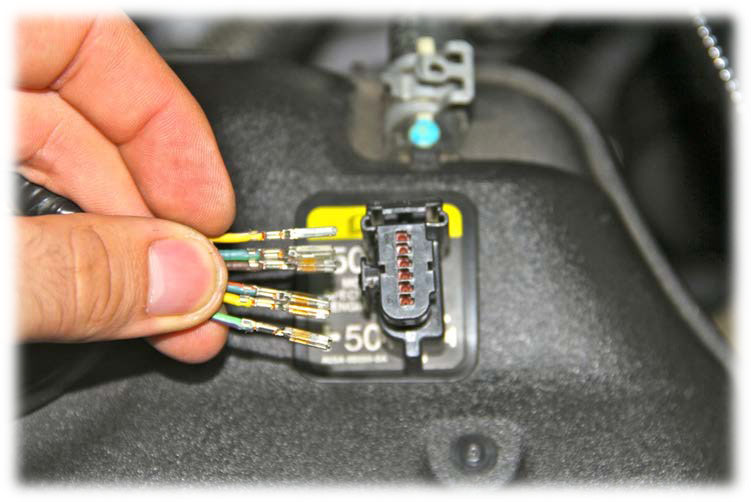
12. As you take one connector out at a time, insert that connector in the identical place that it was in but onto the new throttle position sensor. As seen above, the new throttle position sensor starts with the clip at the top and the rounded edge at the bottom. Place the “yellow/violet” on the top where the clip is and work your way down until you plug the “green/violet” one on the rounded edge at the bottom. DO NOT GET THE ORDER WRONG!!
13. Now you can plug in the new throttle position sensor together
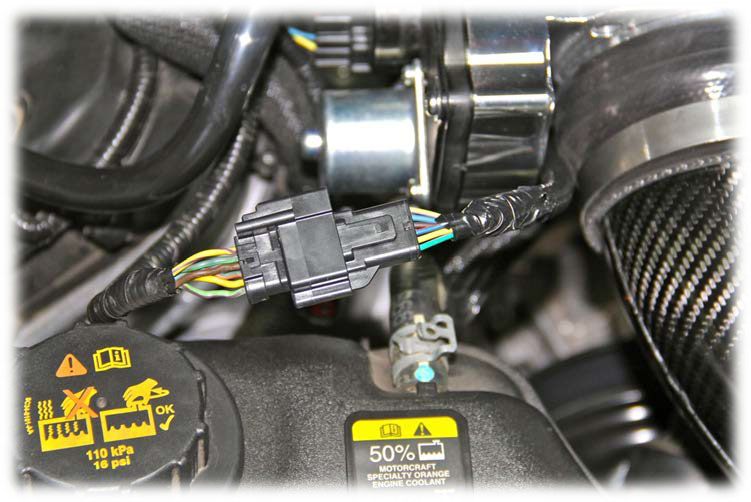
14. You can hide the connection behind the throttle body.
15. You will notice that the “purge valve connector” does not have a place to go. You have two options. Ether pay to get the ford OEM boss 302 purge valve plug reposition adapter. Or not plug it in at all, and simply cap the purge valve on the boss 302 manifold. The car does not really need the purge valve to begin with. All it does is allows gasses to pass from the gas tank to the engine, but most environments are not extreme enough to need that gas flow to begin with.
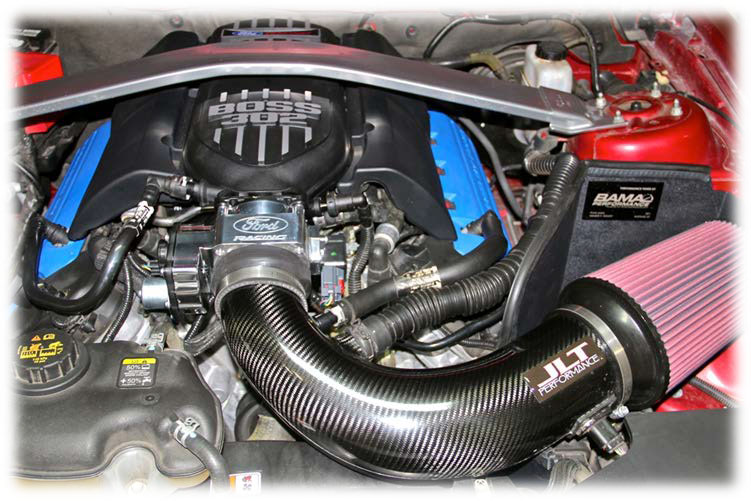
16. Now connect the intake onto the silicone coupler and tighten the hose clamps.
17. Reconnect the battery
18. Plug in your tuner with the updated information containing the newly installed ford racing 90mm throttle body and begin the updating process.

19. If you did everything right and the tuner is calibrated to have the new ford racing throttle body, then you have successfully installed this product.
20. The new addition will give you a significant HPWR increase and the Mustang will want to buck hard right out of 1 gear. So take your time to learn how your car responds to your touch before you push your pony hard. HAVE FUN!!! BE CONSIDERATE OF OTHERS ON THE ROAD AND MOSTLY PLEASE BE SAFE.
Installation Instructions written by AmericanMuscle customer Omar Lopez 2.1.13
