 FREE 1 to 3-Day Delivery on Orders $119+ Details
Best Sellers


How to Install a Ford Racing High Performance Clutch Fluid Line on your 2005-2010 Mustang GT
Shop Parts in this Guide
Please visit www.fordracingparts.com for the most current instruction information
! ! ! PLEASE READ ALL OF THE FOLLOWING INSTRUCTIONS CAREFULLY PRIOR TO INSTALLATION. AT ANY TIME YOU DO NOT UNDERSTAND THE INSTRUCTIONS, PLEASE CALL THE FORD RACING TECHLINE AT 1-800-367-3788 ! ! !
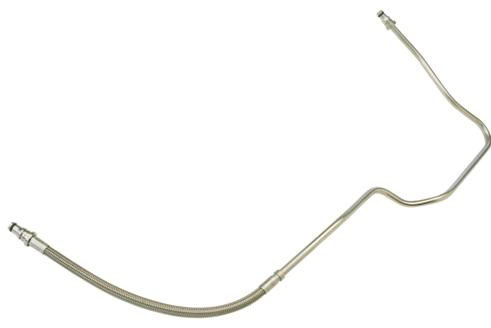
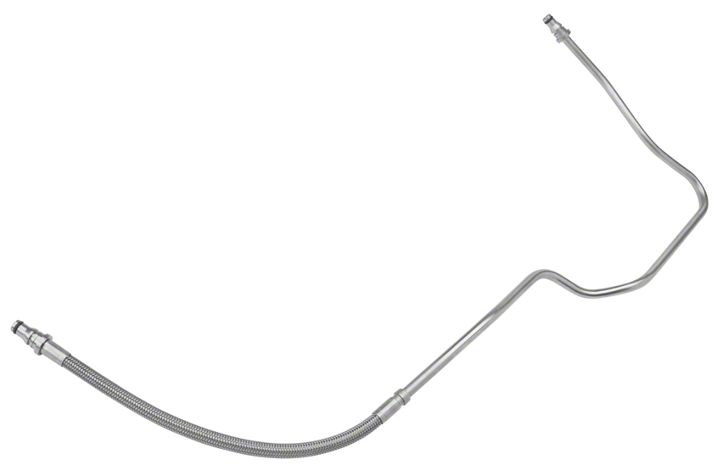
HYDRAULIC CLUTCH LINE:
Quantity Part Name
1 Hydraulic Clutch Line
NOTICE: Do not spill brake fluid on painted or plastic surfaces or damage to the surface may occur. If brake fluid is spilled onto a painted or plastic surface, immediately wash the surface with water.
_________________________________________________________
INSTALLATION INSTRUCTIONS:
STEP 1: Raise and support the vehicle to gain access to the undercarriage.
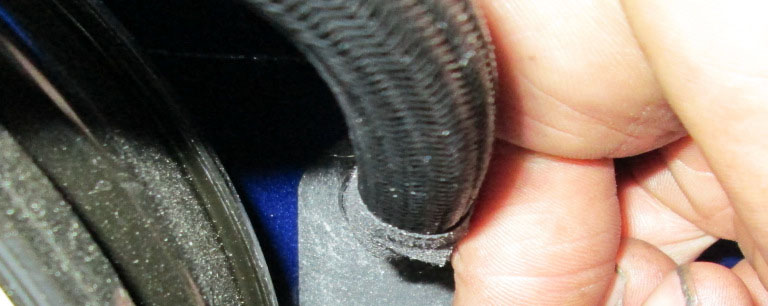
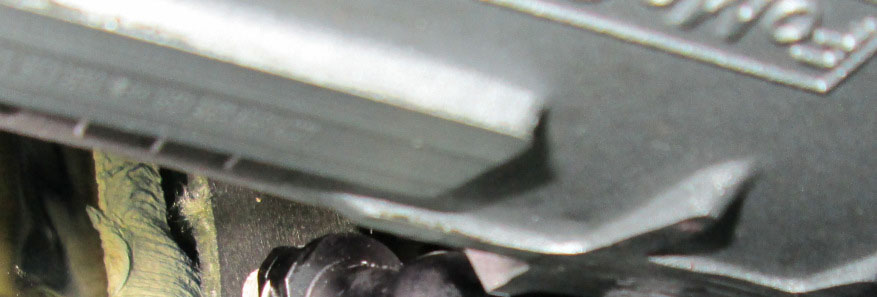
STEP 2: Remove (1) bolt that supports the intake tube to the driver side frame rail if equipped.
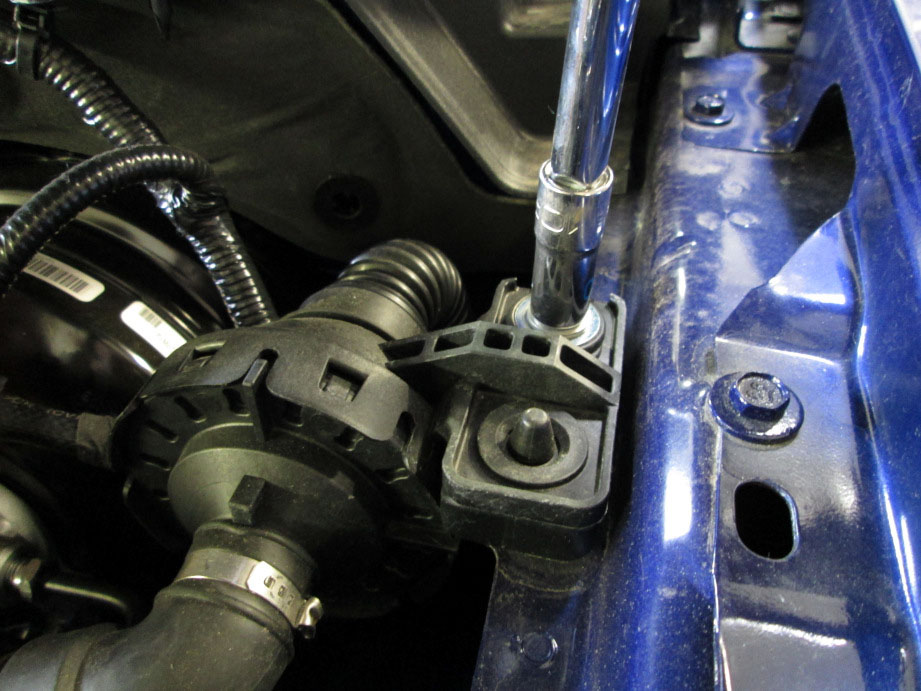
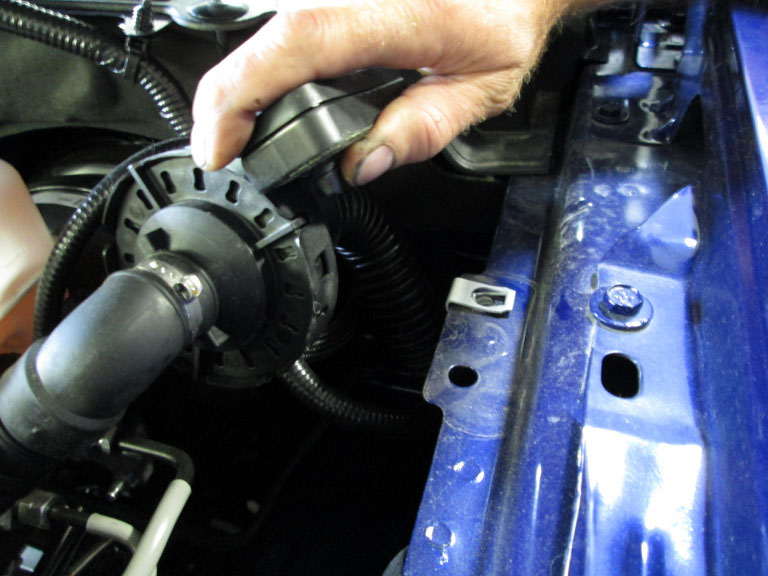
STEP 3: Remove the intake tube from the fire wall by gently pulling towards the front of vehicle, then place to the side.

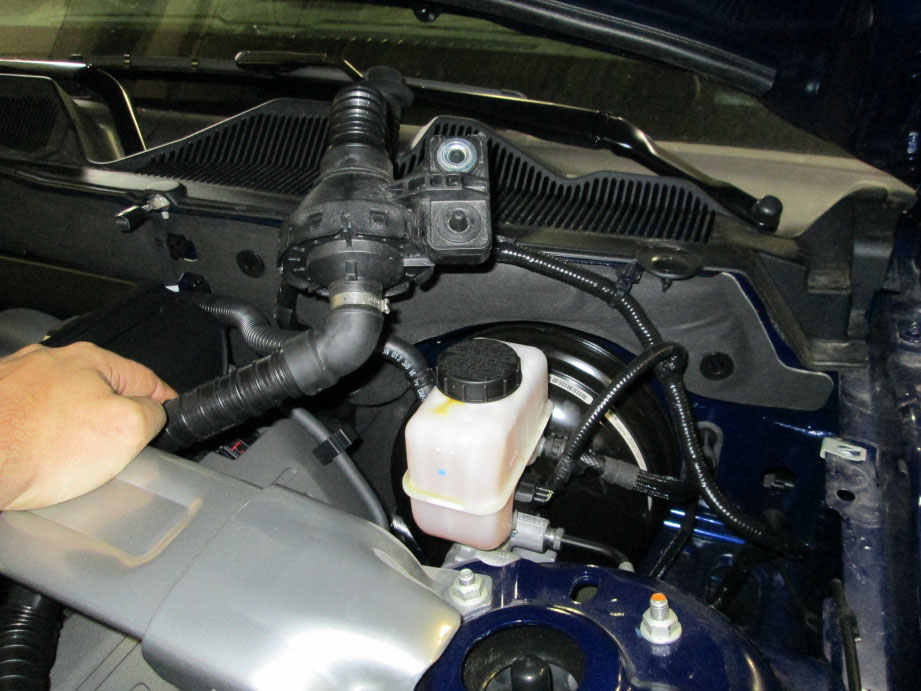
STEP 4: Place a clean towel under the hydraulic clutch line to catch any fluid during the removal process.
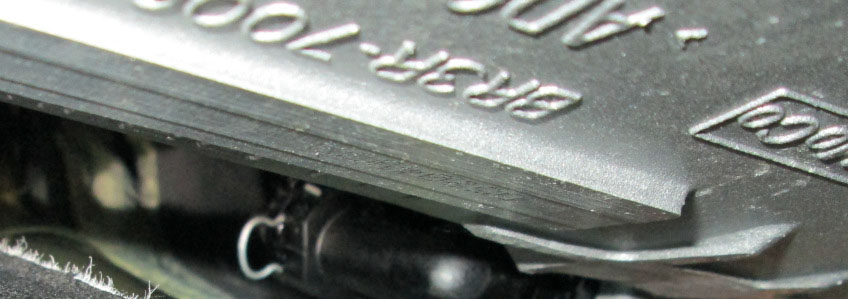
STEP 5: Using a small pick, gently pull the hydraulic hose retaining clip outboard to release the hose.
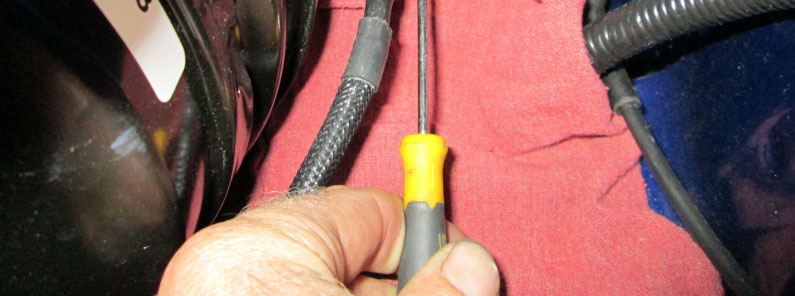
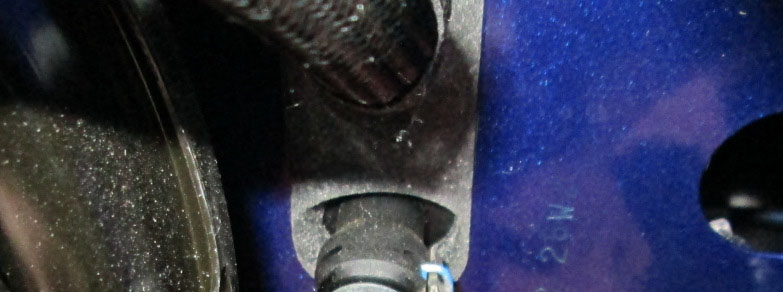

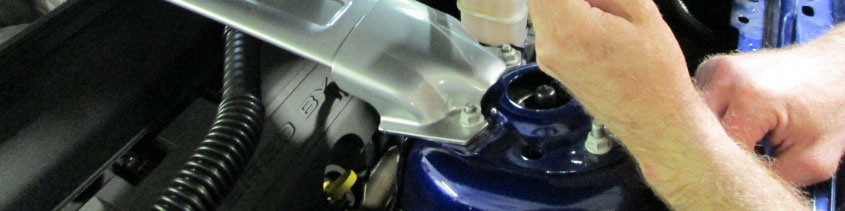
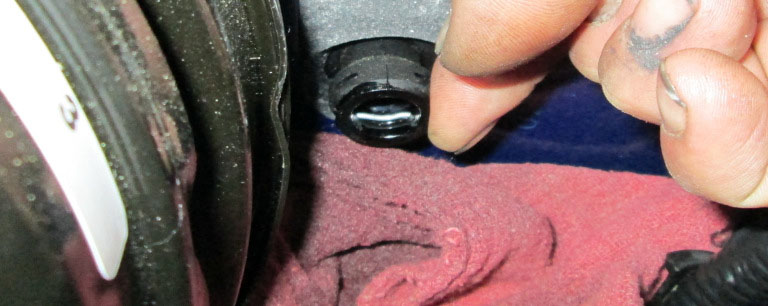
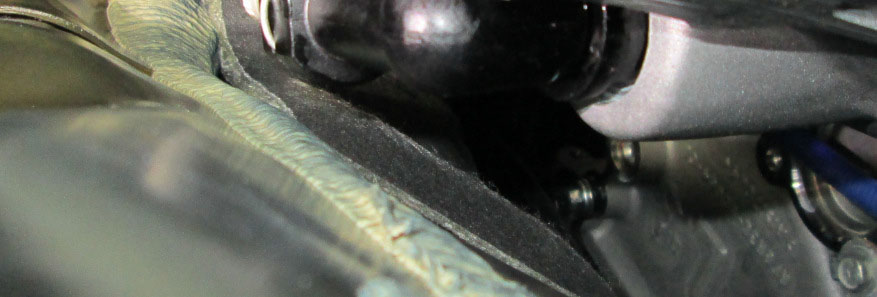
STEP 6: Gently pull the hydraulic hose out of the clutch cylinder housing.
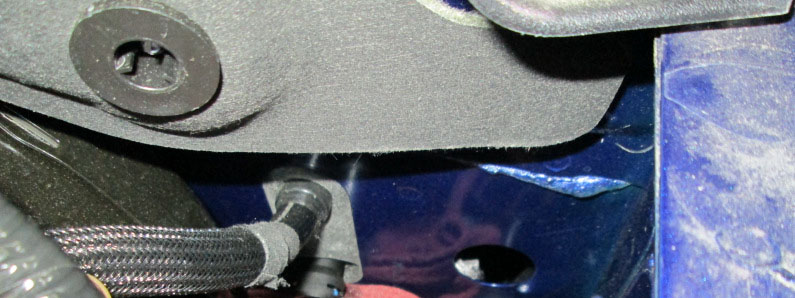
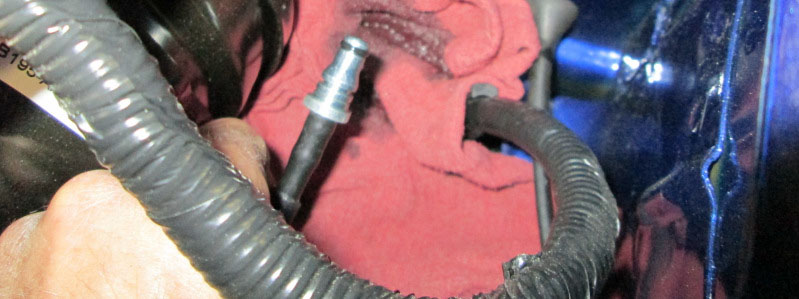
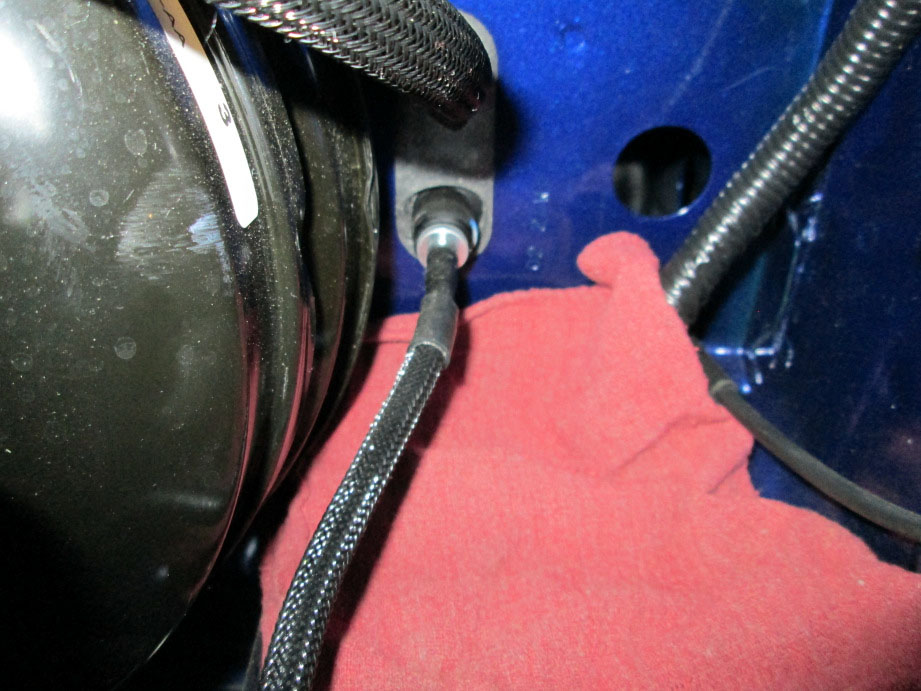
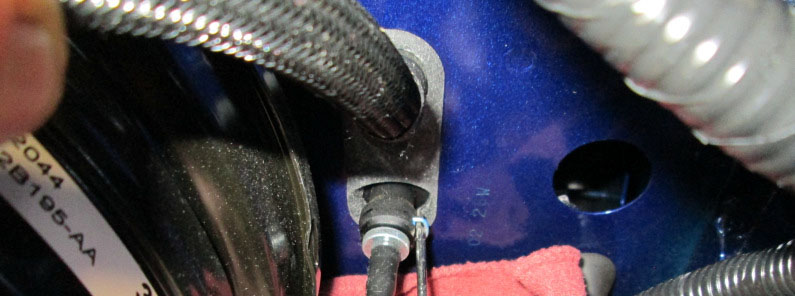
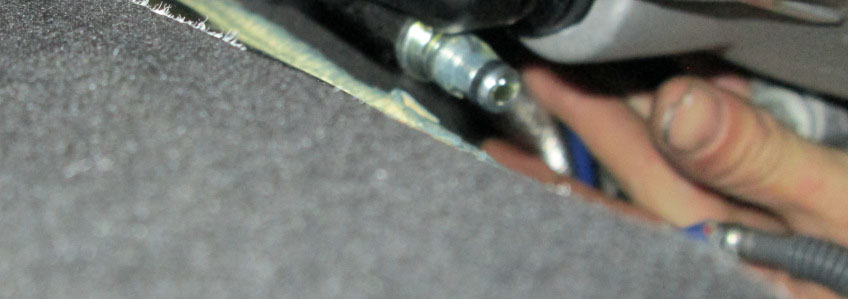
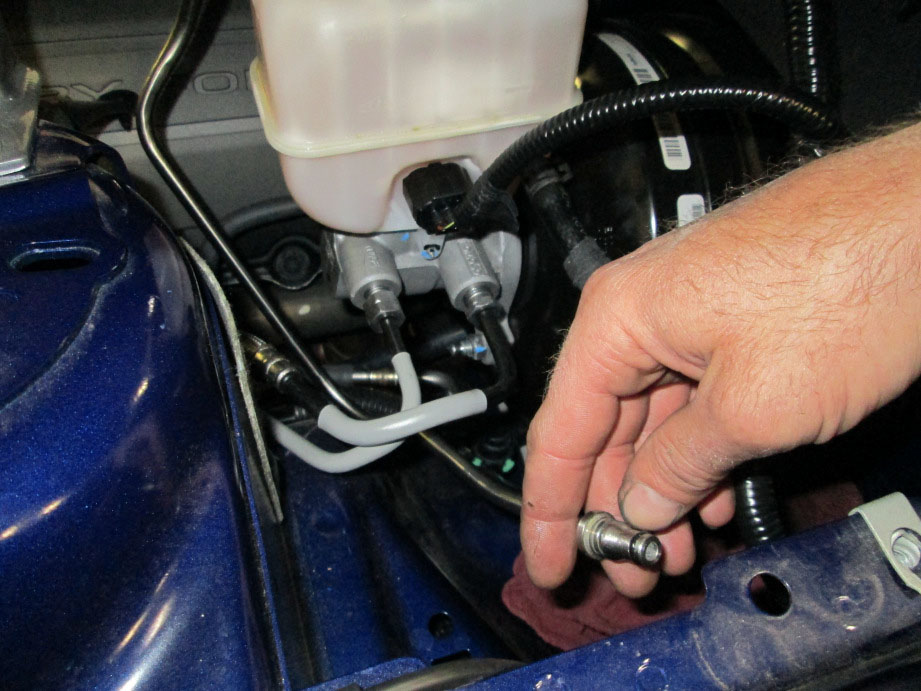
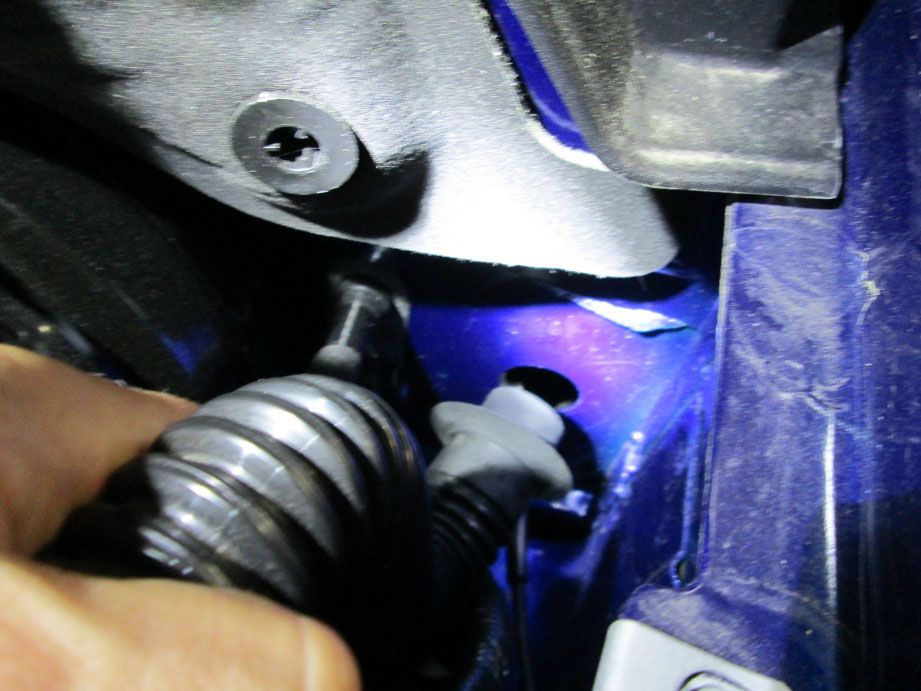
STEP 7: Locate the lower hydraulic hose connection from the underside of vehicle on the driver side of the transmission. Using a small pick, gently pull the hydraulic hose retaining clip outboard to release the hose.
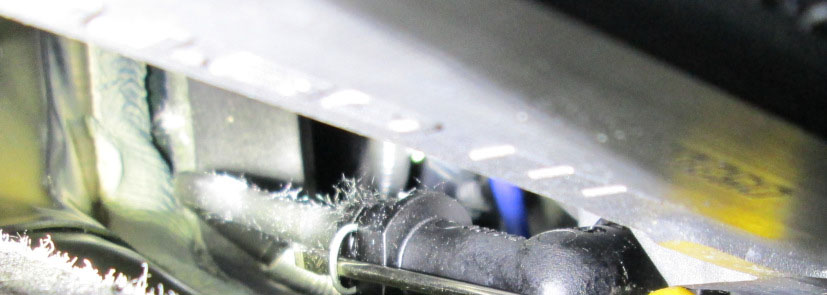

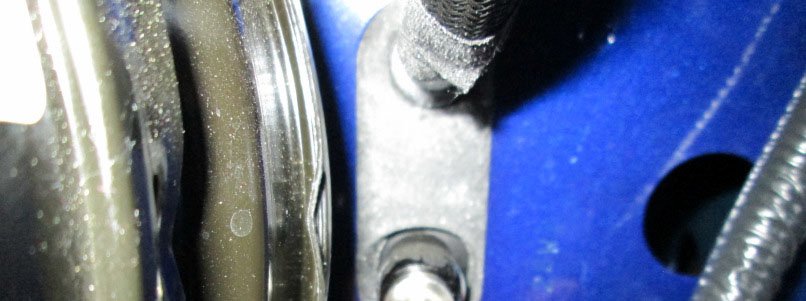
STEP 8: Gently pull the hydraulic hose out of the transmission elbow.
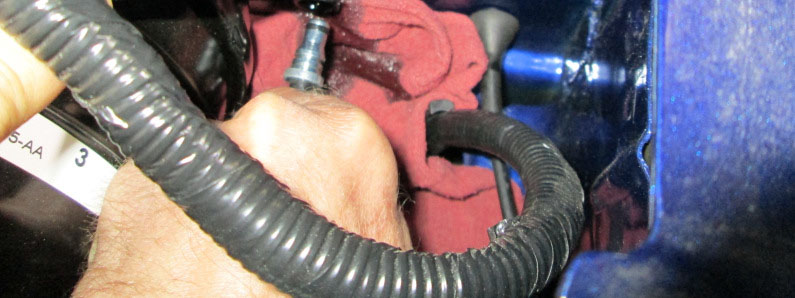
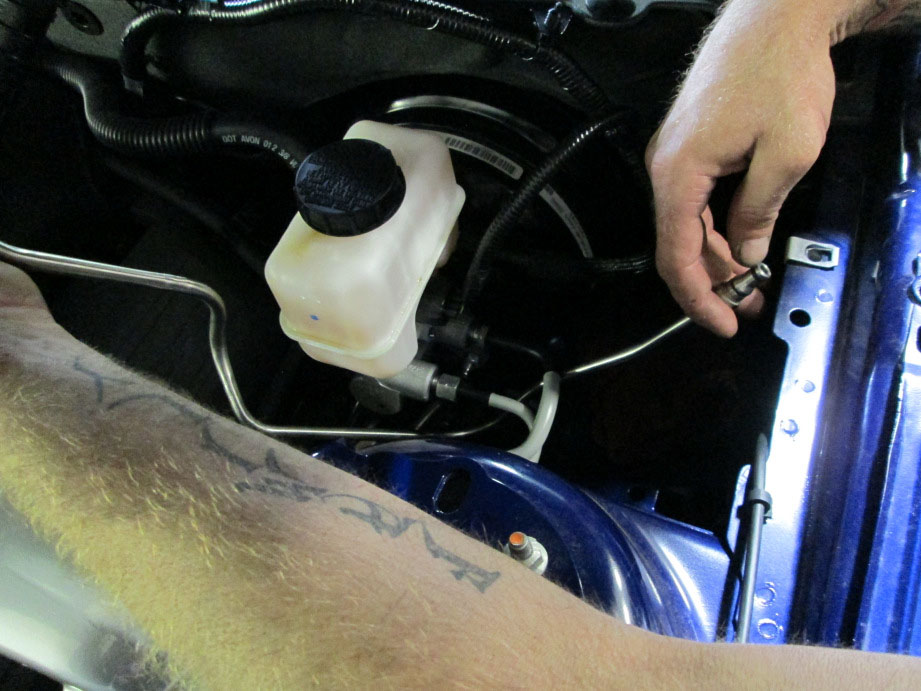
STEP 9: From the topside of the vehicle, carefully feed the hydraulic clutch line out of the vehicle.
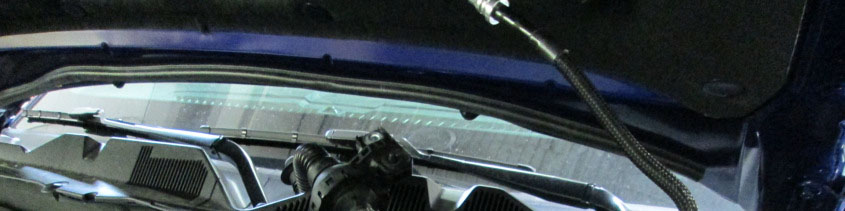
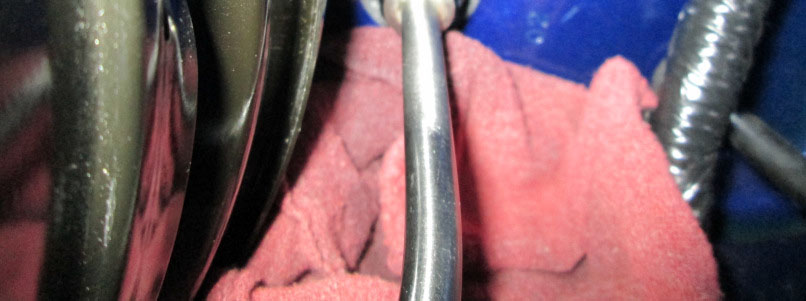
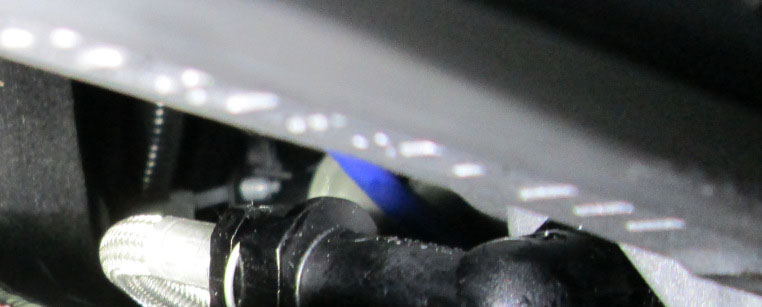
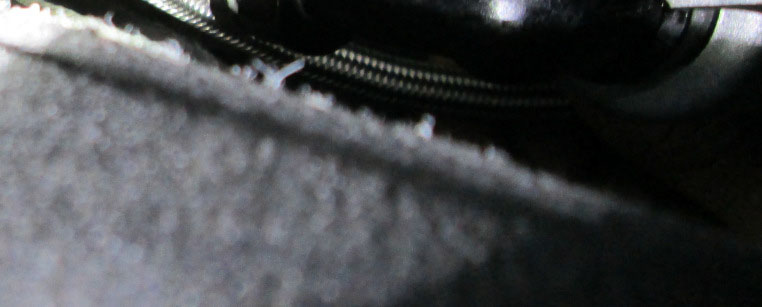
STEP 10: Feed the new hydraulic clutch line under the existing brake lines and down along the side of the transmission housing. Correct orientation will have the solid portion of the line at the top side of vehicle with the flexible steel braiding next to the transmission housing.
STEP 11: Push the hydraulic hose retaining clip back into the housing.
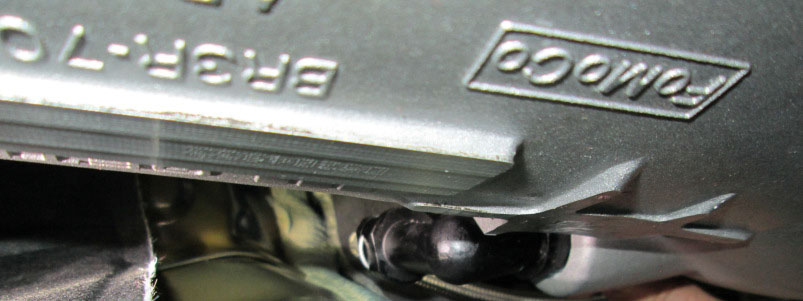
STEP 12: Lubricate the O-ring and gently push the new hydraulic clutch line end into the clutch cylinder housing until it locks into the retaining clip.
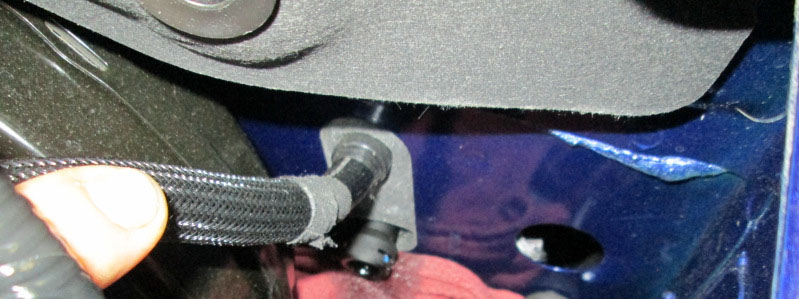
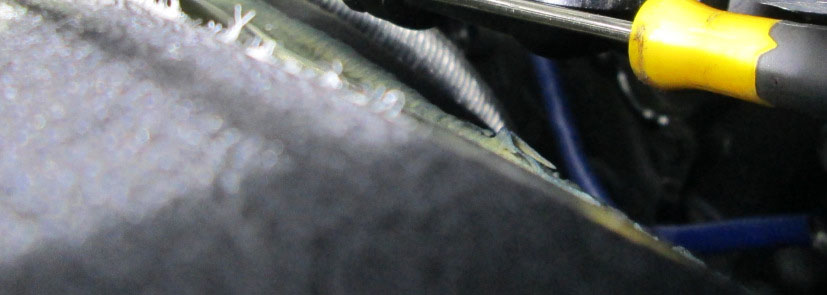
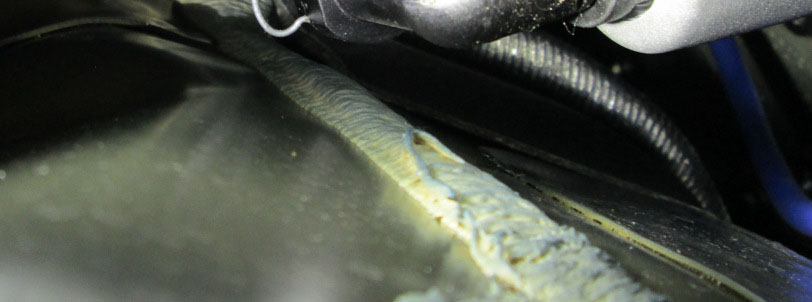
STEP 13: From the underside of the vehicle, push the hydraulic hose retaining clip back into the elbow.
STEP 14: Feed the new hydraulic clutch line down the elbow on the transmission housing, lubricate the O-ring and gently push the new hydraulic clutch line end into the clutch cylinder housing until it locks into the retaining clip
STEP 15: Reinstall the intake tube into the fire wall by gently pushing into its location if equipped.
STEP 16: Install (1) bolt that supports the intake tube to the driver side frame rail.

STEP 17: Using Motorcraft High Performance DOT 3 Motor Vehicle Brake Fluid, follow the procedure below to bleed the hydraulic system of air.
STEP 18: Make sure the clutch pedal is in the most upward position.
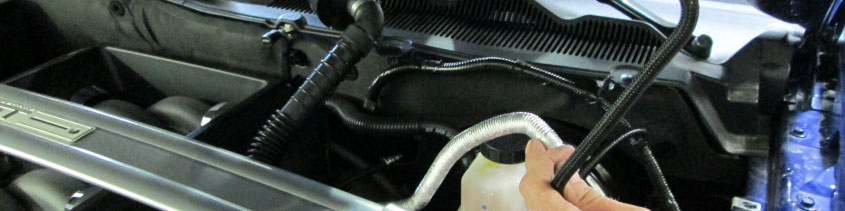
STEP 19: Check the fluid level of the brake/clutch reservoir. Fill the reservoir with the specified fluid to the MAX mark.
STEP 20: Using a suitable bleeder kit and a vacuum pump, install the rubber stopper in the reservoir opening. Make sure the rubber stopper has a tight fit.
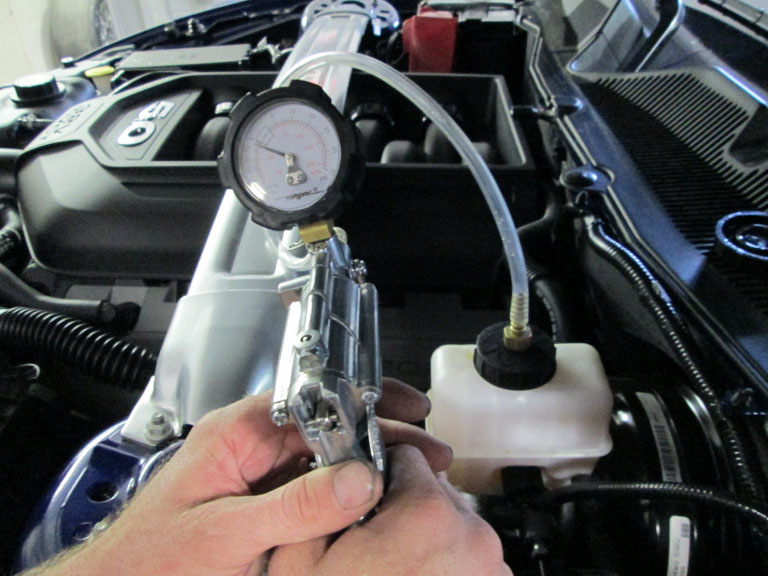
STEP 21: Holding the rubber stopper in place, operate the vacuum pump to 15-20 inches of vacuum. Hold the vacuum for 1 minute, then quickly relieve the vacuum. Remove the special tools.
STEP 22: Check the fluid level of the reservoir. Fill the reservoir with the specified fluid to the MAX mark. Install the reservoir cap.
STEP 23: Depress and release the clutch pedal 10 to 12 times or until clutch pedal effort is consistent and positive at top of clutch pedal travel.
STEP 24: Repeat Steps 20, 21 and 22 two additional times or until clutch pedal effort is consistent and positive at top of clutch pedal travel.
STEP 25: Check the fluid level of the reservoir. Add fluid as necessary. Test the clutch system for normal operation.
