 FREE 1 to 3-Day Delivery on Orders $119+ Details
Best Sellers


H&R Super Sport Springs ('83-'93 Convertible, '94-'95 Coupe) - Installation Instructions
Installation Time
4 hours
Tools Required
- 2 socket wrenches
- 1 24mm socket
- 24mm wrench or adjustable wrench
- 2 18mm sockets
- 2 15mm sockets
- 1 jack
- 4 jack stands
- 1 chain and padlock or bolt to secure the chain
- 2 new cotter pins if available
- 1 lug wrench
- 1 hammer
- 1 plier
- 1 pry-bar
- 1 torque wrench
- 1 coat hanger or piece of string
- 1 block of wood if readily available
Installation
1. Start by unpacking the box, and making sure all the springs are there.
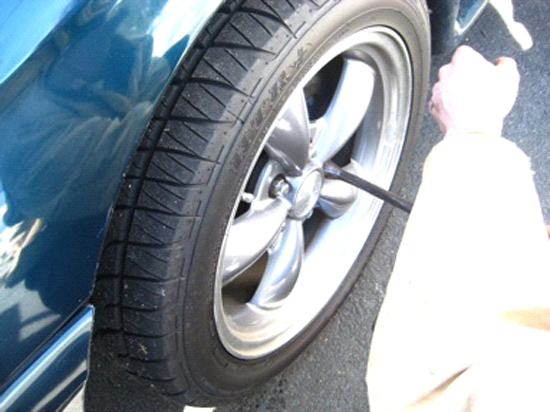
2. Park the car on a level surface and chock the front wheels, loosen the rear lugs with the lug wrench.
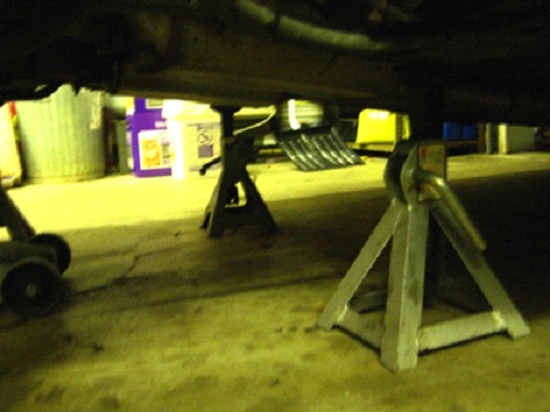
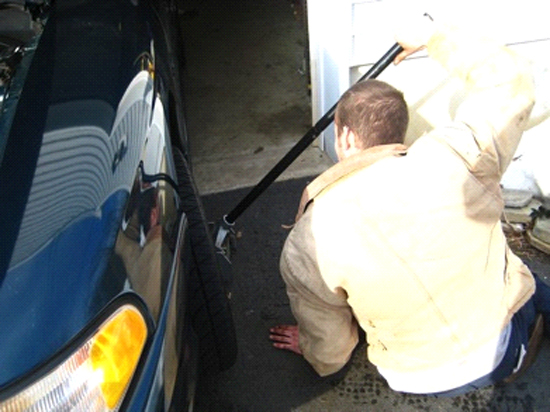
3. To do the rear springs you need to jack the car up by the rear differential high enough, to place two of the jack stands under the rear jacking points of the vehicle. Release the jack and allow the rear suspension to come to full droop, then pump the jack one more time and place the other two jacks under the rear axles. Release and remove the jack from under the vehicle.
4. Finish removing the rear wheels with the lug wrench and set the lugs aside for now. Remove the rear sway bar and parking brake/ABS bracket with the 15mm socket and a socket wrench. Use the 2socket wrenches and 18mm sockets to remove the nut on the axle to control arm bracket.
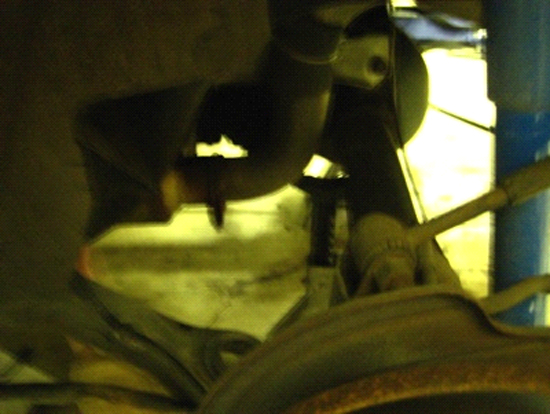
5. Place the small block of wood on the jacking cup and raise the jack so that it is contacting the rear of the control arm just under the bolt enough to take some tension off the bushing.

6. Pull out the rear control arm bolt, then slowly release the jack so that the tension from the spring is removed. Pull out the rear spring.
7. Take the new rear spring and make sure to either switch the old spring isolators over to the new spring if you did not buy new ones. A little bit of tape will help secure the isolators to the springs if necessary.

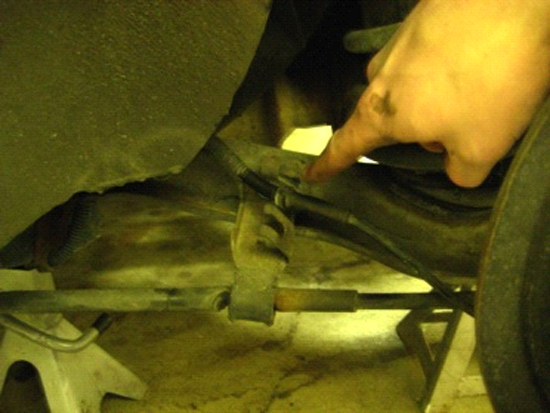
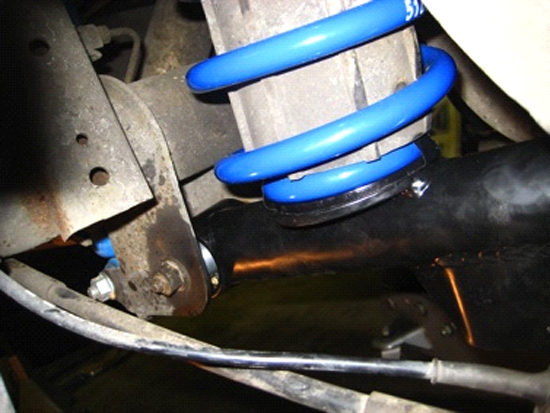
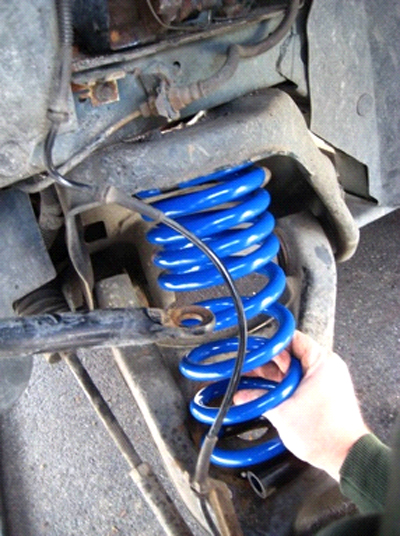
8. The lower pigtail on each rear spring needs to be pointing to the driver side of the car, make sure to do this correctly if not your rear end will sag lower than anticipated. The picture below illustrates its position.
9. Once the spring is in proper place raise the jack and guide the spring into the upper mounting cup, and the rear control arm bushing back into the brackets. Place the bolt back through the bushing and torque down to 85 foot pounds.
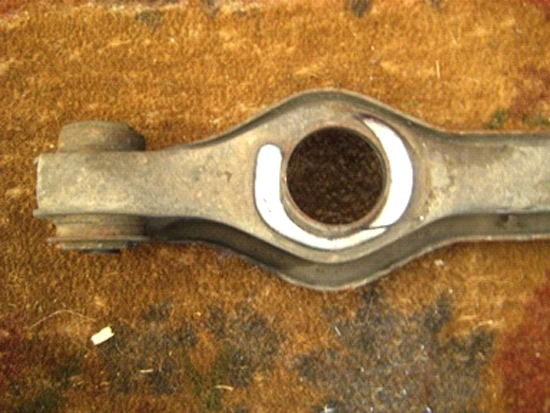
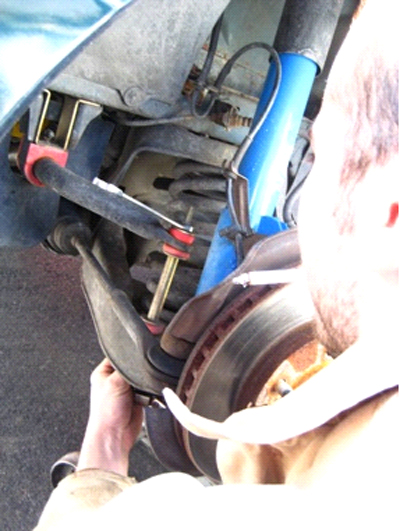
10. The only reason the control arms are different in these pictures is because they were replaced at the same time of the spring install.
11. To do the other side repeat all the prior steps.
12. Once the other side has been done you need to reinstall the rear sway bar with the 15mm socket, install the parking brake/abs bracket with the last bolt for the rear sway bar and torque to 41 foot pounds.
13. Place the wheels back on the car and finger tighten the lugs, use the jack to raise the car by the rear differential again and raise the car high enough to remove all the jack stands and slowly lower the car, torque the lugs with the star wrench.
14. To do the front springs, its best to start by jacking only one side of the car up at a time, set the parking brake, pick a side and loosen the lugs with the lug wrench.
15. Place the jack under the front frame rail, and raise the car high enough to stick a jack stand under the frame rail.
16. Release and remove the jack, finish removing the lugs and remove the wheel
17. Place the jack under the front control arm and raise it up slightly to relieve the droop of the front control arm.
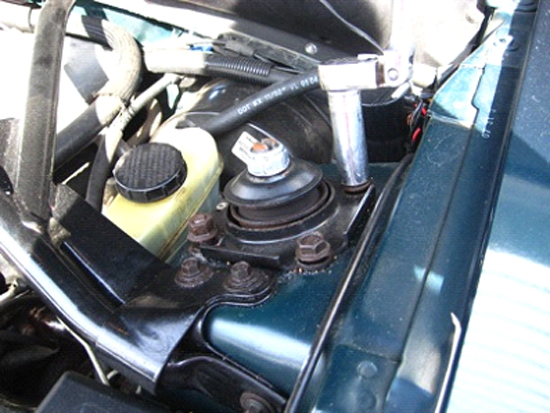
18. Use the 2 15mm sockets and socket wrenches to remove the front sway bar link and the upper strut mount bolts under the hood.
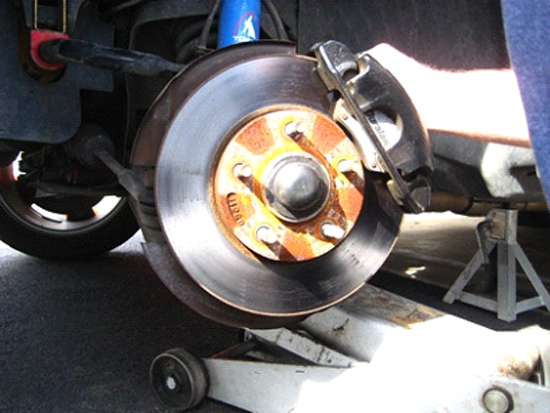
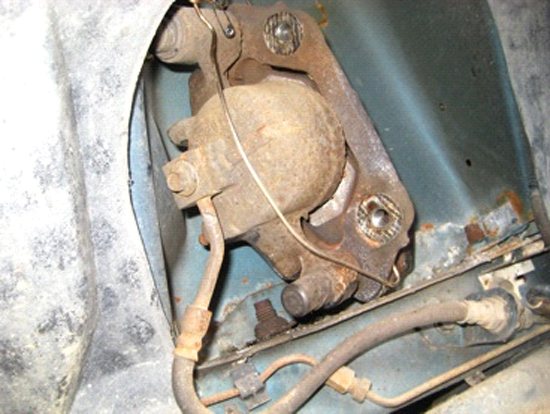
19. You might need to turn the wheel to best access these bolts but there are two 15mm bolts behind the spindle that connect the caliper bracket and caliper to the spindle. Remove these two bolts and use the string or coat hanger to hang the caliper and bracket in the wheel well, remove the rotor as well.
20. Use the socket wrench, 24mm socket, and 24mm wrench/adjustable wrench to remove the spindle to lower strut bolts. Remove the abs bracket then push the bolts out and remove the strut from the vehicle.
21. Use the pliers to remove the cotter pin from the outer tie rod to the spindle, then use the 15mm socket to remove the castle nut, strike the bolt end of the tie rod with the hammer to release it from the spindle, don’t strike the tie rod itself as it could break.
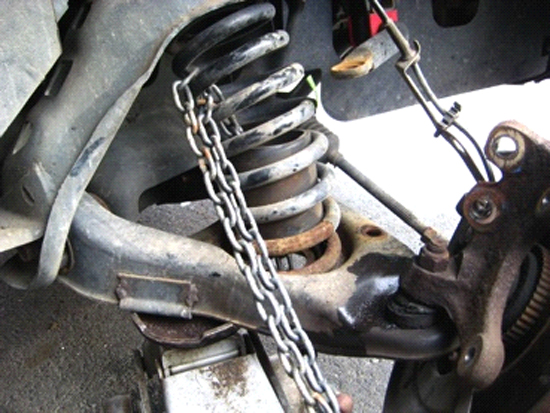
22. Wrap the chain up through the control arm out the spring a few times, but leave enough slack for the spring to expand without binding the chain, then lock it or bolt two of the links together.
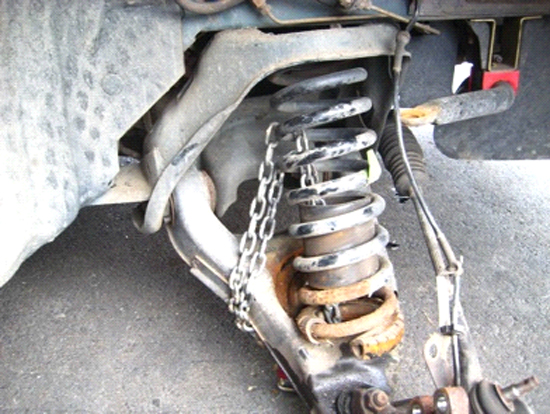
23. Slowly release the jack from under the control arm and allow the spring to expand, if necessary use the pry bar to pull out the spring the rest of the way, if there is any stored inertia from the spring the chain will retain it, unlock/unbolt the chain and remove the spring from the car.
24. Transfer the old spring isolators, or use new ones if bought, to the new spring, and place the spring in the control arm. There will be two holes at the bottom pocket of the control arm, the pigtail needs to be in the middle of these two holes. So that it is covering one but not the other.
25. Slowly jack the control arm back up and guide the spring into the upper mounting cups, raise the jack so that the control arm is parallel with the ground, replace the strut by connecting it to the strut mount under the hood with the 15mm socket first torque to 40 foot pounds.
26. Then replace the spindle to the strut bolts with the 24mm socket and socket wrench, reattach the ABS bracket with the one of the lower strut mount bolts, torque to 125 foot pounds.
27. Use the 15mm socket to reattach the caliper bracket and caliper to the spindle and torque to 50 foot pounds, use the 15mm socket to reattach the tie rod and torque to 45 foot pounds, try to use new cotter pins with the tie rod’s castle nut if you can. Use the 15mm sockets to reattach the sway bar link and torque to 22 foot pounds.
28. Reinstall the wheel and finger tighten the lugs. Release the jack from under the control arm and place it back under the frame rail. Jack up high enough to remove the jack stand then slowly lower the car.
29. Torque the lug nuts with the lug wrench in the star pattern.
30. Repeat prior steps for other side.
31. When completed be sure to havean alignment done!
Installation instructions provided by AmericanMuscle customer Jay Giberson 2.20.10
