 FREE 1 to 3-Day Delivery on Orders $119+ Details
Best Sellers


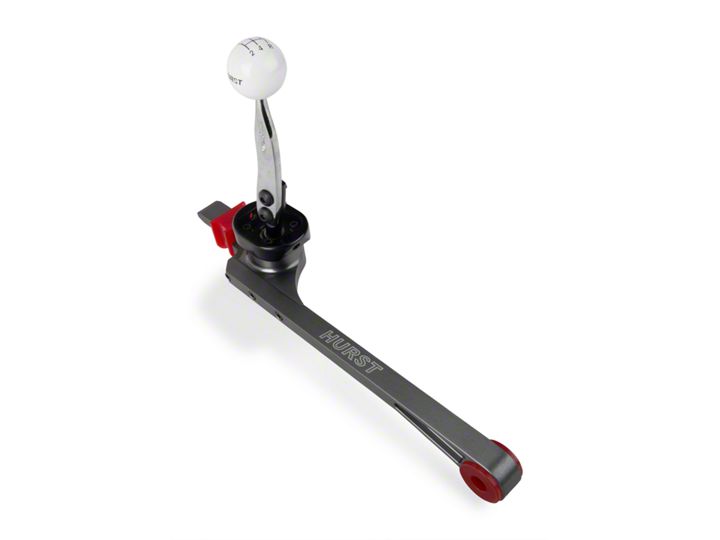
How to Install a Hurst Billet Competition Plus Shifter - TR-3650 on your 2005-2010 Mustang GT
Installation Time
2 hours
Tools Required
- Socket Ratchet
- 10mm Wrench/Socket
- 10mm Deep Socket
- 13mm Wrench/Socket
- Socket Extension
- Flathead Screwdriver
- WD-40
- 7/32 Hex/Allen Wrench
- Utility / "Xacto" Knife
- Wire Cutters
- 9/16 inch Wrench
- Floor Jack
- Jack Stands
Shop Parts in this Guide
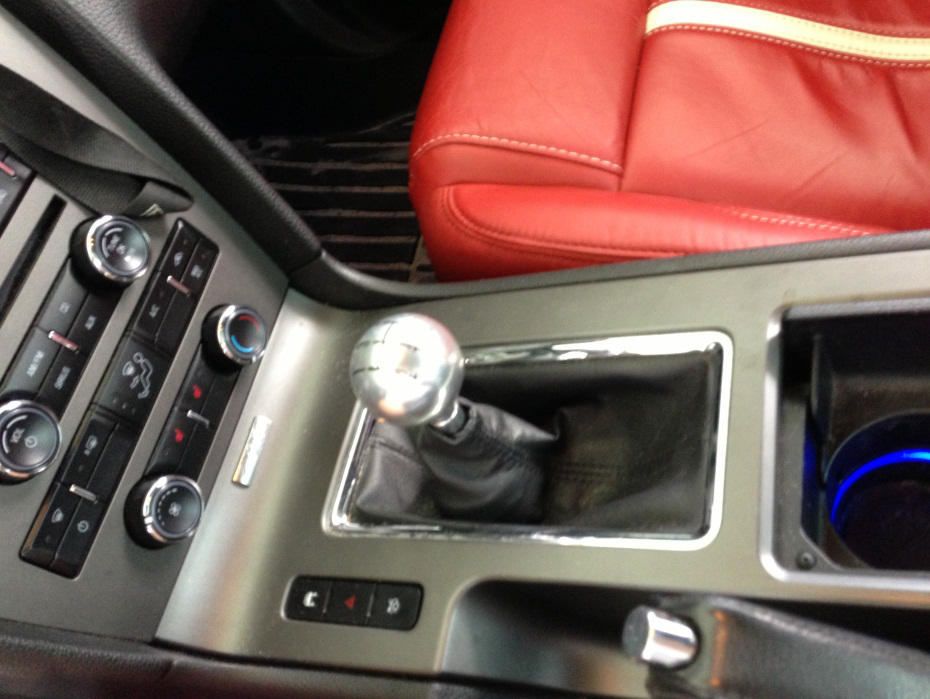
1. Uninstall the existing shift knob by turning counter clockwise.
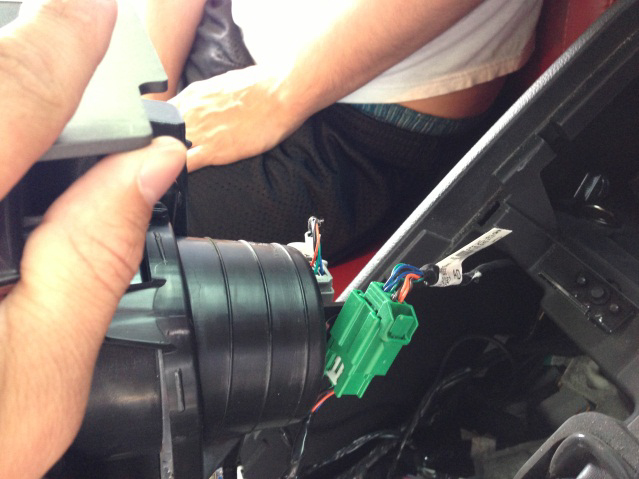
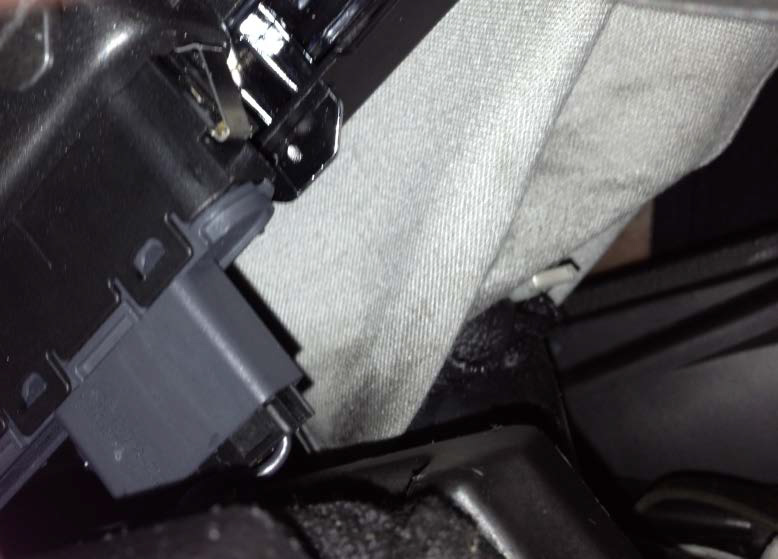
2. Open the console and lift the center console from its holding clips. Once lifted, disconnect Green and Gray wires from below the cup holders. Once those are disconnected, continue toward the ESC/Hazard/ Trunk Release and disconnect those.
BEFORE
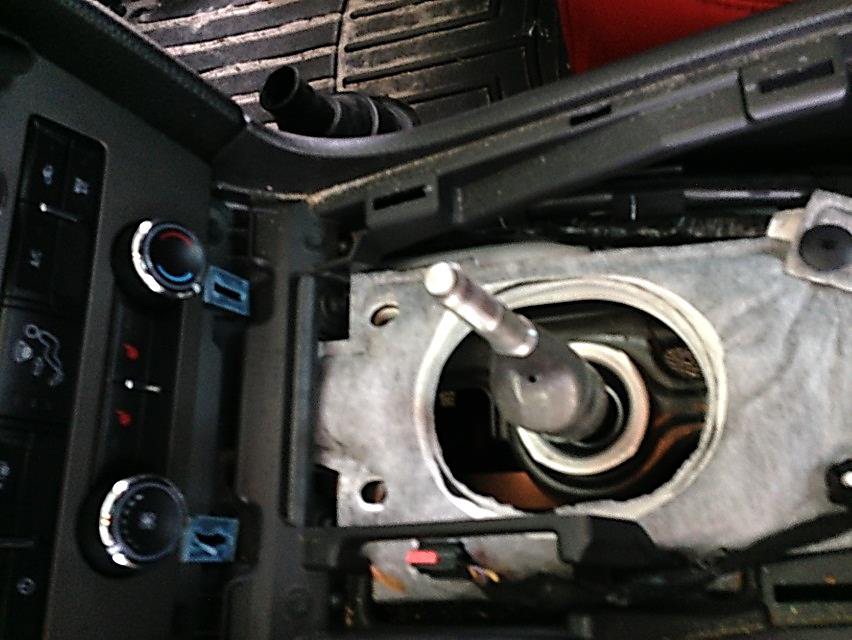
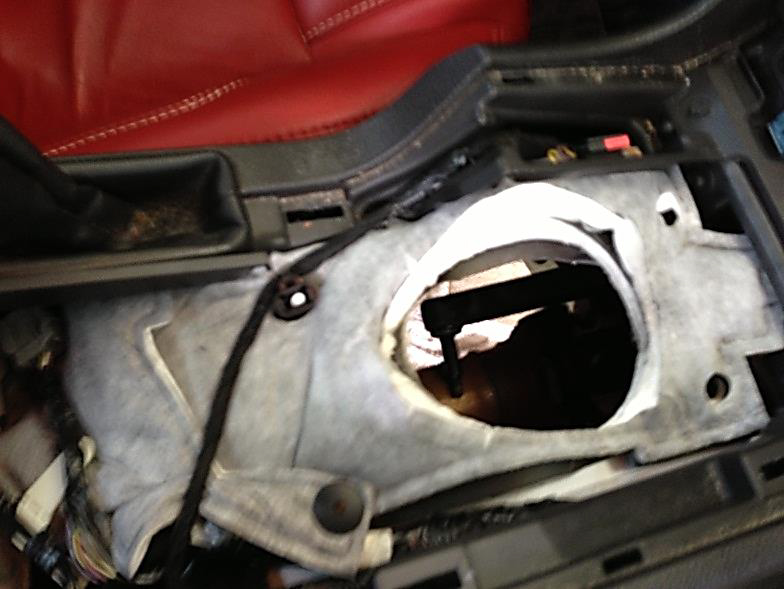
3. Lift the console up to start working on the boot removal. Cut the plastic piece that attaches the boot to the shifter. (Wire Cutters will work perfectly) This will allow you to remove the console completely and place somewhere it won’t become damaged.

4. Next, remove the rubber boot from the shifter by pulling up through the vehicle and set aside with the console.
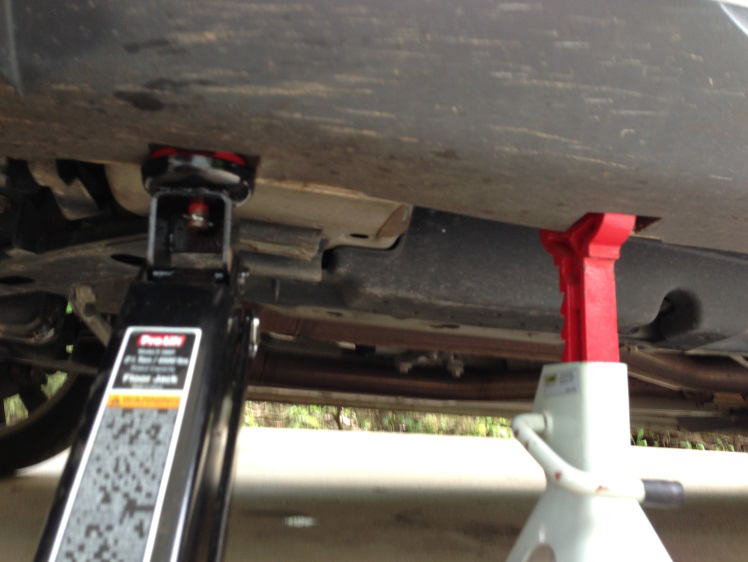
5. Place bricks/blocks/wood behind and in front of the rear wheels and carefully lift the vehicle with a floor jack and jack stands.
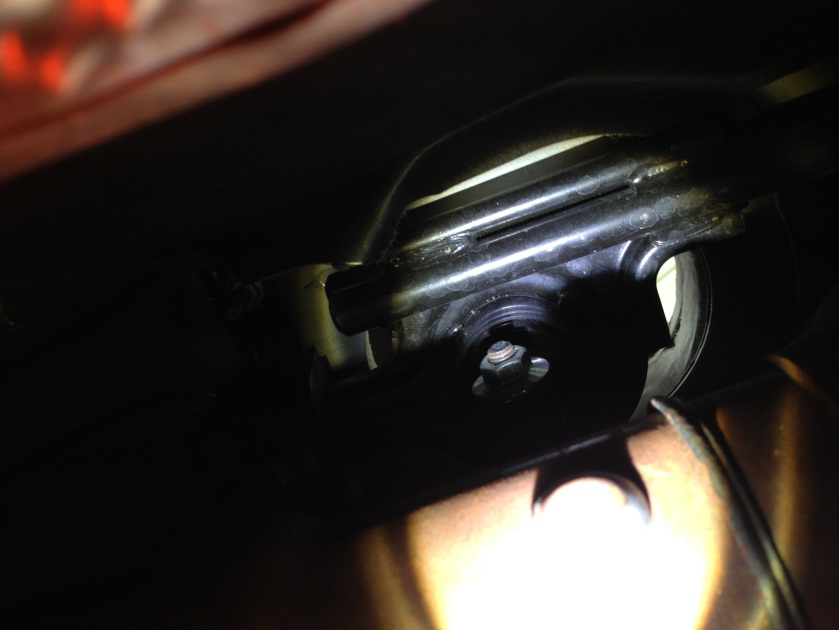
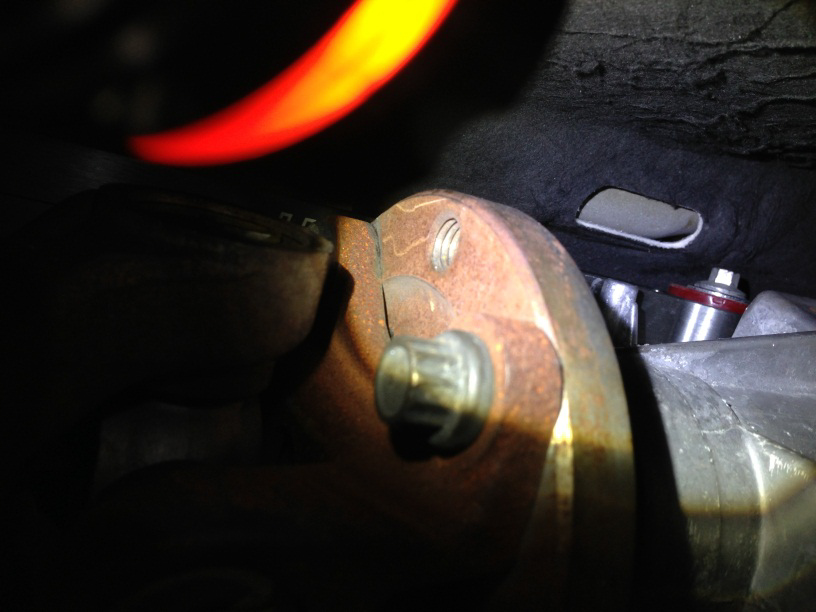
6. Once lifted, remove the transmission linkage rod bolt with a 13 mm hex wrench from under the car. Place the bolt in a safe place and pull the linkage rod out of the shifter.
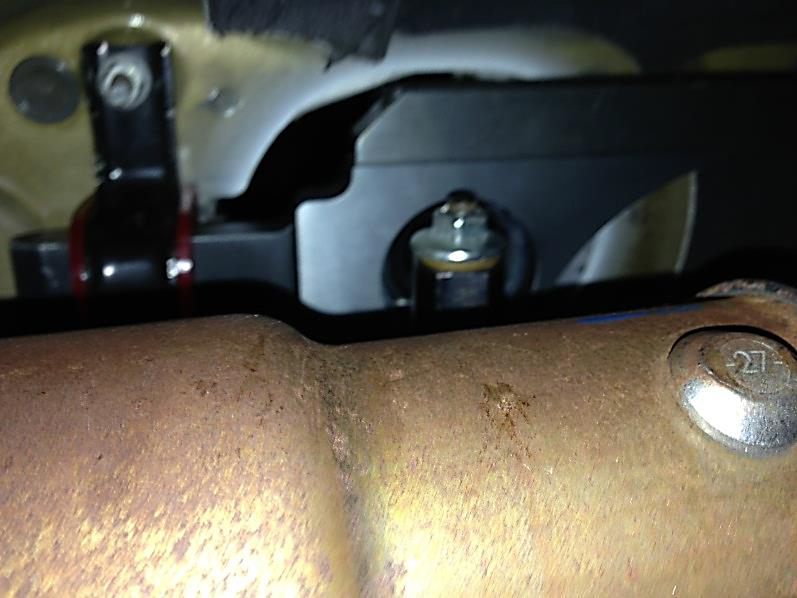
7. Next, remove the bolt at the end of the shifter assembly arm with a 10 mm wrench, which is located toward the front of the vehicle on the shifter. Place bolt in a safe area.
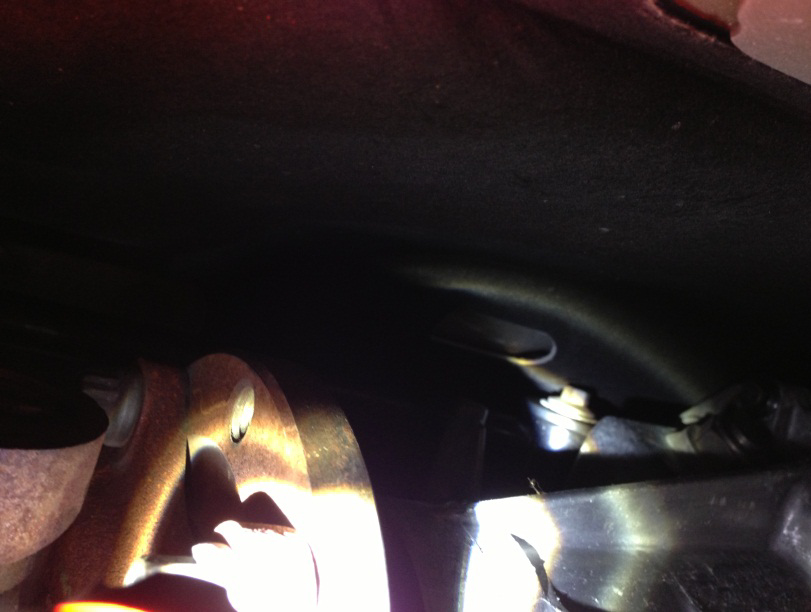
8. Next, remove the nuts toward the rear of the shifter that attached the shifter to the floor of the car. A socket ratchet with an extension and a 10mm deep socket will be needed to do so.
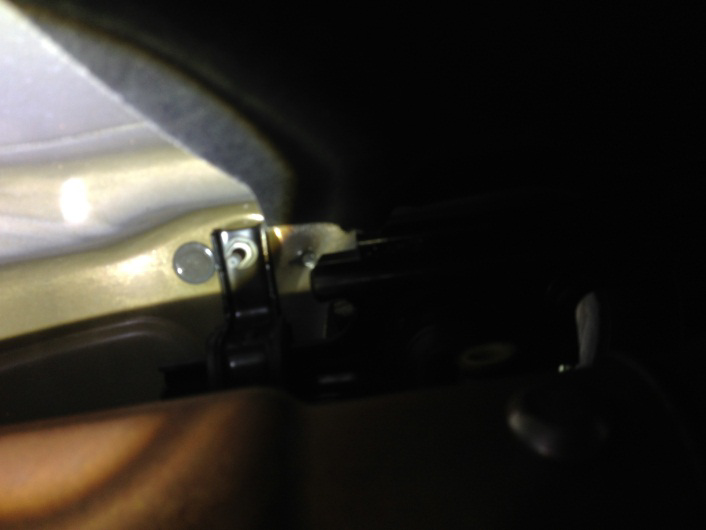
9. A metal clip is placed on usually one side of the studs, which has to be pulled away from the floor of the car, carefully. If not carefully removed, the threads on the stud could be damaged.
10. The shifter will be completely disconnected from vehicle at this time. The stock shifter has to be removed from the vehicle, which can be difficult. The easiest way found is to push the front of the shifter forward and downward, so that the end of the shifter can be brought out through the inside of the car.
11. Once the stock shifter is extracted from the vehicle, place on a workbench. Using a flathead screwdriver, remove the metal sleeve from the shifter assembly arm. WD-40 can help with this process to prevent damage. Remove the plastic bushing from the bottom of the stock shifter as well. The plastic bushings should slide out using just your fingers without much force.
12. Once removed, place the metal sleeve into the HURST shifter assembly arm. Again, WD-40 can help with this process. Place the plastic bushings into the bottom of the HURST Shifter.
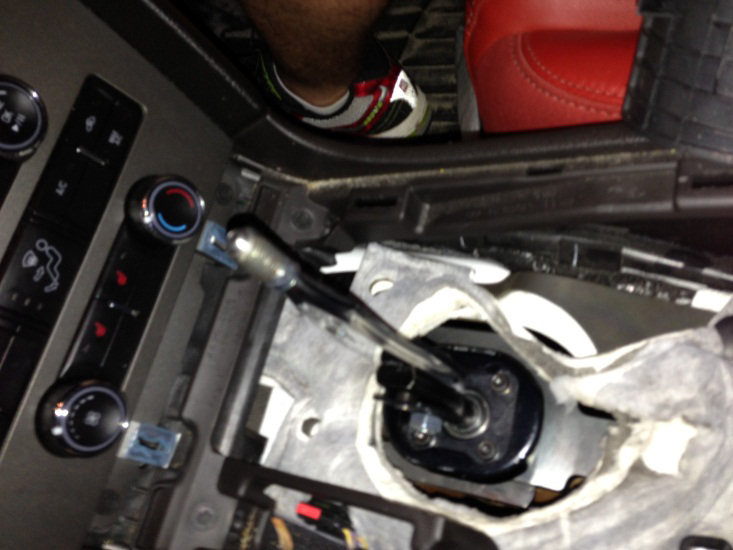
13. Now the HURST Shifter is ready to be placed into the vehicle. The easiest way found is to place the assembly arm down through the opening from the inside of the vehicle. Make sure the ridges of the shifter handle are facing the passenger side. This can be very difficult, so take some extra time for this process so none of the new parts or your vehicle become damaged.
14. Move underneath the car and maneuver the shifter in place. Using the 10mm wrench, connect the HURST shifter assembly arm to the transmission with the hex bolt that was originally taken off.
15. Place the metal bracket on the rubber object on the back of the HURST Shifter. Line the two studs on the floor of the car with the holes in the metal bracket. This may require movement of the rubber object up or down the shifter. Use a socket ratchet with an extension and 10 mm deep socket to connect the metal bracket to the floor of the car with the original bolts. (Tighten all bolts at the end of this process)

16. Next, insert the linkage rod into the bottom of the HURST Shifter with the long side facing the driver’s side. Use a 13 mm wrench and the original bolt to attach the linkage rod.
17. Double check all bolts are tight and lower the vehicle.
18. Sit inside the vehicle and attach the upper HURST stick to the black lower stick with the 2 mounting screws and 2 mounting washers with or without rubber insulators. (Rubber insulators are used to reduce vibrations and noise, but are optional)
19. Reinstall the boot and make sure the bottom lip of the boot reaches down into the opening to seal correctly and place the plastic boot support over the HURST Shifter’s upper stick.
20. Small cuts have to be made to widen the boot to fit over the shifter, using a utility/”exacto” knife. Place the boot inside out on the shifter so the black leather is over the boot support. Then zip tie the boot to the support in the grove. Cut the excess zip tie off. (This will make the boot look professionally done)
21. Reconnect all wires including the ESC/Hazard/ Trunk Release and the Green and Gray wires under the cup holders. Snap the console back into place.
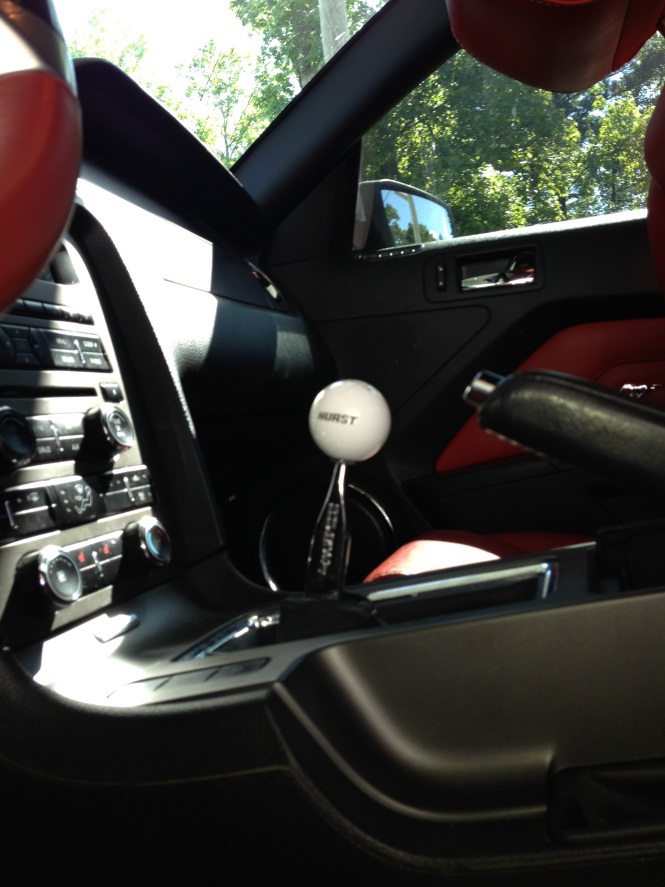
22. Screw the knob nut onto the upper HURST stick all the way to the bottom of the thread. Then screw the knob onto the upper HURST stick to the nut. Then back off until shift numbers are facing the right way. Use a 9/16 wrench to tighten the knob into place with the nut.
23. Congratulations on your new HURST Shifter.
Installation Instructions Written By AmericanMuscle Customer Devin Herrington 6/14/2013
