FREE 1 to 3-Day Delivery on Orders $119+ Details
Best Sellers


How to Install Hurst Elite Series Cat-Back Exhaust on your Mustang
1) Raise the vehicle up on a hoist or rack to working height. If you don’t have access to a hoist or rack, raise the vehicle and support securely with jack stands. To ease the removal of the stock system, spray a penetrating lubricant onto the bolts of the two clamp connections just forward of the center resonator as well as the rubber hangers just behind the rear differential and at the rear of the vehicle.

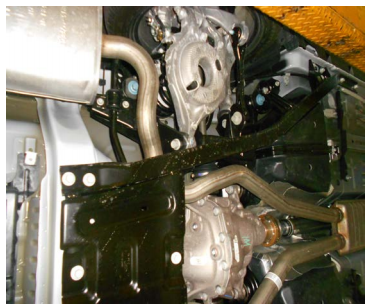
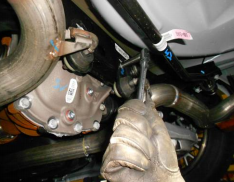
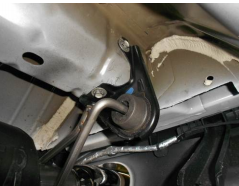
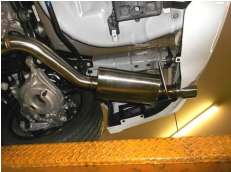
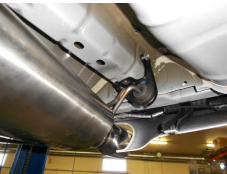
2) On convertible model vehicles, the body braces shown in the photos above will need to be removed in order remove the factory system and install the Hurst system. Starting at the front of the right side (passenger) brace, loosen the front bolt and then work your way to the rear of the vehicle removing the next eight bolts. Once the bolts have been removed, lower the brace from the vehicle. Repeat this step on the left side of the vehicle with the six bolts on that side.
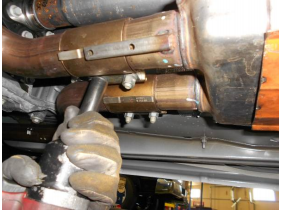
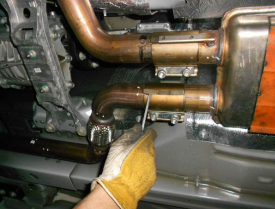
3) Support the center resonator with a stand, then loosen the four nuts and the two band clamp connections at the resonator inlet. Using a screwdriver, pry up the clips on the clamp body to release the clip from the tab on the inlet pipes. Slide the clamp assemblies slightly back to clear the tabs.
4) Using a 13mm wrench, unbolt the two hangers just behind the rear differential from the cross member. Now, with the help of an assistant, carefully lower the center stand and slide the exhaust system forward and out of the rear hanger mounts. Lower the system to the floor leaving the front hangers attached to the system. Finally, remove the two hanger mounts at the rear of the vehicle from the frame using a 13mm wrench. As you remove them, place them with the factory muffler from the corresponding side.
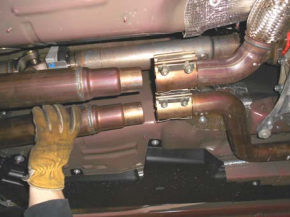
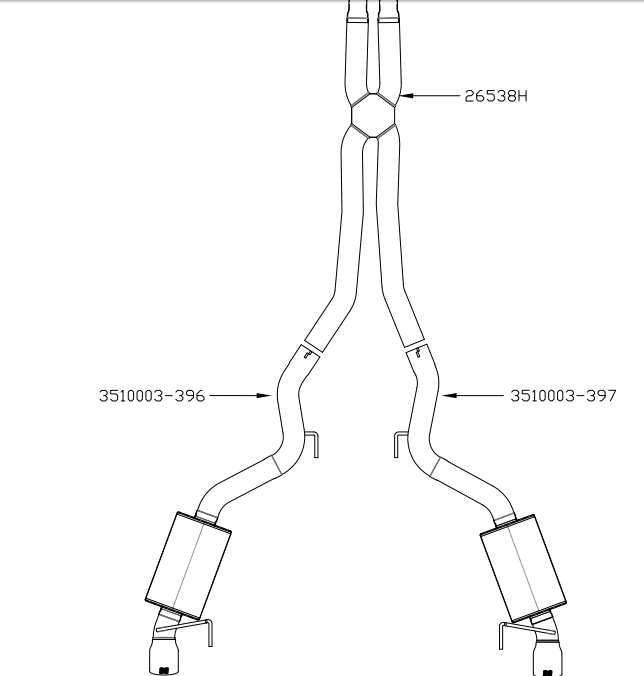
1) Remove the factory band clamps from the factory exhaust system and place them onto the downpipes behind the catalytic converters. Place the 26538H X-pipe assembly into place behind the factory downpipes while supporting the rear of the assembly with a stand. Slide the clamps back to the bump stops on the Scavenger pipe and tighten both band clamps enough to hold, but still allow for adjustment. Be sure that the assembly is fully forward, and that the embossed “H” in the center case is facing the ground before tightening.
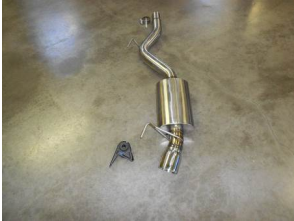
2) Place the new Hurst muffler units next to the factory units and swap the front and rear hanger mounts from the stock mufflers to the Hurst assemblies. Also, place a provided 3” clamp onto the inlet of each assembly. Tighten the clamp just enough to hold in place.

3) Place the right muffler assembly #3510003-397 up into position and slide the inlet completely onto the X-pipe. Support the assembly with a stand and remount the rear hanger mount to the frame and tighten securely. Remount the front hanger to the cross member and tighten securely. Leave the clamp on the inlet loose for now. Repeat this step with muffler assembly #3510003-396 on the left side of the vehicle.
4) Adjust and level the X-pipe and muffler assemblies to provide a satisfactory fit. A minimum of 1/2” clearance around all parts of the system must be maintained; while keeping suspension travel and vibration in mind. After adjustments have been made, you may now securely tighten the two muffler inlet clamps.
5) For a more secure installation, we highly recommend placing a minimum 1” weld on either side of the inlet slip-fit connections.