
Best Sellers
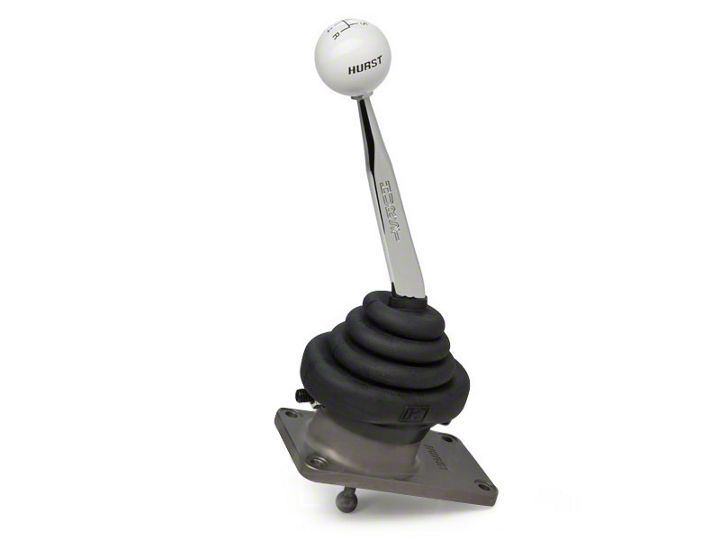
How to Install a Hurst Chrome Billet Plus Shifter T-5/T-45 on your 1994-2004 Mustang
Shop Parts in this Guide
Installation
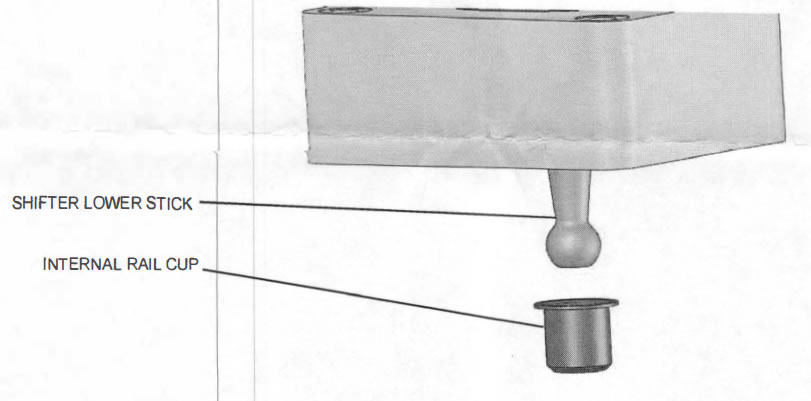
INTERNAL RAIL CUP NOW SUPPLIED WITH TREMEC TRANSMISSION SHIFTER APPLICATIONS TO REPLACE POSSIBLE WORN INTERNAL RAIL CUP.
THIS CUP MAY BE WORN ON YOUR APPLICATION, PLEASE CHECK FOR LOOSENESS AND REPLACE AS NECESSARY.
INSTALL ON SHIFTER LOWER STICK AND INTO TRANSMISSION.
Thank you for choosing the Hurst Billet/Plus Shifter for your Mustang!
This shifter features a high pivot ratio and is designed to reduce the throw approximately 30% for shorter and quicker shifts, precisely balancing distance, effort, comfort, and control to give you the most satisfaction from a shifter.
It is constructed of a CNC machined BILLET ALUMINUM mounting base and heat treated BILLET STEEL gear selector for ultimate strength and precision tolerances. Self-centering alignment improves 2nd to 3rd up shift gear changes and an exclusive oil control seal prevents transmission fluid loss and leakage.
INSTALLATION INSTRUCTIONS
NOTE: Due to slight variations and changes from one vehicle model year to anothbr, the photos shown may not be exactly like your particular application, however, installation procedure is basically the same for all model years.
IMPORTANT! Read this instruction sheet completely so that you thoroughly understand it and can become familiar with the procedure before attempting installation.
WORK SAFELY! Perform this installation on a good clean level surface for maximum safety and with the engine turned "off". Apply parking brake and place blocks or wedges in front of and behind both rear wheels to prevent movement in either direction.
CAUTION! To avoid any possibility of bodily injury or damage to vehicle, do not attempt shifter installation until you are confident that vehicle is safely secured and will not move.
FACTORY SHIFTER REMOVAL
1. Place shifter into neutral position.
2. Remove shifter knob from stick by turning counter-clockwise.
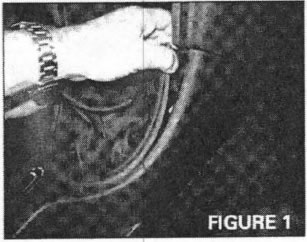
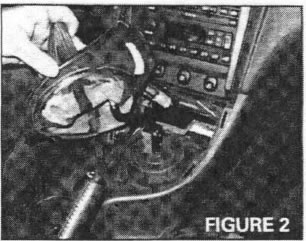
3. Using both hands, place fingers underneath each side of shifter boot grasping boot rim and pull up to remove boot from console (Refer to Fig. 1 & 2). NOTE: On some models there is a layer of sound deadening material inside console. Remove and save it for reassembly to reduce engine and road noise.
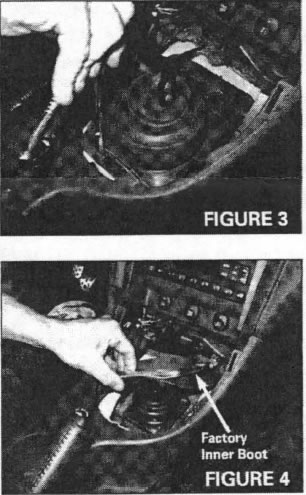
4. Remove four (4) screws that secure factory inner shifter boot to floor tunnel and remove boot (Refer to Fig. 3 & 4).
5. Using a 13mm socket, remove four (4) hex head bolts that fasten stock shifter assembly to transmission. Discard bolts new ones are supplied. Lift shifter assembly straight up and off. NOTE: You may have some difficulty in removing stock shifter from transmission due to adhesive sealant applied at factory.


