 FREE 1 to 3-Day Delivery on Orders $119+ Details
Best Sellers


How to install a JBA Off-Road X-Pipe on your 2005-2010 (GT) Mustang
Installation Time
2 hours
Tools Required
- Car lift/ 2-4 jack stands (depending on what you have access to)
- Floor jack
- Nut loosing oil (nuts are very tight and will need to be lubricated)
- Channel locks
- Socket Wrench large enough to provide maximum torque
- Swivel connection for Socket Wrench
- 15mm Deep Socket
- 15mm Regular Socket
- 1-2 Socket Wrench extension
- Hammer
- Tune
Read through instructions carefully before starting on the installation. Make sure to have all materials and equipment ready prior to the installation.
Removal of factory H-pipe:
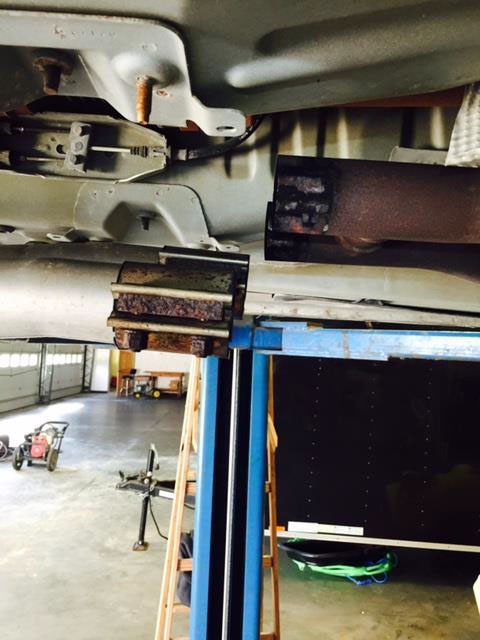
1. Raise your car up using either a car lift or floor jack and jack stands. Now that your car is lifted you are ready to remove your stock H-pipe.
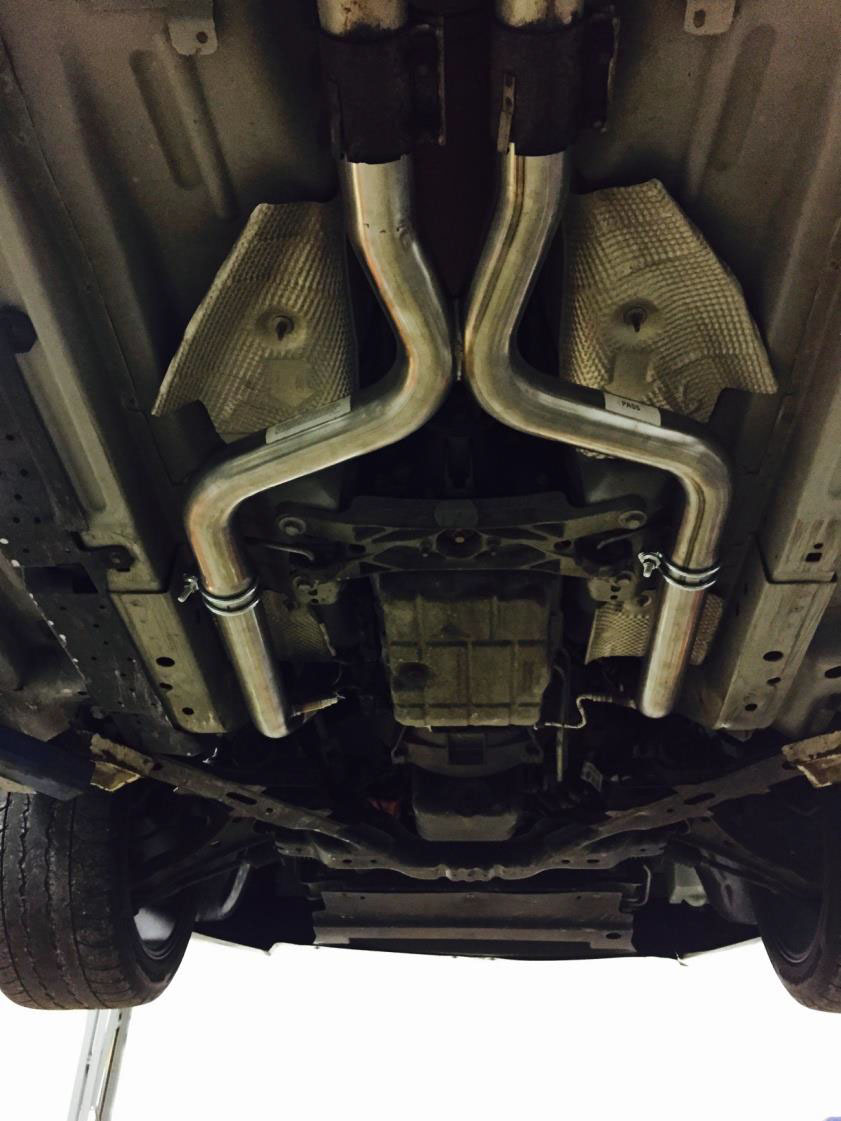
2. Find where the H-pipe connects to the rear pipes leading to your mufflers. There are 2 sleeves that are connecting your mid pipe to your rear pipes.

3. Loosen those 4 bolts on the sleeves with your 15mm socket and socket wrench but do not take the bolts off because you're going to want to slide them back on to your rear pipes so you are able to use them again to connect your new X-pipe.
4. Slide the sleeves back to the rear pipes and disconnect the rear pipes from the mid pipes.
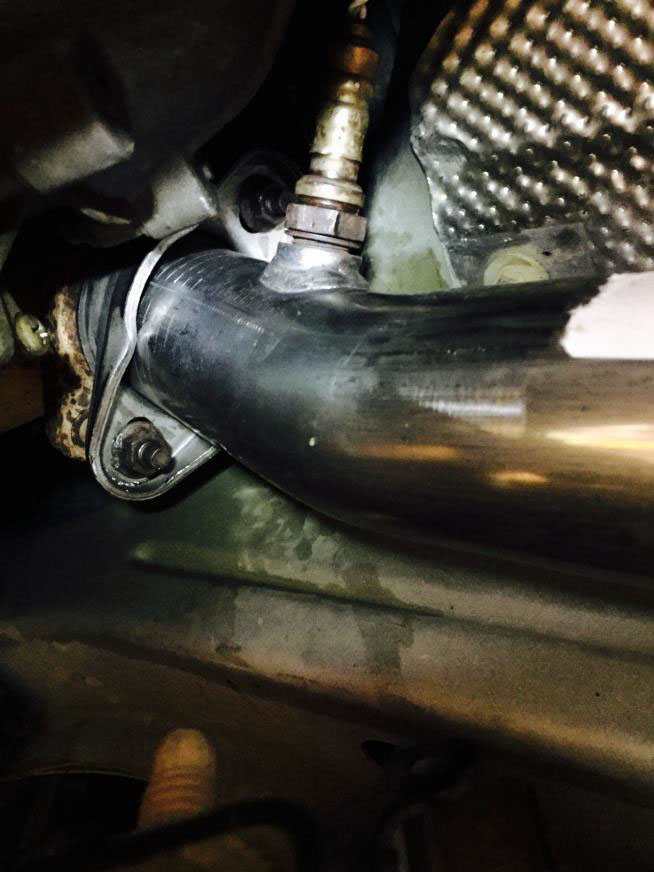
5. Now use the channel locks to unscrew the 3 O2 sensors from your stock H-pipe. There should be 1 on the driver’s side and 2 on the passenger side. Once you have them removed you may let them hang until you install your new X-pipe.
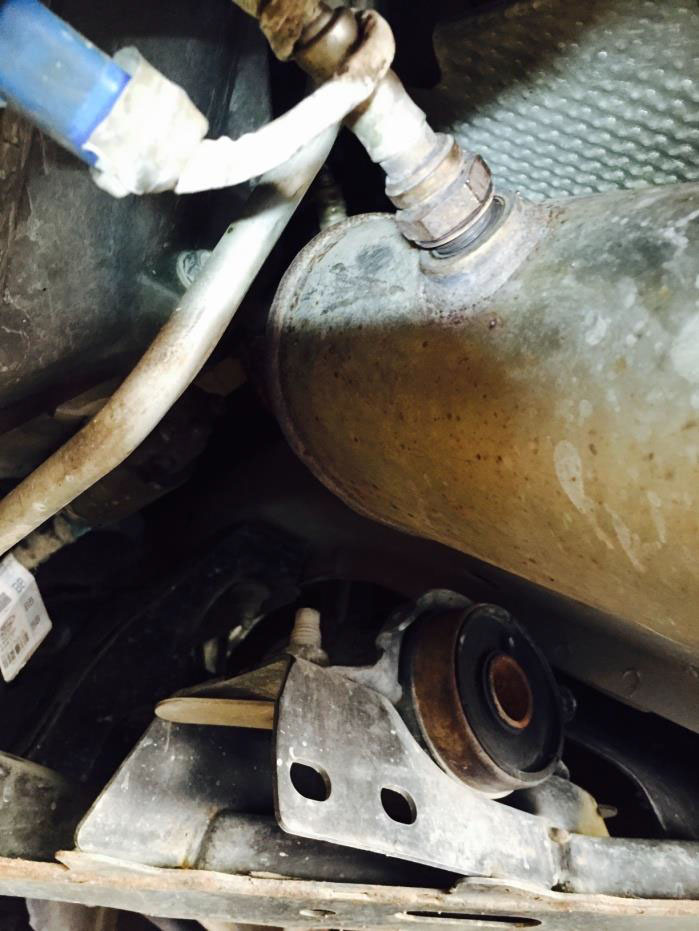
6. Next you’re going to follow the stock H-pipe past the catalytic converter on both sides up to the flange mounts where the H-pipe is connected to the headers. There are 2 nuts on each side. You will need the 15mm Socket, swivel connection, and the Socket Wrench extensions to get past the catalytic converter.
7. Spray some nut lubricating oil on the flange mount bolts and begin to loosen them. Save those 4 nuts because you will need them for your new X-pipe.

8. After you are done removing the 4 nuts (2 nuts on each side) slide your H-pipe off. It may be hard to get off so just wiggle it around until it slides off. Now it’s time for the installation of your new X-pipe.
Installation of new JBA Off-Road X-pipe:
1. Determine the correct side for your down pipes. It should be labeled PASS for the passenger side but if not labeled, driver side has 1 O2 sensor and passenger side has 2 O2 sensors.
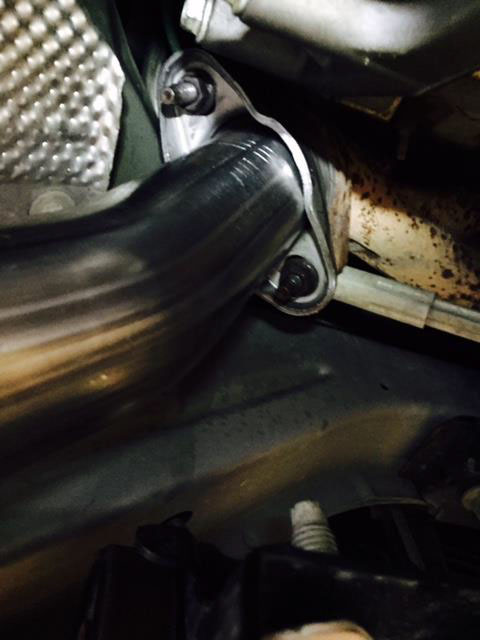
2. Put the new down pipes up to the headers and slide the flange mounts over the bolts lining them up and then hand tighten them.
3. Take the connection rings that came with your X-pipe and slip them over your new down pipes.
4. Now install your crossover pipe (the x-shaped pipe) to the down pipes. You may have to beat the inner portion of the crossover pipe with your hammer into shape to allow them to fit together.
5. Once you have connected your crossover pipe to your down pipes, tighten the connection rings loose enough so that you will have movement in case you need to adjust it a certain way.
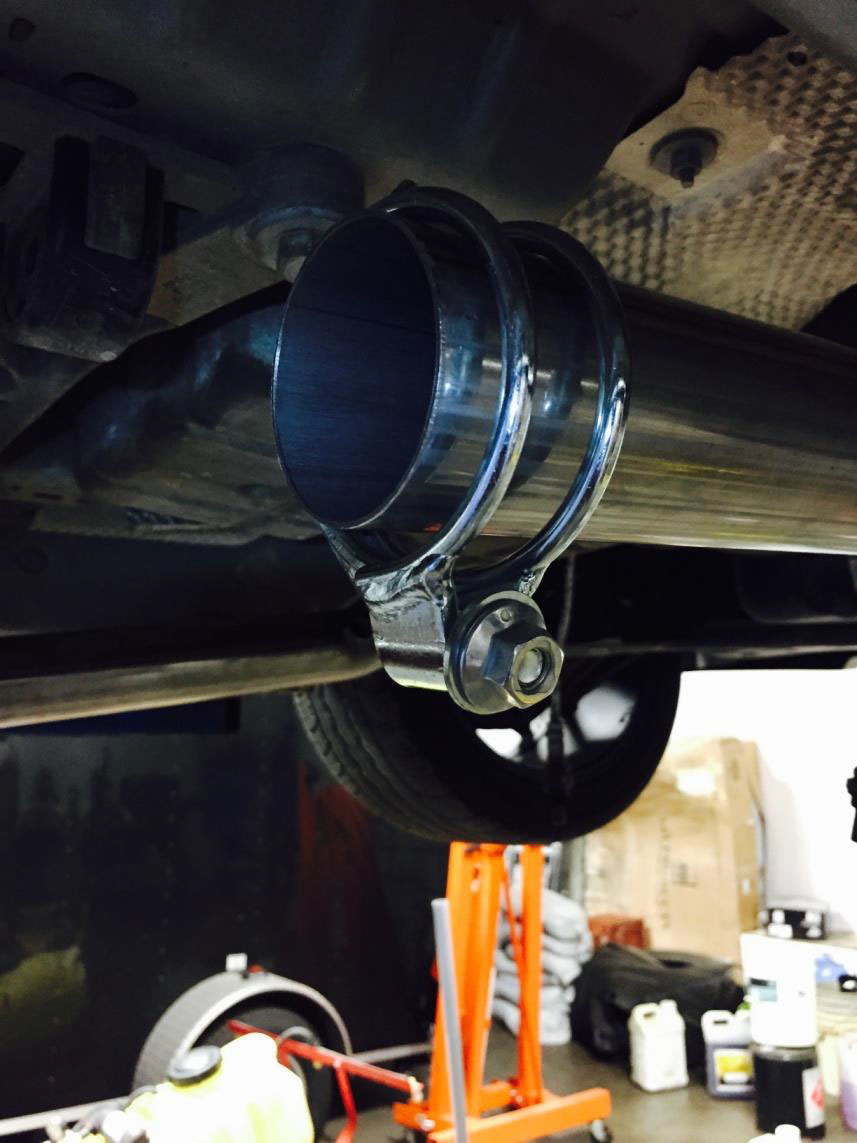
6. After the connection rings are tightened install your crossover pipe to the rear pipes and slide the sleeves over onto your crossover pipe and hand tighten them.
7. Once all connections are made go through and tighten all nuts as tight as humanly possible so you can prevent exhaust leaks. That includes connection ring nuts, flange mount nuts, and sleeve nuts.
8. Now you are going to go back and install the oxygen sensors to their correct places. Hand tighten them at first and then go back and use channel locks to tighten fully them down.
9. Now check for exhaust leaks. You can check for exhaust leaks by starting your car and putting your hand close by the connections of the rear pipes and the crossover pipe, the connections between the down pipes and the crossover pipe, and also the connections between the down pipes and the headers. If you feel any air coming out of those connections be sure to tighten the specific connection where you have a leak.
10. If you have no exhaust leaks then your mustang is ready to be driven!
Installation Instructions written by AmericanMuscle customer Jacob Becker 6.20.15
