 FREE 1 to 3-Day Delivery on Orders $119+ Details
Best Sellers


How to Install J&M Rear Lower Control Arm Relocation Brakets on your Mustang
Installation Time
1 hours
Tools Required
- • Assortment of standard hand tools
- • Lift or floor jack and jack stands
- torque wrench capable of 129 ft/lbs.
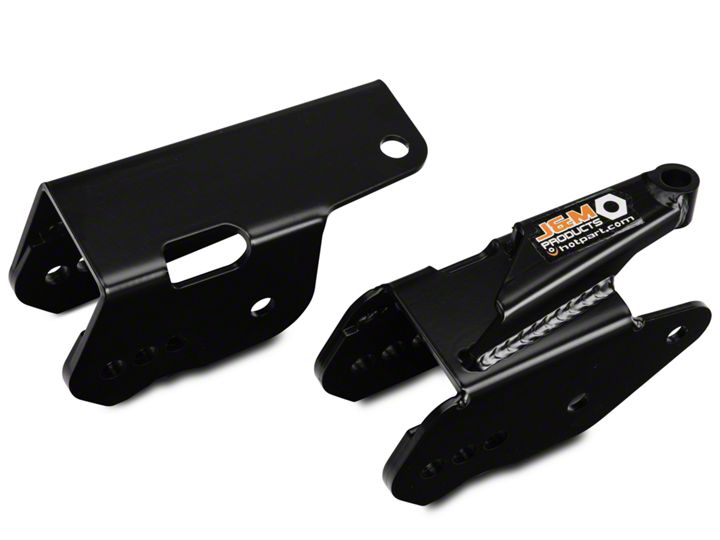
Shop Parts in this Guide
1. Block the front tires to keep car from moving
2. Raise rear of car and support safely on jack stands
3. Remove the rear wheels and tires
4. Make sure parking brake is released
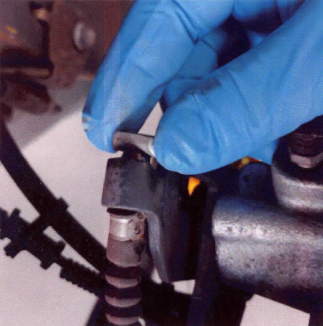
5. Remove the retaining clip that holds the parking brake cable to the caliper.

6 Remove the parking brake cable by pulling down on the cable housing and slide it rearward to remove it from the caliper.
7. Remove the brake cable end by unhooking if from the caliper
8. If you are using stock or aftermarket control arms that use a bonded bushing loosen the chassis side of the control arms. If using a non bonded control arm just loosen the axle side bolt.
9. Remove the axle housing weight damper if equipped.
10. Using a floor jack support the center differential. Make sure the jack is placed so when jacked it supports the nose of the differential to keep it from rotating when the control arms are removed.
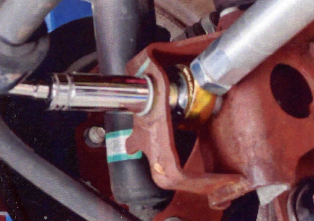
11. Doing one side at a time, remove the mounting bolt holding the control arm to the axle housing.
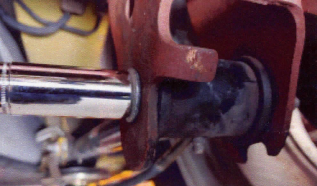
12. Lower the control arm out of the stock mounting pocket and let it hand loose.
Passenger Side Bracket Installation:
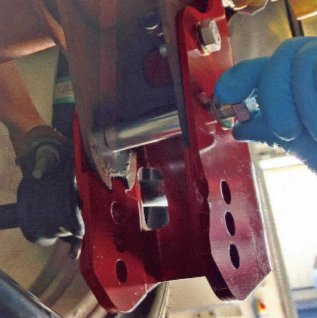
13. Slide the passenger relocation bracket straight up over the stock control arm bracket.
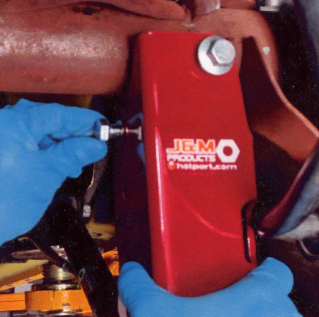
14. Using the provided M14 x 30mm grade 10.9 bolt and nut, insert the bolt and washer through the rear side upper mounting hole. Loosely install the washer and nut inside the stock mounting bracket.

15. Loosely install the supplied M 12 x 30mm grade 10. 9 bolt with washer but do not tighten.
16. Using one of the M14 x 100mm long bolt install it through the relocation bracket and through the support sleeve as shown. Install the M14 Nylon nut on the other side of the bracket.
17. Raise the control arm into you desired lower location and install using the supplied M 14 x 100mm bolt and nylon nut.
Drivers Side Bracket Installation:
18. Follow steps 5-9.
19. Remove the drivers side panhard rod mounting bolt. Make sure to retain the stock flag nut for later use.
20. Slide the drivers side bracket up into place over the stock mounting bracket.

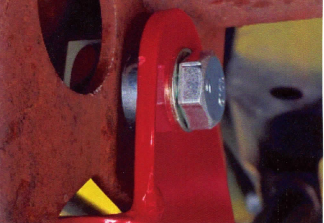
21. Insert one of the 100mm long bolts through the panhard rod mounting hole and panhard rod. Using the stock flag nut make sure it is pointed down like shown and keep loose for now.
23. Like the passenger side insert the M14 x 100mm long bolt through the bracket and long support sleeve where the stock control arm was originally mounted. Install the nut loosely
24. Rotate the control arm up into the relocation bracket into desired hole and install the M 14 x 100mm long bolt and nut.
25. Torque the two M12 x 30mm bolts on the drivers and passenger side brackets to 47 lb/ft.
26. Torque the drivers side panhard rod and the passenger side rear upper support bolt to 129 lb/ft.
27. If using stock or bonded control arm bushings lower the vehicle to the ground and torque the remaining 4 mounting bolts to 129 lb/ft. Don't forget to torque the chassis side control arms if you loosened them.
28. With non bonded control arms you can torque everything in the air without creating bind.
