FREE 1 to 3-Day Delivery on Orders $119+ Details
Best Sellers


How to Install KONI Sport Adjustable Rear Shock on your Mustang
Installation Time
1 hours
Tools Required
- Jack
- (2-4) Jack Stands
- Ratchet and Socket Set
- Torque Wrench
- ½” Breaker Bar
- ½” Impact Wrench (optional)
- 15/16 Socket
- 21mm Socket
- 19mm (or ¾”) Wrench
- 18mm Socket
- 15mm Socket and wrench
- 9mm Socket
- Large Flat Head Screwdriver
- Bungie Cord
- Vise-grip pliers
- Rust Penetrant (optional)
Shop Parts in this Guide
Strut Replacement Procedure:
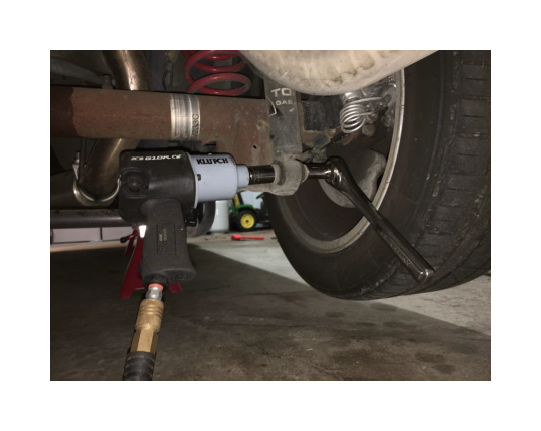
1. Begin by loosening the lug nuts on the front wheels using a 21mm socket. If an impact wrench is used, this can be done with the vehicle off the ground.
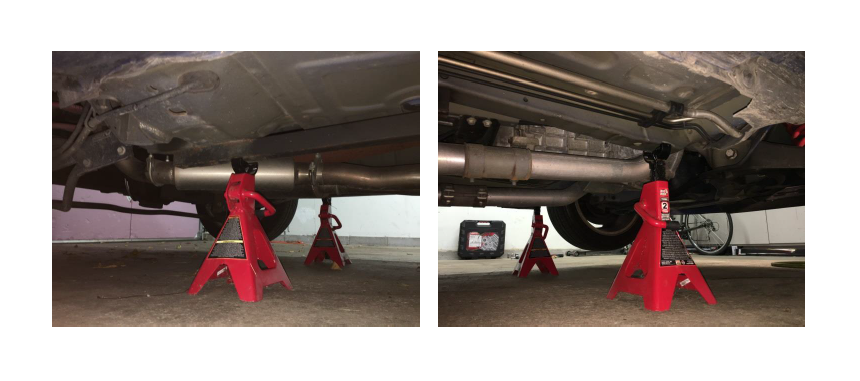
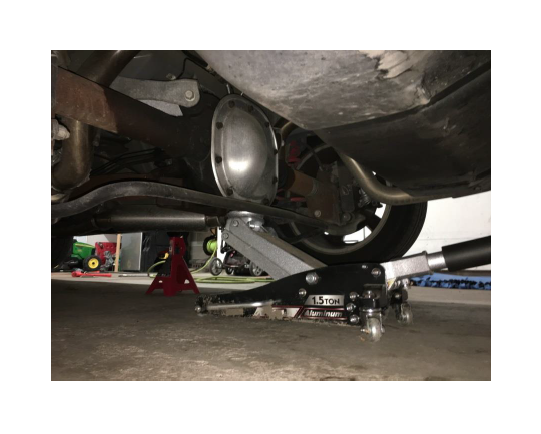
2. Raise vehicle up off the ground using a floor jack. I find it easiest to place the jack under the front portion of the sub-frame connector which allows both the front and rear wheels to be lifted off the ground at the same time. If four jack stands are available, place one under the front sub-frame and one under the rear portion of the sub-frame connector as shown. Do the same on the opposite side.
3. Remove the front wheels.
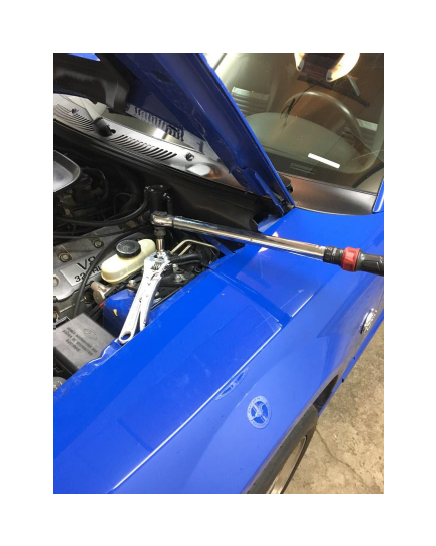
4. Loosen, but do not remove the upper strut nut using a 21mm socket and impact wrench, or flat blade screw driver and an open-end wrench. Certain setups may require a 15/16” wrench instead of a 21mm.

*Note: if caster/camber plates are installed, keep track of the number of spacers between the spherical bearing and nut.
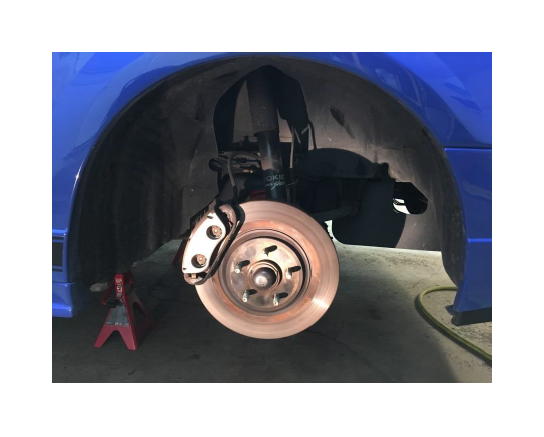
5. Remove the caliper and brake rotor by removing the two caliper bracket bolts on the back of the spindle using a 15mm socket. Secure the caliper off to the side using a bungie cord.
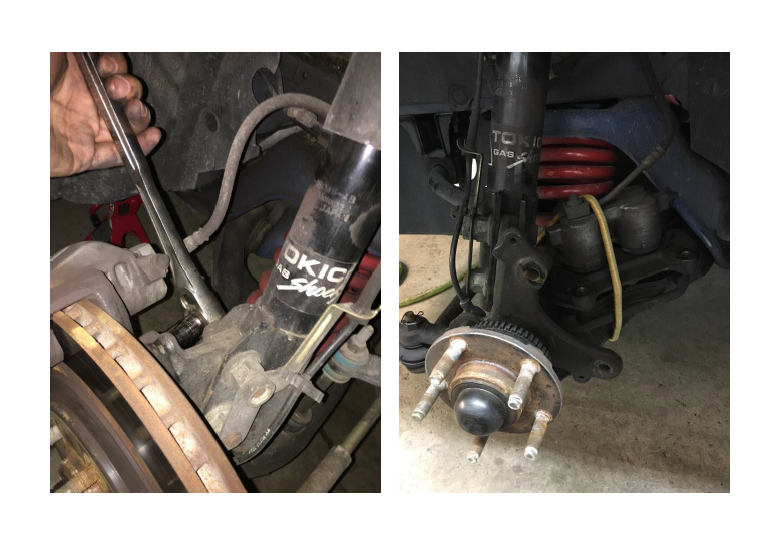
6. Remove ABS cable bracket by removing 15/16” jam nut.
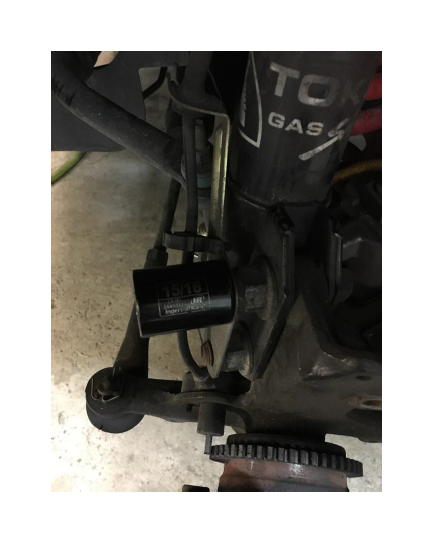
7. Remove 15/16” nuts from lower strut mount bolts using a 15/16” and 21mm socket.
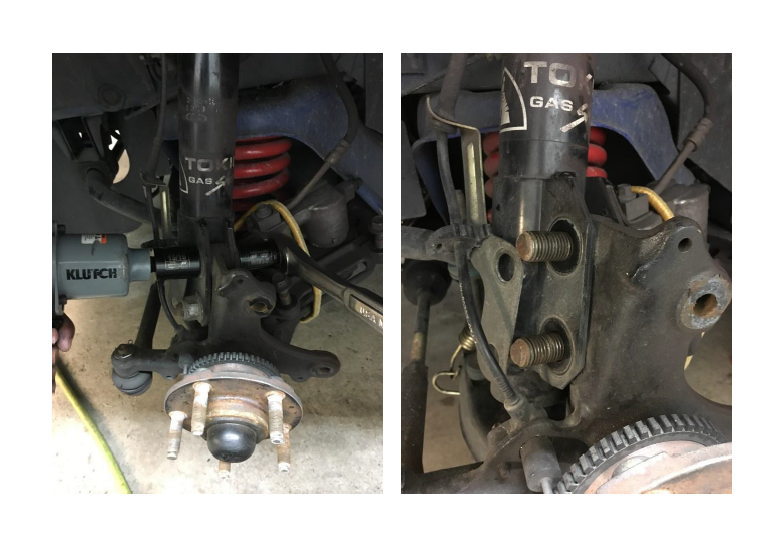
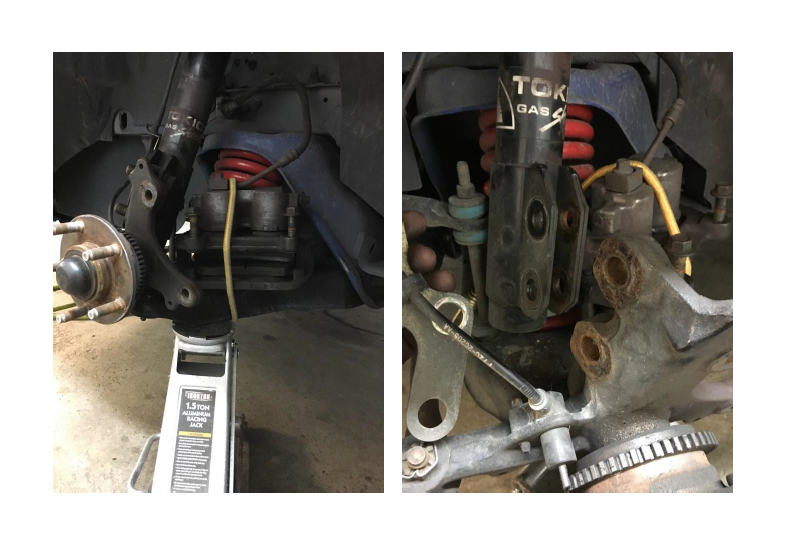
8. Before removing the two lower strut mounting bolts, place a jack under the lower control arm. With bolts removed, separate the spindle from the strut.
9. Remove the upper strut nut and the strut should slide out.
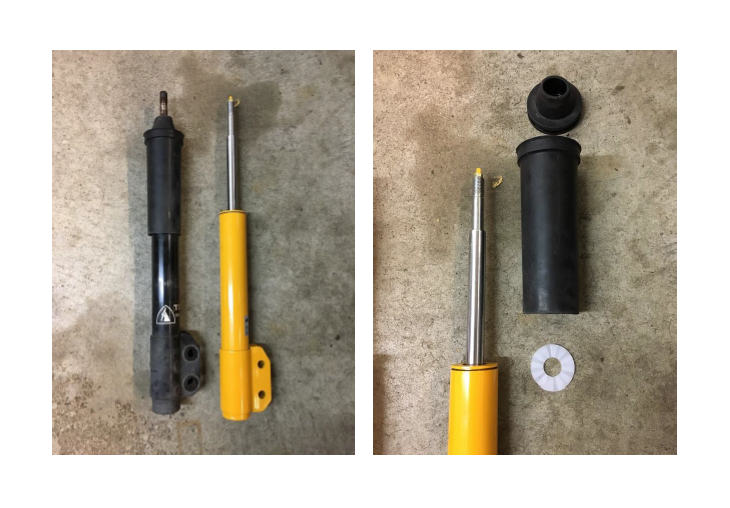
10. Transfer the rubber bump-stop and dust shield from the old strut to the new one. Don’t forget the new white nylon shim included with the KONI strut.
11. Push the new strut up into the strut tower and thread the new nut on a few turns to hold the strut in place.
12. Slide the spindle into the lower strut flange and align the bolt holes. It is easiest to start with the lower hole and then align the upper hole once the lower bolt is in place.
13. Reinstall the two 15/16” nuts and torque to 148 ft-lbs. Then attach the ABS bracket and tighten the 15/16” jam nut by hand.

14. Tighten the upper strut nut using a 15/16” wrench and an 11mm socket to hold the strut shaft. Torque nut to 89 ft.-lbs.
15. Reinstall brake rotor and caliper. Torque caliper bracket bolts to 85 ft-lbs.
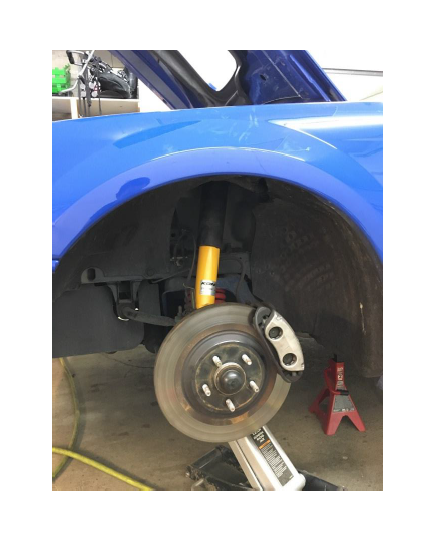
16. Reinstall the front wheels and torque lug nuts to 100 ft.-lbs.
Shock Replacement Procedure:
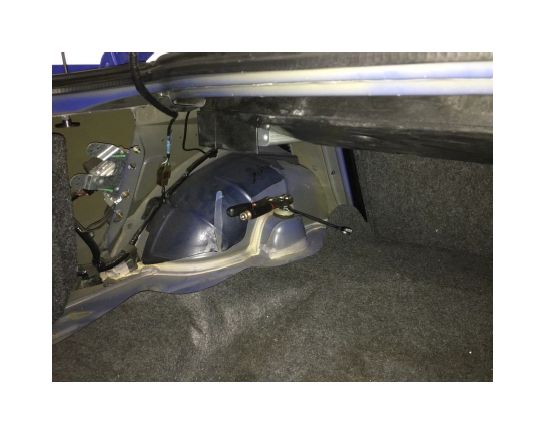
1. With the trunk open, locate the two black metal clips that hold the side panels to the back seat support. Remove these clips by pulling them straight out. You will also need to remove a twist-on nut on the rear panel as well as a push-on retainer shown below.
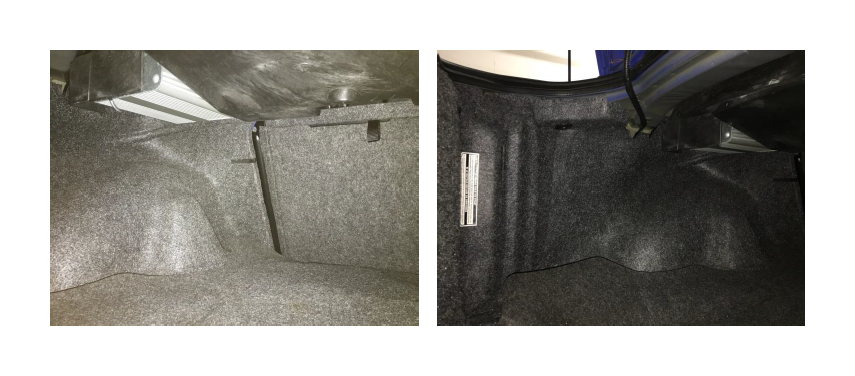
2. With the retainers removed, wiggle the panels out of place. It is easiest to slide the bottom of the panel out first.
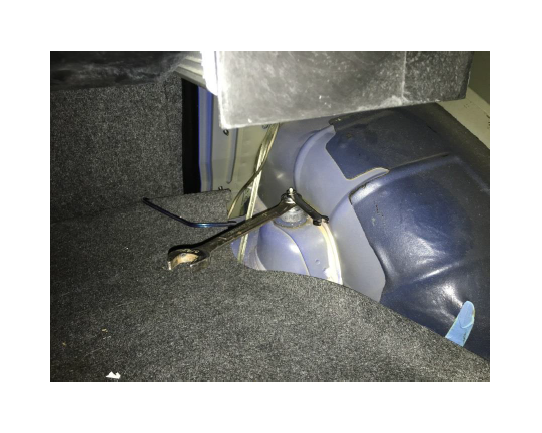
3. With the panel removed, loosen the top shock mount using a vise-grip pliers and a 15mm wrench.
4. Before removing the 15mm nut completely, raise the rear end slightly with a floor jack.
5. Loosen and remove the lower shock mounting bolt using a 15mm and 18mm socket. Then finish removing the upper mounting nut and remove the shock.
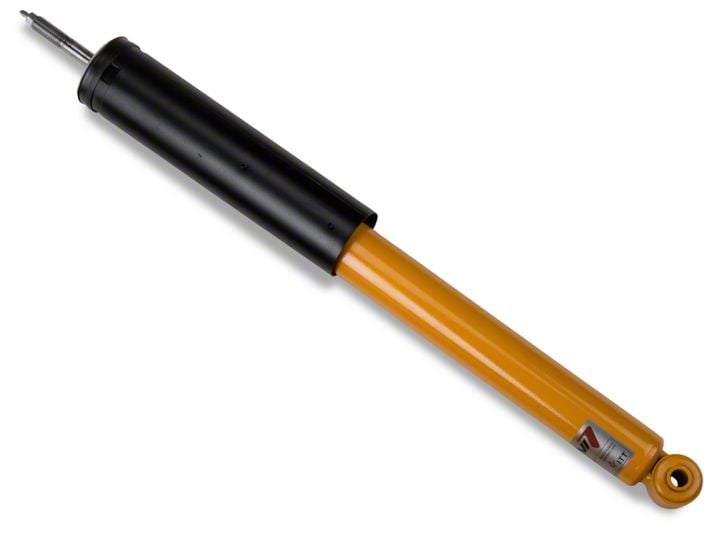
6. Prepare the new KONI shocks as shown. The space between the bushings is where the body will sit.

7. Place the new shock into the upper shock mount and thread the nut on a couple of turns.
8. Reinstall the lower shock mounting bolt and torque the 18mm nut to 85 ft-lbs.
9. Tighten the upper shock mounting nut using either a 19mm or ¾” wrench, and a 9mm wrench to hold the shock shaft in place.
10. Your new KONI Sport adjustable shocks and struts are now completely installed. Lower the vehicle from the jack stands and use the adjustment knob included with the kit to set the damping to your personal preference.
*Note: Turning the adjuster screw counterclockwise will increase the rebound stiffness, clockwise will reduce the stiffness.