 FREE 1 to 3-Day Delivery on Orders $119+ Details
Best Sellers


How to Install Koni STR.T Struts on a 2005-2010 Mustang and 2007-2014 GT500
Installation Time
30 minutes
Tools Required
- Socket wrench
- Socket extension bar
- Breaker Bar
- Air or cordless tools (optional)
- 10mm socket
- 13mm socket
- 18mm socket
- 21mm deep socket
- Zip ties
- Rubber mallet
- Lift
- 2 jack stands
Shop Parts in this Guide
Note: Consult your specific service manual to verify proper torque settings.
Installation Instructions:
1. Loosen lug nuts.
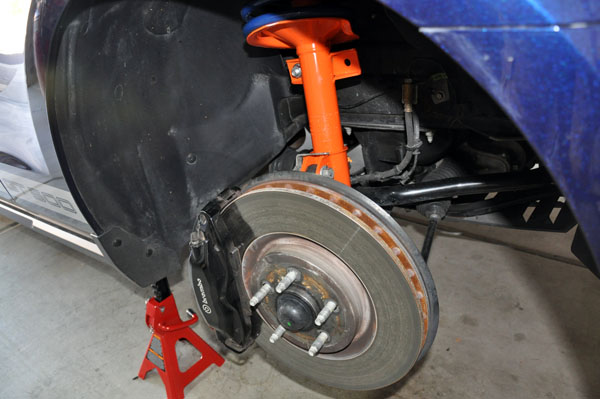
2. Lift front of the car and support on pinch welds on jack stands, remove wheels\tires

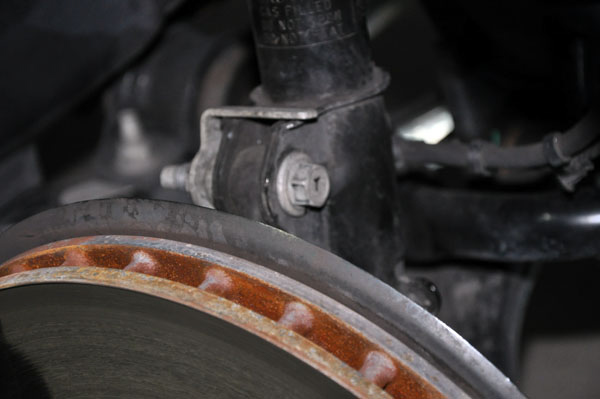
3. Remove bolt holding the brake line and snip zip-tie holding ABS sensor. Both are located behind the strut. Use a 10mm socket wrench to remove the bolt.

4. Remove the bolt holding the top end of the front sway bar end link (note: aftermarket end-links are shown here which require an 18mm socket and 19mm wrench to hold the rear bolt.) Stock end-links have a rubber isolator that tears very easily, so be careful.
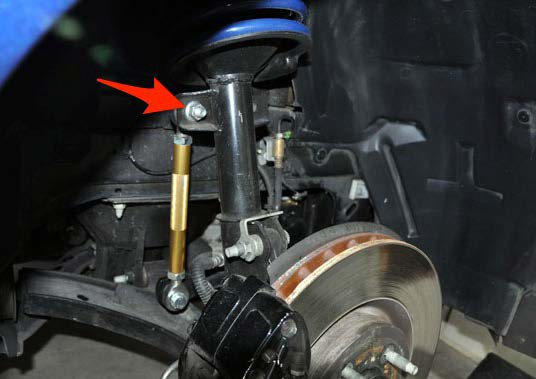
5. Mark the top and bottom spinal bolts with a Sharpie. Use an 18mm breaker bar or air tools to remove the top bolt. These can a bit difficult to remove. A rubber mallet works well to push them through.
6. Before removing the bottom spinal bolts, place a jack under the A-Arm to support the weight. Failing to do so will cause the brake caliper and rotor to swing, possibly damaging your brake lines.
7. The strut should be free from the bottom at this point.
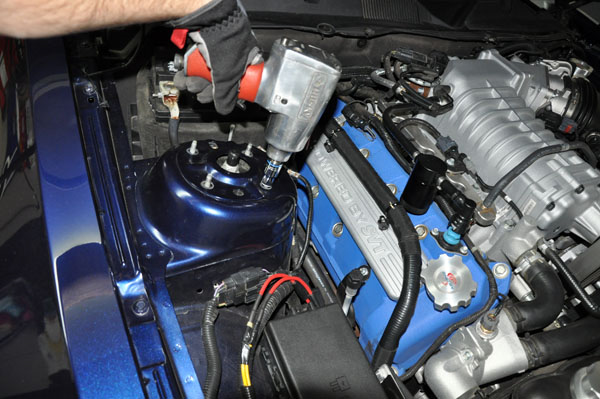
8. Loosen the 4 strut mount nuts using a 13mm socket wrench. Before removing the final nut, grab the strut assembly from under the wheel well.
9. Slowly and carefully remove the strut assembly, being careful not to pull the brake or ABS lines. It’s a bit heavy.
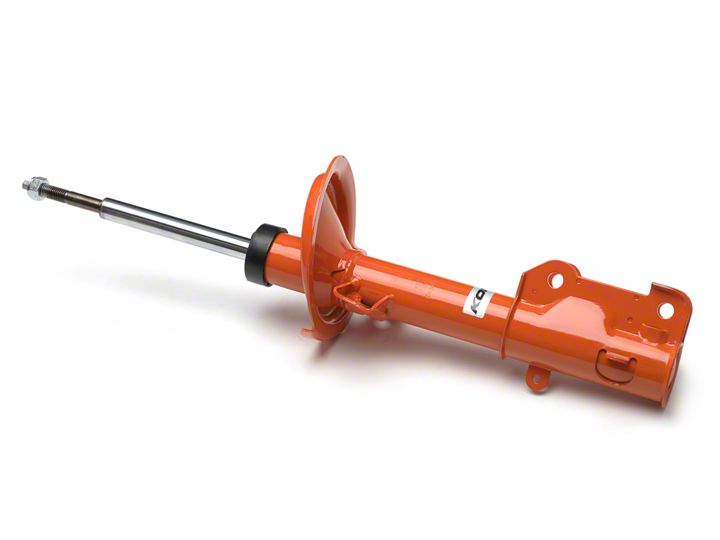
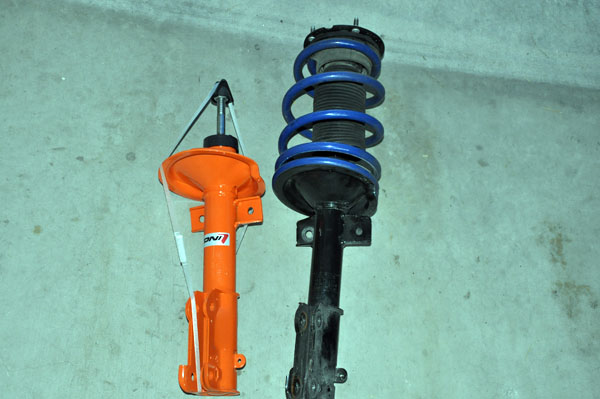
Stock strut with Ford Racing springs next to new Koni Strut.
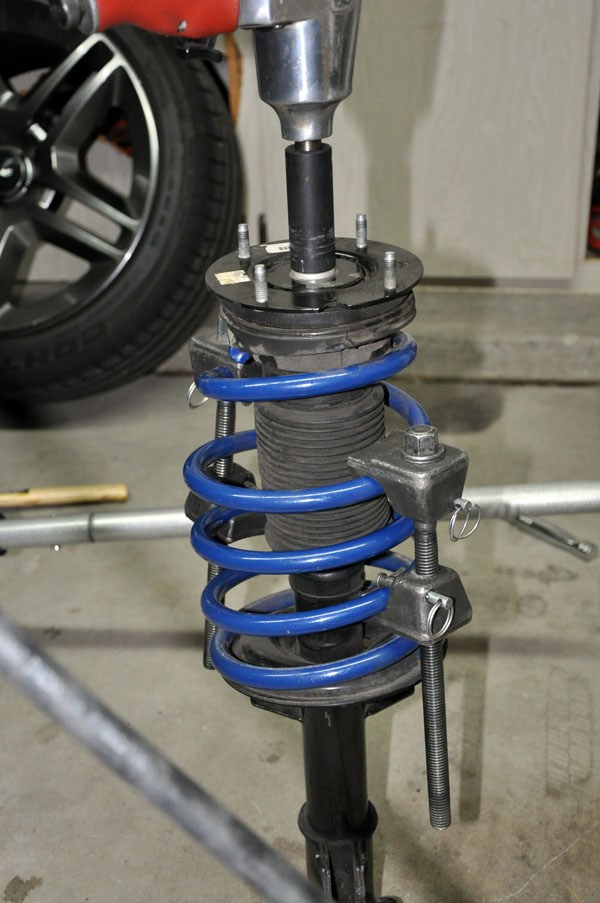
10. Place spring compressor clips on opposite sides of the spring, tighten and push safety pin inward. Start compressing the spring by rotating the long compressor bolt, alternating sides until pressure is releases from the strut mount. Power pools are very help for this step. Note: This can dangerous and a bit tricky. Many auto parts store will dissemble and reassemble strut for a nominal fee. This can eliminate a lot of frustration.
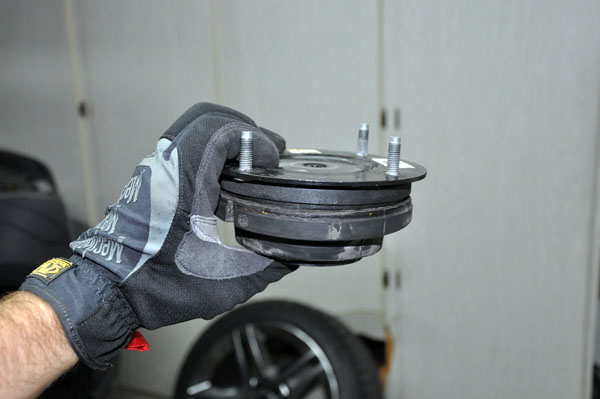
11. Remove top strut nut using a 21mm deep socket with impact tool. Once loose, you may need a 10mm wrench to hold the top of the strut piston to fully remove the nut.
Strut mount removed
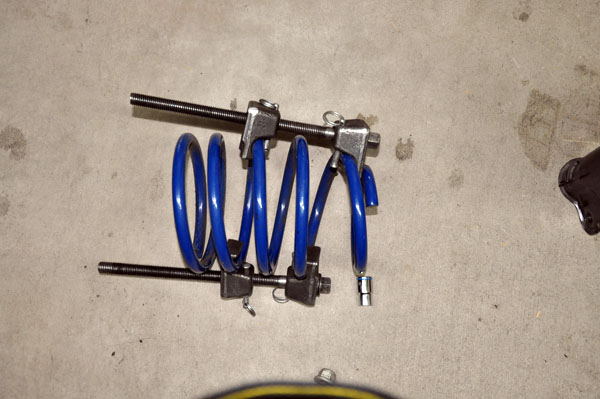
Compressed spring removed
12. Make note of the orientation of the plastic dust boot and bump stop on the stock strut piston.
13. Put the bump stop, plastic boot, spring and strut mount on the new Koni Strut. It is important that the bottom of the spring lines up with grove on the strut base and the top lines up with the grove in the strut mount. This part can be a little challenging.
14. Attach the top strut nut using a 21mm deep socket. Once it is most of the way down the threaded part of the piston, start releasing pressure on the spring compressors SLOWLY, alternating sides. Keep a constant eye on how the top and bottom are lining up (remember, they need to be in the top and bottom grooves) as spring pressure is released.
15. Tighten the top strut nut to torque specs. This should be about 46 ft/lbs.
16. Lift new strut assembly into the wheel well and finger tighten the four nuts on the strut tower. A second set of hands in very helpful here.
17. Line up the bottom strut bolt to the wheel hub assembly. A rubber mallet is helpful here to get the bolt all the way through. Attach the nut and loosely tighten.
18. Lift the top part of the wheel assembly into the top strut bolt. Attach the nut and tighten.
19. Torque the sway bar end link (about 85 ft/lbs) and two strut bolts (about 148 ft/lbs) to specs.
20. Attach the ABS and brake line in the rear of the new strut. The stock bolt does not thread, so a small bolt/nut will work or a zip tie.
21. Attach the wheel and install the lug nuts.
22. Lower the car and torque the 4 strut tower nuts to spec (about 26 ft/lbs).
23. Repeat on the other side.
24. After any change to the front suspension, it is always recommend having the front-end alignment checked by a local auto shop. After the installation is complete, take the car for a drive and pay close attention to any drifting or pulling.
Enjoy your new suspension!
Installation instruction written by AmericanMuscle Customer Barry Spencer 3/12/2014
