 FREE 1 to 3-Day Delivery on Orders $119+ Details
Best Sellers


How to Install MAC Chrome Long Tube Headers on your 2011-2014 V6 Mustang
Installation Time
1 days
Tools Required
- Jack stands
- Floor jack
- 5/16” socket
- 5mm, 8mm, 13mm, 15mm socket
- 13mm wrench
- 02 sensor socket
- Ratchet
- Impact wrench
- 14" of extensions
- Impact wrench (or a large breaker bar)
- Towels for fenders
What is included:
Mac headers
Mounting hardware
Optional items:
Mac Pro Chamber mid-pipe
Replacement header gaskets
Oxygen sensor extensions (two for the front)
Creeper
Wobble (swivel) sockets
PB Blaster
Anti-seize
Torque wrench
Preparing for the installation:
1. Disconnect the battery (8mm)
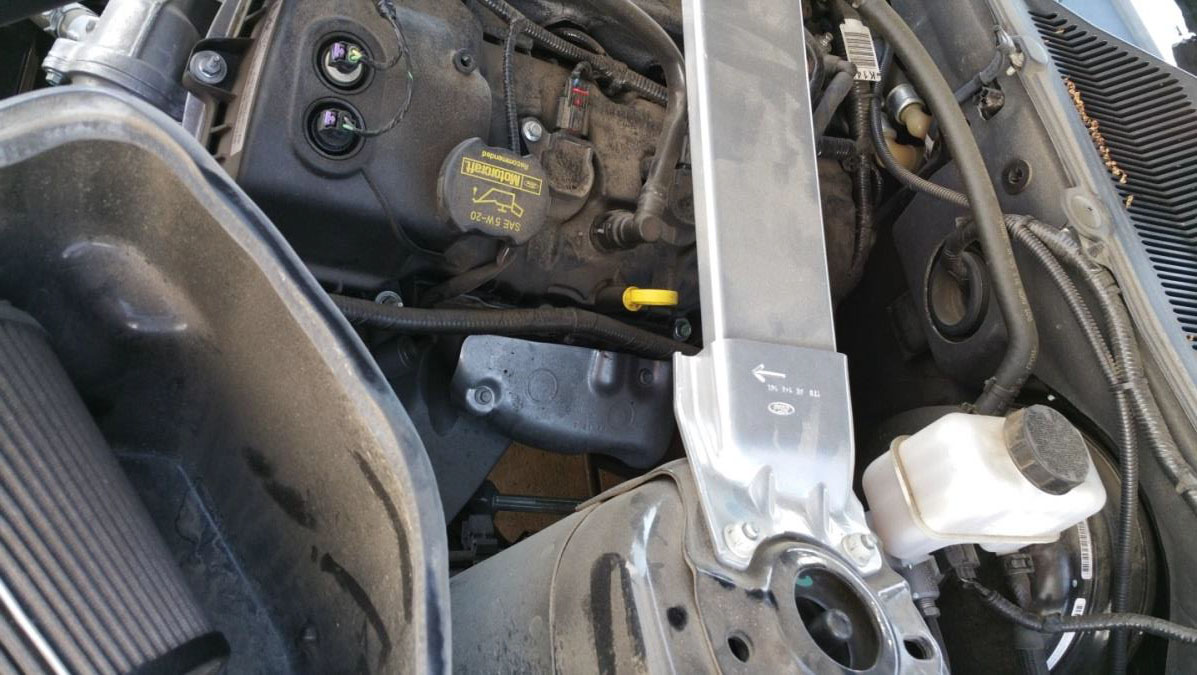
2. Remove the strut tower brace (if applicable)
3. Apply emergency brake, jack up car
4. Place jack stands under sub-frame, slowly release pressure on jack so the vehicle is resting on the jack stands (feel free to put cardboard between the car and the stands so the paint doesn’t scratch)
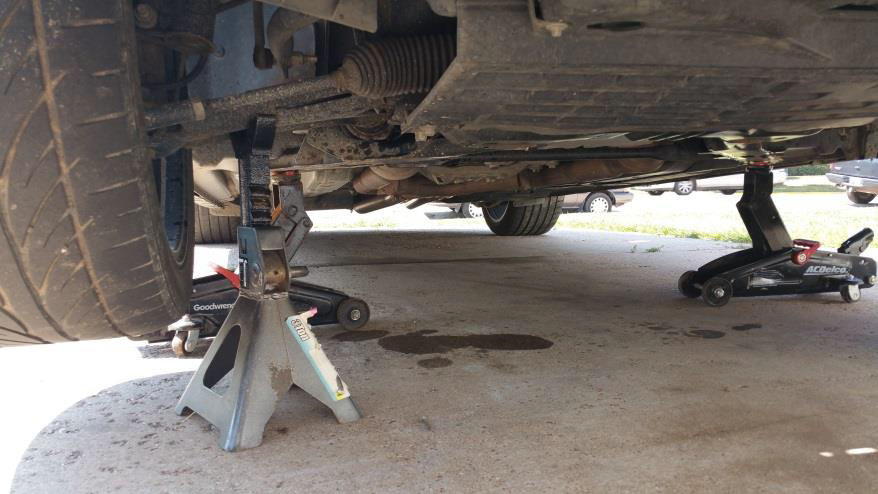
5. Place towels over fenders
6. Spray all nuts and bolts with PB Blaster (12 header nuts, 4 exhaust flange nuts, 4 mid-pipe connector bolts, 4 oxygen sensor nuts)
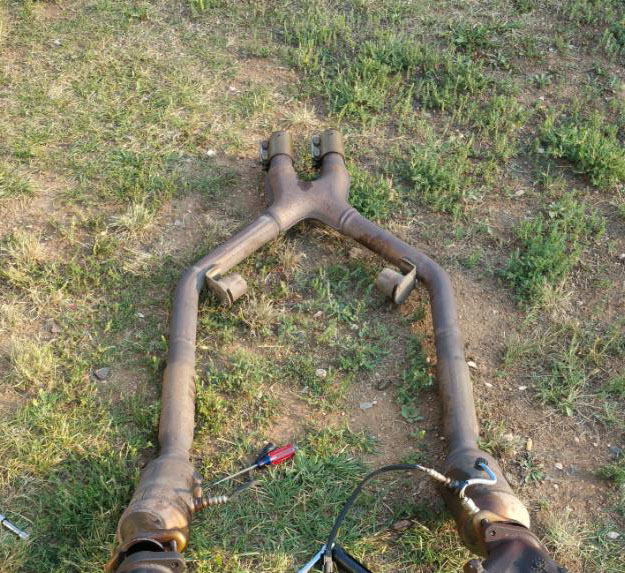
Removing factory mid-pipe:
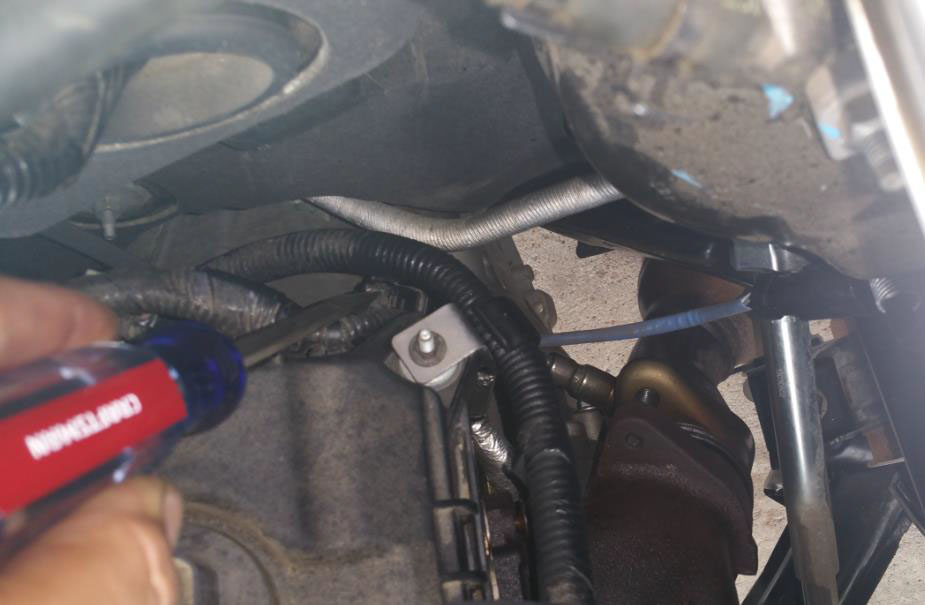
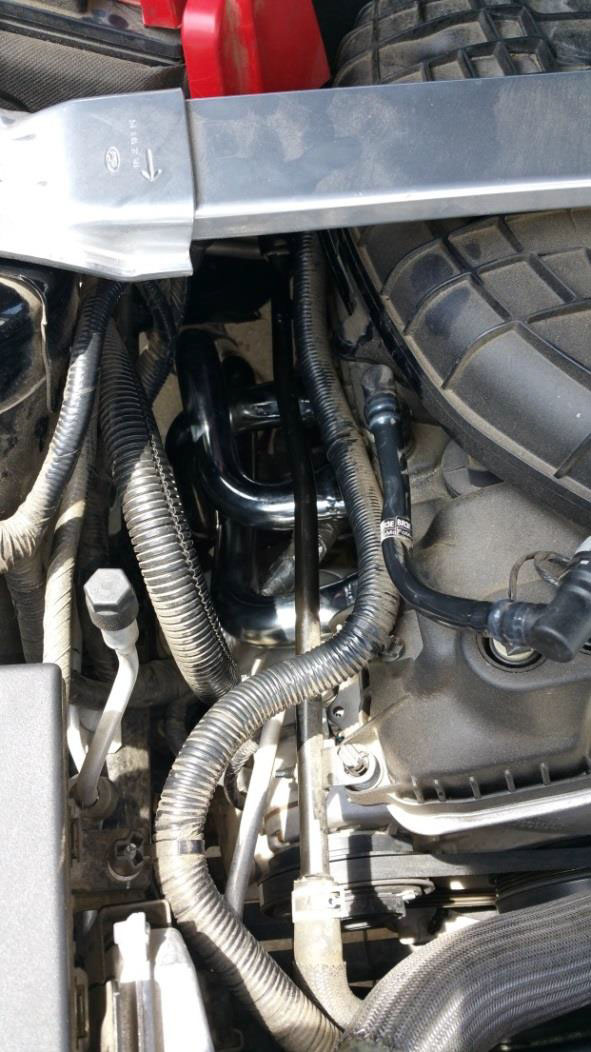
1. Remove the two bolts holding the heat shield on the driver side manifold (5/16”)
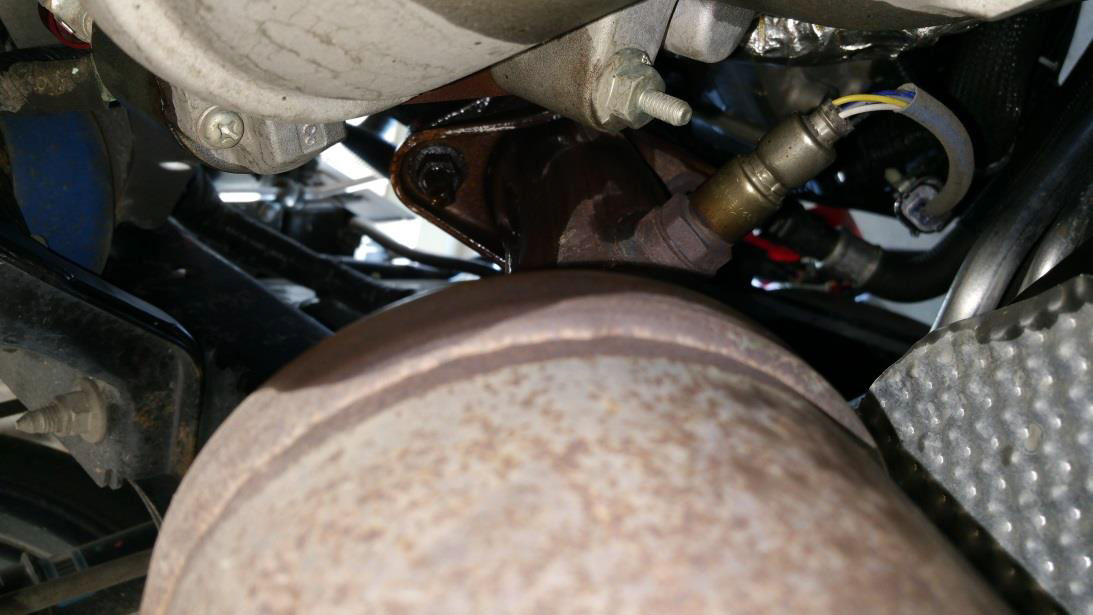
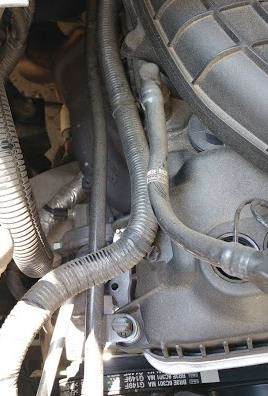
2. Disconnect the front oxygen sensors located near the firewall on each side of the engine
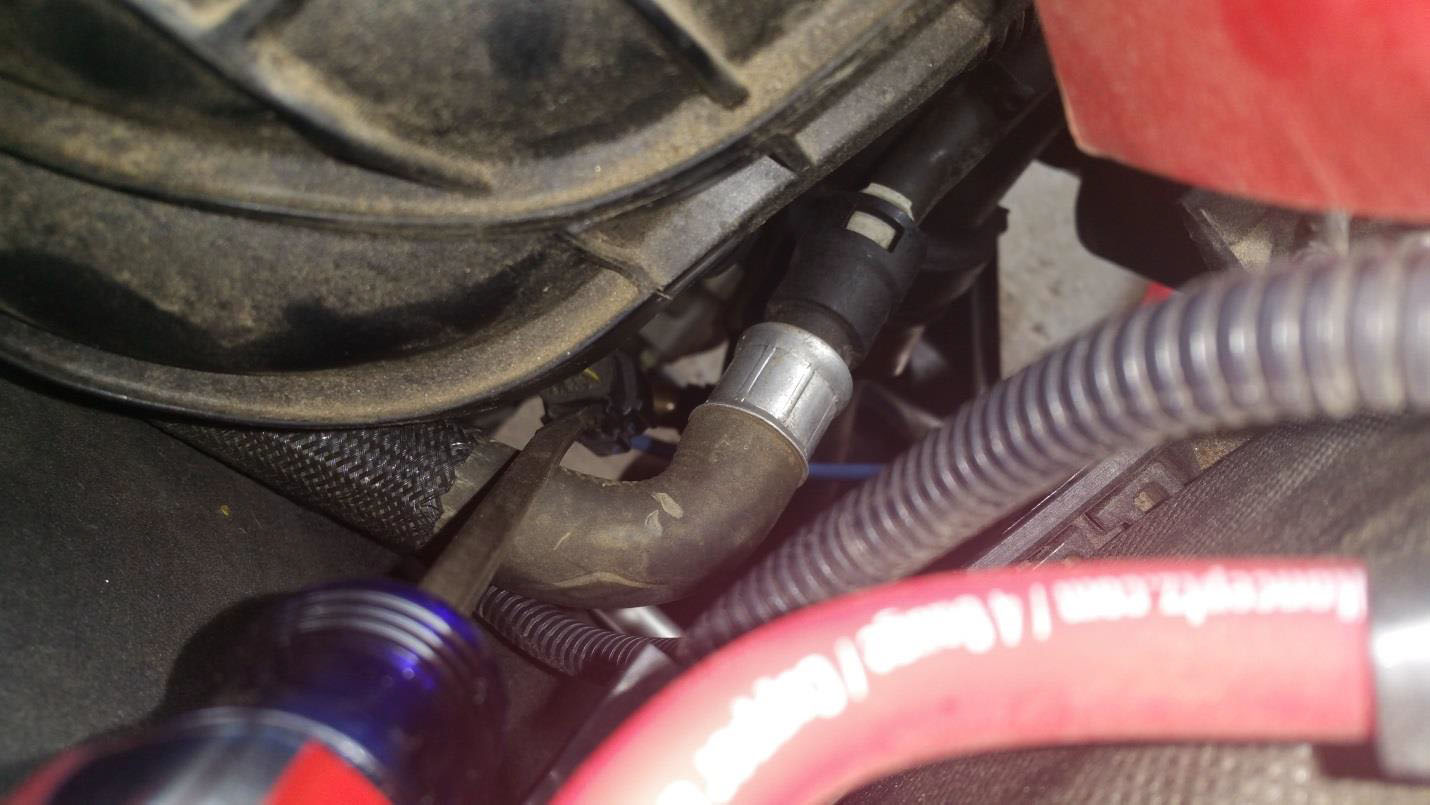
3. Disconnect the rear oxygen sensors mount on each side of the transmission
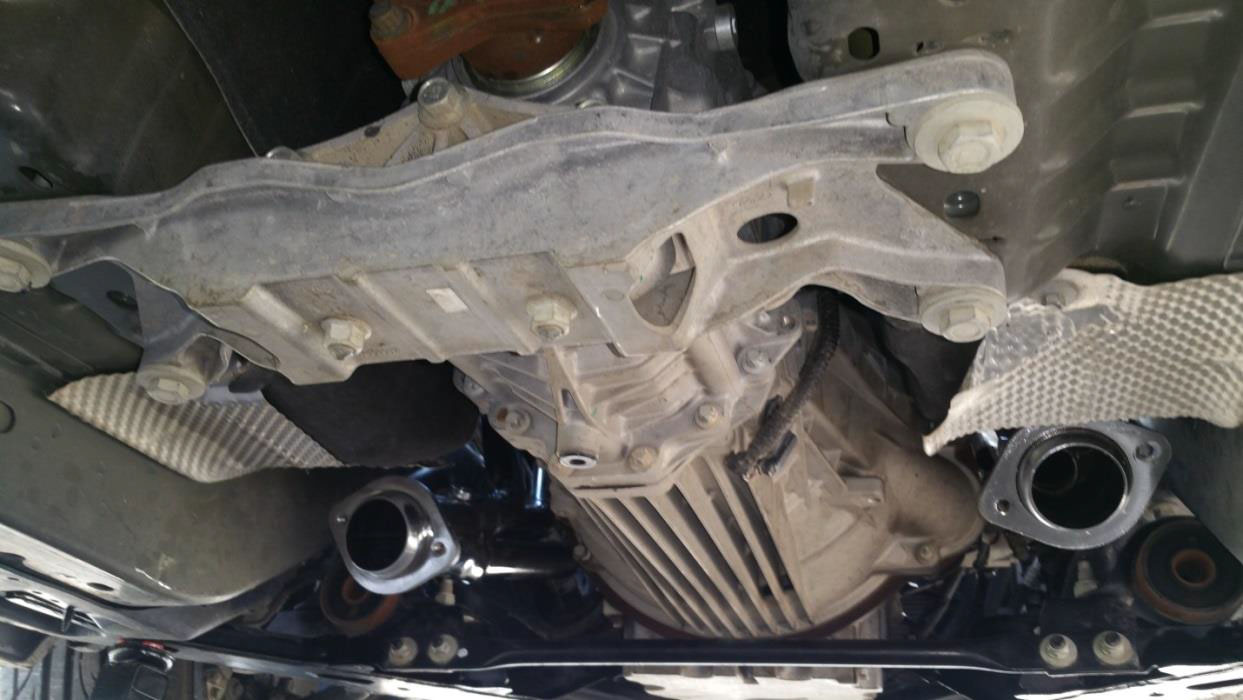
4. Remove the four 15mm nuts on the downpipe exhaust flange from underneath the vehicle. Be prepared to use an impact driver, extensions, and a wobble head socket for this.
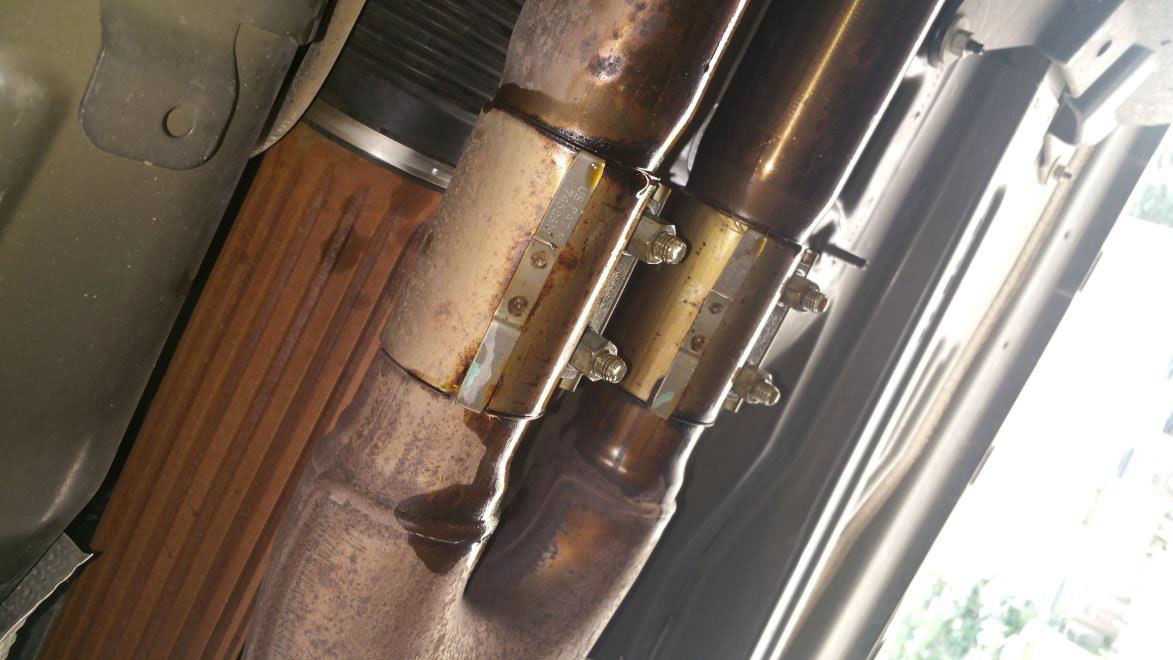
5. Remove the four 15mm nuts on the exhaust clamps that connect the mid-pipe to the cat back
6. Slide the cat back towards the rear of the car
7. You can now drop the entire mid-pipe to the ground, and carefully slide it out from underneath the car.
8. Remove the 4 oxygen sensors from the stock mid-pipe using an oxygen sensor socket or 7/8” wrench
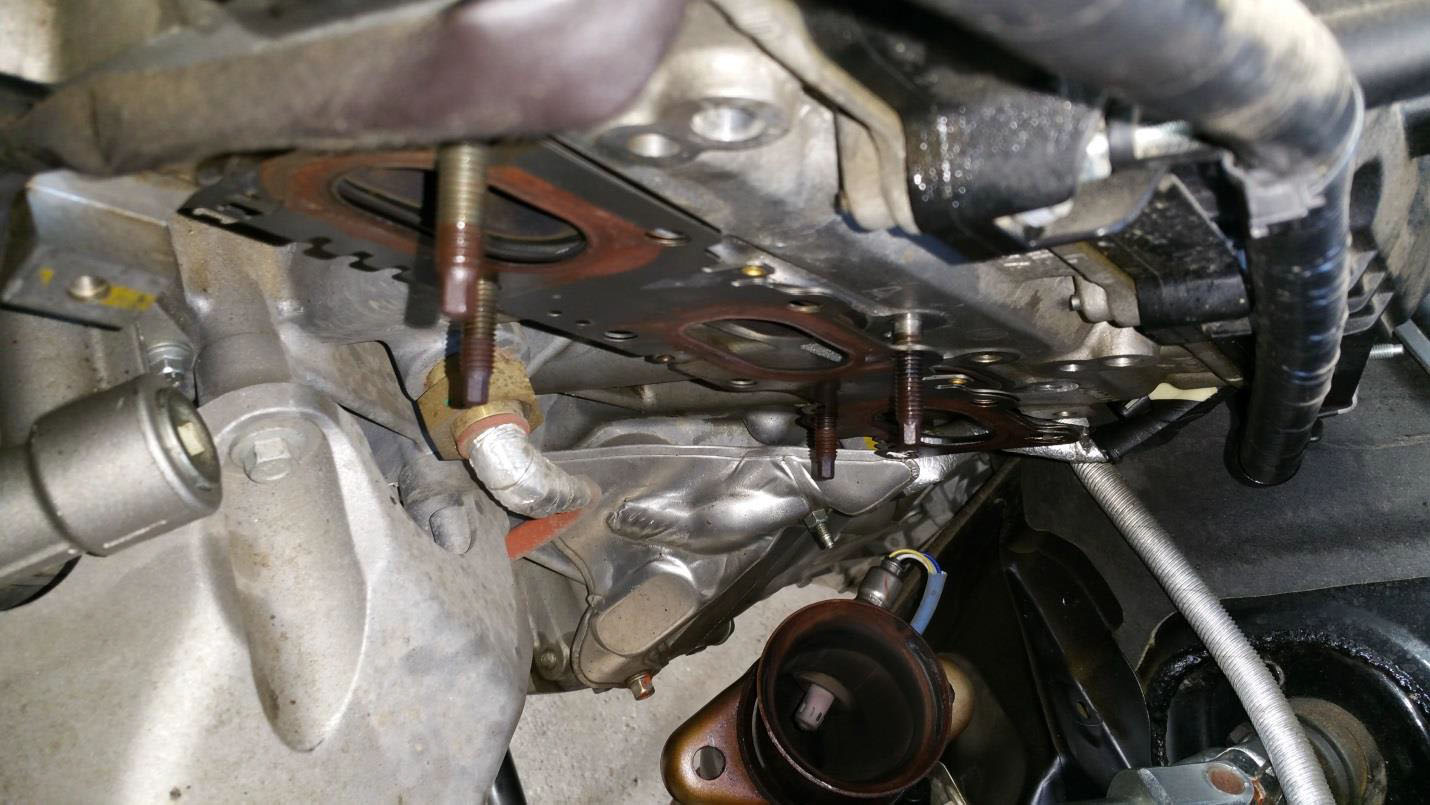
Removing factory manifolds:
1. Remove the six nuts that hold the passenger’s side manifold on using a 13 mm wrench. Remove the factory manifold by pulling it away from the engine then up. Do not worry if the studs come out with the nuts.
2. Remove the six nuts that hold the driver’s side manifold on using a 13 mm wrench. Remove the factory manifold by pulling it away from the engine then up. Do not worry if the studs come out with the nuts.
3. Replace the factory manifold gasket with an aftermarket gasket available through American Muscle, or reuse the factory gasket
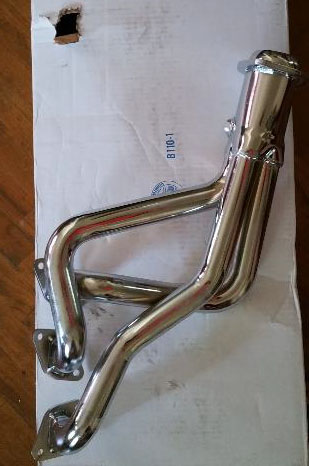
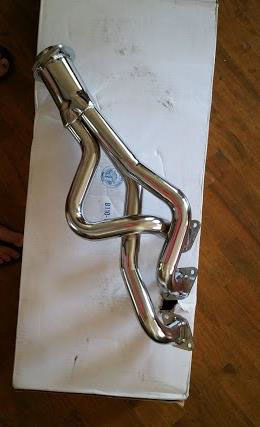
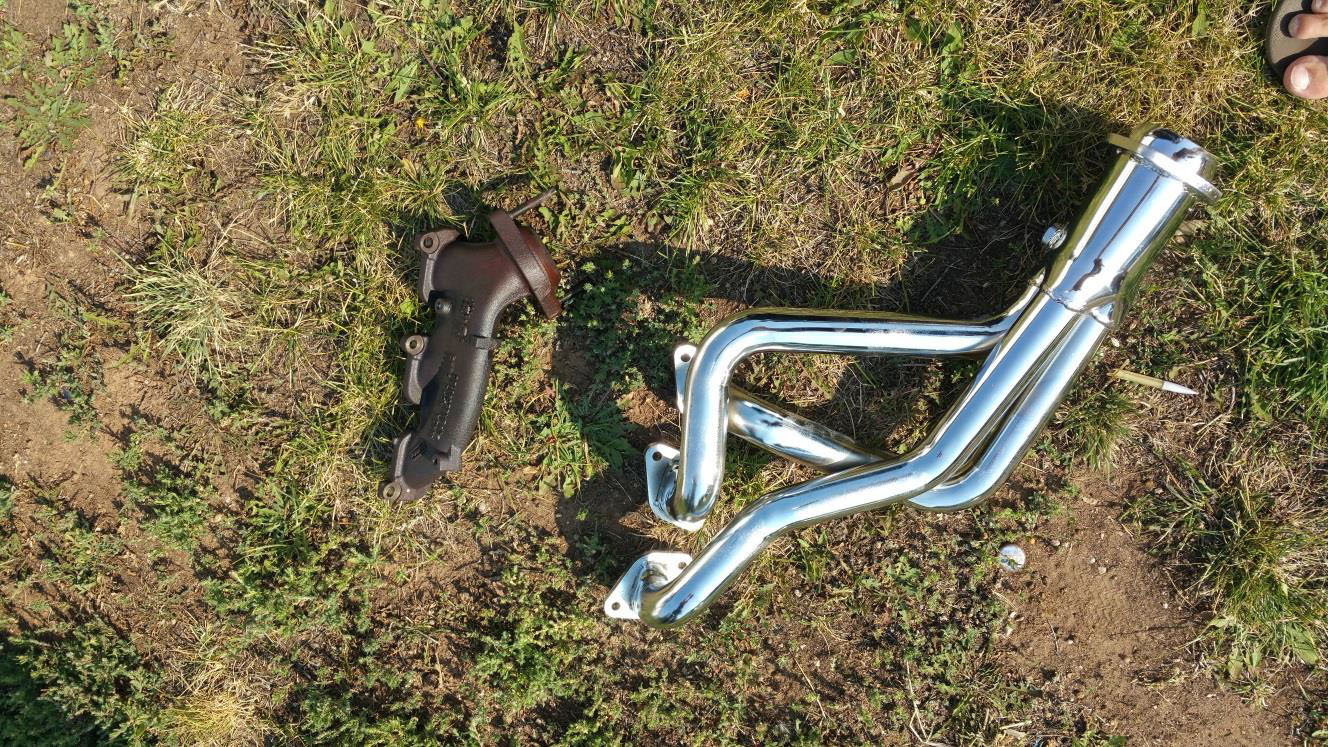
4. Here is a comparison between the factory manifold and the Mac Long Tube header
Installation of Mac Long Tube Headers:
1. Reinstall any header studs with a 5 mm socket that were removed, or remove all if you are planning on using the supplied Mac header bolts
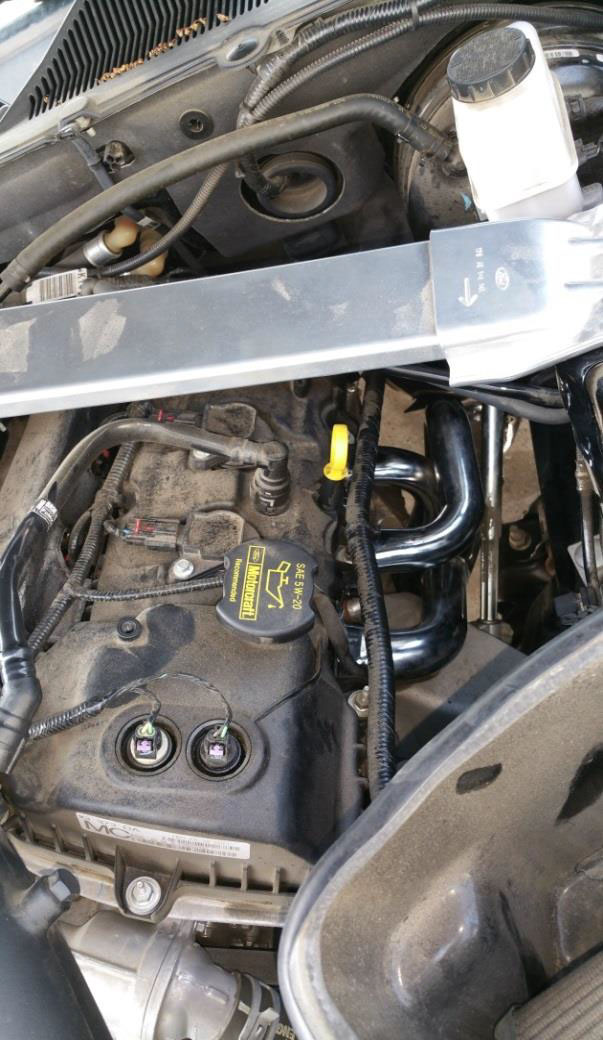
2. The driver’s side header easily drops in from the top (just remove the oil dipstick)
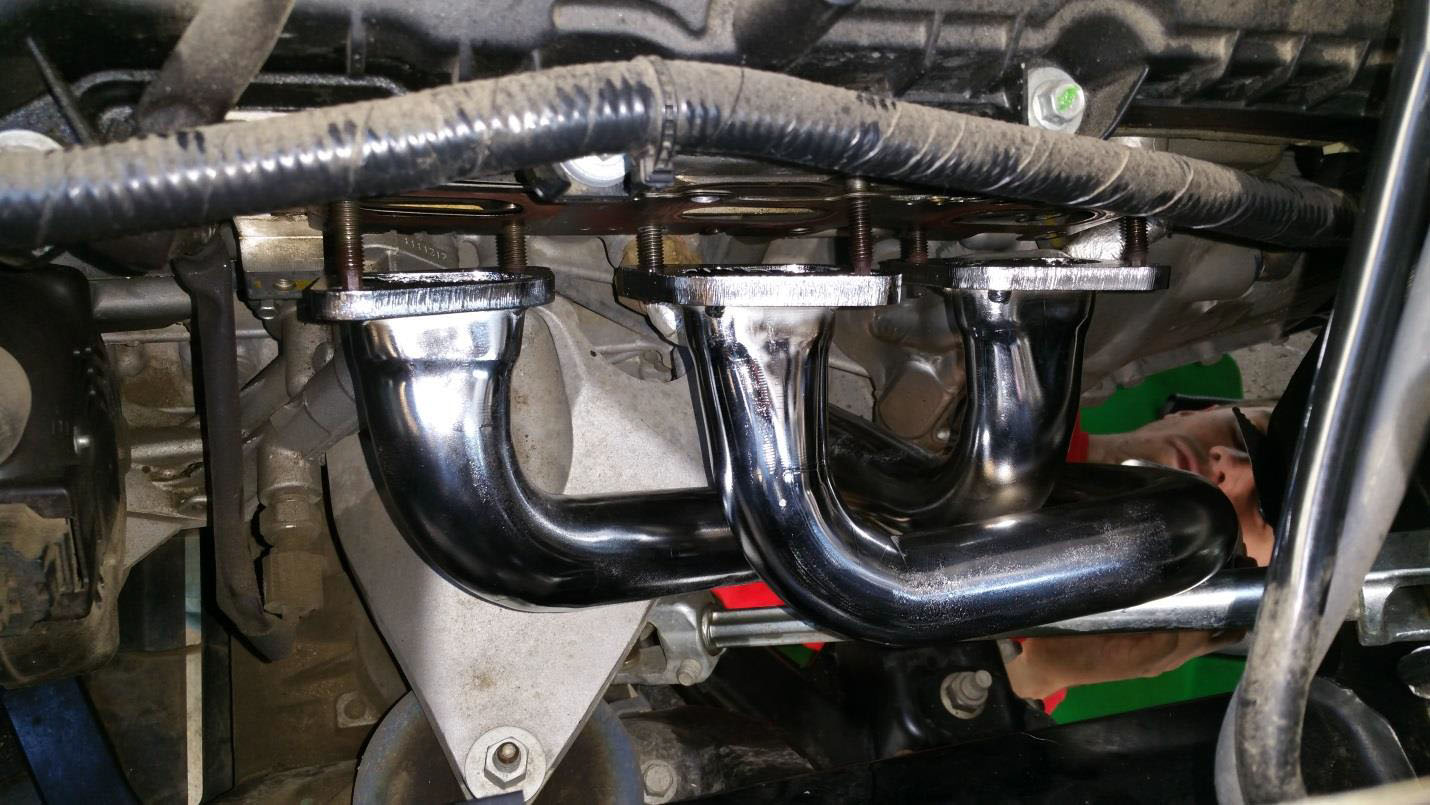
3. Slide the header over the exhaust studs
4. Using a torque wrench, evenly torque all of the nuts to 18 pounds. Once this is complete, torque all of the nuts to 24 pounds. A wobble head socket will make this easier.
5. Slide the header over the exhaust studs
6. The passenger side must be slid in from underneath the car. Start with the collectors facing the sky, and rotate as you get into the engine bay.
7. Using a torque wrench, evenly torque all of the nuts to 18 pounds. Once this is complete, torque all of the nuts to 24 pounds. A wobble head socket will make this easier.
8. Reconnect the front Oxygen sensors by either extending the factory wires with a soldering gun, rerouting the factory wires by removing zip ties, or using extensions available from American Muscle.
9. Congratulations, your Mac Long Tube Headers are now installed. You must torque the bolts again after your new exhaust system heats up (after 50 to 100 miles).
10. Here is the finished product:
Submitted by American Muscle customer Ed Gilbert on 8/31/2015
