 FREE 1 to 3-Day Delivery on Orders $119+ Details
Best Sellers


How to Install Magnaflow Ceramic Shorty Headers on your Mustang
Installation Time
1 days
Tools Required
- 17mm Socket
- 15mm Socket
- 10mm Socket
- 7/8" Wrench
- Pry Bar
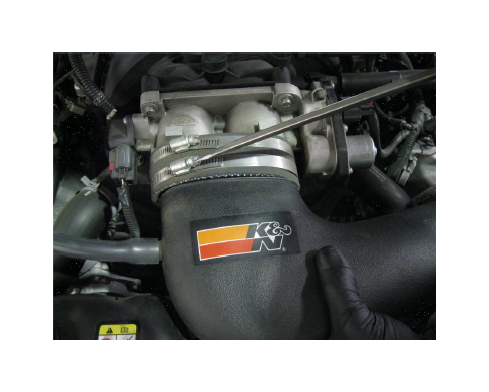
Step 1. Before removing the OEM manifold system, first disconnect the battery. Unbolt the air intake at the airbox inlet by loosening the retaining band clamp. This will allow you to rotate the engine for easier access.
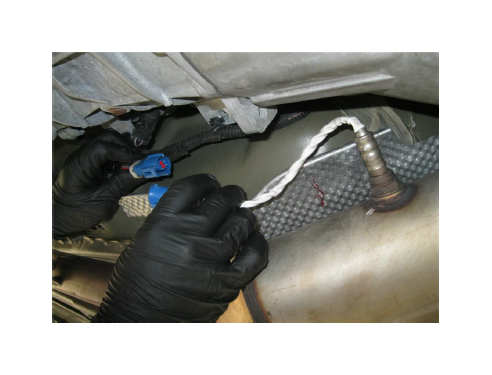
Step 2. Disconnect the rear O2 sensor plugs.
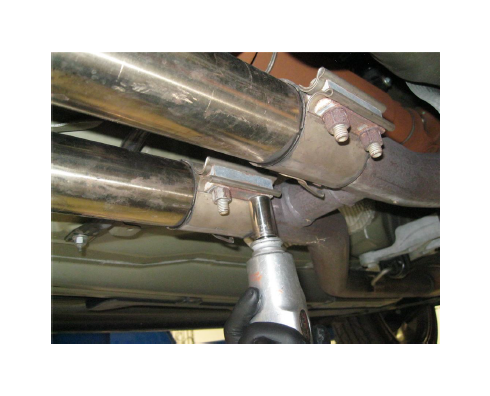
Step 3. Loosen the clamps attaching the H-Pipe assembly and unbolt the H-Pipe flange from the catalytic converters.
Step 4. Unbolt the O2 sensors in front of the catalytic converters. The H-Pipe assembly may now be removed.
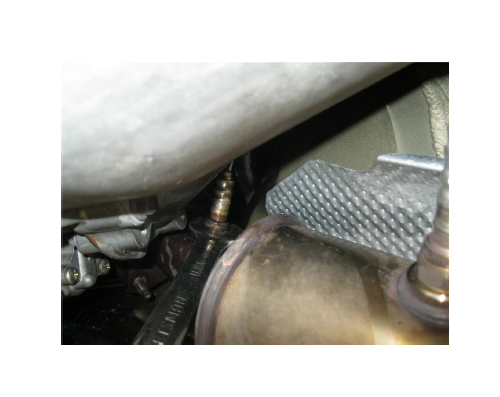
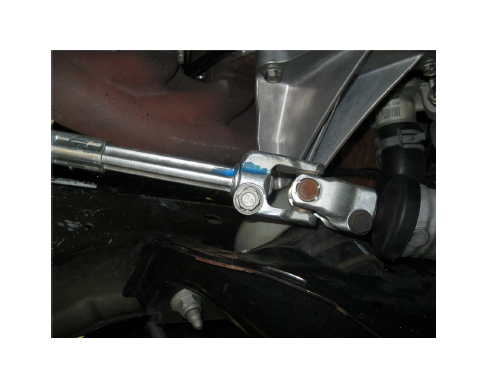
Step 5. Unplug the O2 sensor coupling for the header. When disengaging the steering shaft first mark both the shaft and the universal joint to ensure alignment on reassembly. Remove the retaining bolt and uncouple the steering shaft.
Step 6. Before removing the motor mounts support the engine with a jack.
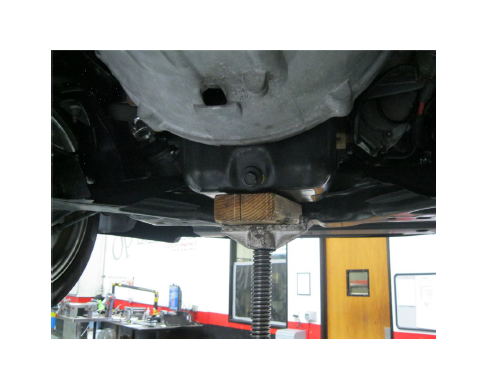
Step 7. The motor mounts may now be unbolted and removed.
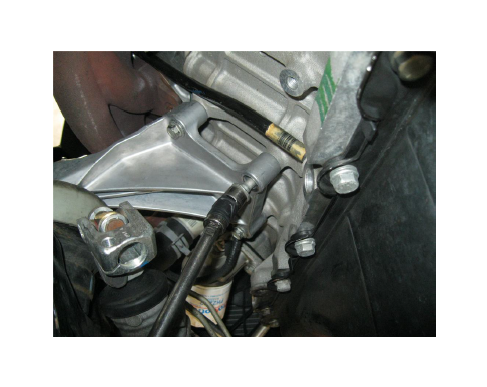
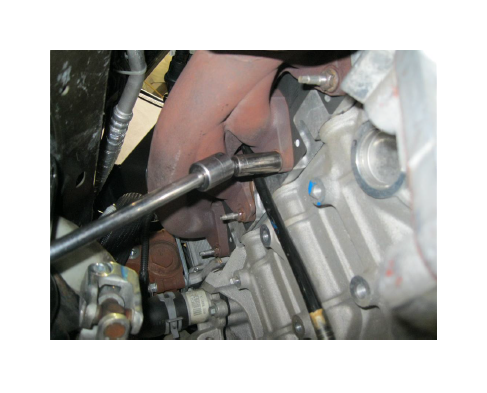
Step 8. The header nuts are now accessible, remove all eight and remove the studs too. The drivers side header may now be removed.
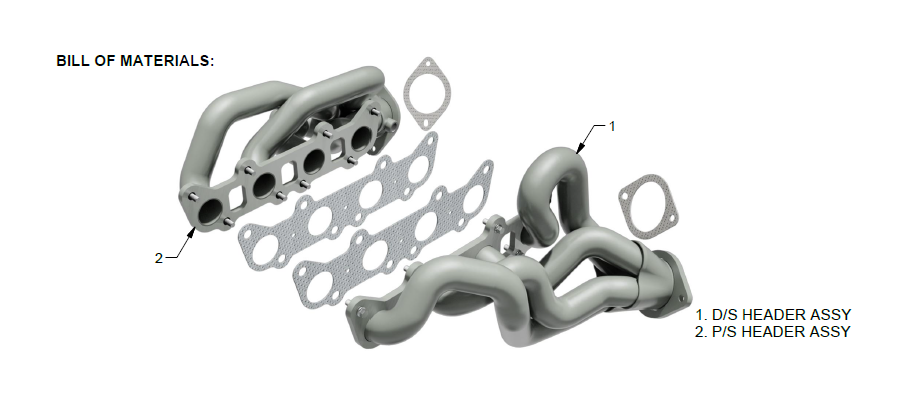
Step 9: To install the new drivers side headers identify and lay out the two subassemblies to ensure correct orientations. Install the D/S header assembly. Use the supplied gasket and header bolts to secure to the manufaturers torque specifications. The engine may need to be raised with the jack for added clearance. Reinstall the motor mount and reconnect the steering shaft, be sure to align the marks you previously made.
Step 10: To remove the passengers side header assembly you will need to remove the starter motor. Unbolt using a 10mm socket and remove. Next, remove the motor mount using the same method as the drivers side. The remaining removal process is the same as the drivers side, disconnect the O2 sensors and remove the header.
Step 11: Installing the passengers side header assembly is essentially the same as the drivers side. Remove the header nuts and studs. Install the header assembly with the supplied gasket and attach using the supplied header bolts to the manufacturers torque specifications. Next, install the motor mount. Replace the starter motor. Check both sets of headers for clearance. Reconnect the OEM O2 sensors. Fasten each header assembly to the OEM catalytic converters and H-Pipe assembly using the existing hardware.
Step 12: With all components mounted loosely, adjust the system for overall aesthetics and clearance of frame & bodywork. (MAGNAFLOW recommends at least 1/2" of clearance between the exhaust system and any body panels to prevent heat-related body damage or fire.) Install the air intake and reconnect the battery.
Step 13: Once a final position has been chosen for the new system, evenly tighten all fasteners from front to rear. The supplied band clamps must be VERY tight to properly align the pipes and prevent leaks. Inspect all fasteners after 25-50 miles of operation and retighten if necessary.
