FREE 1 to 3-Day Delivery on Orders $119+ Details
Best Sellers


How To Install a MMD by Foose Rear Valance Diffuser on your 2005-2009 GT Mustang
Installation Time
2 hours
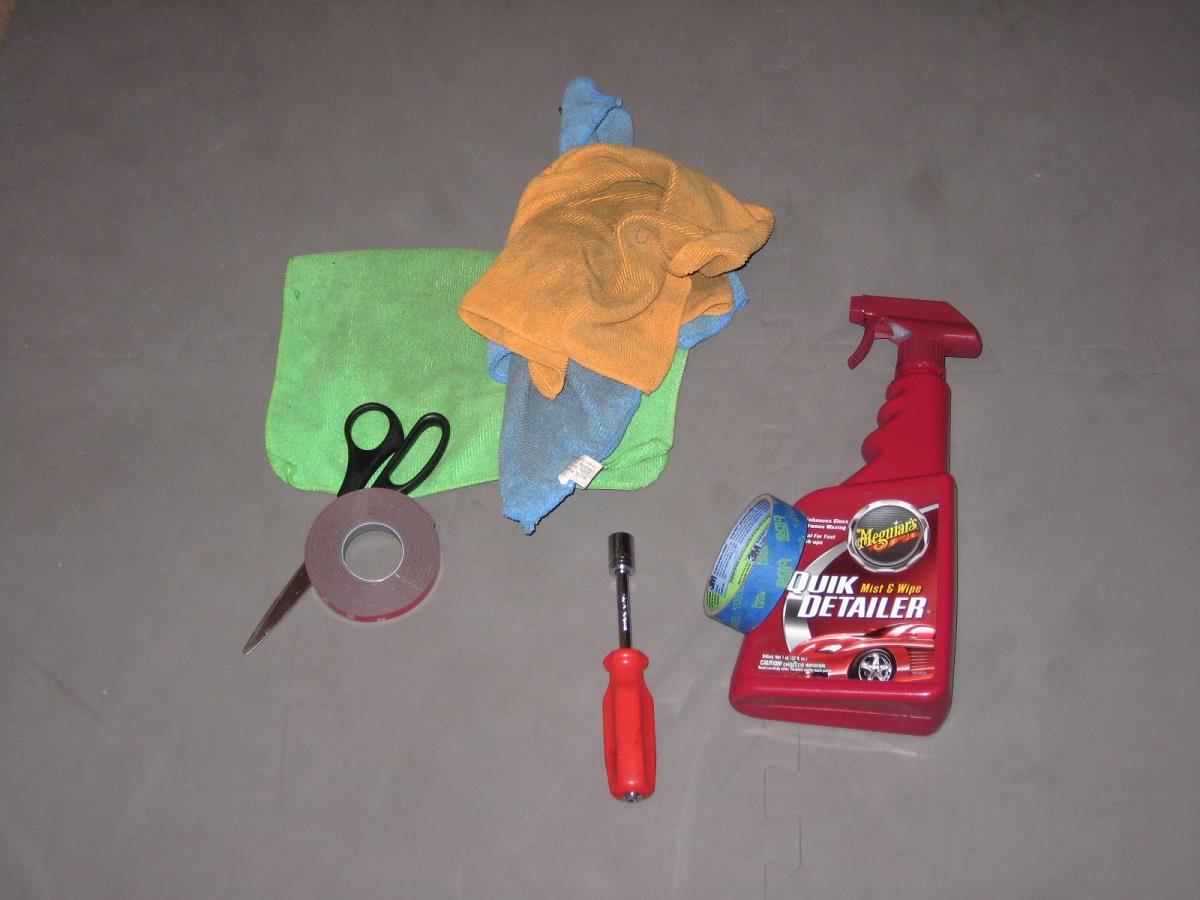
Tools Required
- 11mm socket with driver
- Microfiber towels
- Automotive cleaning solution
- Painter’s Tape
- Scissors
- Extra automotive tape (optional)
Shop Parts in this Guide
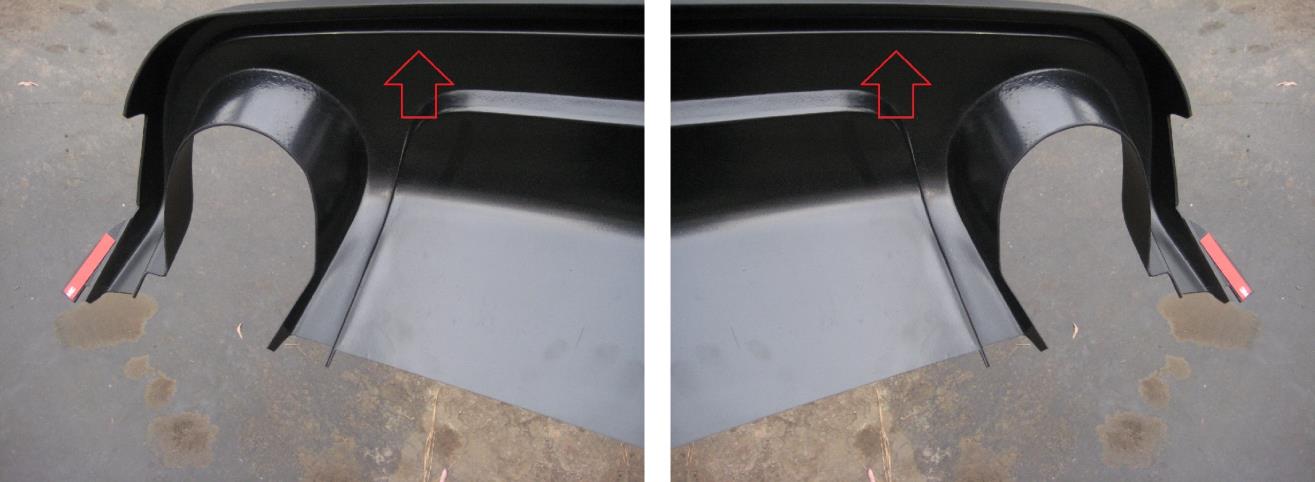
Please Note: Before you begin to install, read all of the instructions. Pay extra close attention to where on the diffuser you will be prepping with the Automotive Adhesive Promoter, because the applicator dries up fast. Also, pre-fit the diffuser over your bumper cover and pay close attention to any gaps and play around with the fitment until you notice the diffuser fitting flush to your rear bumper cover, that way you know how you will tape your L-Brackets to the diffuser to prevent any gaps.
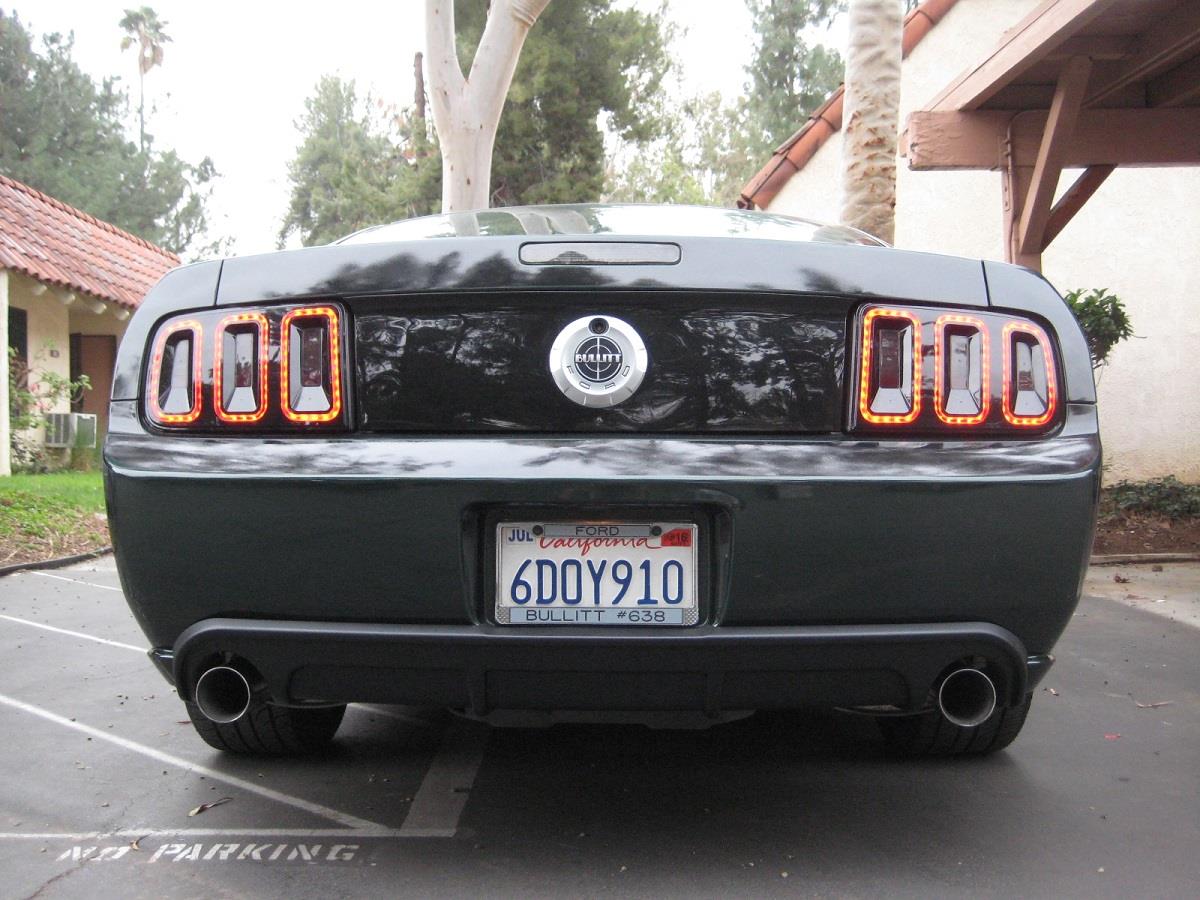
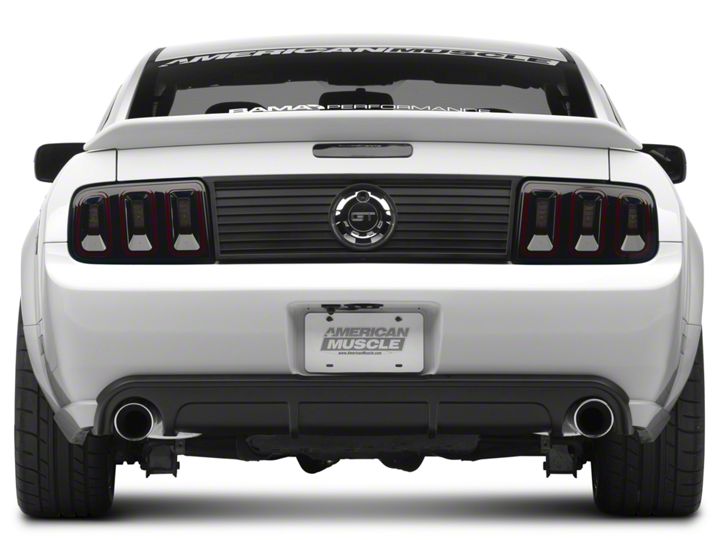
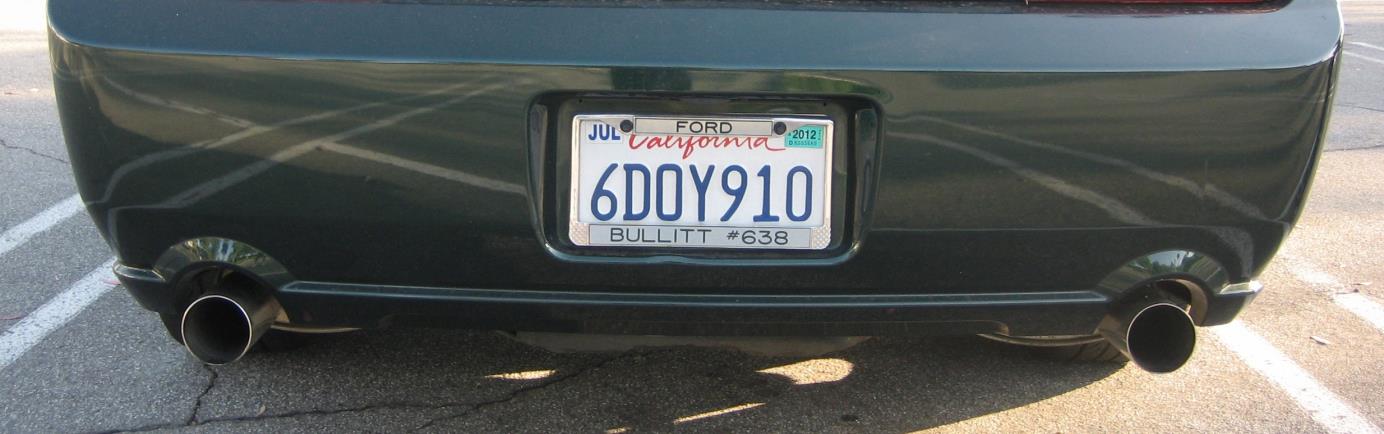
Image of Rear Bumper Cover Before Installation : This is an example of how a 2005-2009 Mustang GT rear bumper cover looks like.
Installation procedure
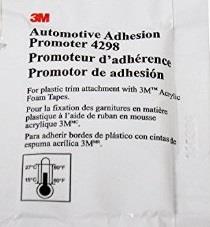
1. Prep the under side lip of the diffuser with the provided 3M “Automotive Adhesion Promoter 4298” wipe.
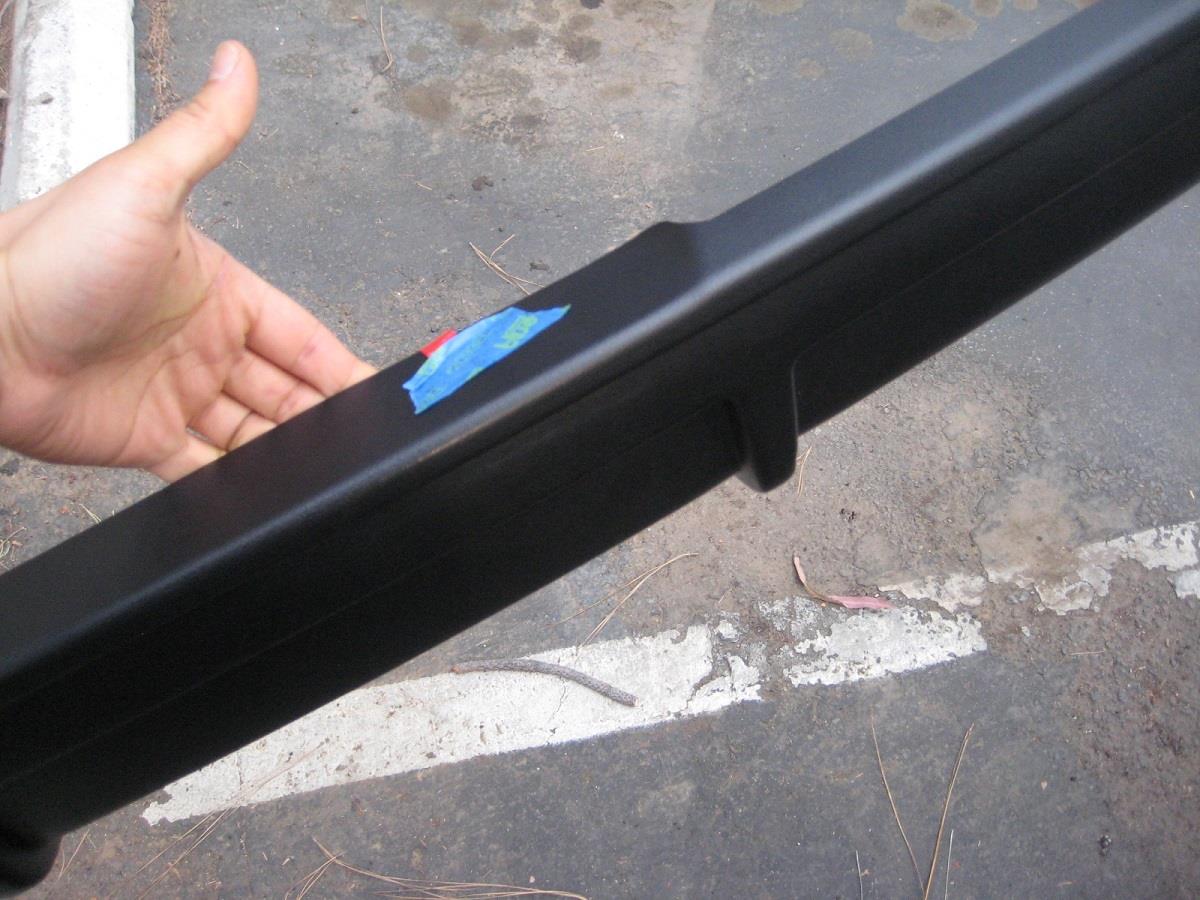
Prep the TOP Side of the inner lip where you will be sticking your 90° angled brackets. Remember, the Adhesion Promoter dries up very quick, so once you open up that little packet, start prepping immediately. Prep very wide and generously.
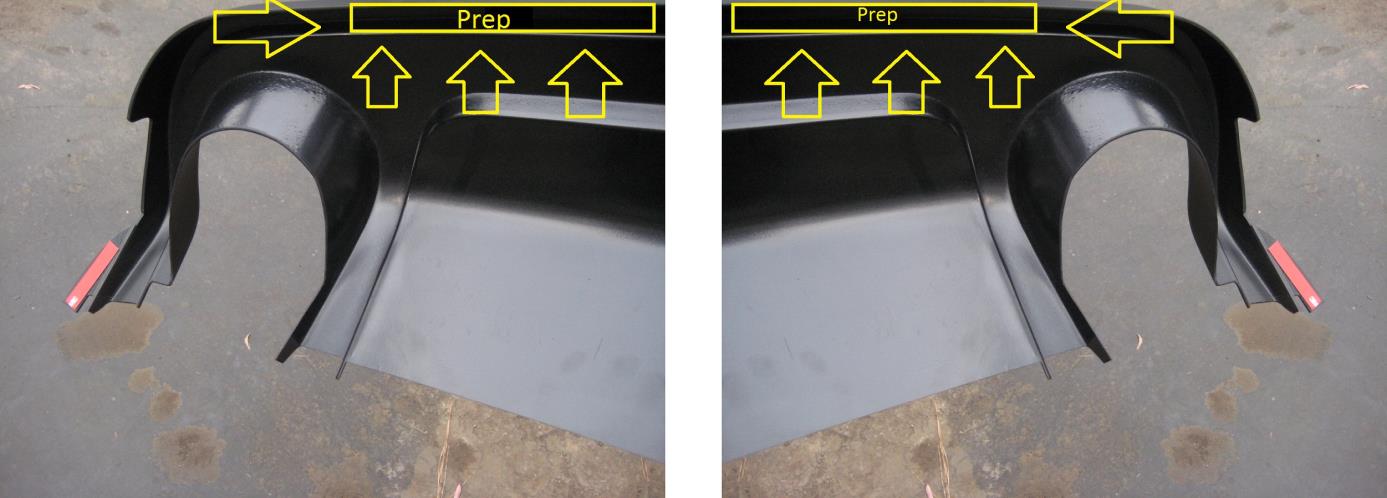
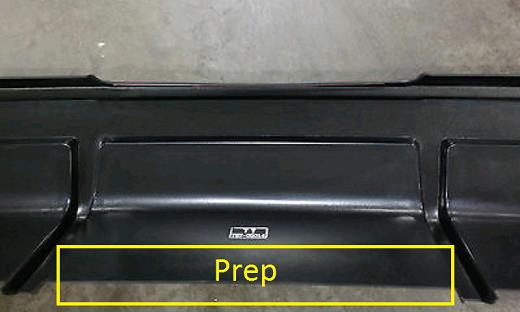
Prep the inside panel.
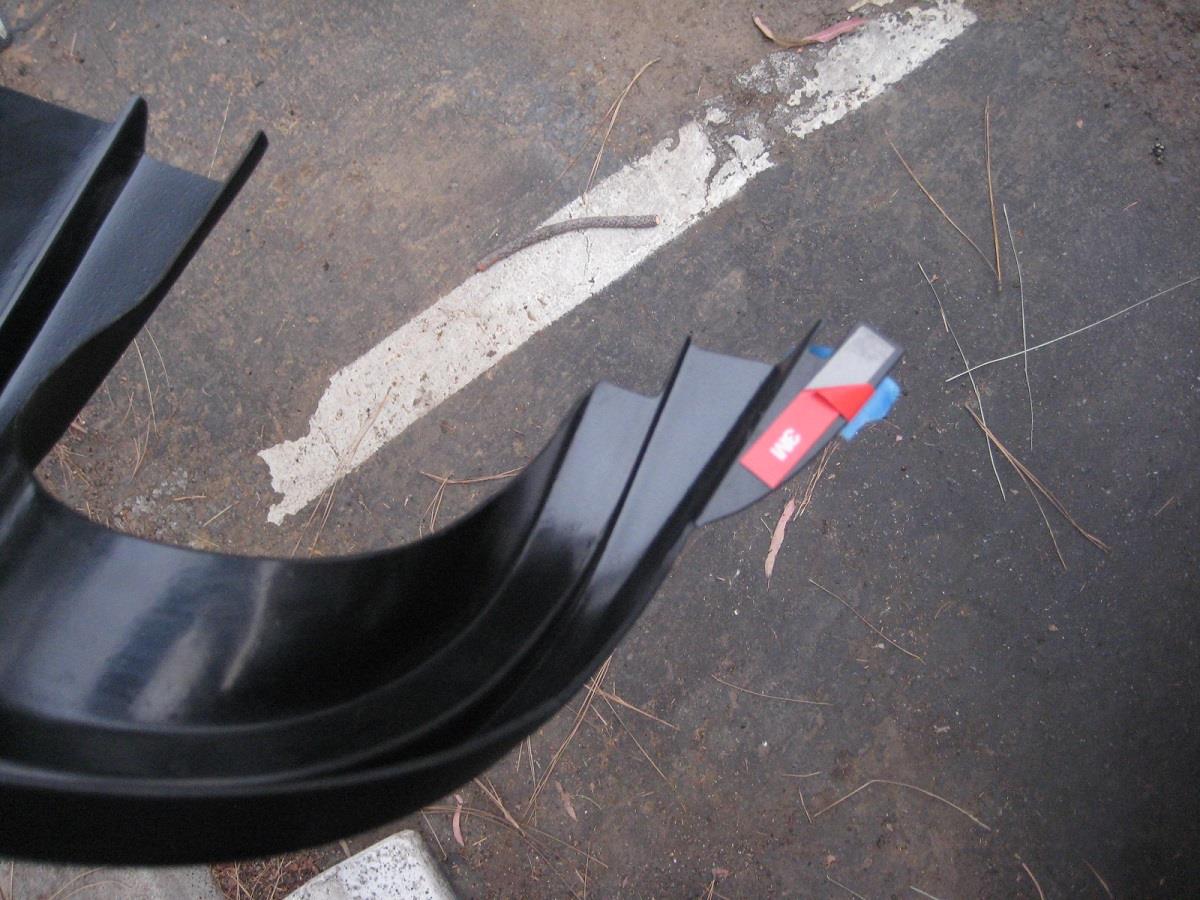
2. Stick on your 90° (or L-Shaped) brackets onto the inner lip top-side on the inside of the diffuser (where you just prepped with adhesion promoter).

Try to leave your 90° brackets sticking out as much as possible so that they can make contact with your bumper.
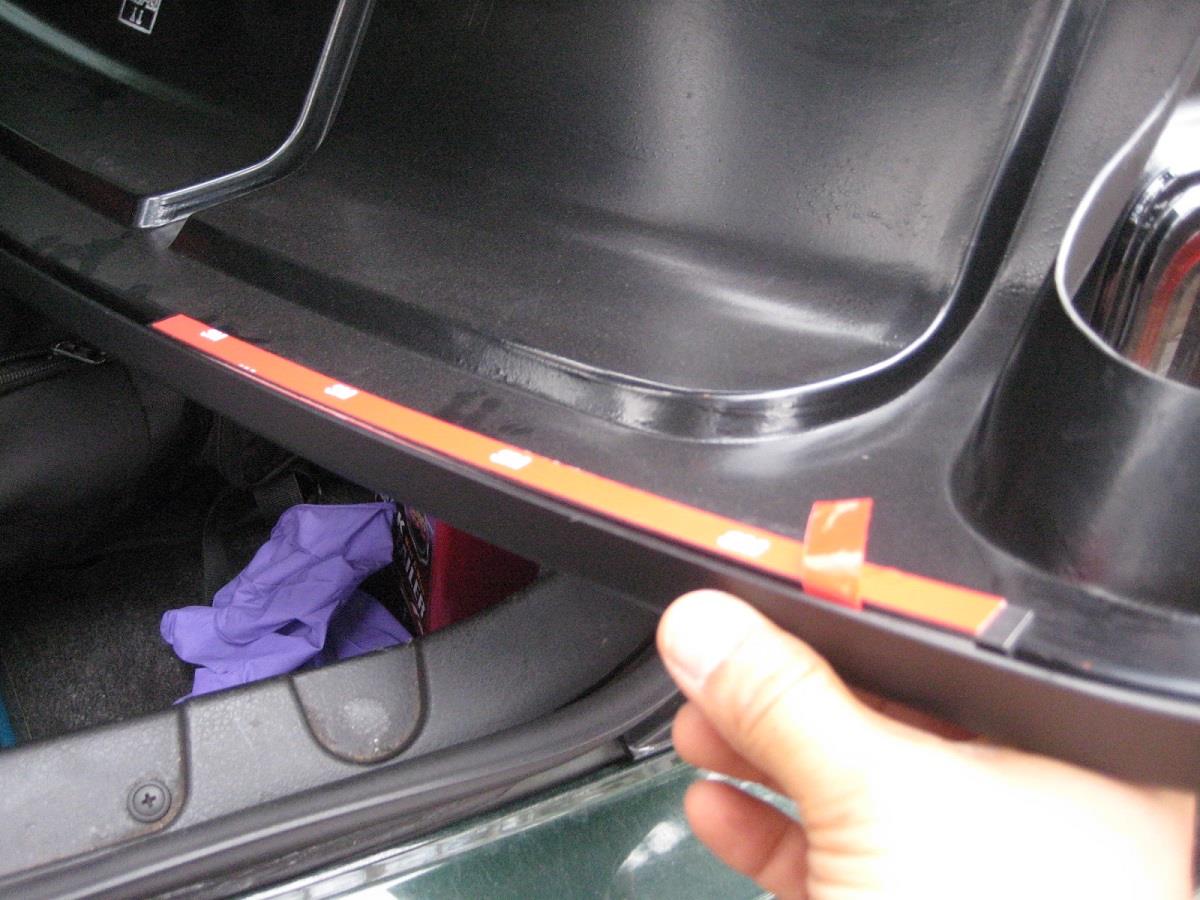
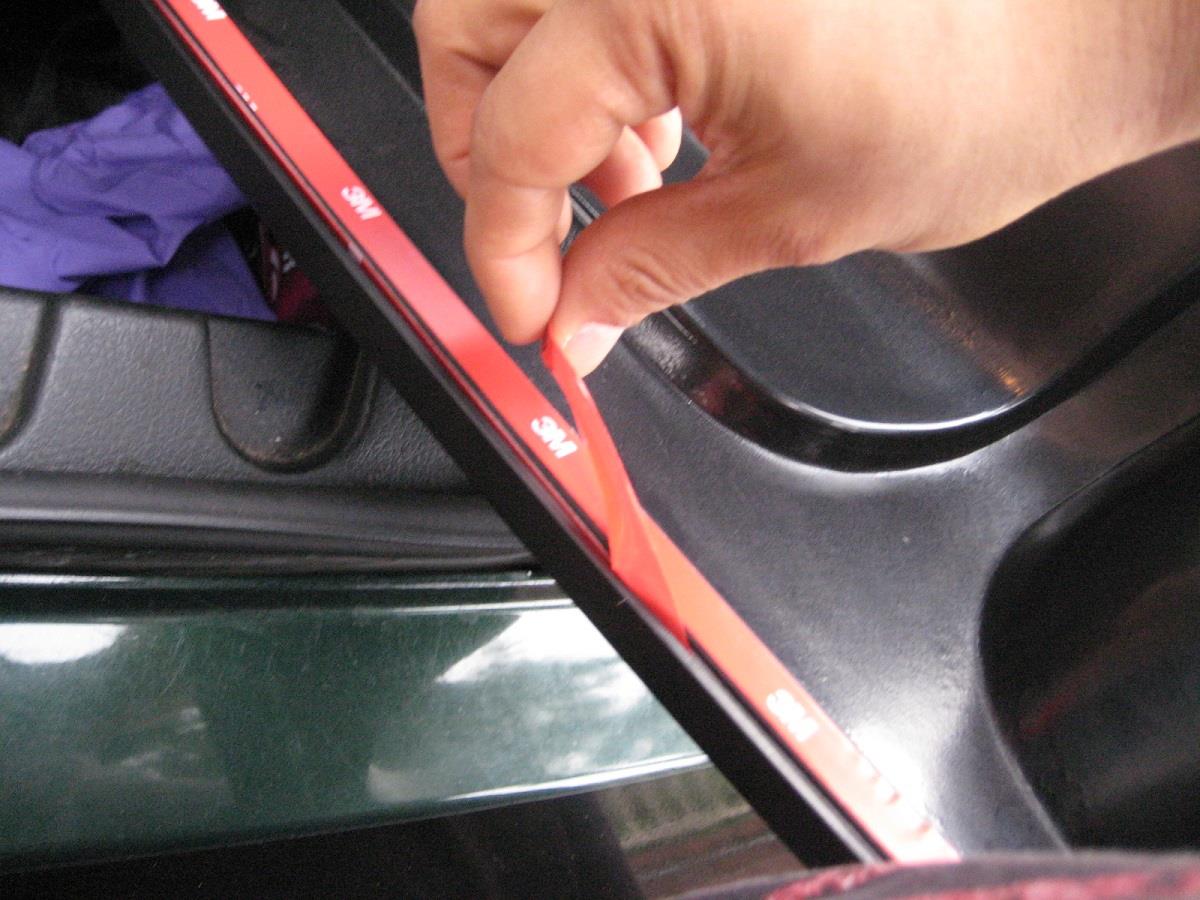
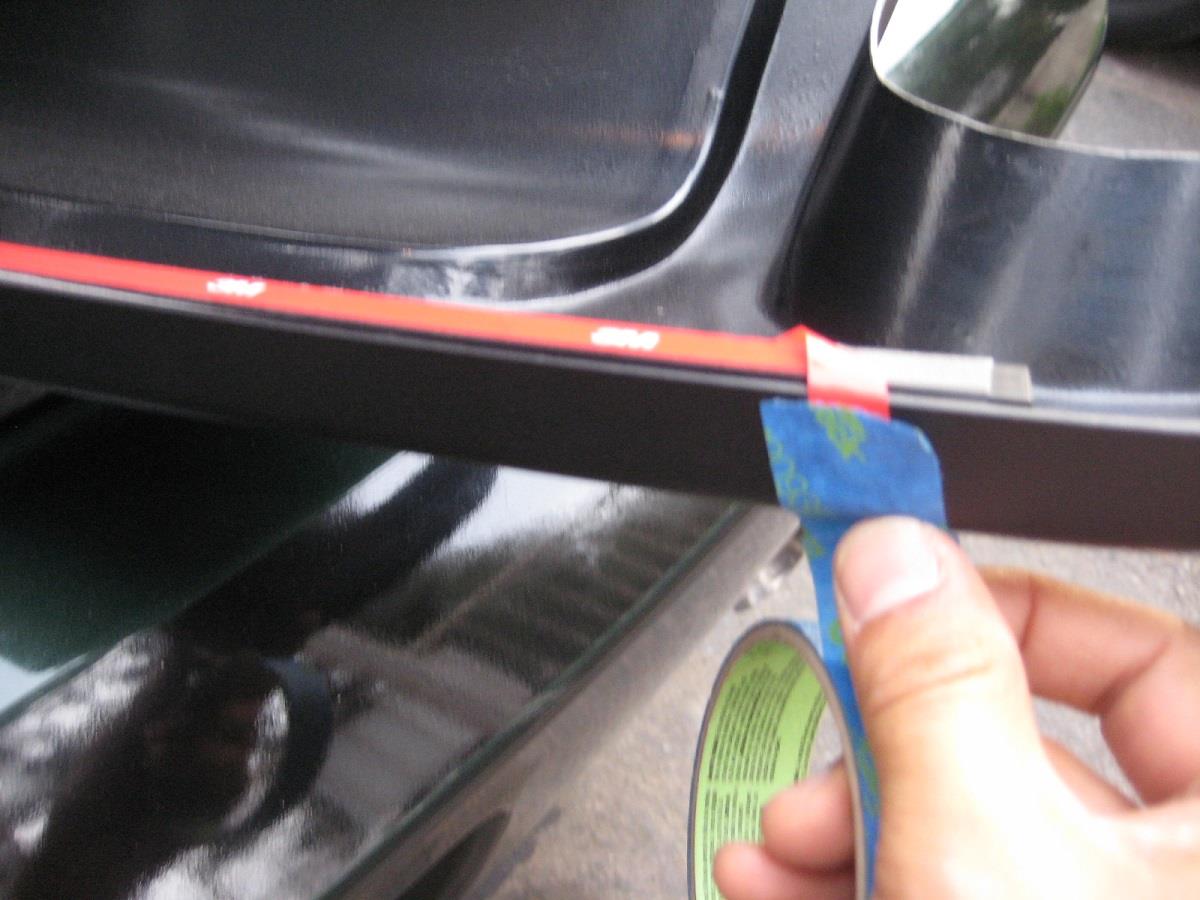
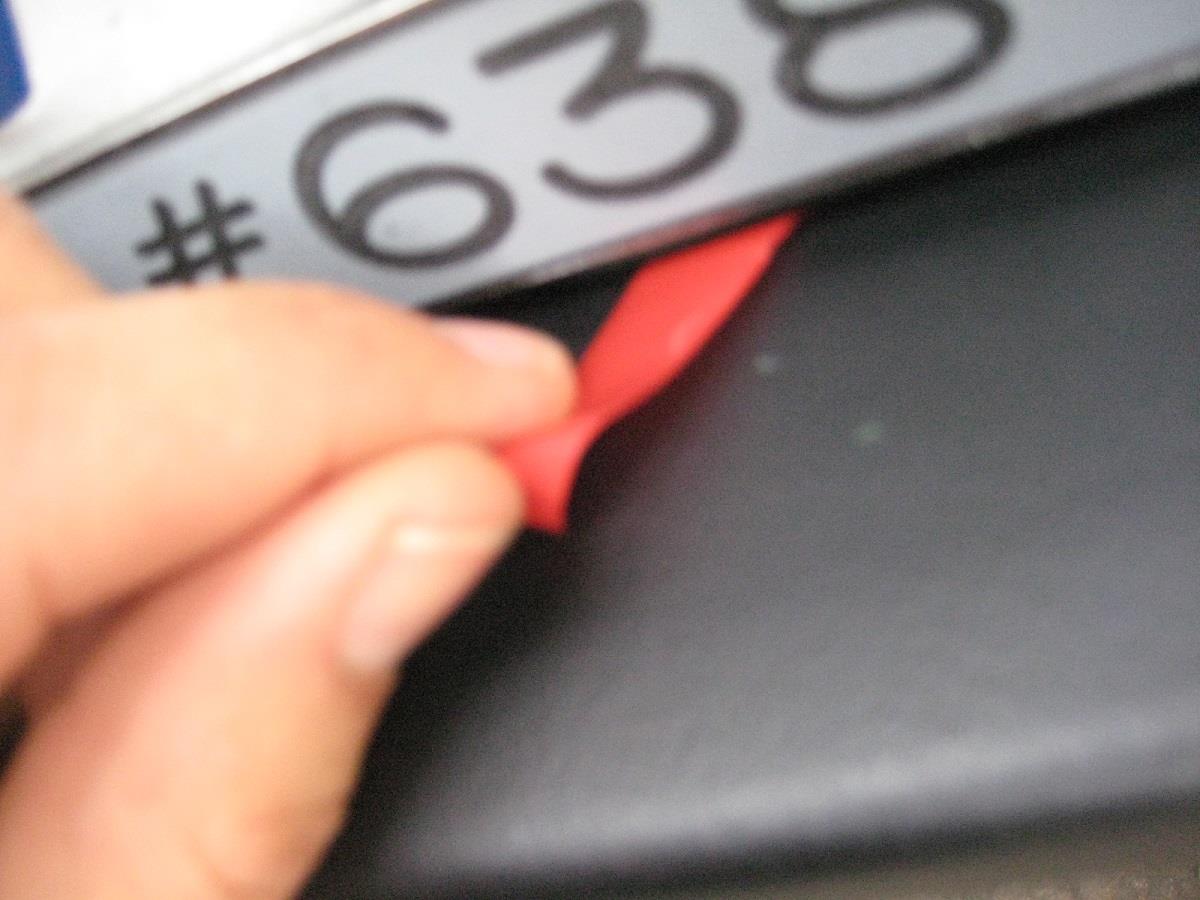
3. Start to peel the red adhesive backing strips at one corner, on all adhesive strips, and tape them to the edges with some painter’s tape.
OPTIONAL
This part is optional, you can also apply automotive tape along where the exhaust cut out will make contact for extra support.

End of OPTIONAL Portion
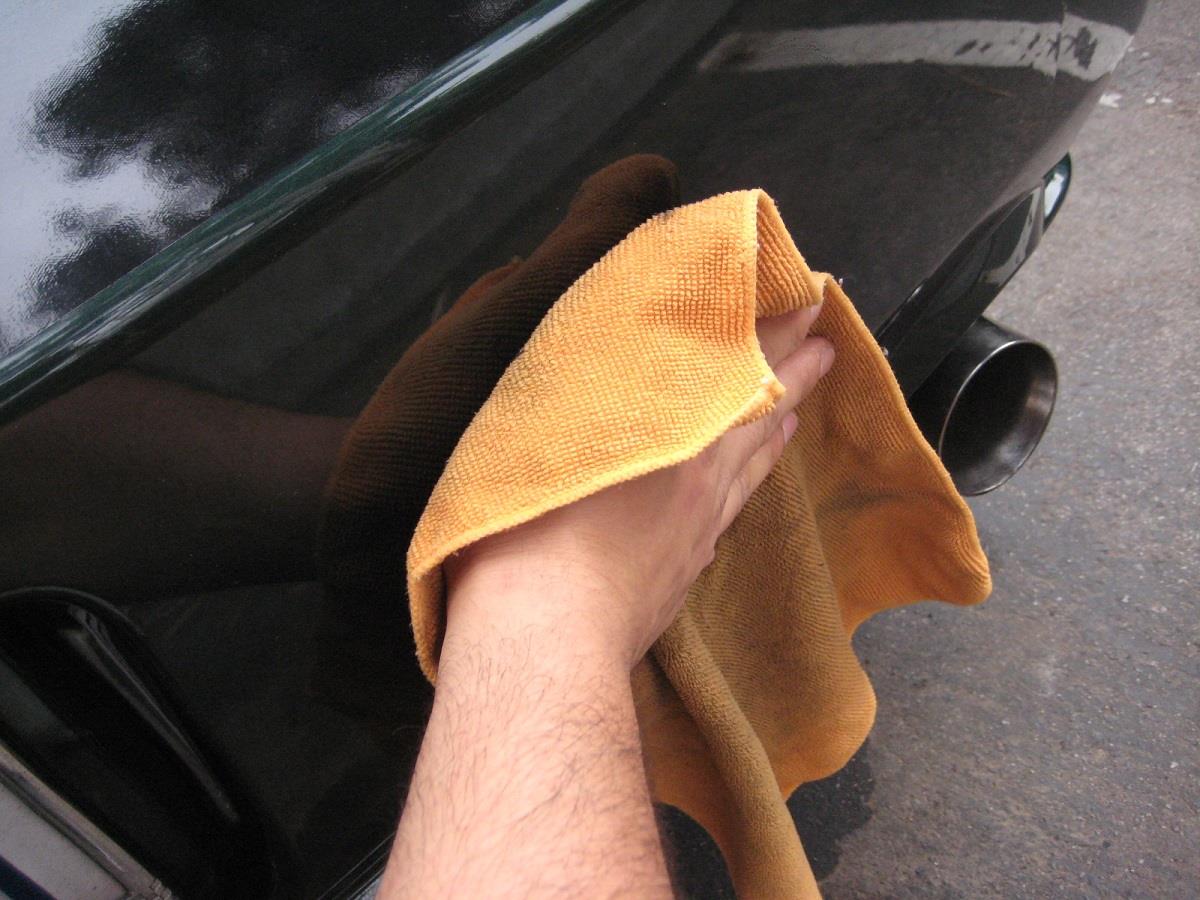
4. Clean your rear bumper cover and make sure there is no dust.
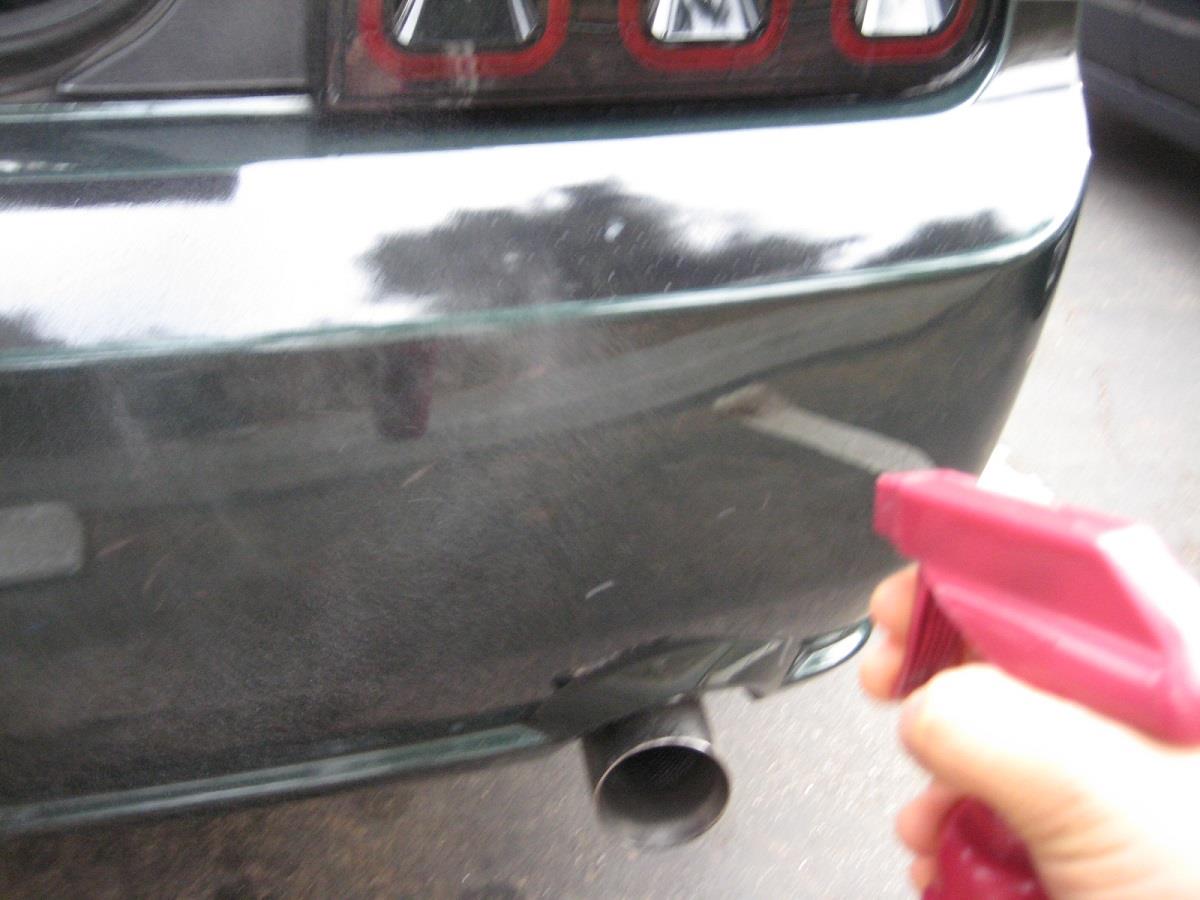
Clean generously. It is better to over-clean than under-clean. Dirt and dust are your enemies.
5. Wipe with the provided alcohol swabs and pay close attention to the areas where the automotive tape will be making contact.
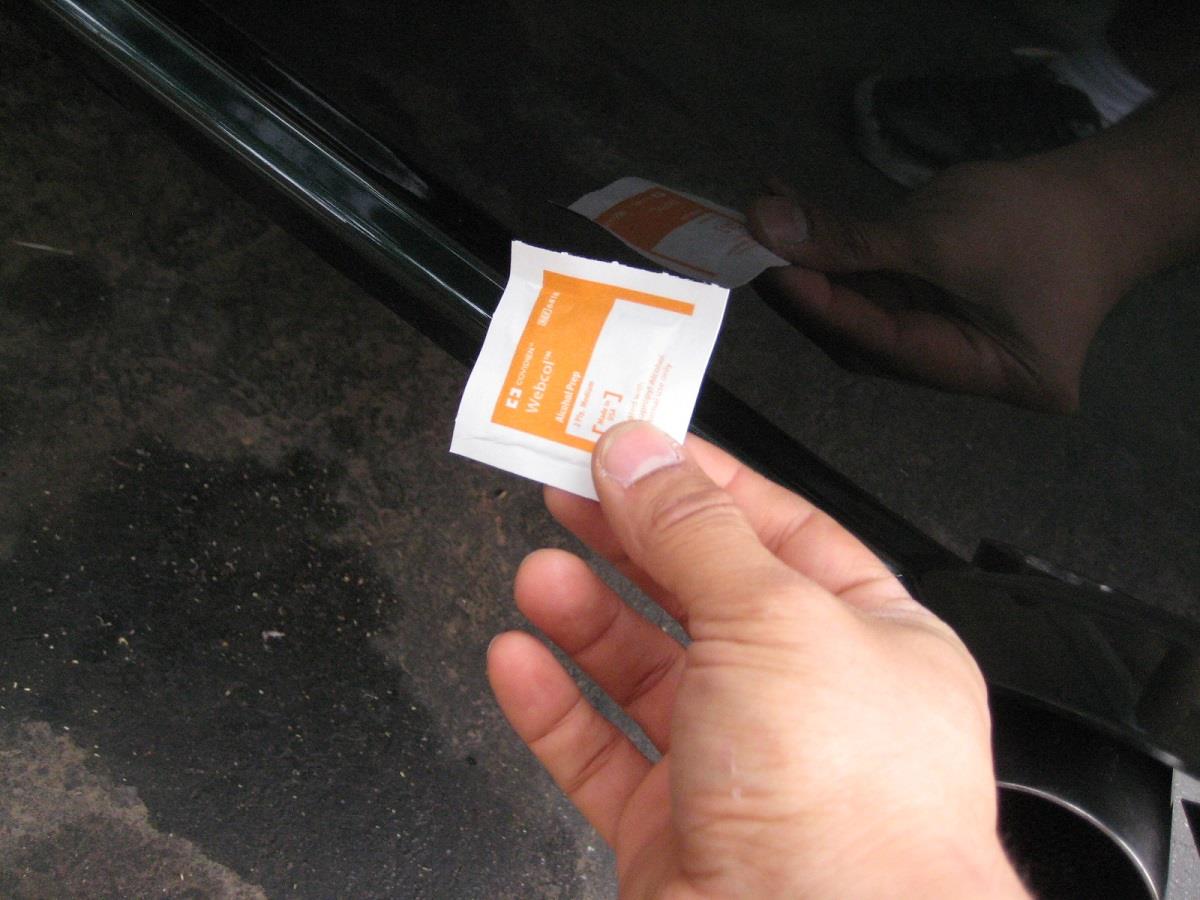
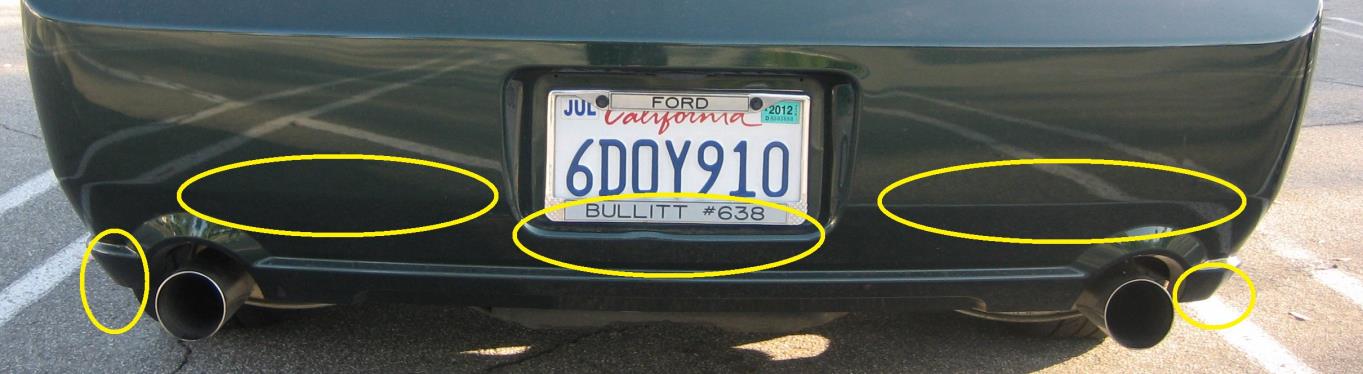
There are 5 areas that you want to pay close attention when cleaning with the alcohol swabs, these are: (1) under the license plate, (2) on both sides above the exhaust pipes moving towards the license plate and (3) on both sides at the outer sides of the exhaust pipes under the bumper.
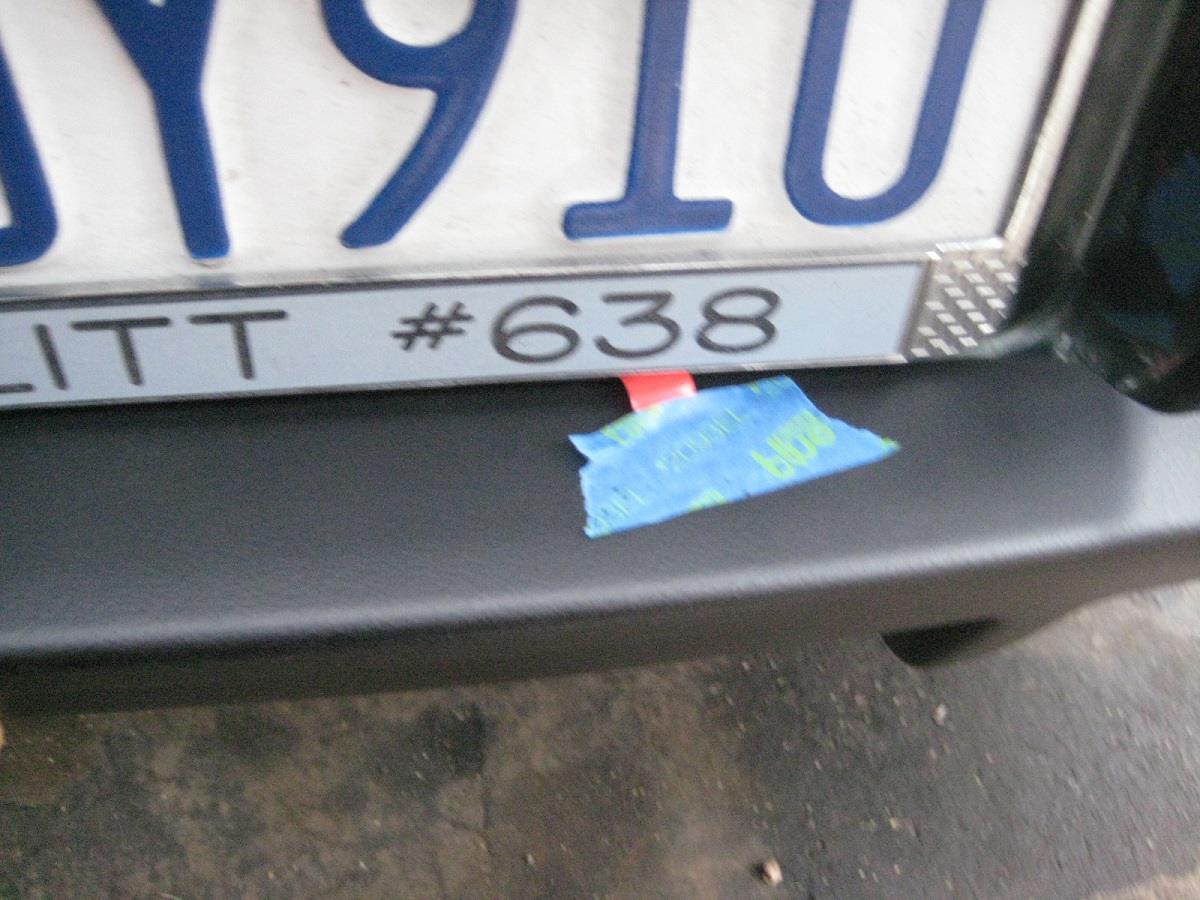
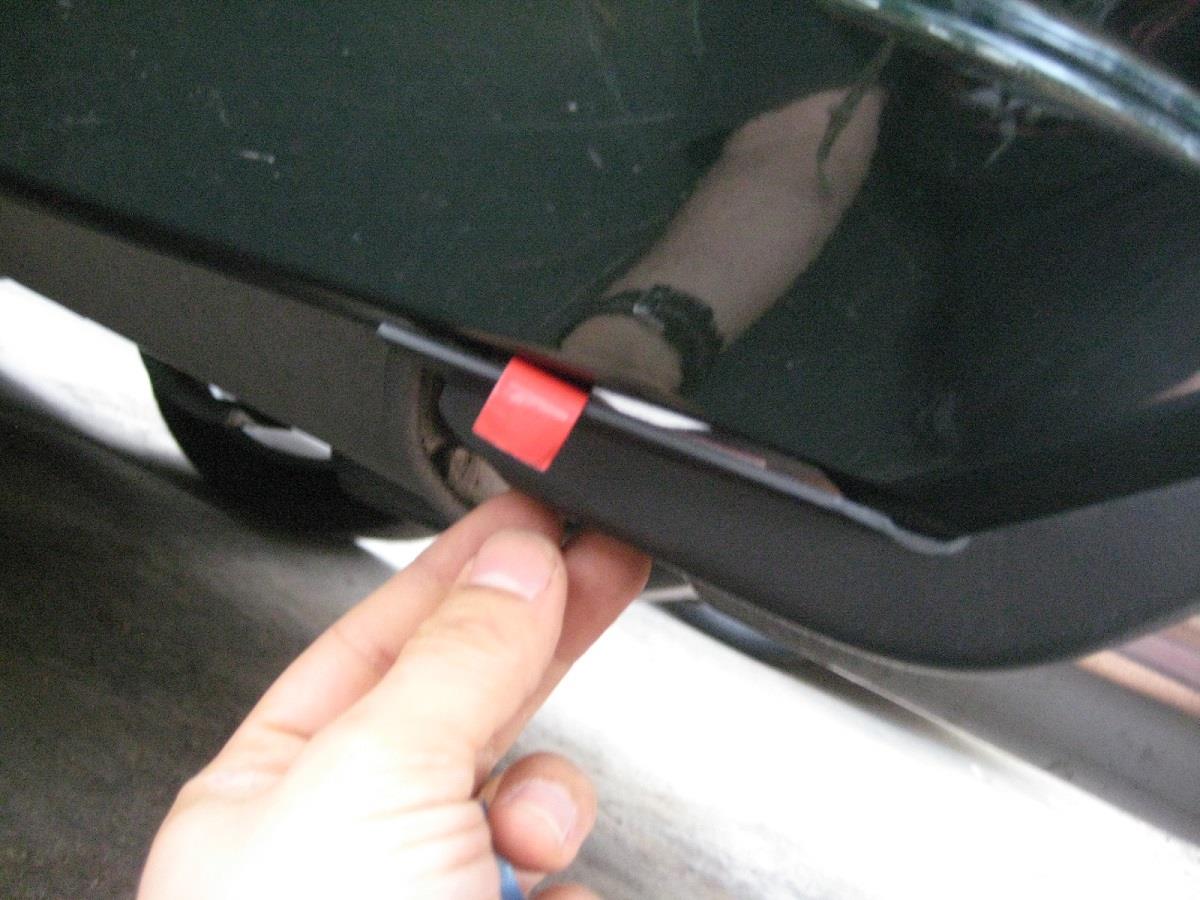
6. Place your diffuser to your bumper and you will see that all of your red little tabs are sticking out. Align your bumper correctly to prevent any gaps!! Pull your tabs, begin with the tab under the license plate. After you pull a tab, press firmly.
Then, on both sides above the exhaust pipes
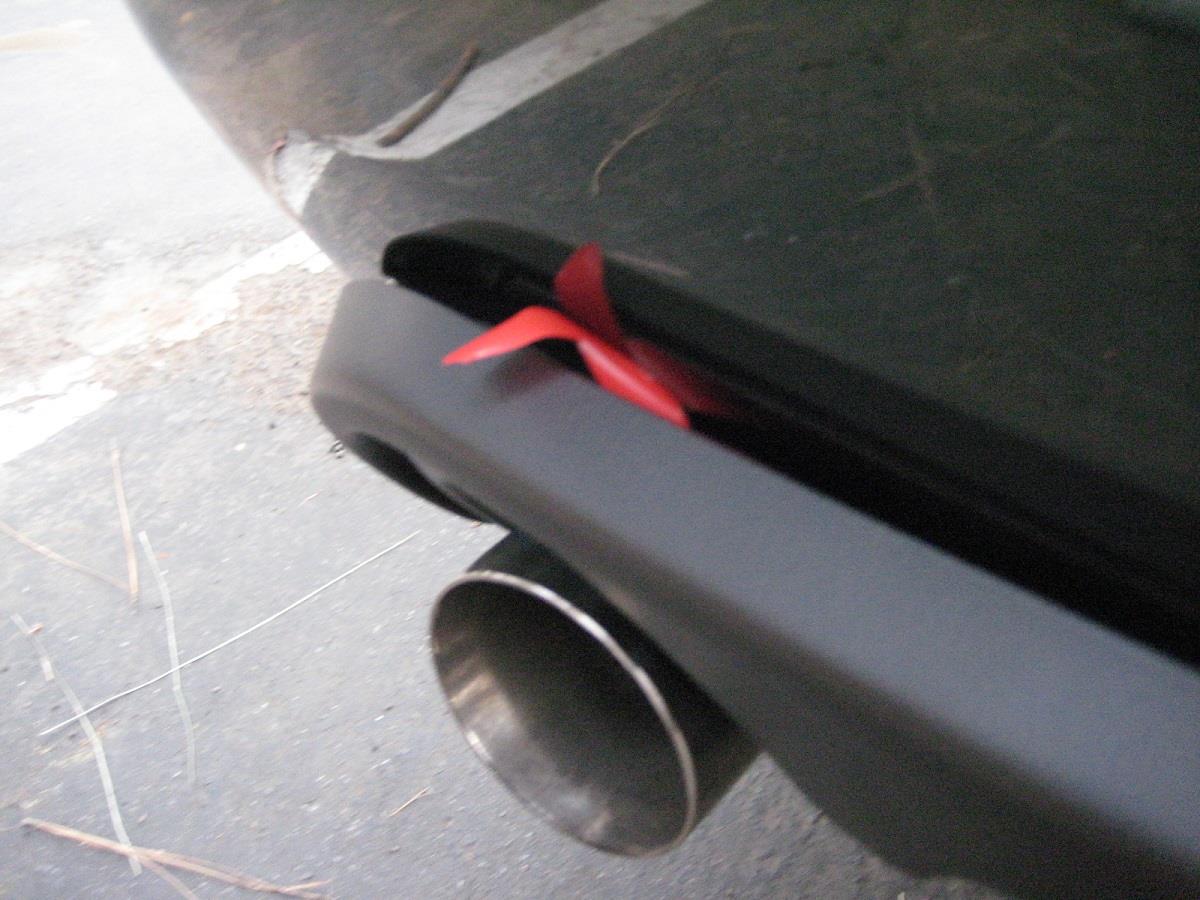
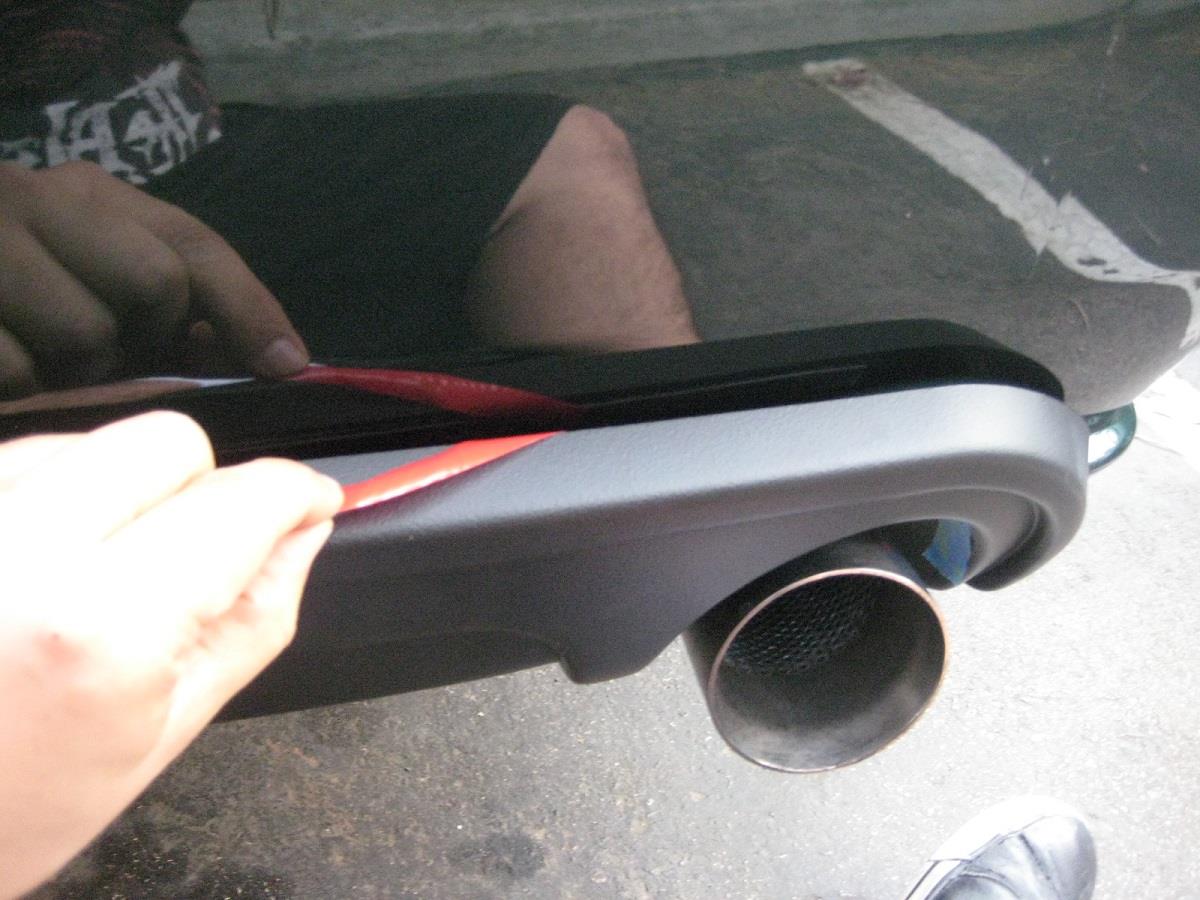
Finally, at the outer sides of the exhaust pipes, located at the bottom of the bumper cover. Make sure to press very firmly at all the points were the tape is making contact to the bumper.
Here is how it looks like on the passenger side by the exhaust pipe.
This is on the driver side of the exhaust pipe.
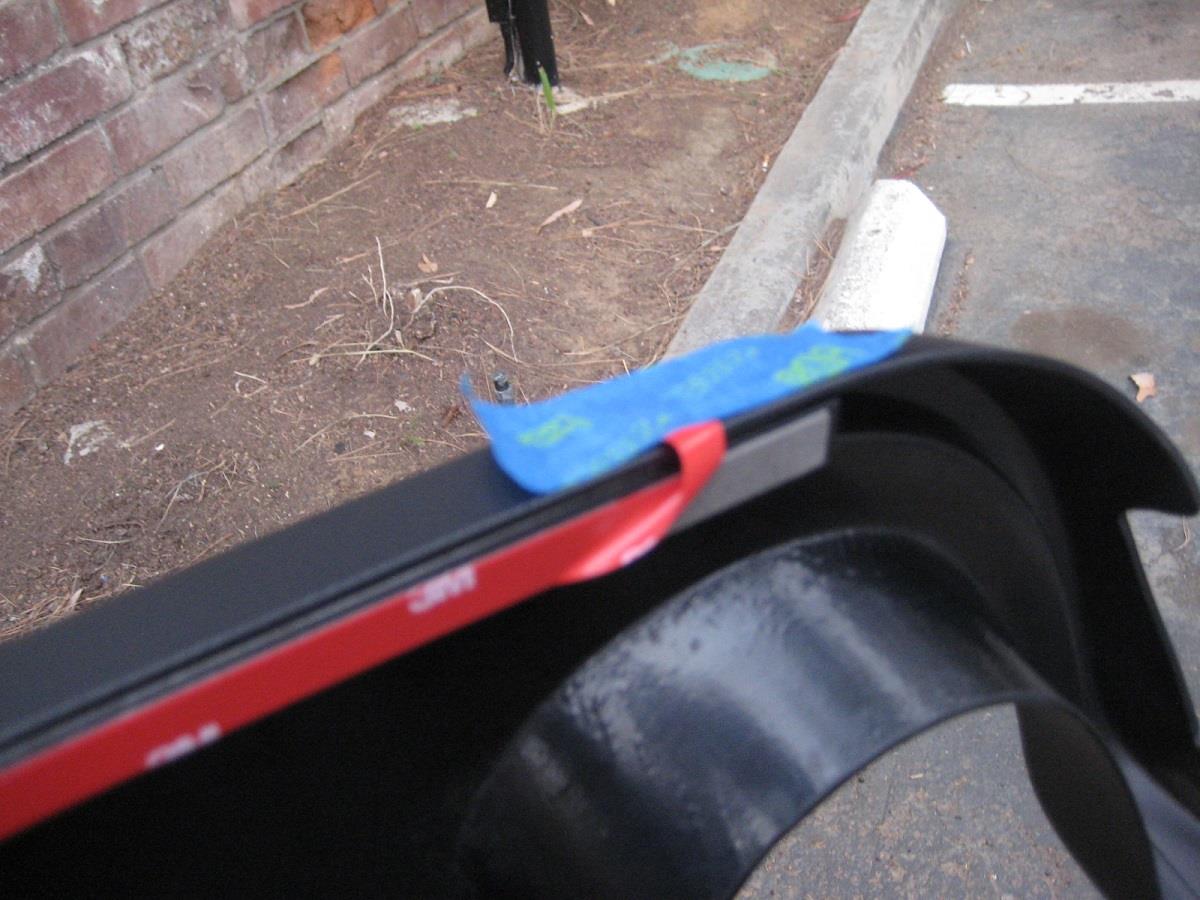
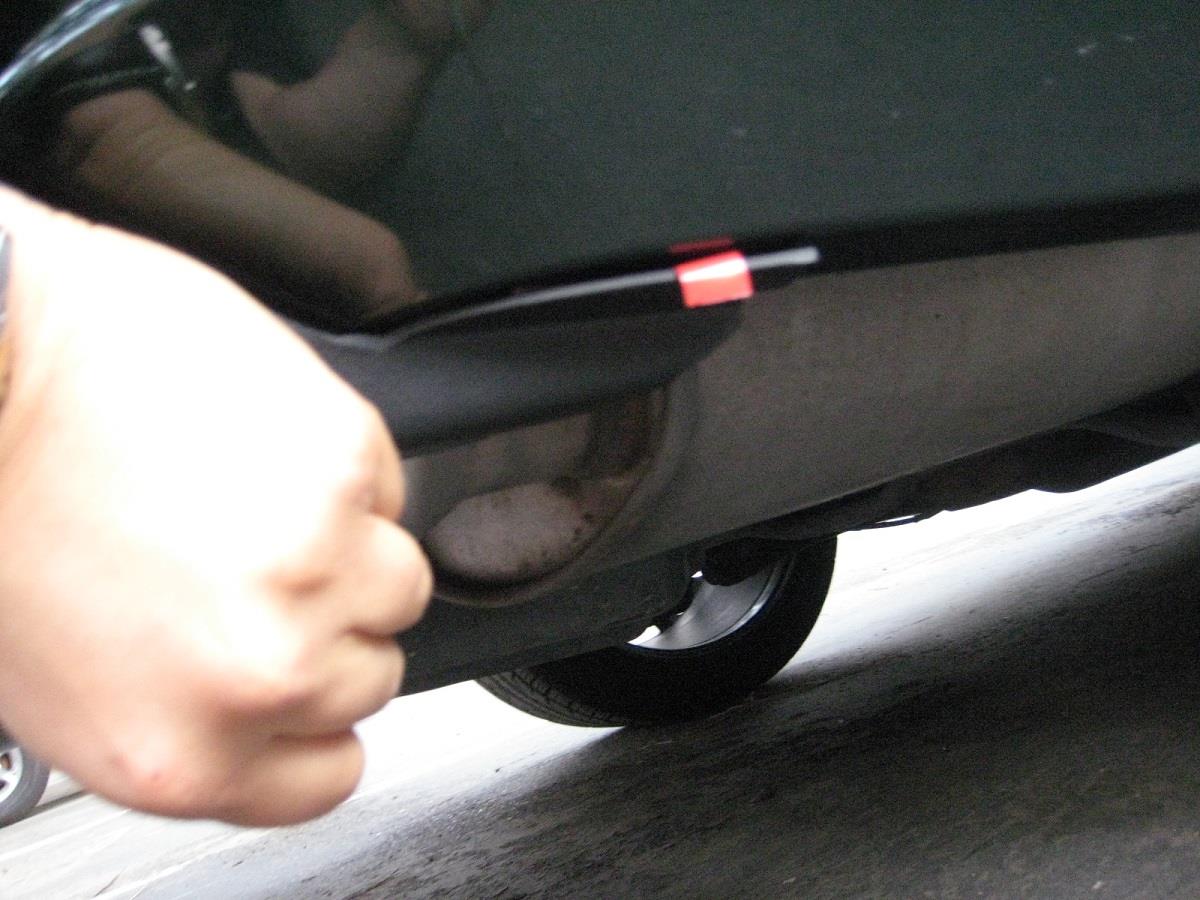
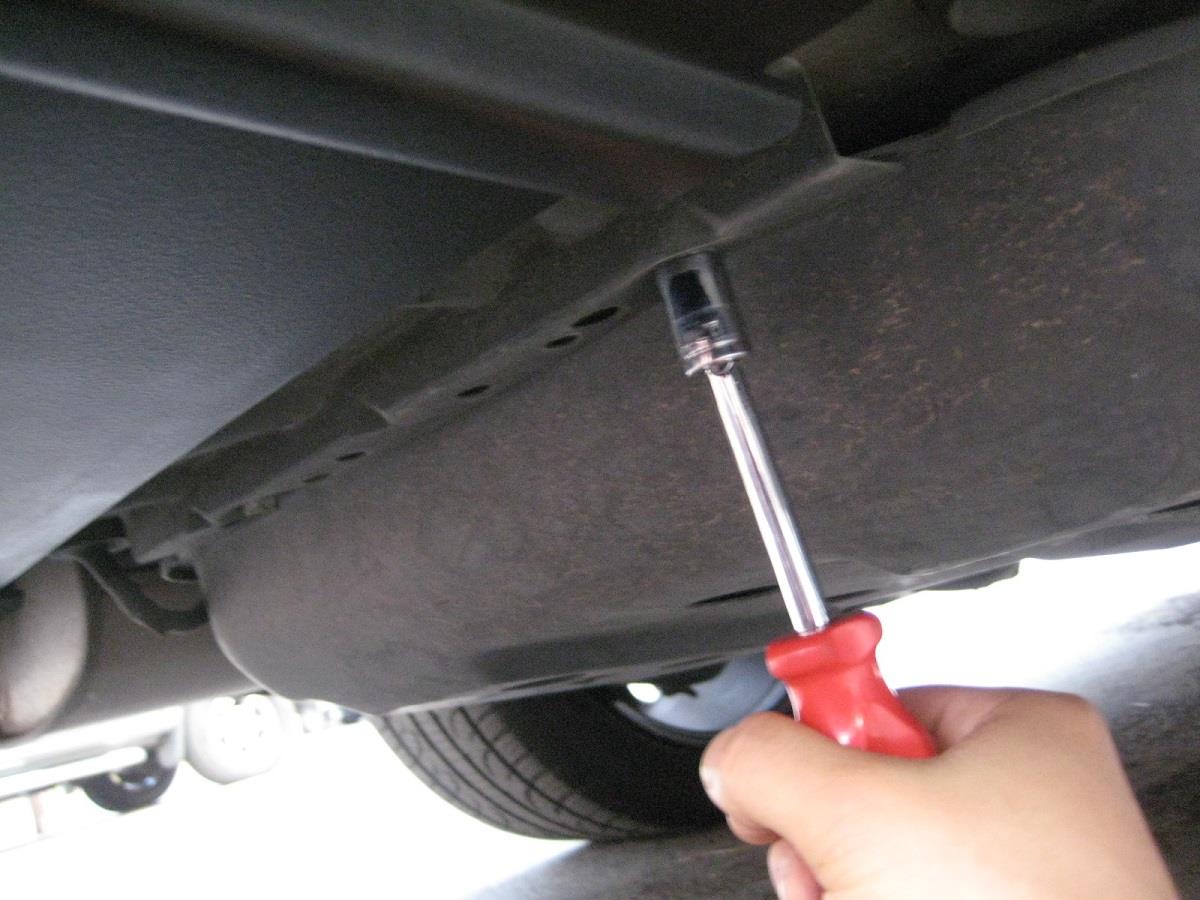
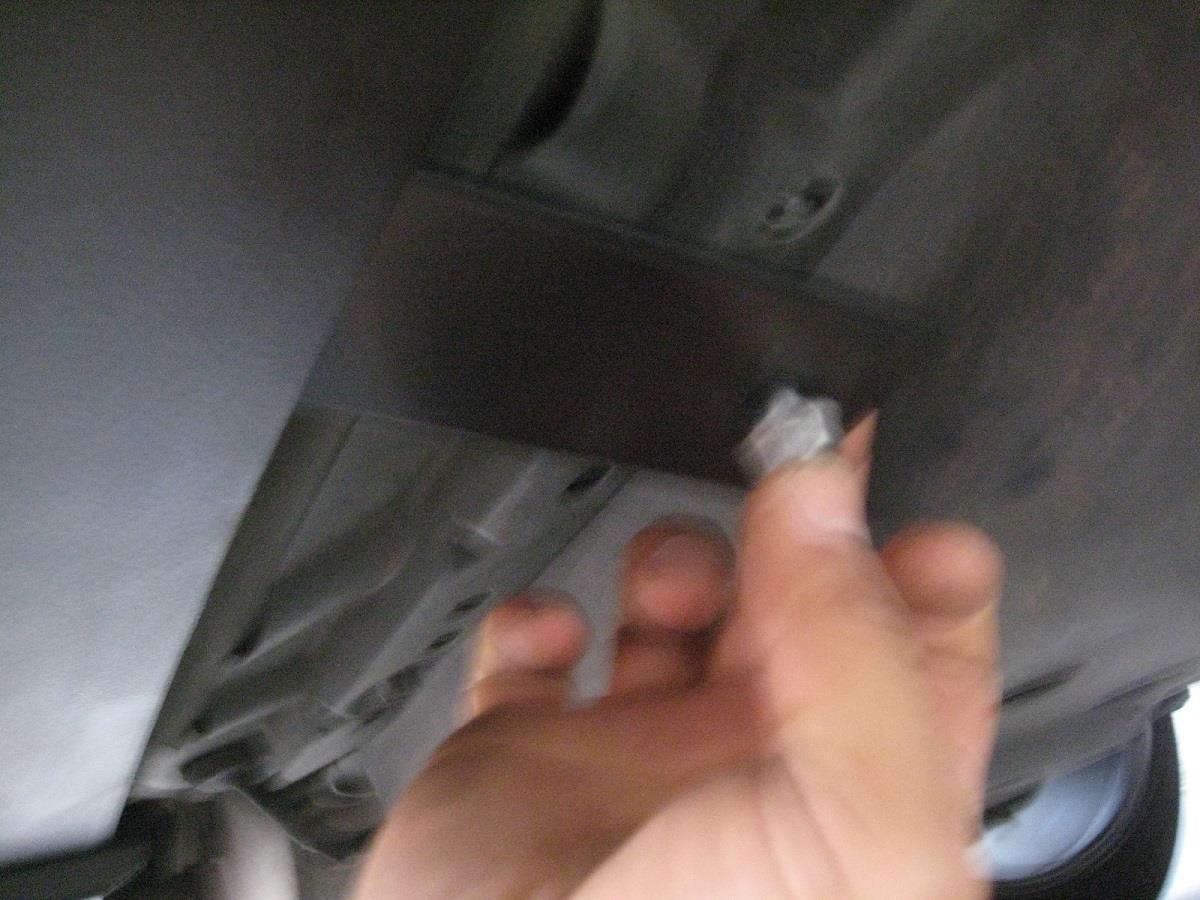
7. Underneath your car, in front of your diffuser you will see two 11mm bolts. Unbolt one side at a time and put the bolt into the hole of one of the rectangular tabs (comes included with your diffuser).
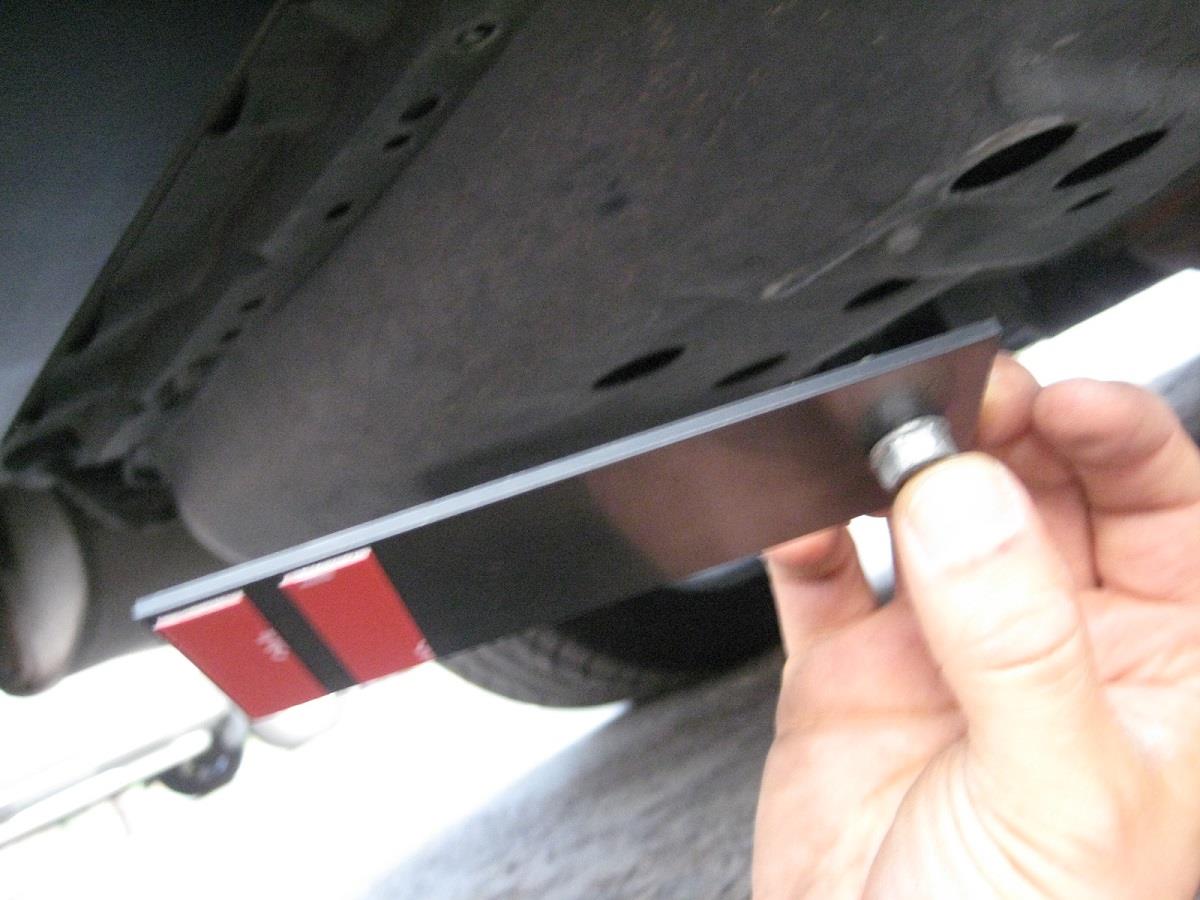
Un-stick the red plastic backing from the tape and you’re going to slide the rectangular tab under the diffuser (not over) while using the bolt to guide you at the sticking point. If you stick this tab over the diffuser, instead of under, it won’t work to stabilize your diffuser.
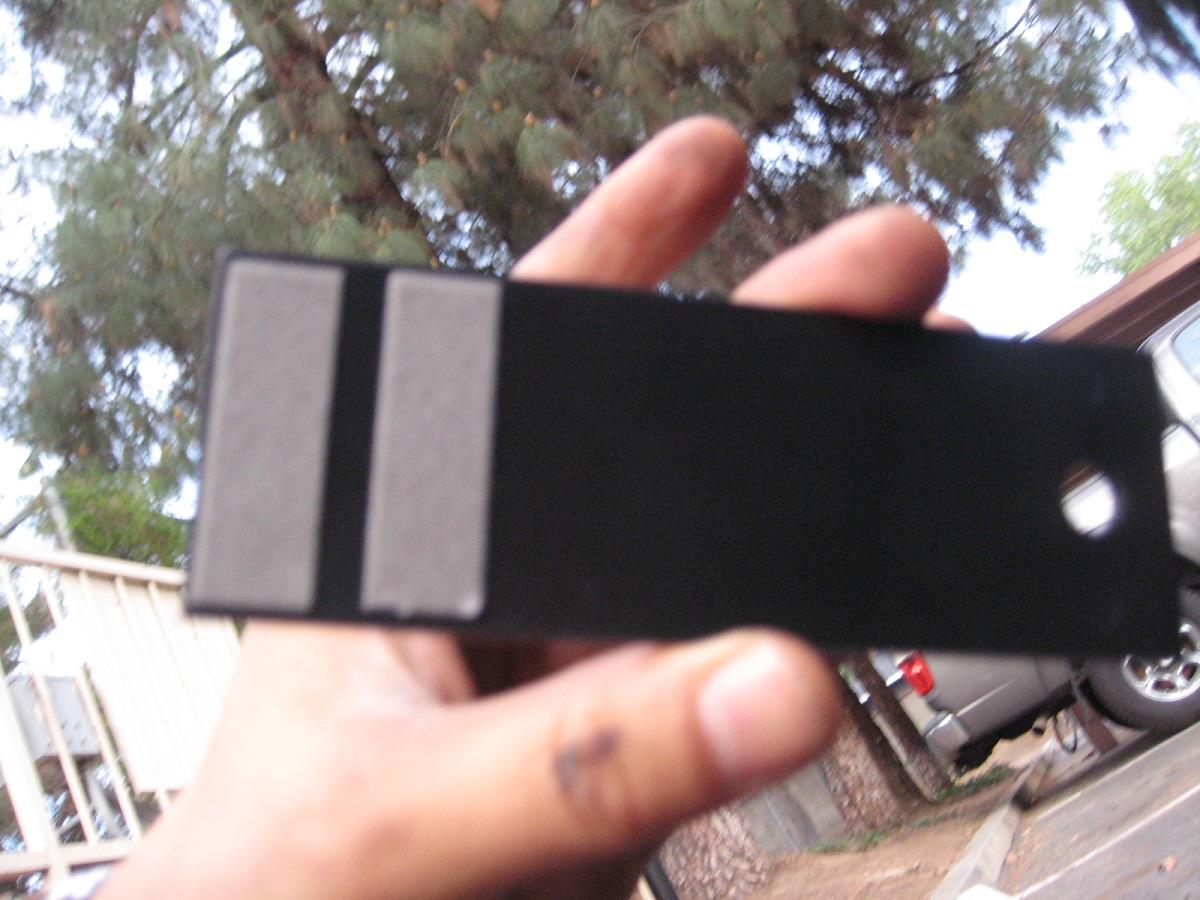
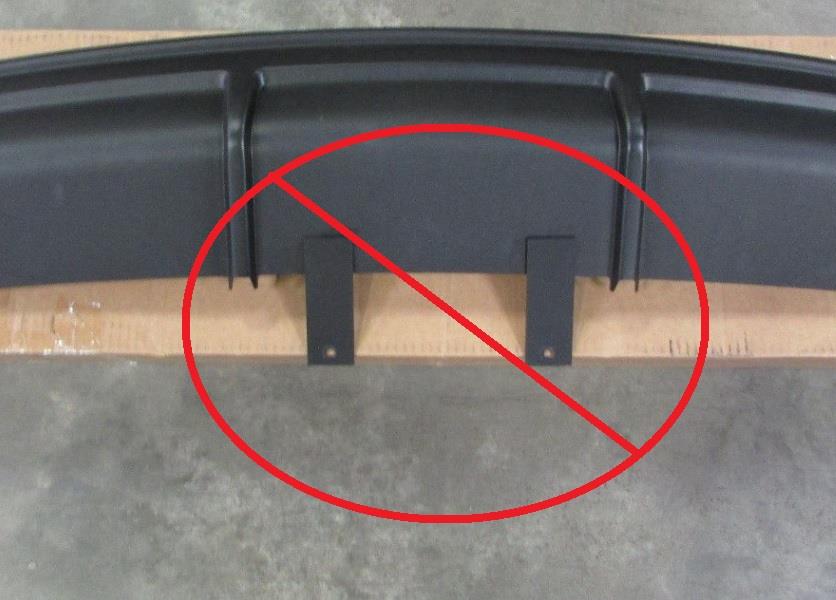
Here is an example of how not to stick the tabs over the diffuser!!!
8. Finger-tighten before you bolt down. Don’t give up, the bolt is barely long enough to reach the thread. Be patient and keep trying until the bolt catches the thread.
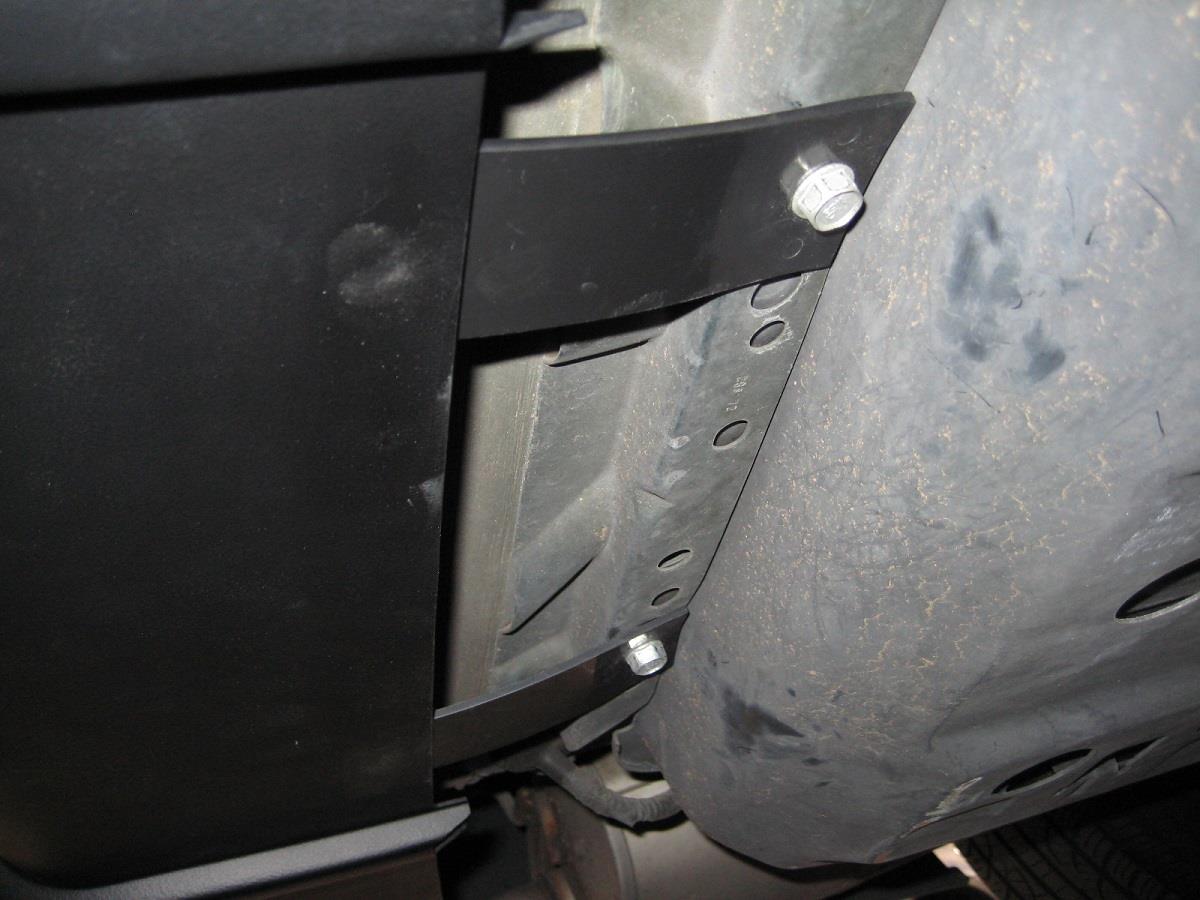
Using the 11mm wrench, bolt on the Holed-Rectangular-Tabs. Here is how it should look like when both tabs are bolted on. Notice how the tabs bend slightly onto the diffuser, which helps the automotive tape make contact with the diffuser.
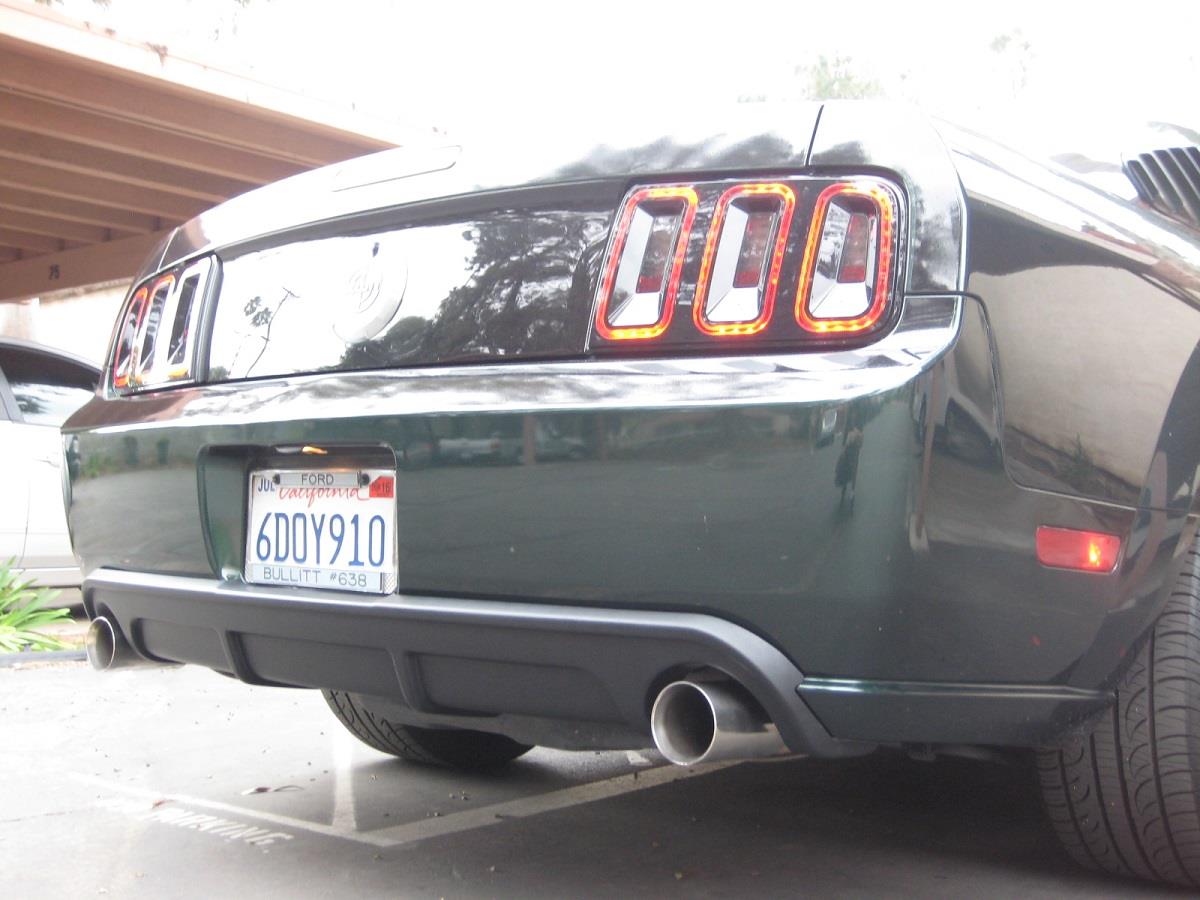
Final Product Image: Final Step, enjoy staring at your new diffuser. Try to let the automotive tape cure for at least 24 hours before driving, just to be on the safe side.