FREE 1 to 3-Day Delivery on Orders $119+ Details
Best Sellers


How to Install MMD Fender Vents - Matte Black on your Mustang
Installation Time
6 hours
Tools Required
- Tape
- Sharpie
- Plastic Bags
- Oscillating Tool (Saw & Sanding Attachment)
- Sand Paper
- Rustoleum spray paint

Shop Parts in this Guide
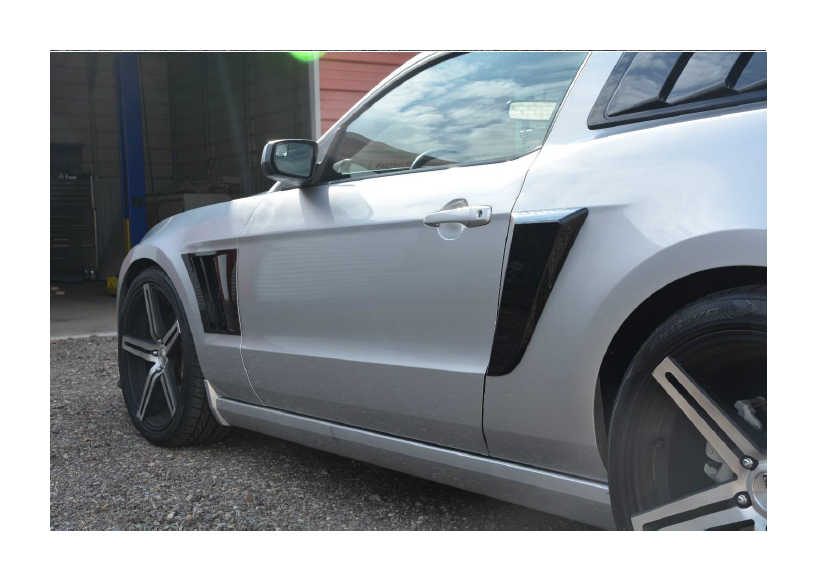
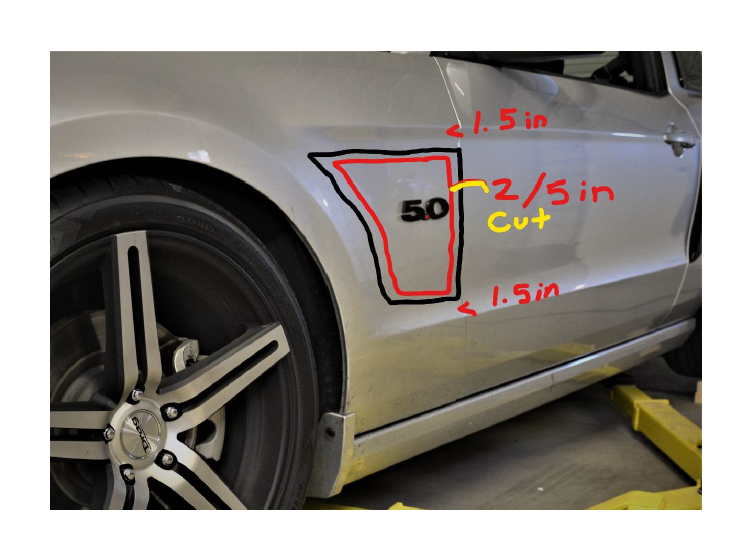
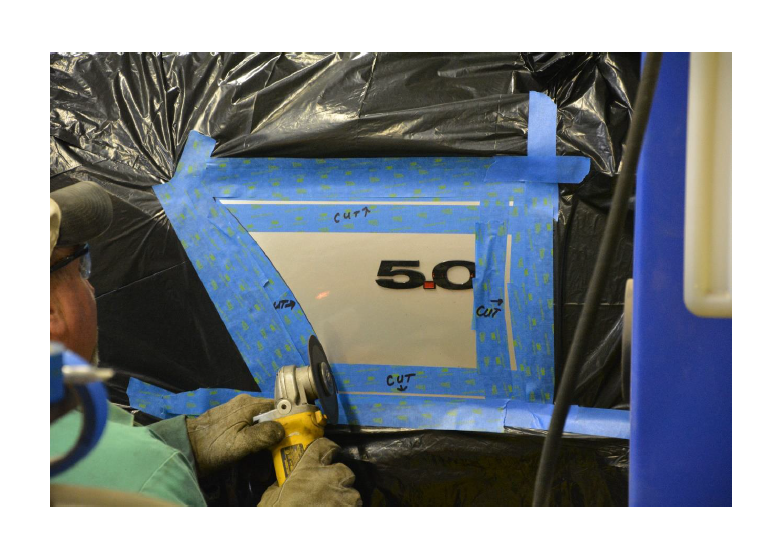
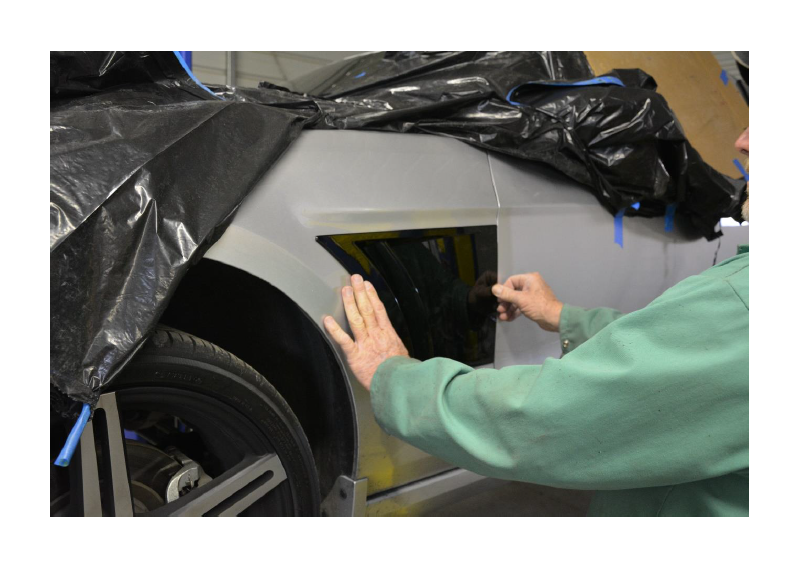
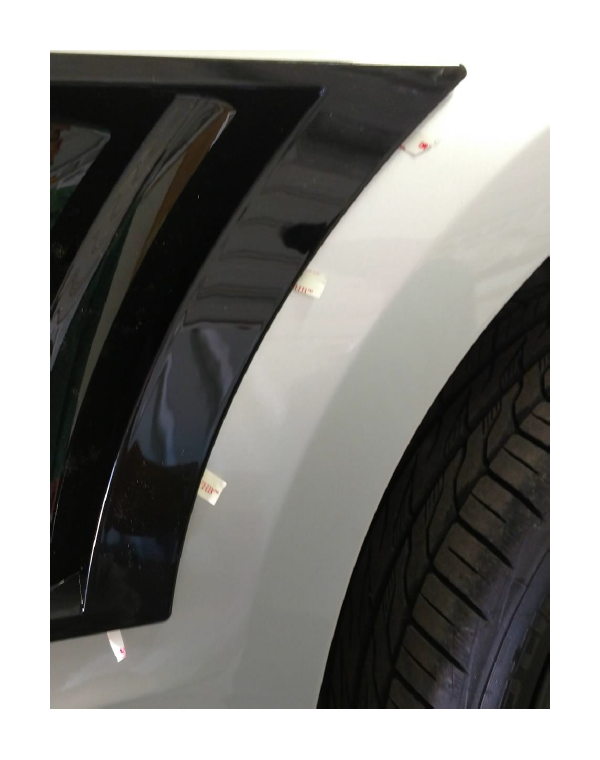
1. Place Fender Vent in desired place and then mark around it with tape. (I placed mine 1.5 inches from top and bottom and flush with the space between the door and fender)

2. Measure 2/5 inches from the desired placement. Put tape down and mark as CUT.
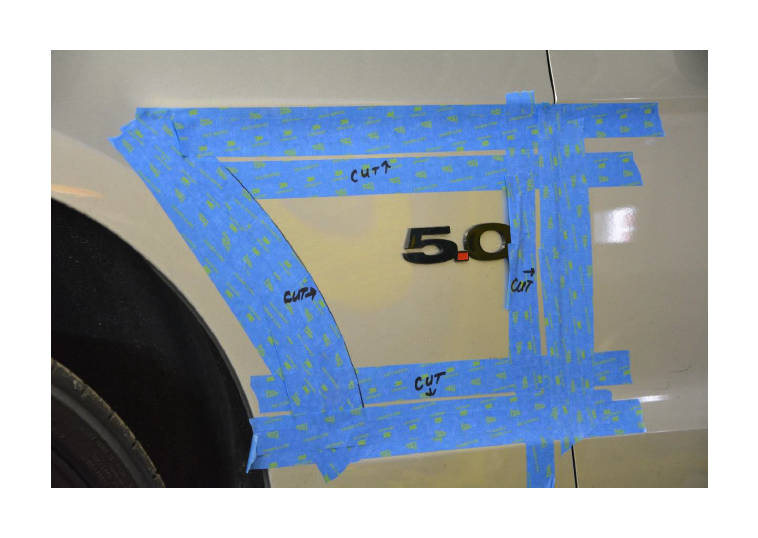
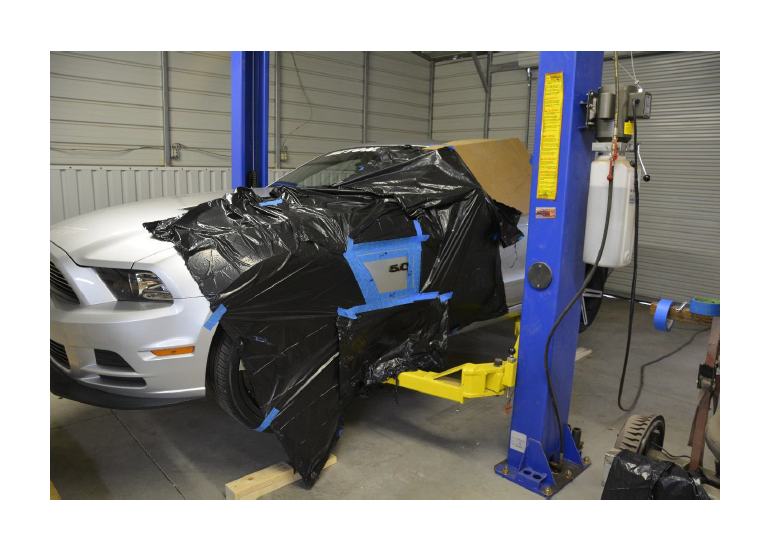
3. Use the tape to put the plastic bags around the car so the sparks don’t hit anything important.
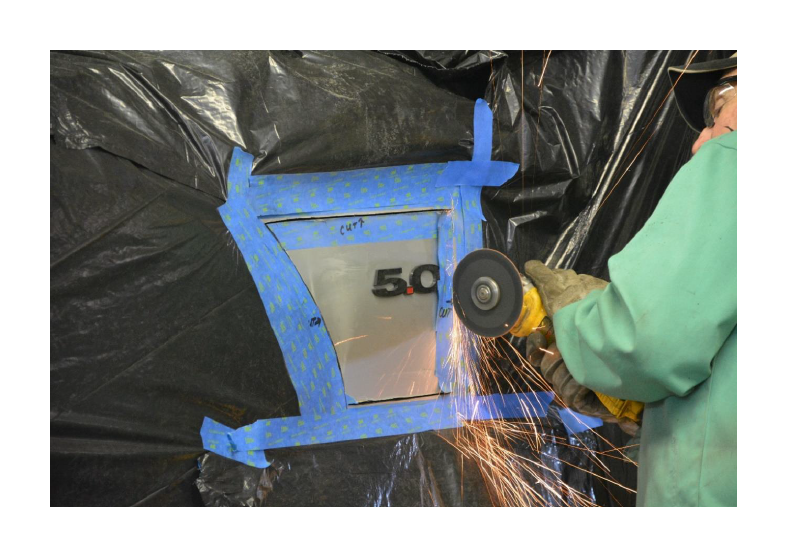
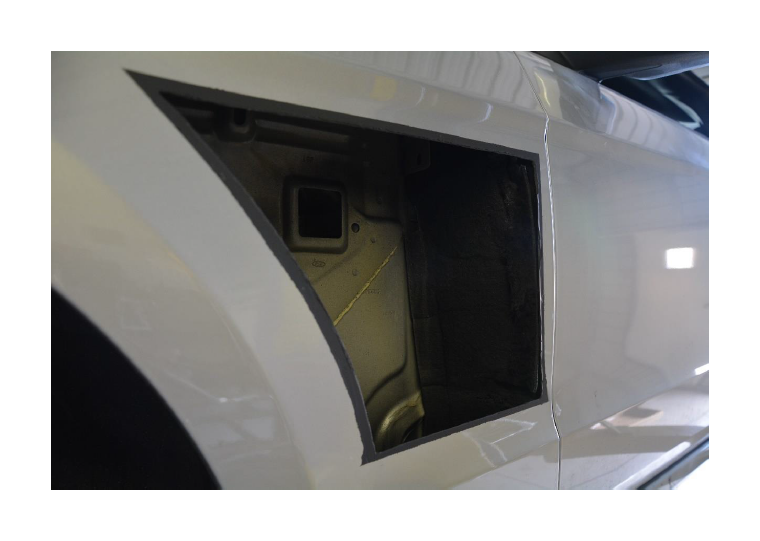
4. CUT!!!
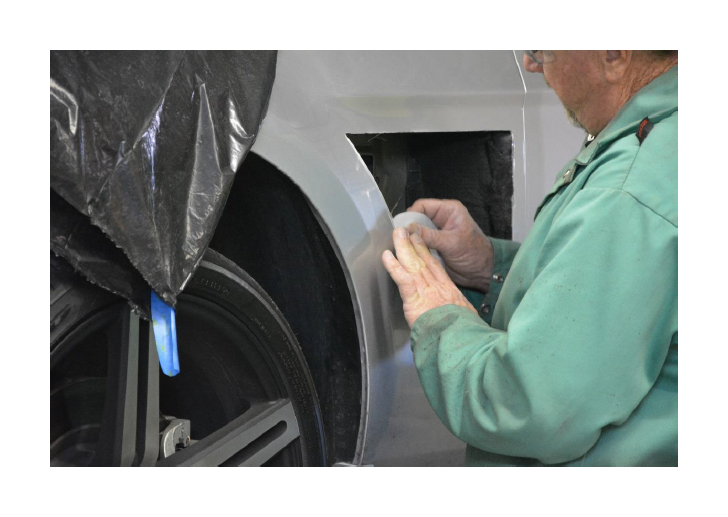
5. Next Step: See if the fender vent fits; if not sand those areas down (If needed you can take the plastic bags away to check if it fits and placed properly. (The sanding does not have as many sparks)

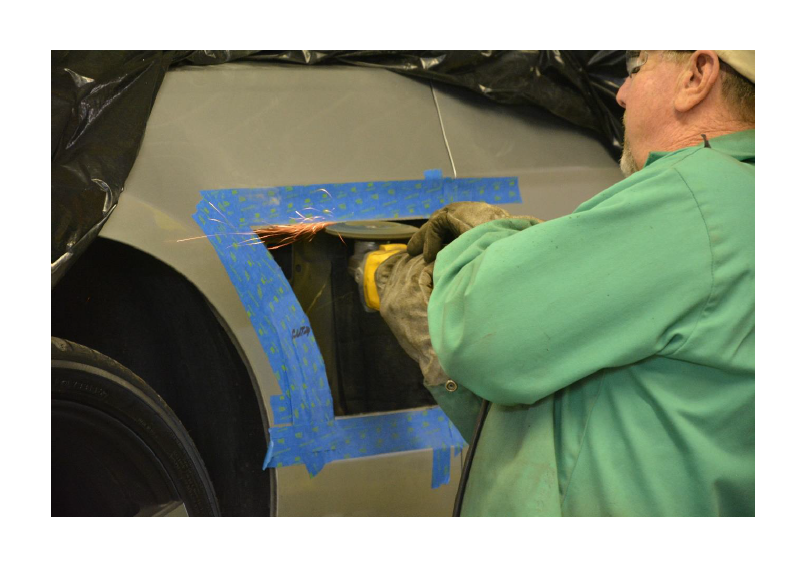
6. Check fit again, then hand sand the areas around the edges.
7. Put tape back around the area and use the Rustoleum spray paint. The Rustoleum can be whatever color because you should not be able to see it when you put the fender vents on. (Wait for Paint to Dry)
8. Next, use the Alcohol pads and 3M Tape that came with the product. Place the tape in the correct spots. (I cut the curved side into 3 pieces, check photos below)
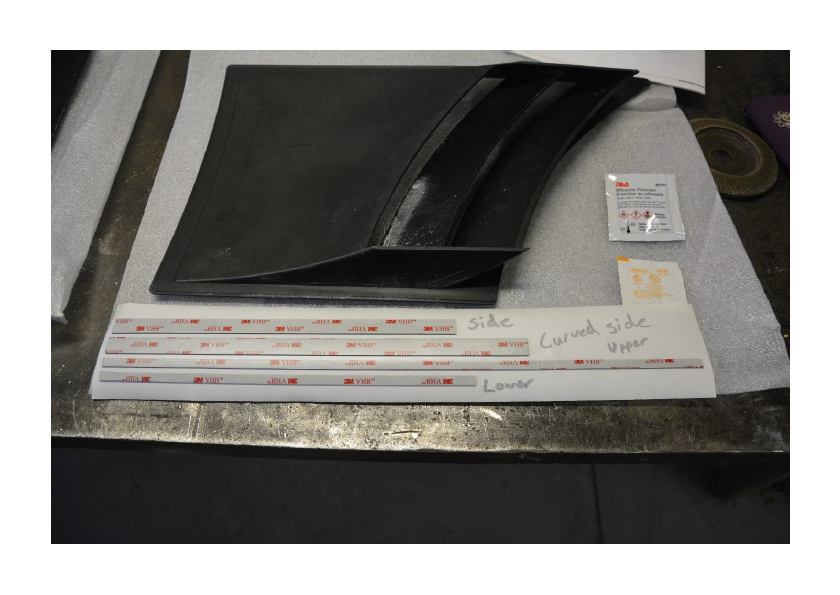
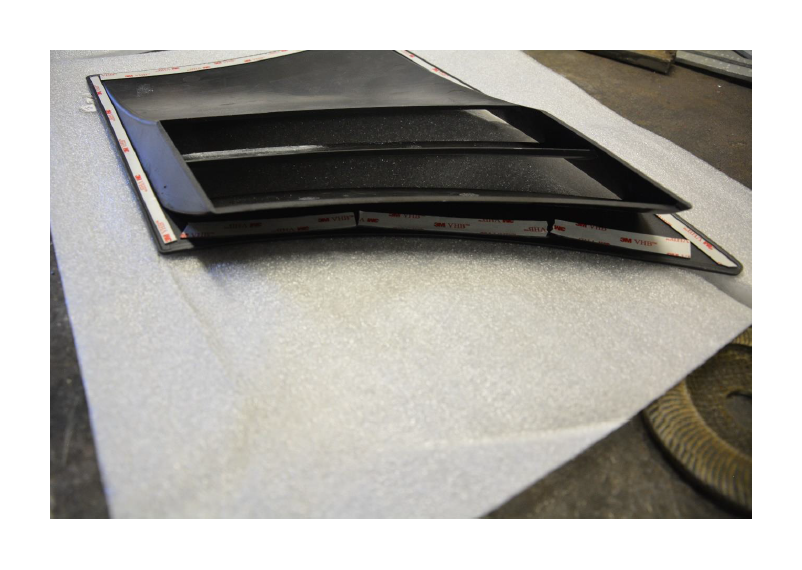
9. Peel the tabs back but NOT all the way (Check Photos) Make sure the Vent is in the desired spot and then start peeling the backings away. Press firmly and then you’re Done.

10. Repeat all Steps on other side