 FREE 1 to 3-Day Delivery on Orders $119+ Details
Best Sellers


How to Install a MSD 6AL Digital Ignition Module w/Rev Control on your 1979-1995 Mustang GT
Installation Time
3 hours
Tools Required
- Wire Strippers/Crimpers
- 3/16" Drill Bit
- Cordless Drill
- Phillips ScrewdriverOptional Materials:Wire Loom
- Electrical Tape
- L-Brackets
- Zip Ties
- Self-Tapping Screws #10 x 3/4"
Installation
Pre-Installtion:
1. Ensure that your ignition components -- distributor, wires, coil, etc. -- are all in good working order before proceeding with the installation; replace worn or defective components as needed.
2. Disconnect the negative and positive battery cables. Always disconnect the negative side first and reconnect the negative side last.
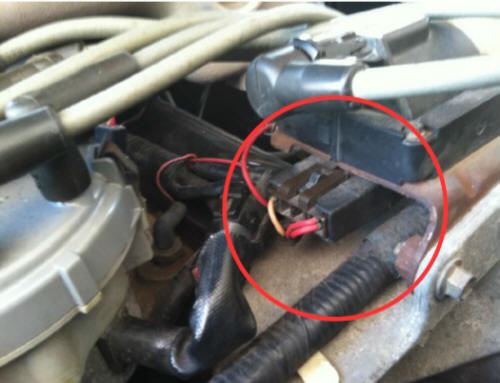
3. Disconnect the electrical connector at the coil.
4. Choose a suitable location to mount your new MSD 6al that is away from direct engine heat sources. (Note: I chose to install the unit in the inner fender. This may not be the best option for your install if your vehicle will be driven in wet conditions.) Once a suitable location has been decided upon, mark the location of the mounting holes and drill these with the 3/16" drill bit.
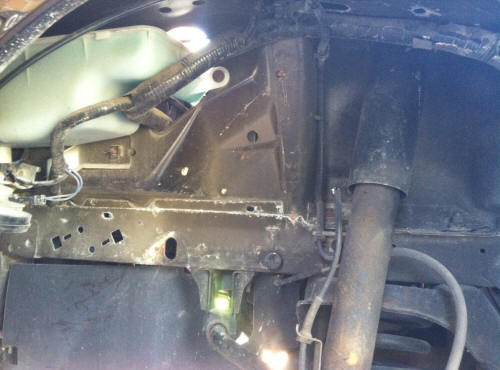
5. I chose to mount the unit in the inner fender, under the washer resevoir.
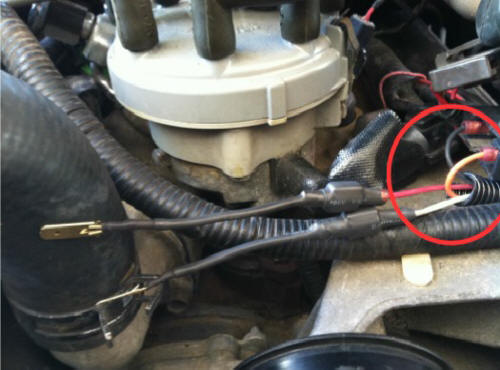
6. For this install, I chose NOT to use MSD's optional TFI harness. Using your electrical wire stippers, strip back about 1/4" of wire jacket from the red and white wire extensions. Slide the included male end onto the bare wire ends and crimp down. Double check that the the wire is firmly crimped by gently pulling on the wire while holding the male end. Optional: slide shrink tubing over the wires and heat until shrink tube is sealed to the wire.
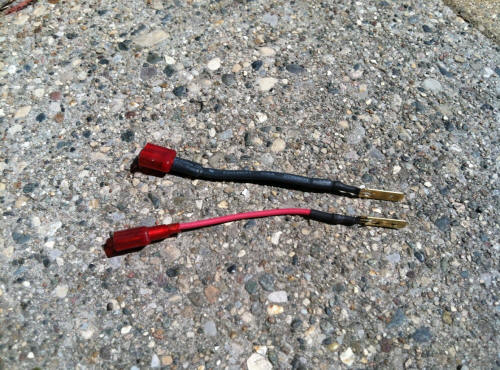
Here are the red and white wire extensions with the male connectors crimped on.
7. Attach wire extensions to the main wiring harnass, connecting red to red and white to white.
Installion:
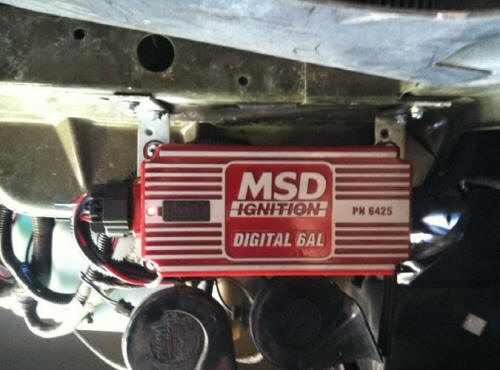
8. Mount the unit in your chosen location using the included vibration mounts and screws.
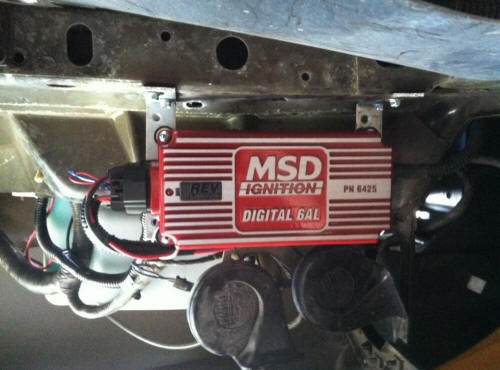
9. I used L-brackets and self-tapping screws to mount the unit.
10. Route the heavy red wire to the positive side of the battery terminal and the black heavy wire to the negative side. DO NOT hook up to the battery at this time!
11. Route the red, white, black, and orange wires to the coil. Optional: encase the four wires inside wire loom.
12. Connect the black wire with the female end to the male connector on the left side of the coil. Connect the orange wire with the female end to the male connector on the right side of the coil.
The black wire connected on the left; the orange wire on the right.
13. Connect the red wire with the male connector to the female connector with the red wires on the coil plug. Connect the white wire with the male connector to the female connector with the yellowish wire on the coil plug.
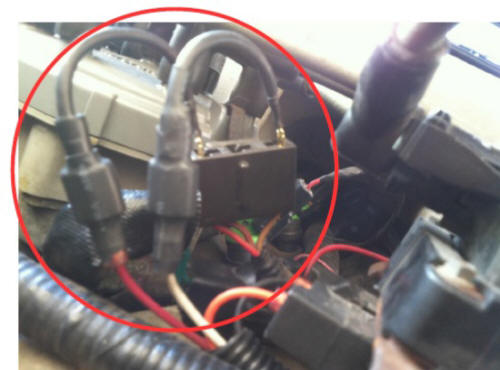
14. Connect the red wire to the side with the red wires and the white wire to the other side.
15. Connect the main wire harness to the MSD 6al.
16. Set the rev limiter to your desired limit.
17. Reconnect the battery cables with the corresponding heavy red wire on the positive side and the heavy black wire on the negative side.
18. Turn key to "on" position and then check to make sure the LED indicator is illuminated on the MSD; if not, turn the key to "off" and double check all connections. If the LED is on, go ahead and start the car.
19. Turn the car off and use zip ties and/or electrical tape to secure the wires coming from the MSD. Ensure that no loose wiring is hanging down and that all wires are away from moving parts.
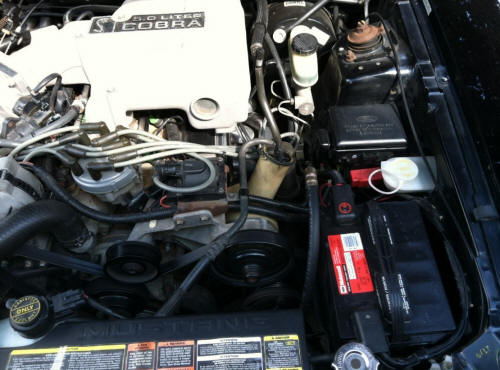
20. If you look closely, you can see the black wire comining from the negative side and the red wire coming from the positive side of the battery. Also, I tucked the red, white, black, and orange wires into wire loom for a super clean look.
21. Double check your connections one more time and if you are happy with the way everything looks, close your hood and go enjoy your new MSD 6al.
Installation instructions provided by AmericanMuscle customer Sean Kelly7.31.12
