 FREE 1 to 3-Day Delivery on Orders $119+ Details
Best Sellers


Mustang Door Sill Plates Installation Guide
Installation Time
30 minutes
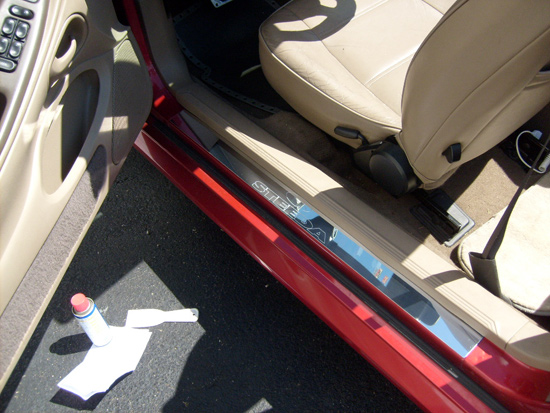
Tools Required
- Flathead Screwdriver (x1) (used for prying the stock door sill and trim.)
- Can of WD-40 (x1)
- Paper towels
Installation
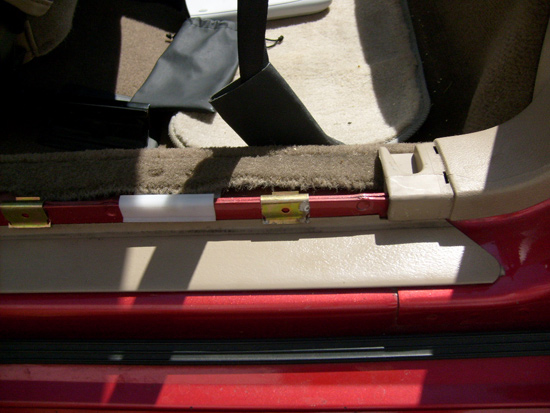
1. Start by opening the door on the driver’s side and inspect the door sill that is currently in place.
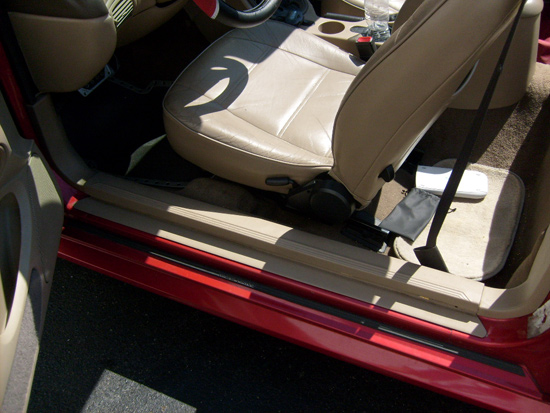
2. To start installing the door sill plates, the door sill trim cover needs to be removed.

3. Start to remove the door sill trim by simply pulling up on one end of the trim. It is held in place by plastic pins that pop out to allow for removal. Do this slowly but with constant force and the trim will just lift out.
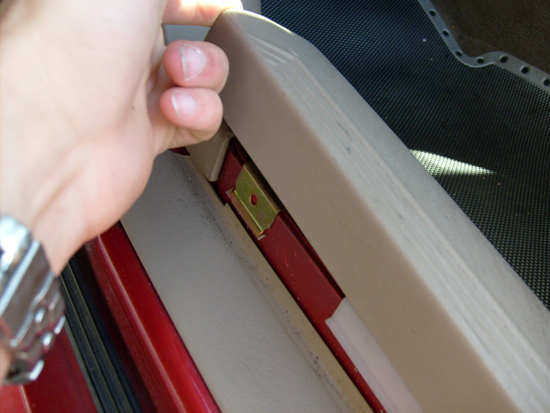

Note:The gold clips that are underneath the trim are designed to hold the two pieces of the frame together. The white clips are designed to hold the carpet down. Check all of the clips because some of my carpet clips where not it place.
4. Once the trim is removed, place it to the side. YOU WILL NEED IT WHEN YOU INSTALL THE DOOR SILLS!
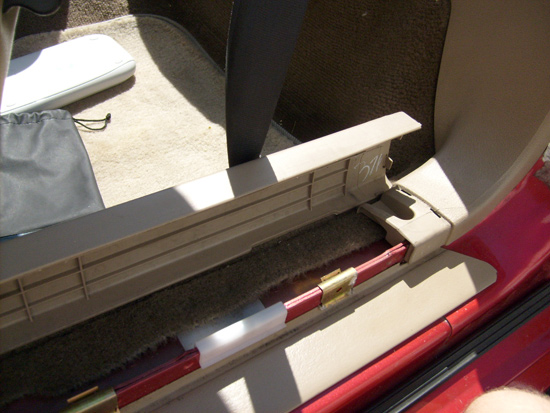
5. After removing the door sill trim, it is time to remove the stock door sill.
6. You will notice that the gold and white clips that I mentioned earlier might be touching the stock door sill. These clips might need to be lifted slightly so that you can remove the stock door sill. Use the flathead screwdriver or other prying tool to lift these clips.
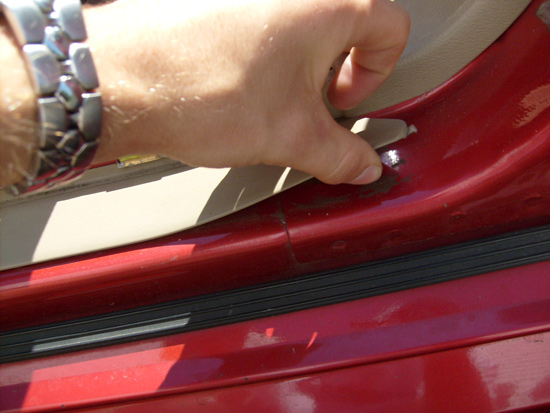
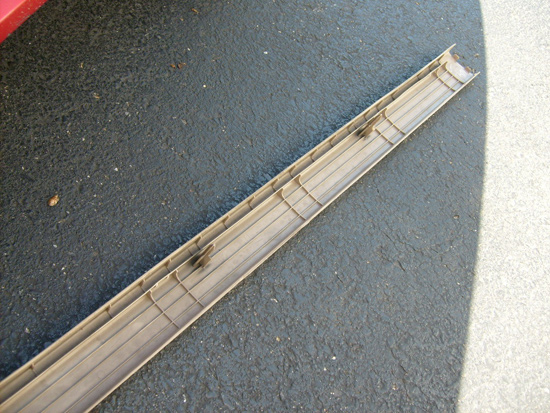
7. Besides the gold and white clips, the door sill is only held on with adhesive glue. To remove them, simply grab a corner and start to pull slowly, the stock door sill is pliable so don’t worry if it bends. This is the piece that you will discard so don’t worry if it is damaged in the process.
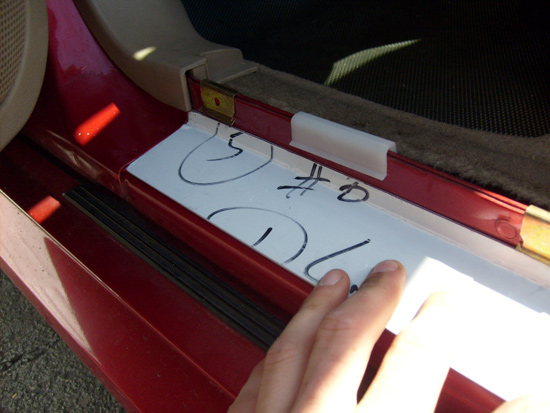
8. Once the door sill is removed, you may notice that there is a glue residue that didn’t come off with the door sill plate. If you’re lucky you’ll also find money under there like I did! :)
9. To remove the glue and dirt that exists under there, simply use WD-40 and a paper towel. The WD-40 dissolves the glue residue that may still be on the frame of the car.
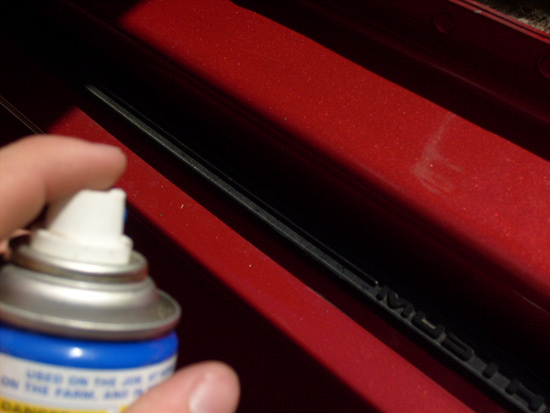
Note:Make sure the door sill surface is clear of all dirt, glue, and other debris so that the new door sill will adhere properly.
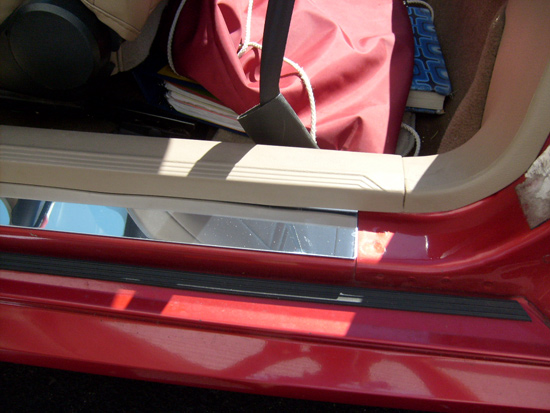
10. It is now time to install the new Steeda polished door sill. It is fairly obvious as to which sill plate goes on which side because the word “Steeda” is read from left to right as you’re looking at the door sill from outside theca.
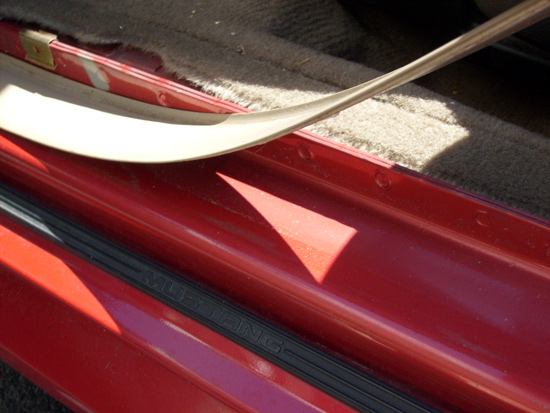
11. Take the new door sill and slowly peel the backing off of the tape on the underside of the door sill as shown below.
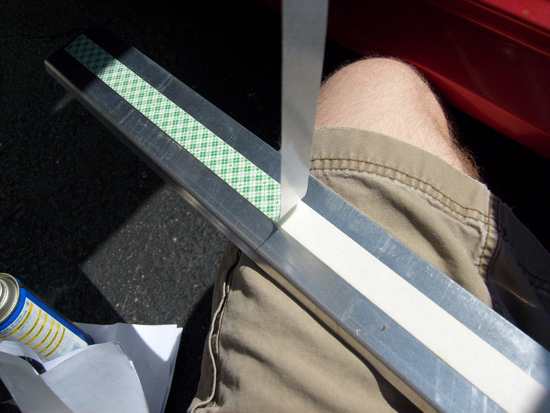
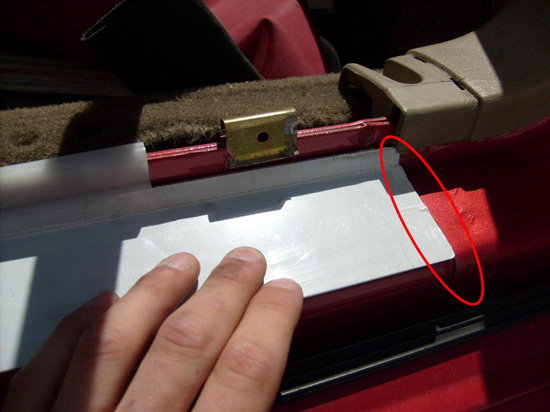
12. Once the tape is removed, place the door sill on the car. It should be centered between where the door trim was removed. There are also two lips in the frame where the door sill should center between.
13. Once the door sill is in place, push down hard on the plate. Make sure the tape on the door sill plate adheres to the frame of the car.
Note:It is important that the door sill is where you want it the first time. Trying to pull up the plate and move it around is very hard and the tape on the door sill may not stick as well as it could.
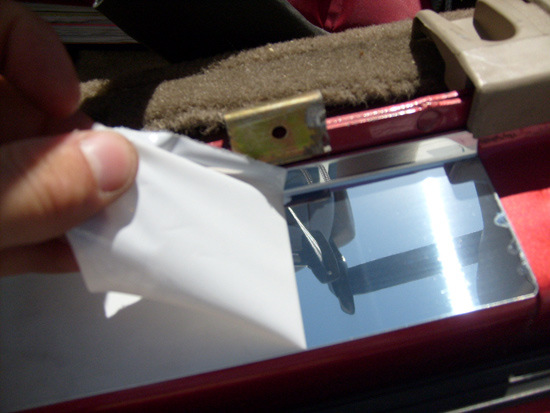
14. After the door sill is installed, it is time to pull off the protective cover over the door sill. Do this carefully so as not to scratch the polished surface of the door sill.
15. Once all of the protective covering is off of the door sill plate, it is time to put everything back together. Using either your hand or the butt of a screwdriver, slide the gold and white clips down into their original positions.
16. It is important that the clips are pushed into their original locations. The gold clips are harder to move than the white clips and in some cases, the gold clips slide over the Steeda door sill plate. It is ok if the gold clips scratch the door sillplate because it will be covered by the trim and the gold clips will also help to hold the new door sill in place.
17. Once the clips are pushed back into place, grab the plastic door sill trim that was removed from before and snap it back into place as shown below.
18. After the trim is installed, the driver’s side door sill installation is complete. The passenger’s side door sill installation is the exact same process and should take you a little less time because you have some experience after installing the driver’s side door sill.
19. After installing both door sills, enjoy them!!
Installation instructions provided by AmericanMuscle customer Will Rimmler 6.15.08
