 FREE 1 to 3-Day Delivery on Orders $119+ Details
Best Sellers


How to Install a Replacement Front Outer Tie Rod End on your 1985-1993 Mustang
Installation Time
3 hours
Tools Required
- Jack and Jack Stands
- Pry Bar (you may or may not need this)
- Needle Nose Pliers
- Torque Wrench is advisable
- Hammer (regular size or a big one)
- If you have an Air Compressor, get a Ball Joint Separator
- PB Blaster or equivalent is always recommended
- 19mm Socket and Socket Wrench
- 7/8 Wrench and an Adjustable Wrench
- Grease Gun and Grease
Shop Parts in this Guide
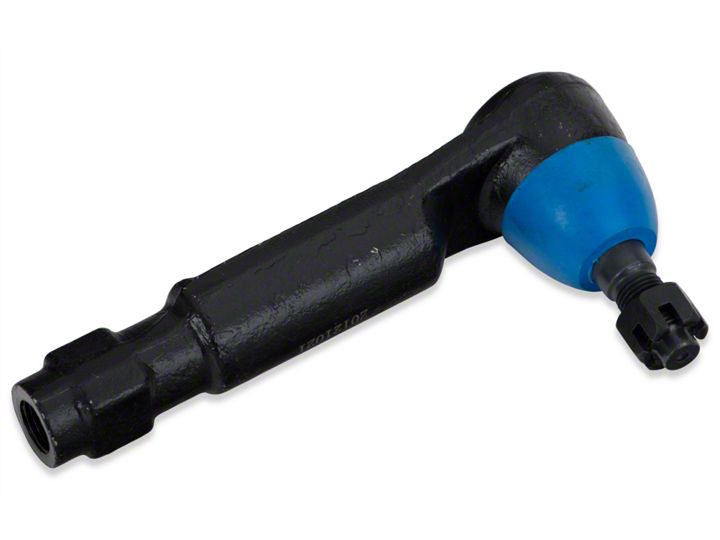
Materials in the box:
One outer tie rod end, castle nut, cotter pin, nut, and grease fitting.
Tools Needed:
Jack and Jack Stands
Pry bar (you may or may not need this)
Needle nose pliers
Torque wrench is advisable
Hammer (regular size or a big one)
If you have an air compressor, get a ball joint separator
PB blaster or equivalent is always recommended
19mm socket and socket wrench.
7/8 wrench and an adjustable wrench
Grease gun and grease
Notes-
This job is EASY, but I highly recommend using an air compressor and a ball joint separator so this job does accidently become a hard one. It is also much easier to remove the brake system to install this part. The night before use liquid wrench or PB blaster (or whatever) to spray the old outer tie rod ends. You WILL need to get a wheel alignment after this job. Don’t kid yourself about “counting threads”, it NEVER works. Consider replacing your lower ball joints and putting a camber bolt kit in while you’re at it. You will after all have to get an alignment either way, so make it worth it.
Installation Instructions:
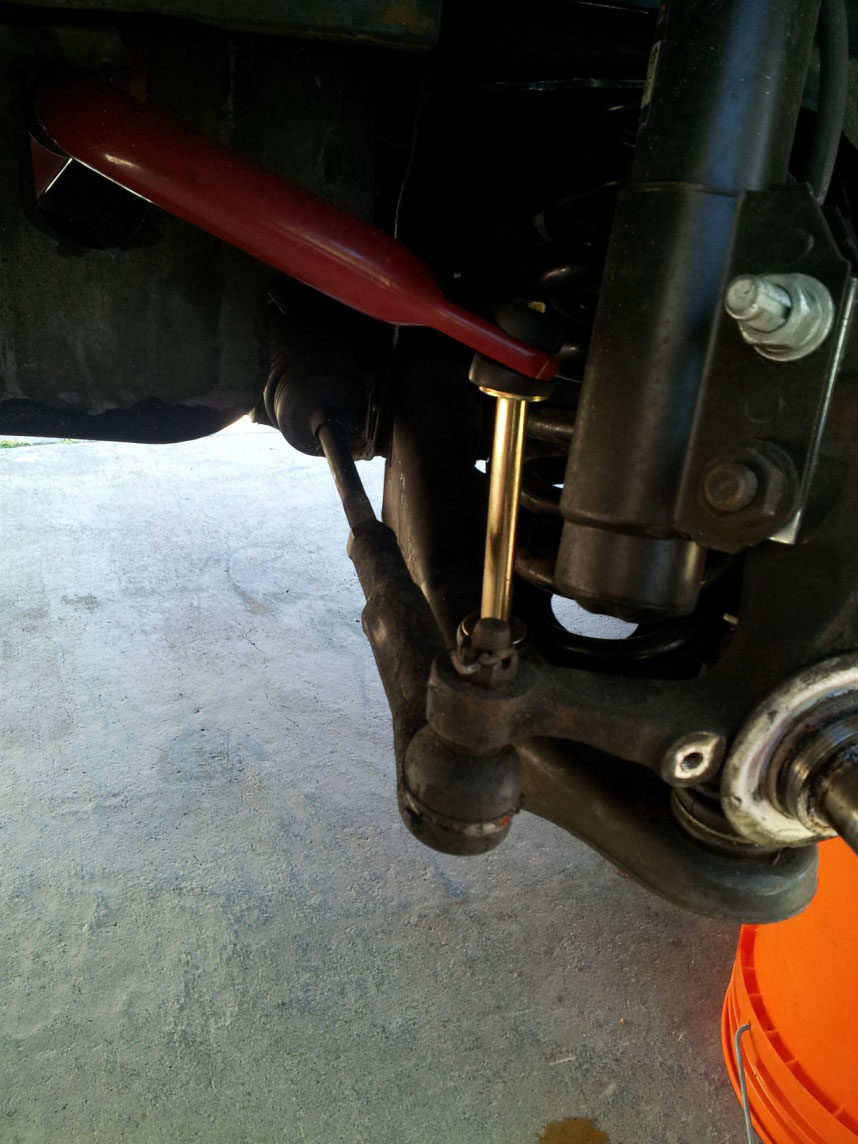
1. Jack up the car and safely put the car on jack stands. Put the car in park (or 1st gear for manual transmission) and put the E-brake on to ensure the car does not roll. As an added measure put something behind the back wheels, and be sure the car is secure, and will not roll. Remove front wheel(s).

2. Now that both wheels are up off the ground and safe, feel free to turn the wheel toward the side that you are going to be working on. Just do one side at a time.
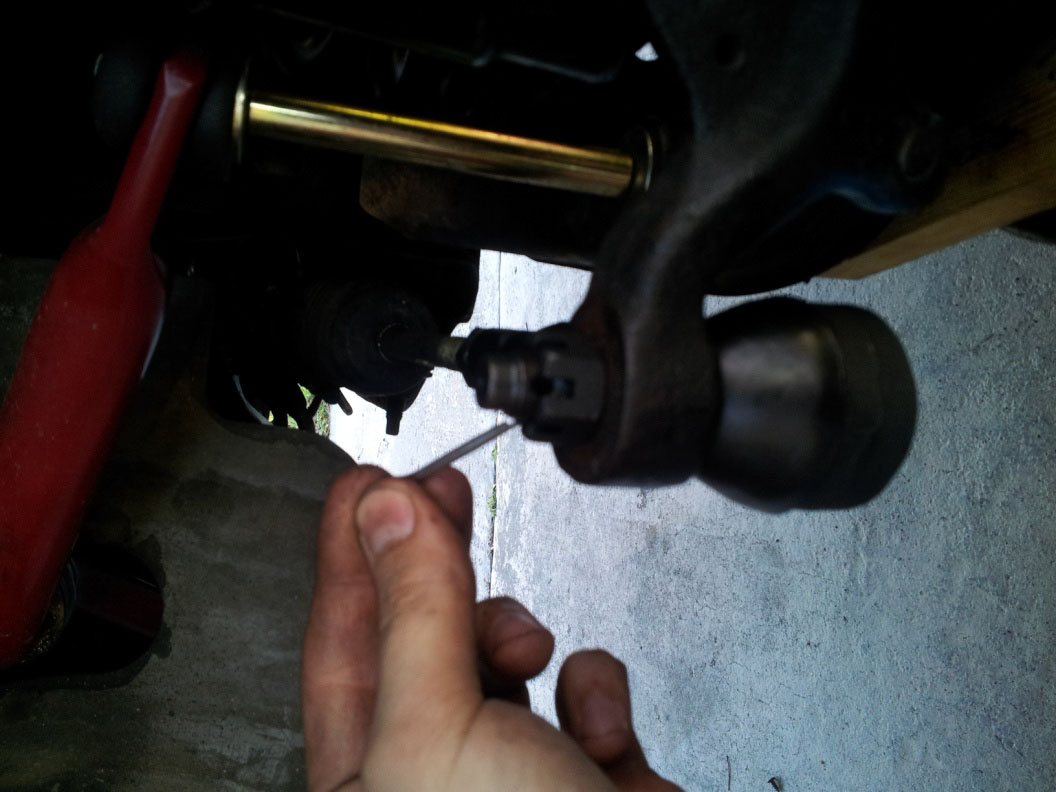
3. Take your pair of needle nose pliers to take the cotter pin off.
4. Take your 19mm socket and take off the castle nut.
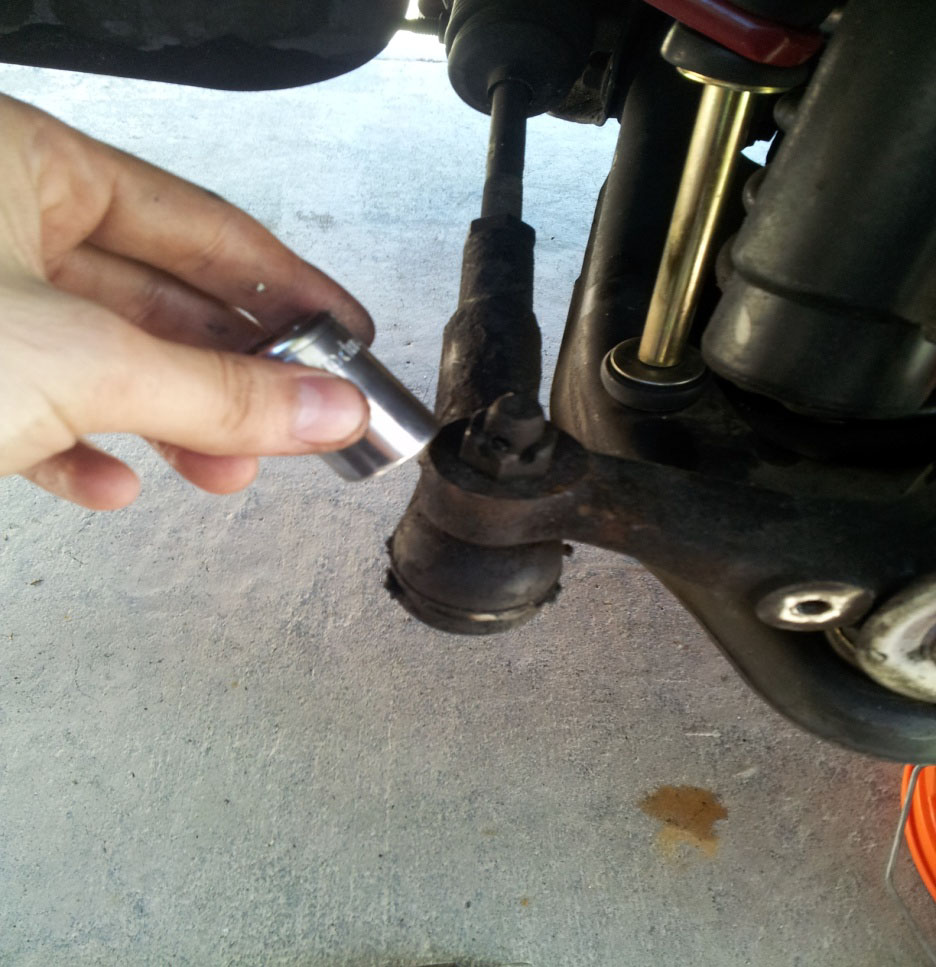
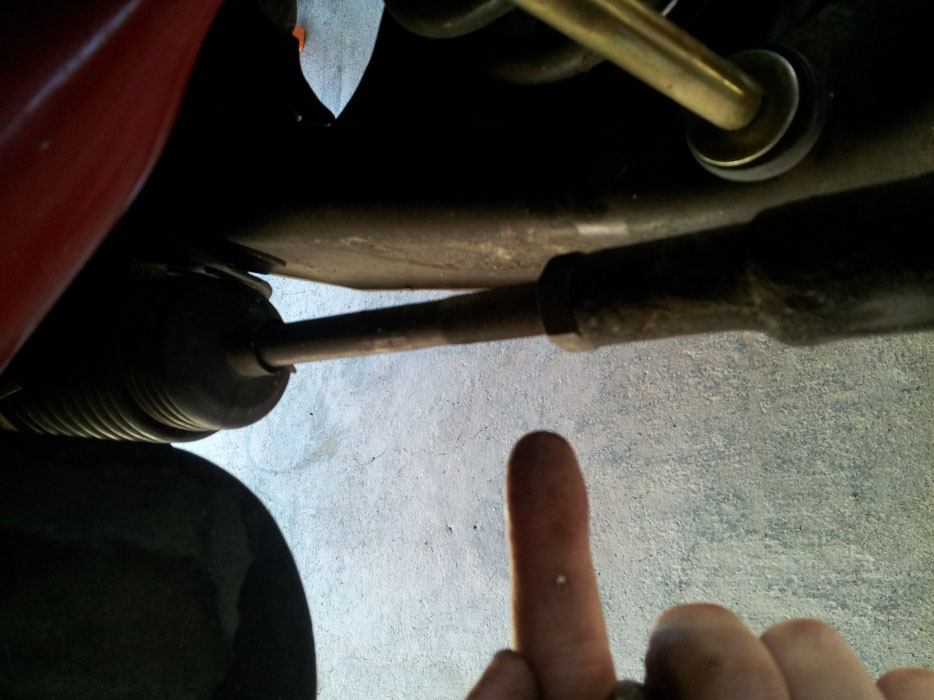
5. Before you loosen the nut, count the threads on your old tie rod. This will get you in the ball park of an alignment enough to safely get you to the shop. DO NOT WAIT to get an alignment done. Every mile puts more wear on your tires.
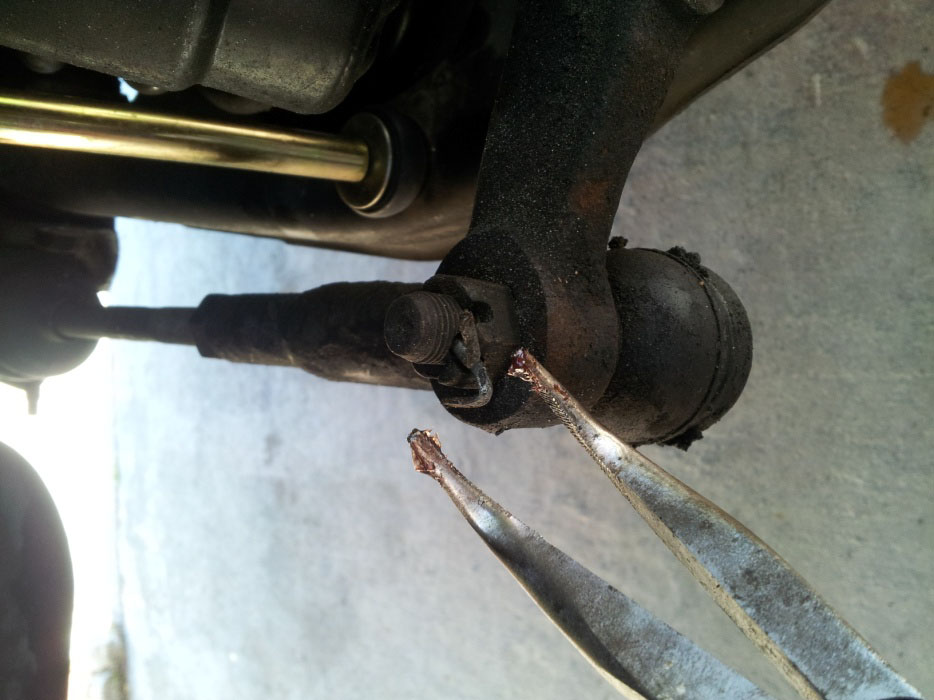
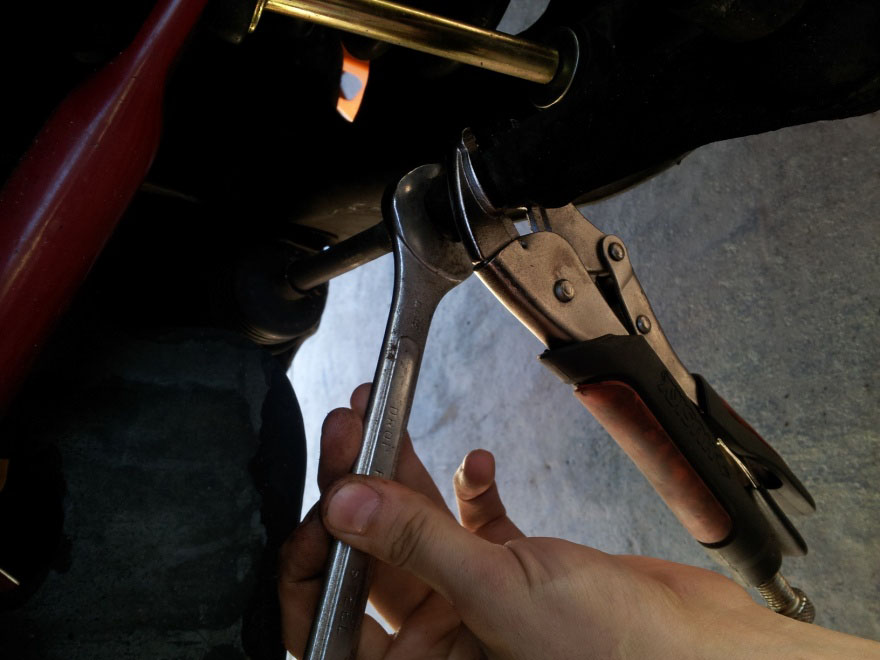
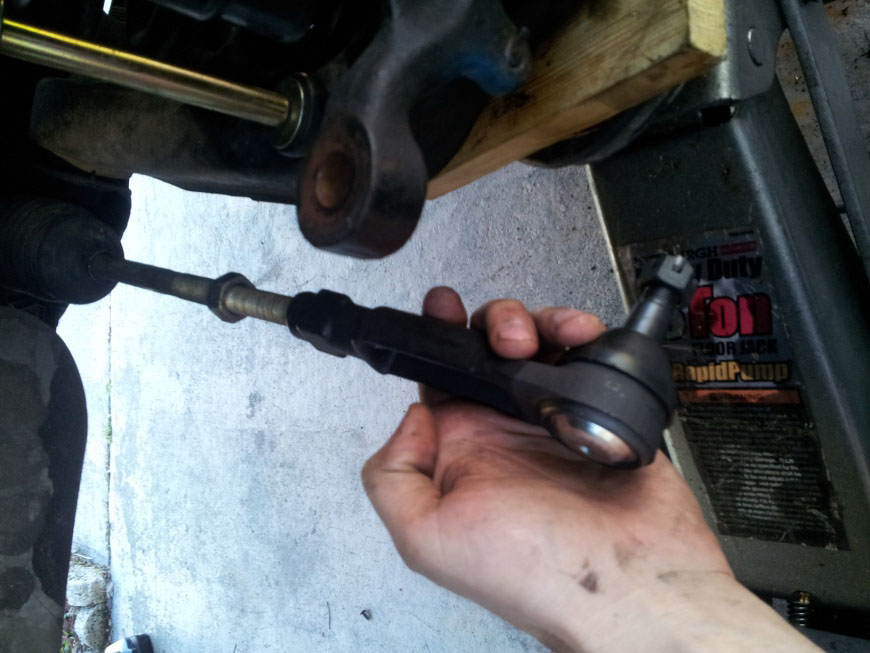
6. As you can see in the picture below, you do not have a good place to hold onto with the oem tie rod end. This is where your adjustable wrench or vise grips will come in handy. Now take your 7/8 wrench and adjustable/vise grips to loosen the nut.
7. Now that the nut is loose, take your air compressor turn it on, and use the ball joint separator to separate the ball joint from the spindle.
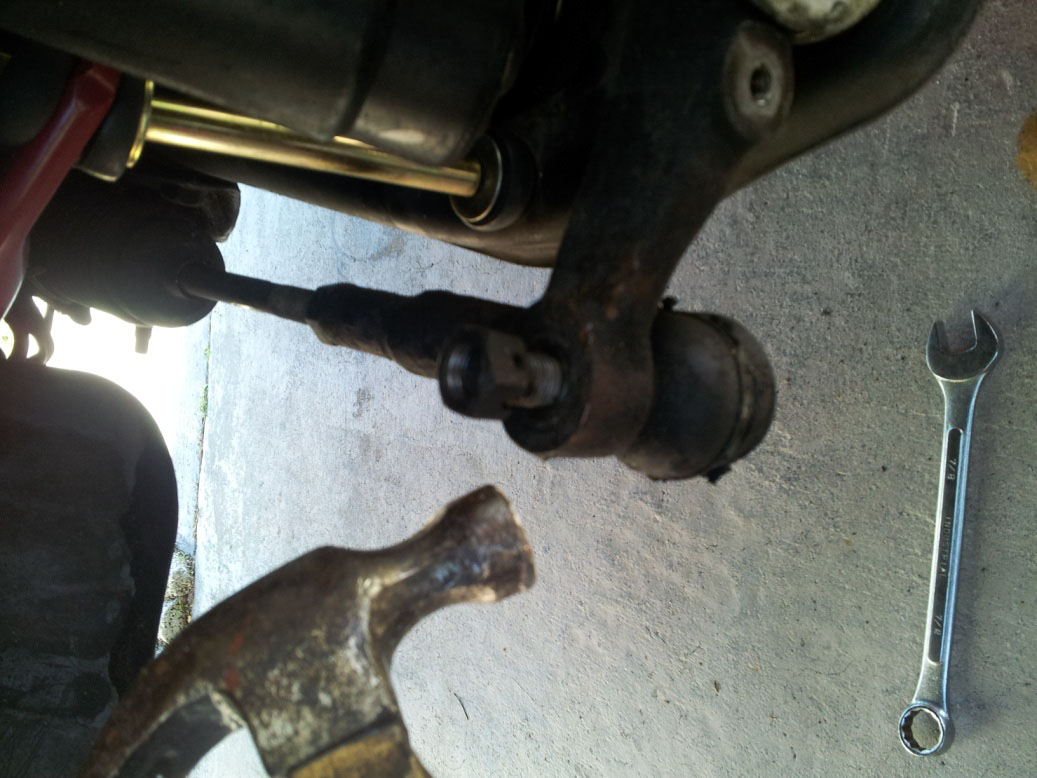
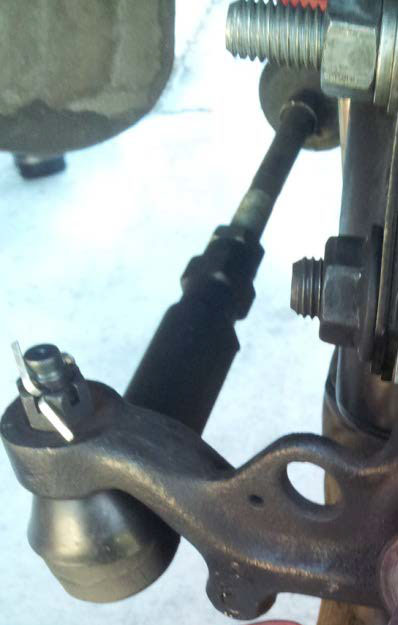
8. If you do not have an air compressor (get one for the future) there is another technique that I know to get these off. What you do is take the castle nut and turn it upside down, then put it back on the outer tie rod end. You “tighten” the nut until the nut is flush with the top of the stud. What the idea here is to bang it out of place with a hammer. Putting the nut upside down and flush with the stud gives you the most contact space with the hammer and the least likely you are to break the stud. Use the PB blaster if doing this. Note, it is recommended to use this as a last resort. The ball joint separator tool is a better idea. Also, in the picture the nut is NOT flush with the stud, it was just to show you what the idea is.
9. Once the tie rod end drops, all you have to do is simply spin it off!!! It’s easy!
10. Now take the new outer tie rod end and spin it back on where the old one was off
11. Turn it until you can line the nut back up with the number of threads you counted.
12. Once it’s lined up, tighten the nut.
13. Pop the new outer tie rod end into the spindle, take the new castle nut and tighten it into place where the hole from the stud and the castle nut line up to the point where you can put the new cotter pin in. It’s a balance of getting it tight and lining up the cotter pin. Then put the new cotter pin in it.
14. Install the new grease fitting.
15. Take your grease gun and lube the new tie rod end.
16. Do the same to the other side, return car to the ground making sure you torque your lug nuts properly!
Installation Instructions written by AmericanMuscle Customer Joseph DeCresie 3.18.2014
