 FREE 1 to 3-Day Delivery on Orders $119+ Details
Best Sellers


How to Install a Replacment Front Outer Tie Rod End on your 1994-2004 Mustang
Installation Time
1 hours
Tools Required
- Channel Lock Pliers
- Needle Nose Pliers
- Torque Wrench
- 18mm Socket/Wrench
- Jack and Jack Stands
- Tie Rod Separator/Pickle Fork
- Mallet
- Grease
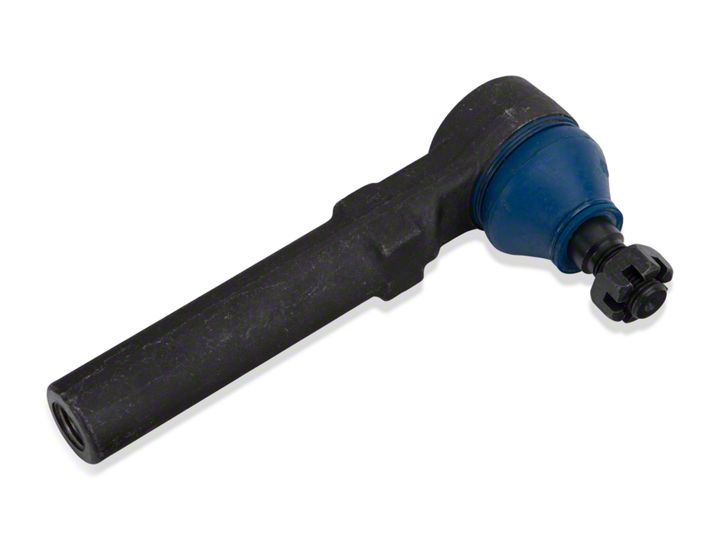
Shop Parts in this Guide
Time Required: 1.5-2hrs.
Tools Required:
Channel Lock Pliers
Needle Nose Pliers
Torque Wrench
18mm socket/wrench
Jack and Jack Stands
Tie Rod Separator/Pickle Fork
Mallet
Grease
Installation Procedure:
Note: This procedure is being done on the front driver (left) side.
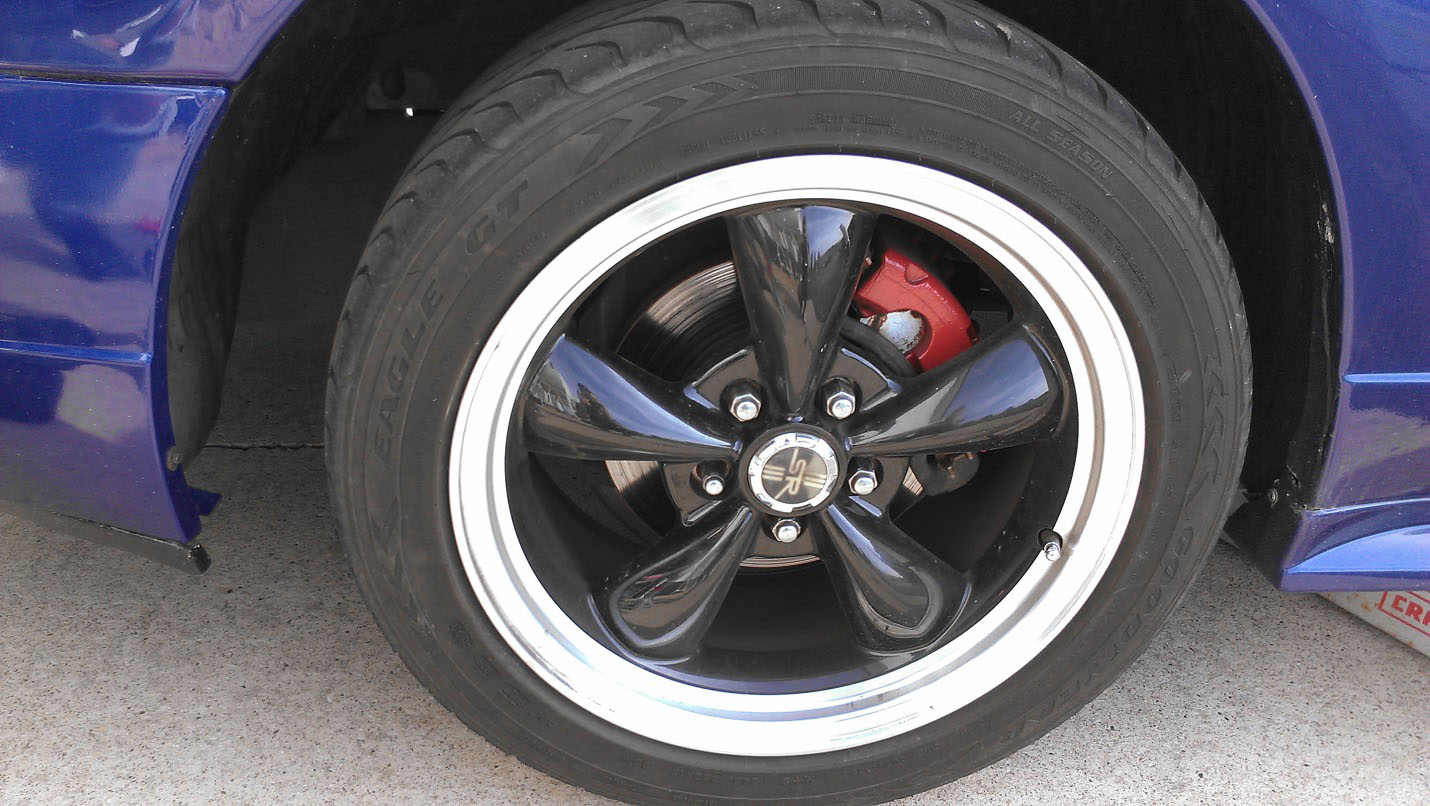
1. Jack the car up and place jack stands underneath
2. Remove the tire
Note: It helps to have the tire turned towards the side being worked on after removing the tire
3. Remove the cotter pin with a needle nose pliers
4. Remove the castle nut with an 18mm socket and wrench

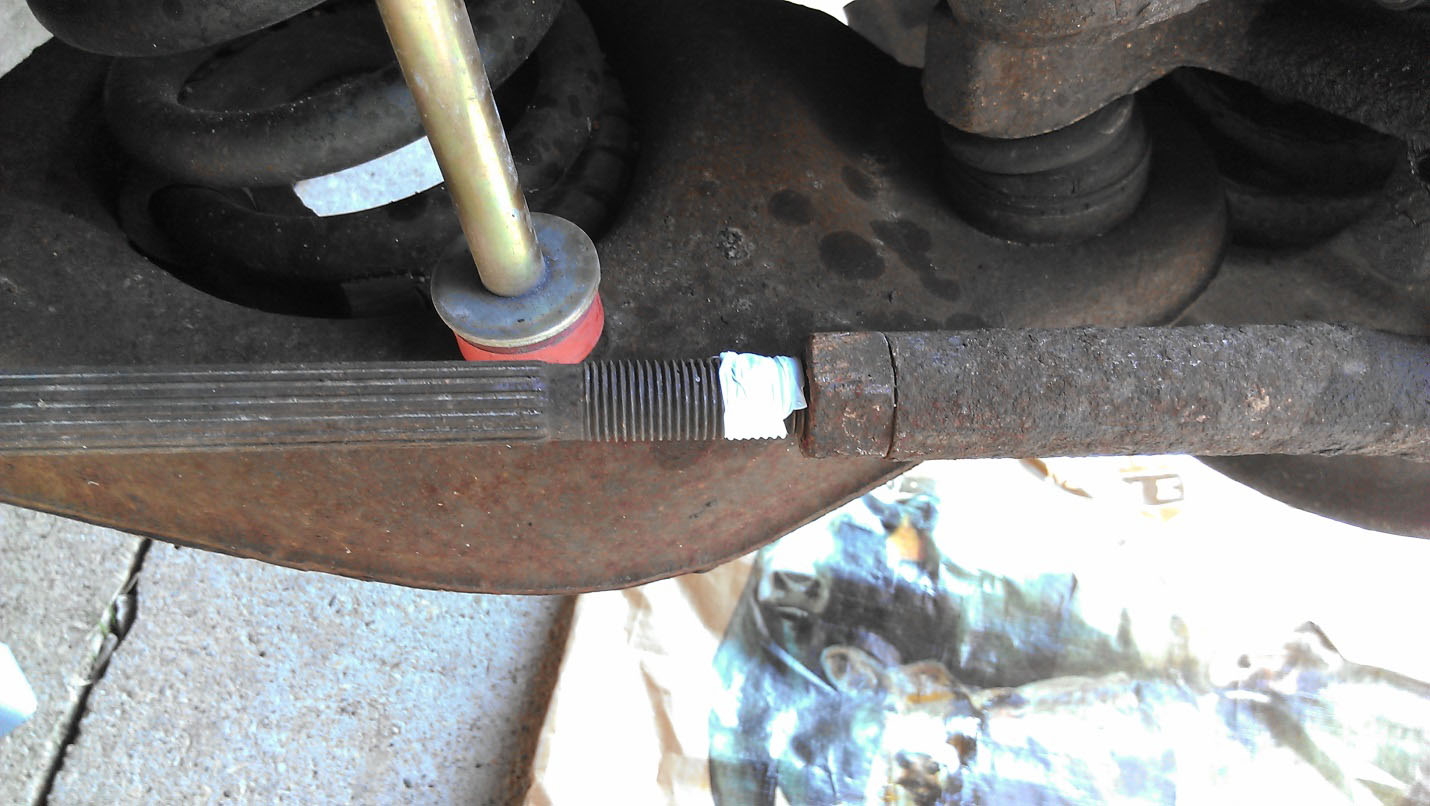
5. Mark on the inner tie rod shaft with tape and/or a marker where the old lock nut is so the new one can be placed in the same general position
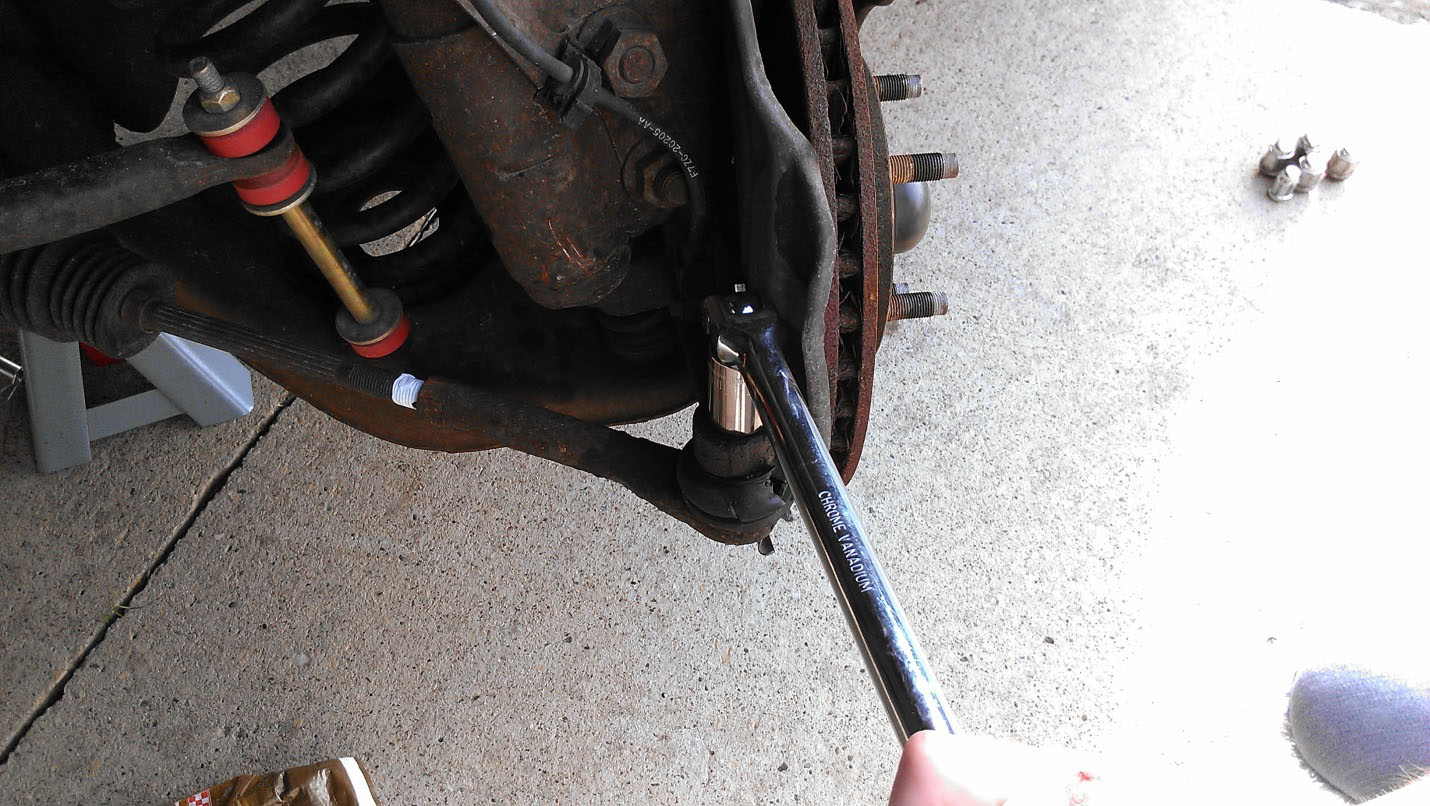
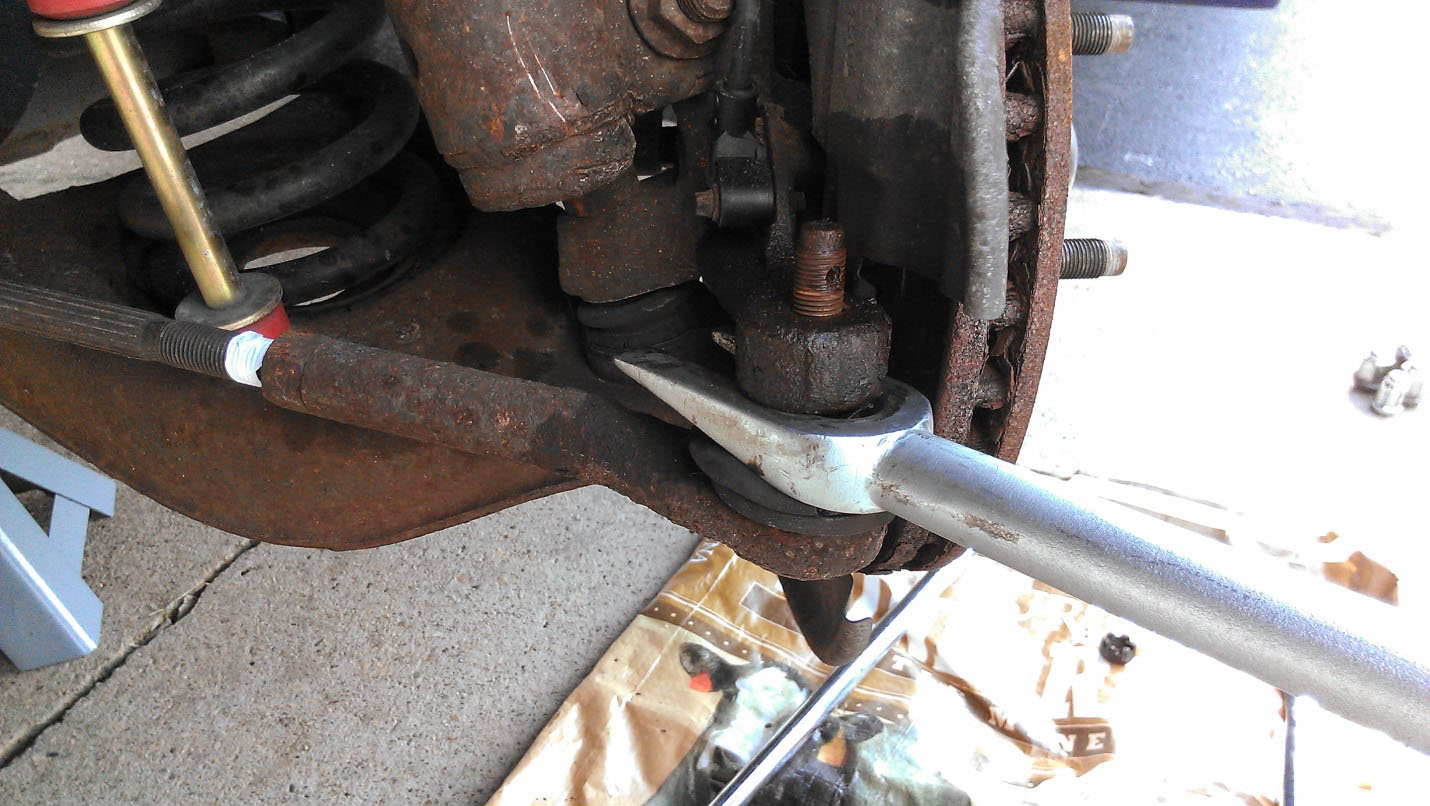
6. Use the pickle fork and mallet to dislodge the end of the tie rod
Note: Don't hit the tie rod directly with a mallet or hammer, a lot more work can result from this
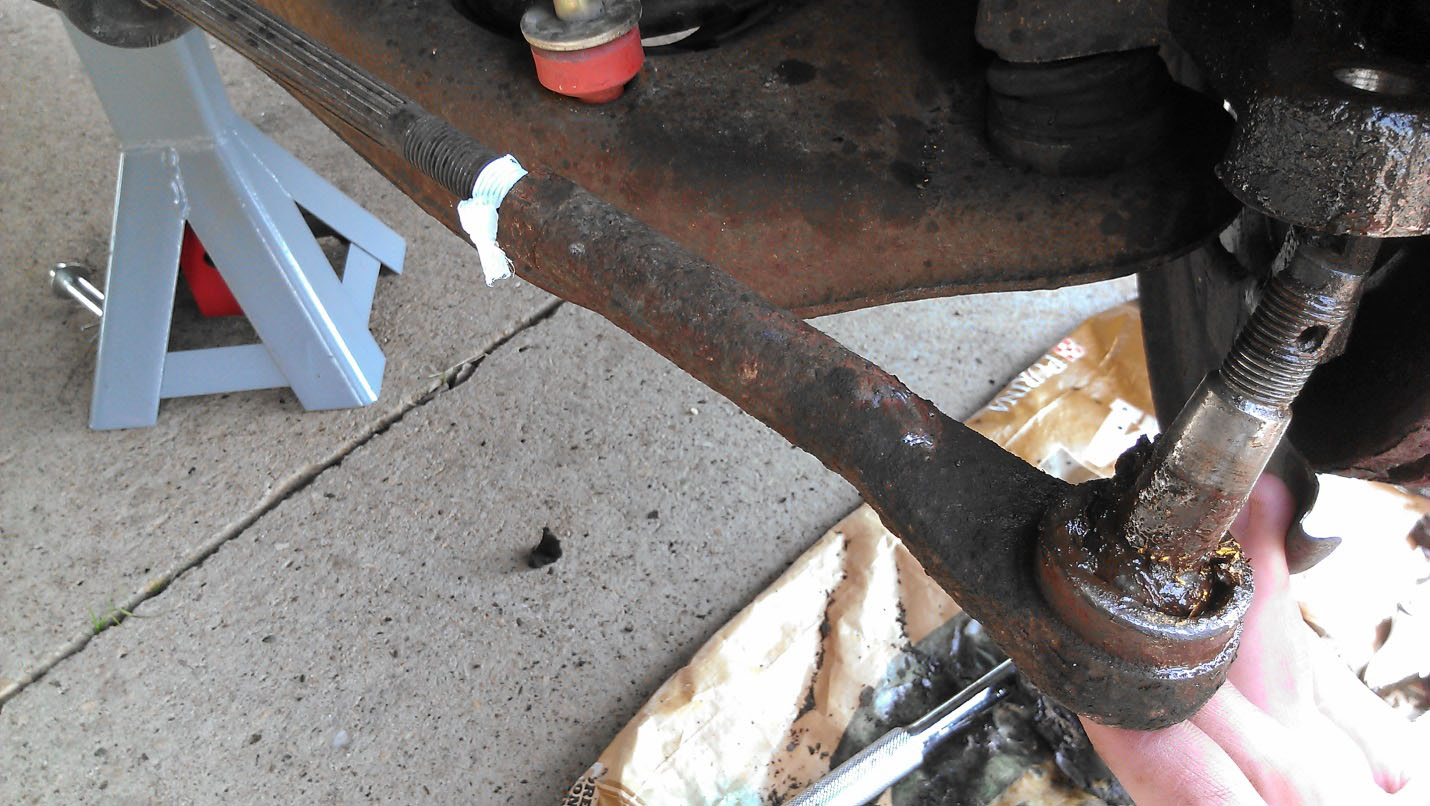
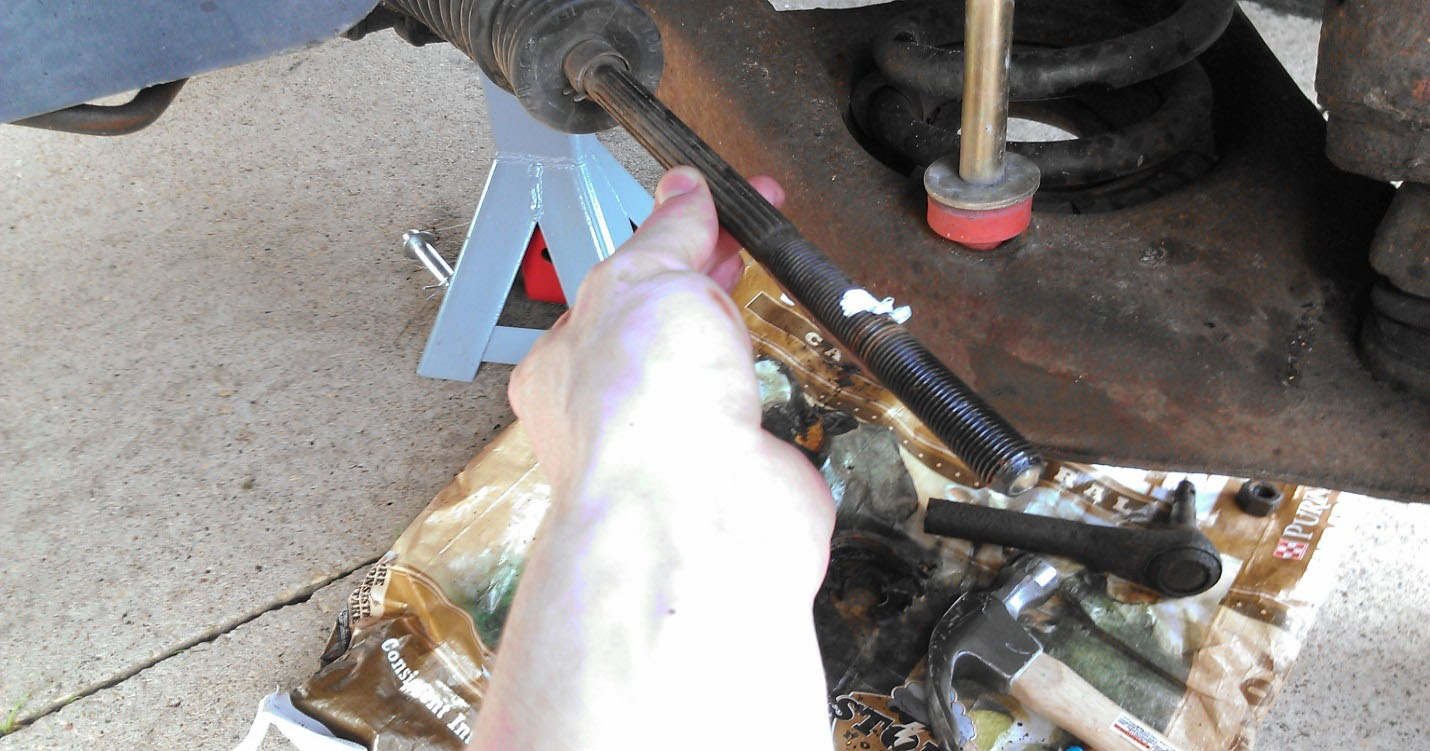
7. Loosen the lock nut with a wrench on the lock nut and a vice grips on the tie rod
Note: It can help to place the bolt at the end of tie rod end back into the knuckle to help hold the whole tie rod and to keep it from spinning. After the nut is loosened, take the bolt back out of the knuckle

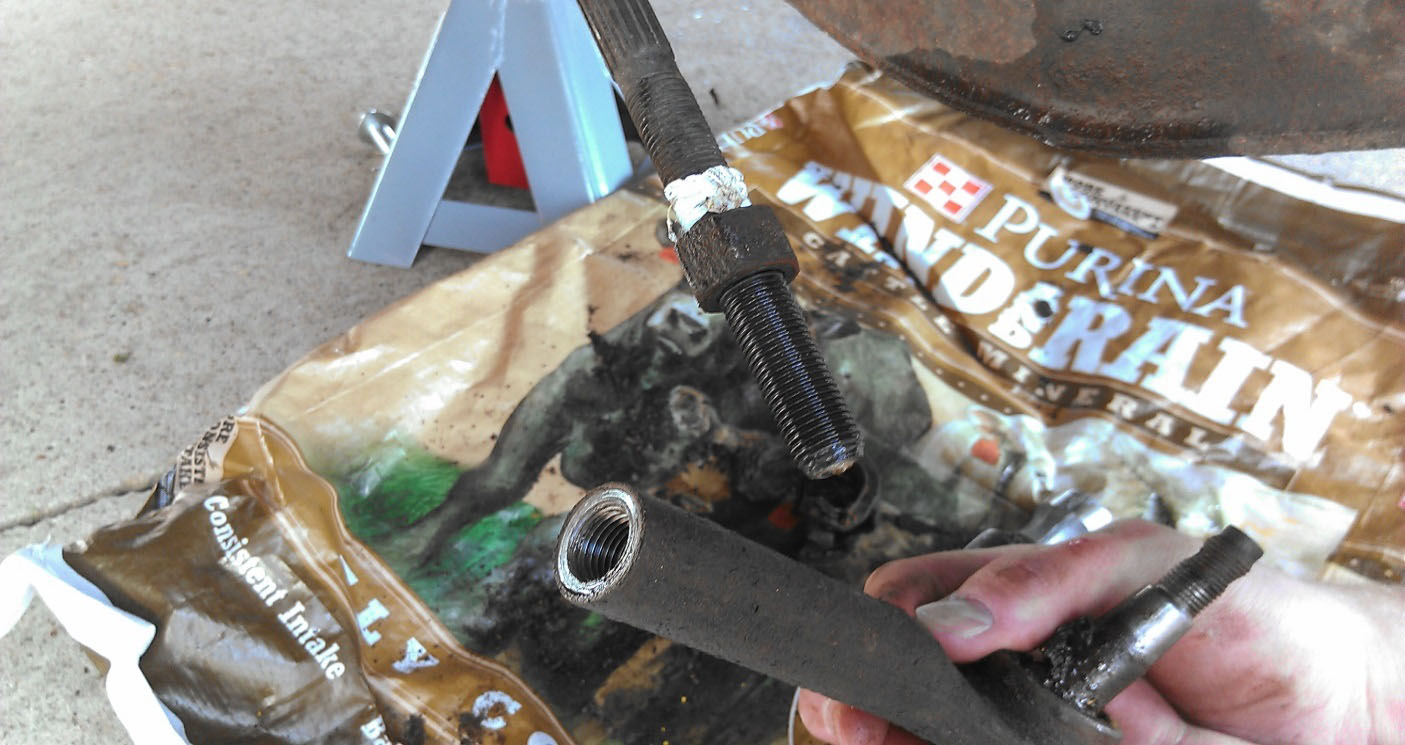
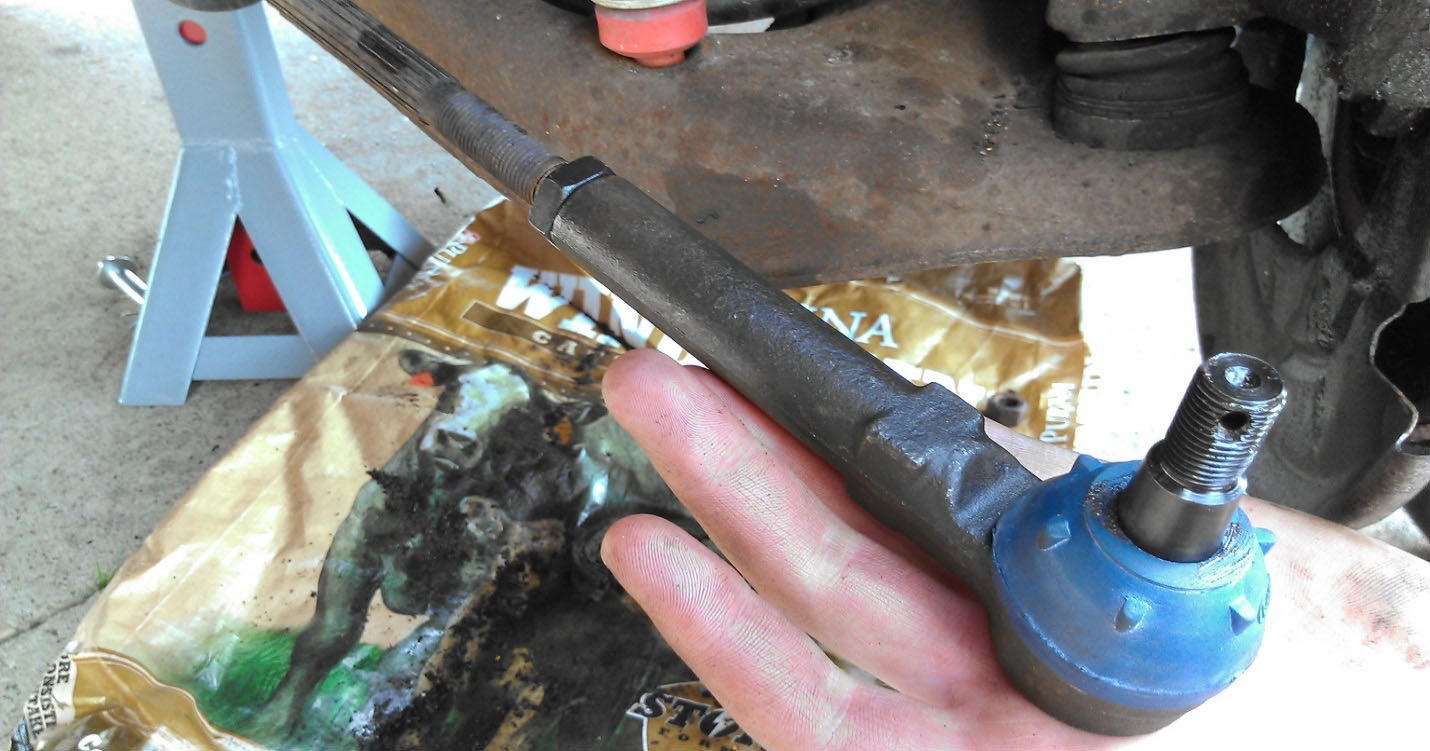
8. Untwist the tie rod end while counting how many full twists it takes for the tie rod end to be fully off
9. Remove the lock nut from the inner tie rod shaft
10. Screw on the new lock nut until it lines up with the mark you made earlier from the old lock nut
11. Screw on the new tie rod end counting the turns again to make it line up with the old one as closely as possible
Note: If you have something go wrong with either or both ways to line the new tie rod end up with where the old one was. Get as close as you can because you should always get an alignment after this whole process is done which will take care of that problem
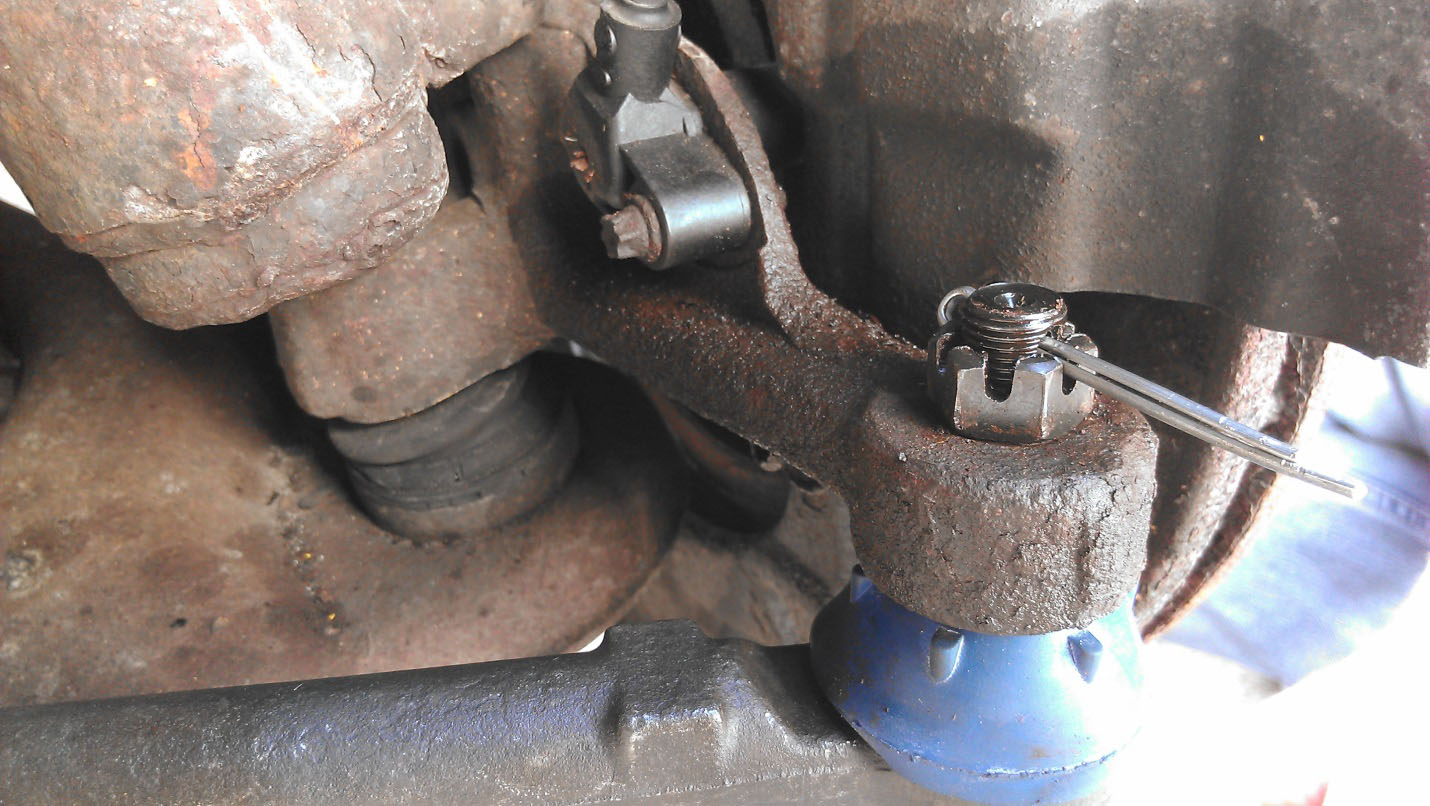
12. Place the tie rod end bolt into the knuckle
13. Screw the new castle nut onto the bolt
14. Tighten the castle nut with a torque wrench and the 18mm socket to 35 Ft-lbs
Note: The hole through the tie rod end bolt needs to be showing through the castle nut to get the cotter pin through. Work at it until this is done


15. Place the cotter pin through the castle nut/bolt hole and bend the cotter pin ends around the castle nut
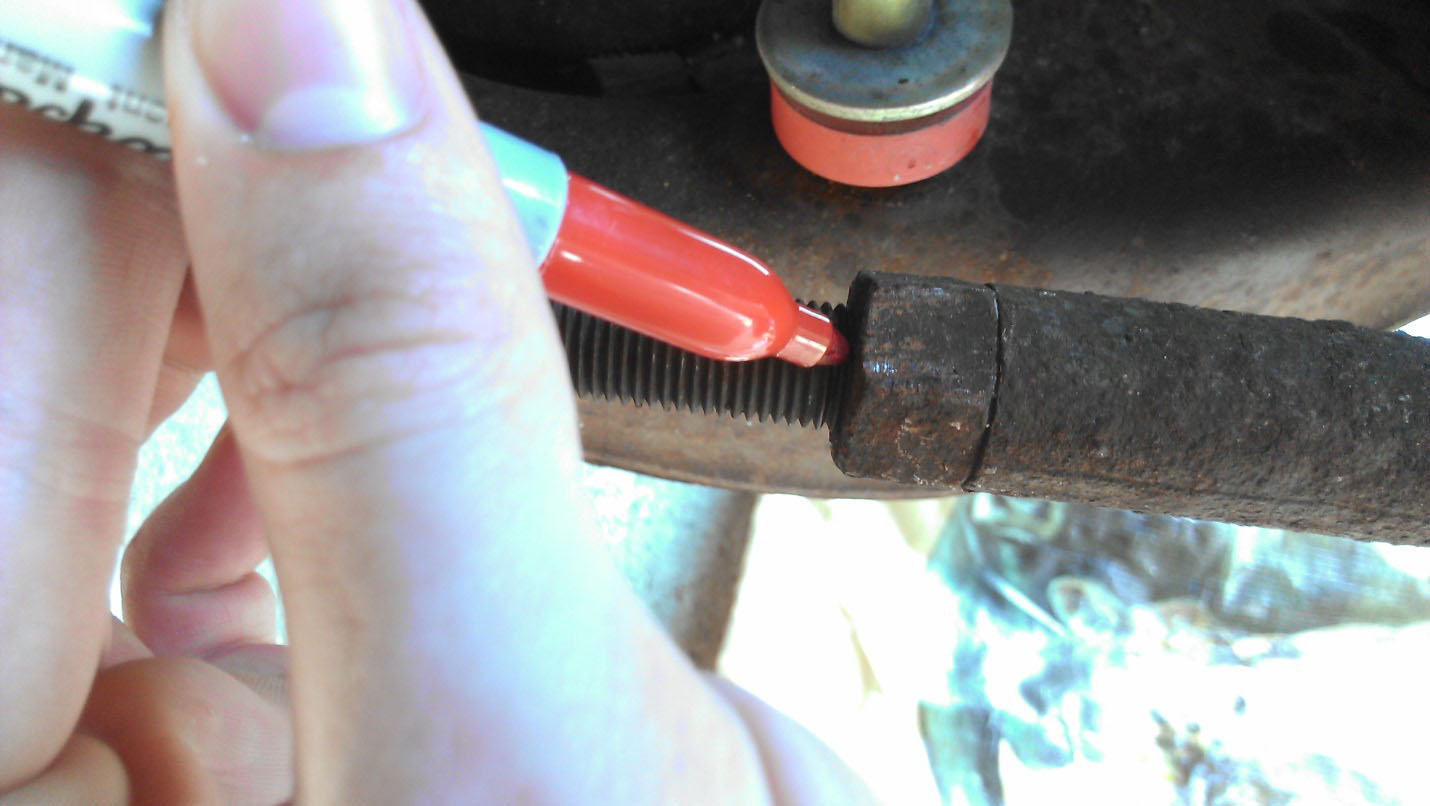
16. Screw the grease fitting into the grease hole
17. Inject grease into the ball joint through the grease fitting
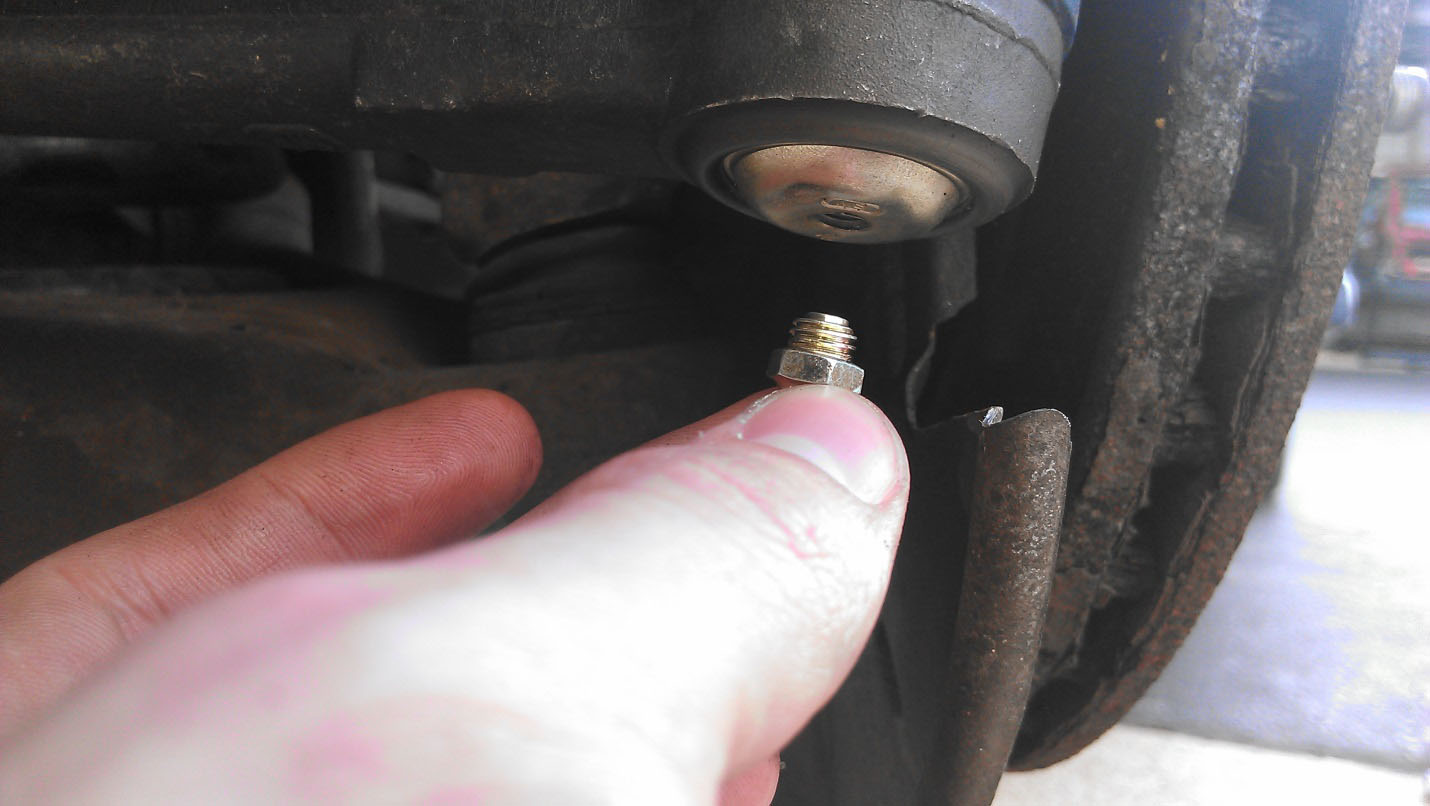
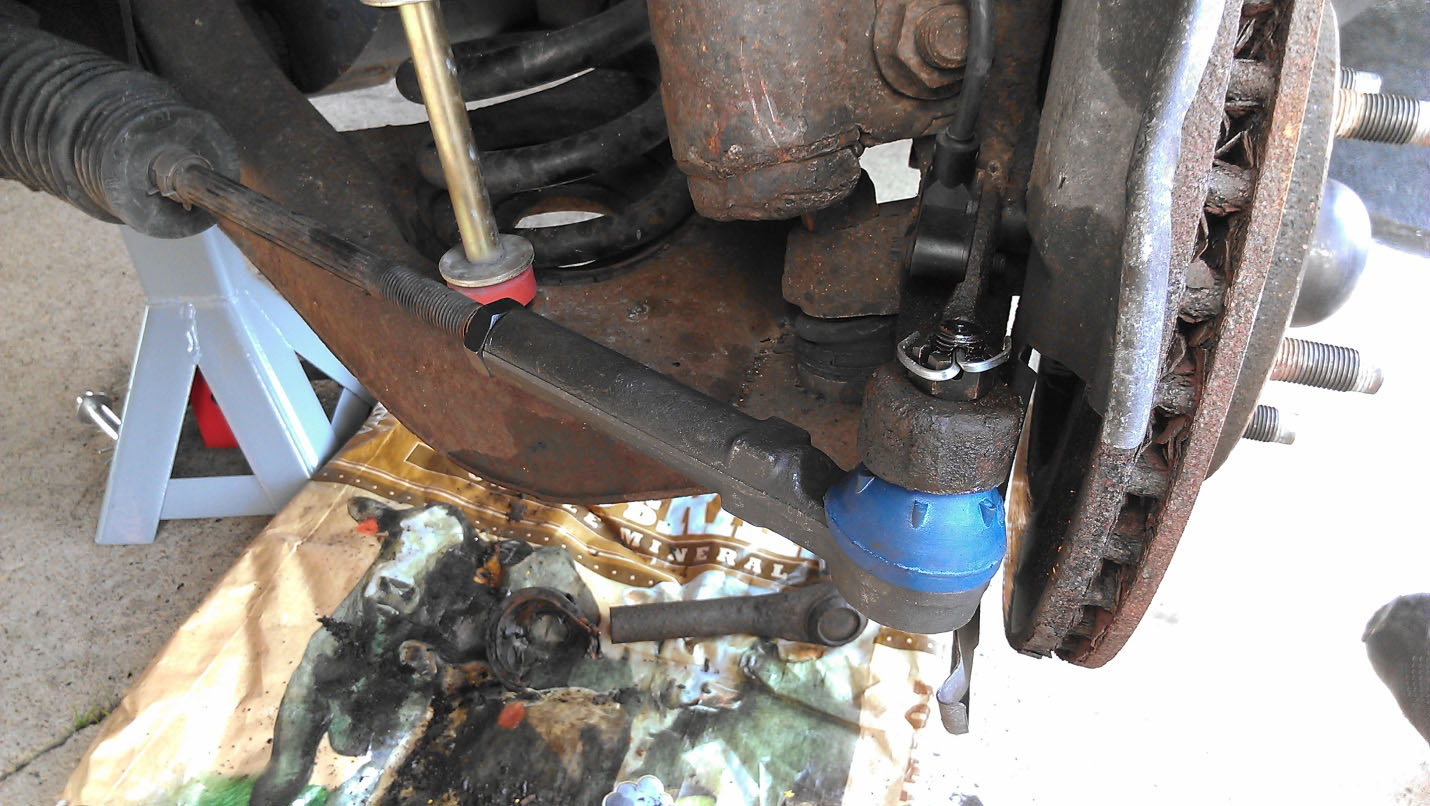
Finished Installation Picture:
18. Replace the tire
19. Place the jack under the car. Remove the jack stand and lower the vehicle
20. Moving in a star shape for the lug nuts, tighten them to your specified torque with the torque wrench
END
****These same steps go for the front passenger (right) side as well****
****Do not forget to get an alignment after this while putting as little of drive time on the car until then. Wear on the tires and other damage can arise if the tires are not straight and aligned****
Installation Instructions written by AmericanMuscle customer Preston Michie 05.07.2014
