 FREE 1 to 3-Day Delivery on Orders $119+ Details
Best Sellers


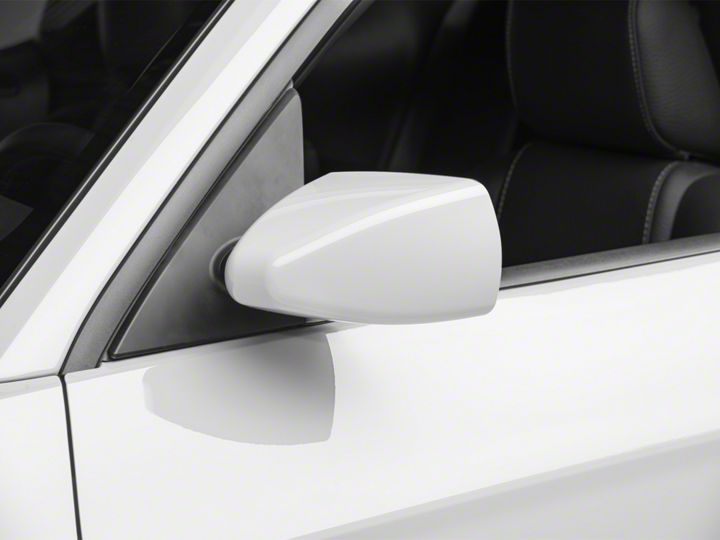
How to Install Pre-Painted MMD Retro Mirrors on you 2010-2013 Mustang
Tools Required
- Flat Head Screwdriver
- Wire Cutters (optional)
- T10 Torx Driver
- 11mm Socket & Ratchet
- 4mm Torx Socket & Ratchet
Shop Parts in this Guide
Installation
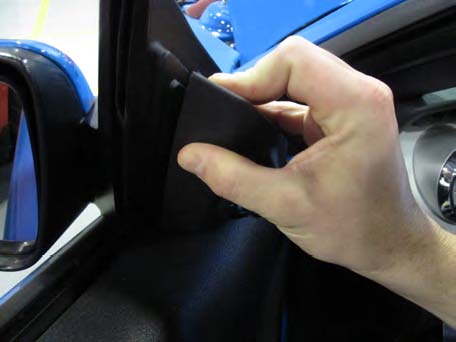
1. Remove mirror adjustment housing by pulling towards you.
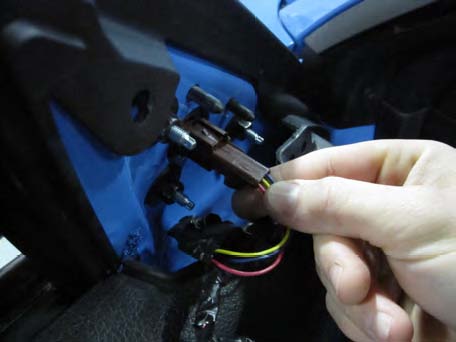
2. Detach the wiring harness from the mirror.
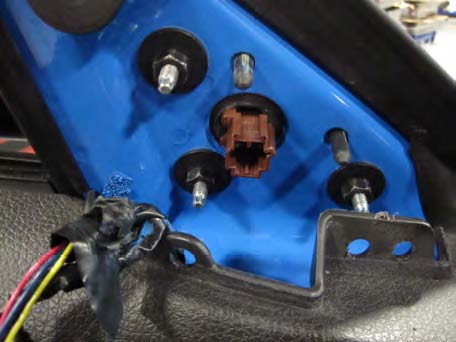
3. Supporting the mirror with your hand, use an 11mm socket to remove the (3) nuts shown. (Be careful not to drop the nuts in the door panel!)
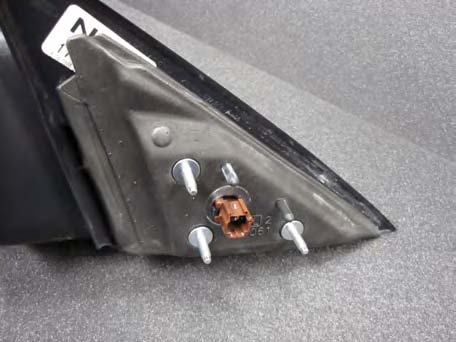
4. With a 4mm socket, remove the (3) mounting studs followed by the foam padding.
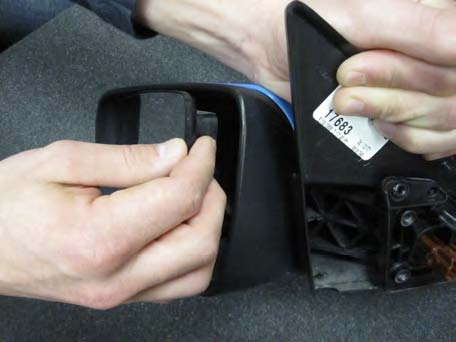
5. Push the glass so it is facing outward as seen above. Firmly grip the mounting bracket and pull towards you to remove glass. (This will take some effort)
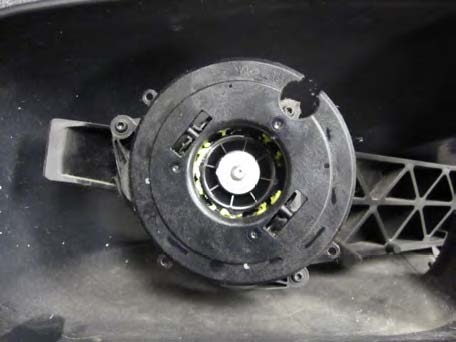
6. Use a T10 torx screwdriver/bit to remove the 3 screws securing the mirror motor.
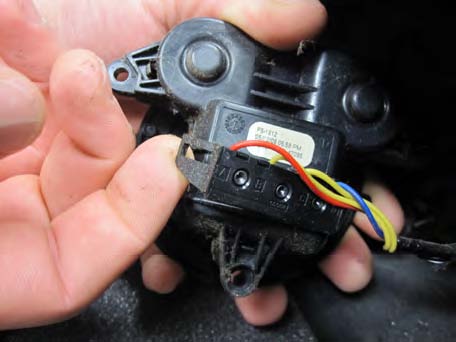
7. Unplug the wiring harness by lifting the tabs on each side.
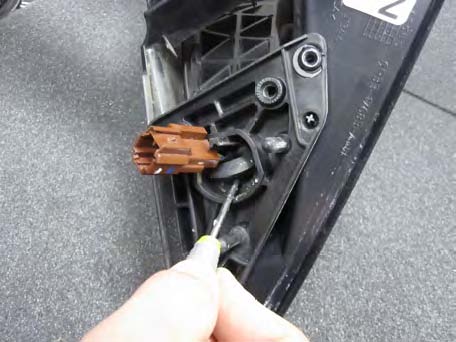
8. Slide connector off post and remove grommet using a flathead screwdriver.
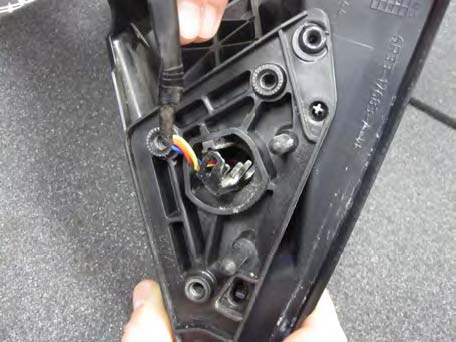
9. Guide the harness through the housing and out of the opening.

10. To complete installation, repeat steps 1-9 for other side and reinstall mirrors on car. Set up your new mirrors by reversing Steps 1-9. (When installing new lens onto the motor, make sure cutout is on the bottom as seen in the picture.)
2010+ ONLY
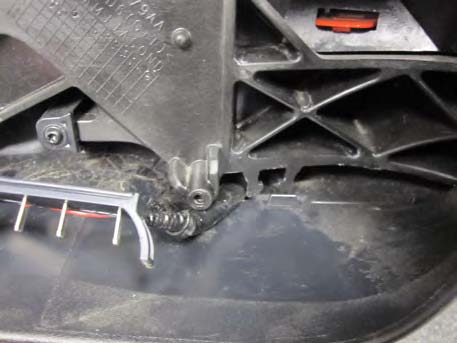
7. To remove the wiring harness you must first free the harness from the clip. Do this by carefully pushing the wires under the clip towards the outside of the mirror. (You can also cut the clips with wire cutters if you feel it is easiest.)
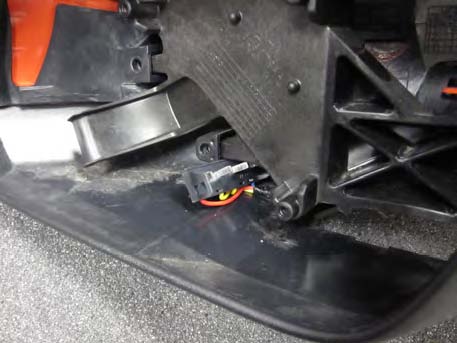
8. To pull the harness out the connector must exit at a certain angle. Note the angle in the picture above. Once the connector is freed, refer back to step 8.
