 FREE 1 to 3-Day Delivery on Orders $119+ Details
Best Sellers


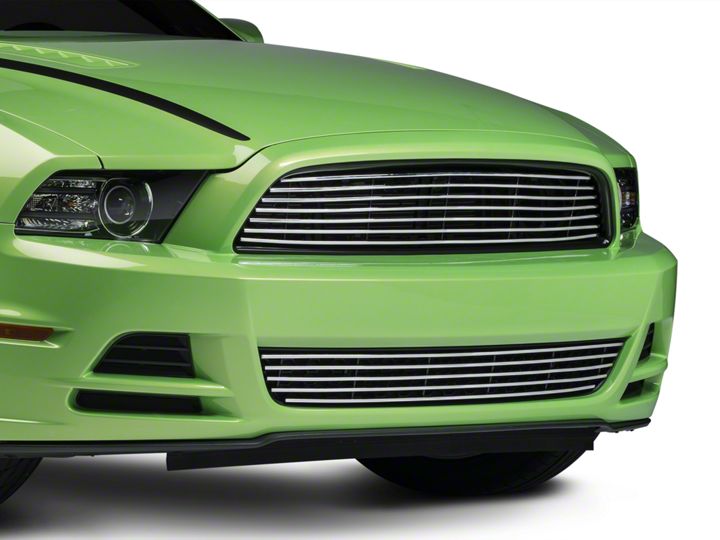
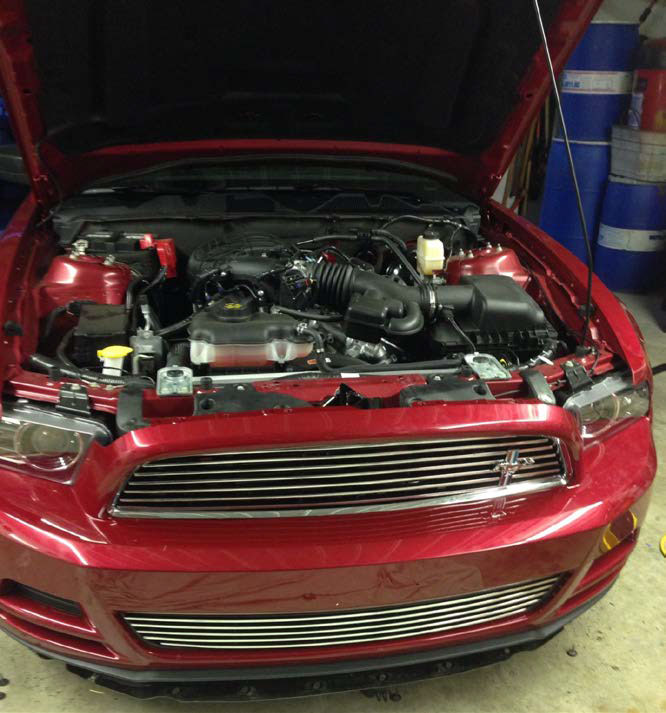
How to Install Modern Billet Polished Retro Grille on Your 2013-2014 V6 Mustang
Installation Time
2 hours
Tools Required
- Flat Head Screwdriver
- Phillips Head Screwdriver
- 7mm/8mm Socket
- Matching Ratchet
- Car Jack
- Sheet to Lay Bumper On
Shop Parts in this Guide
This is a very simple installation; however it is easier to have a second set of hands around when removing the bumper.
TOOL LIST:
-Flat Head Screwdriver
-Phillips Head Screwdriver
-7mm/8mm Socket
-Matching Ratchet
-Car Jack
-Sheet to lay bumper on
Installation Time: 1-2 Hours.
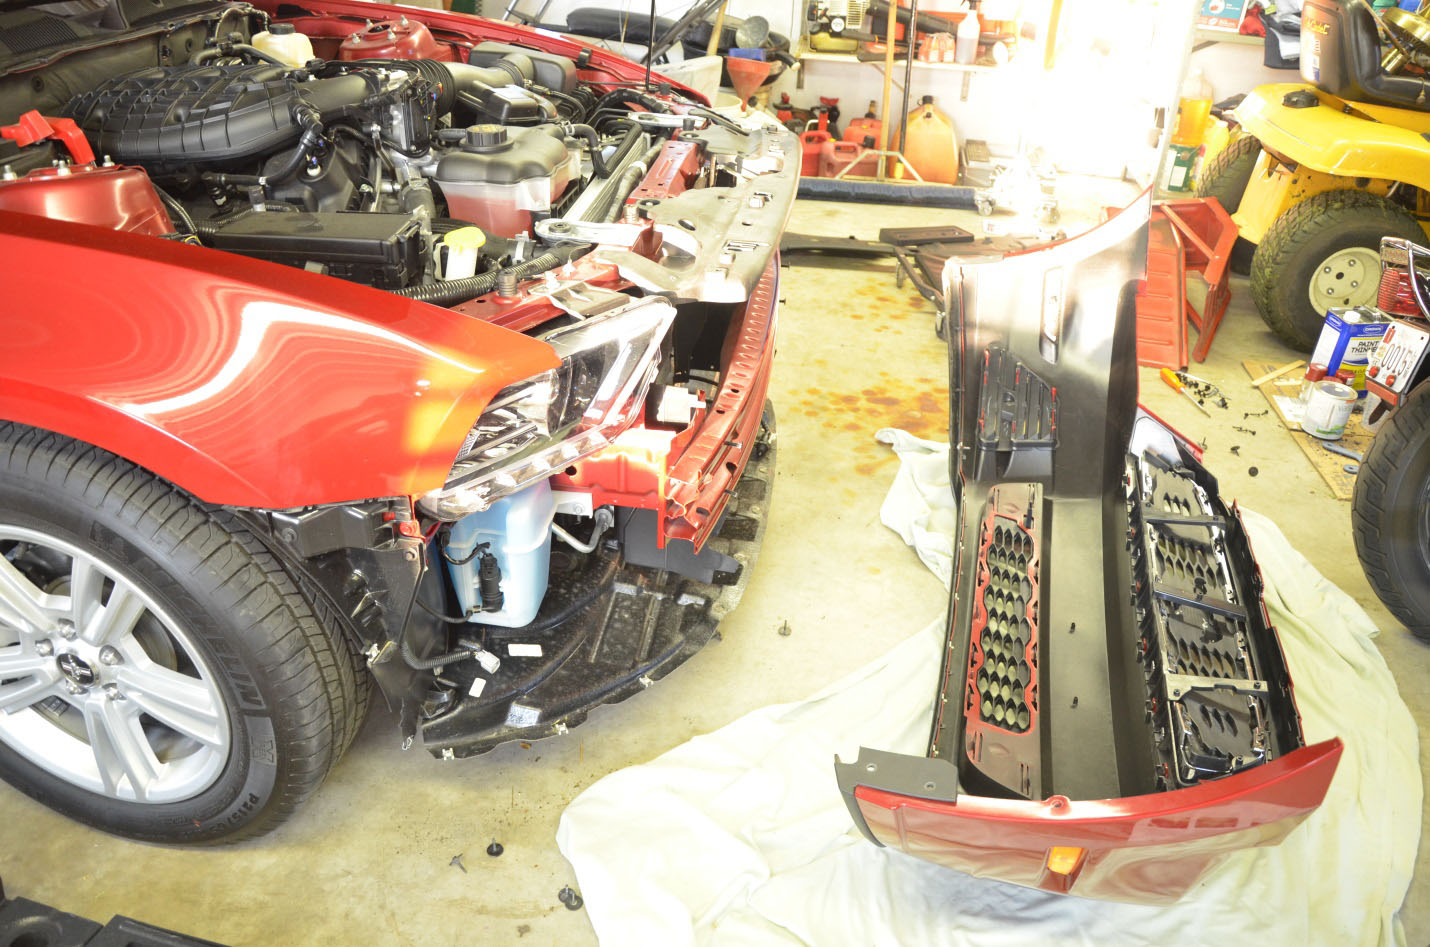
FRONT BUMPER REMOVAL:
1. Start by removing the (8) plastic clips holding on the plastic radiator cover, and then remove the radiator cover itself.
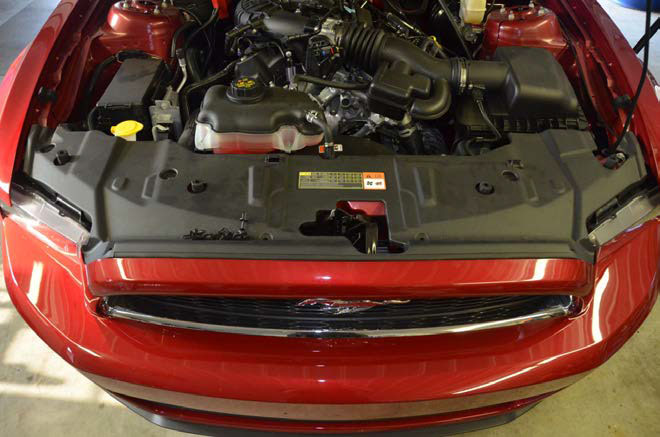
2. Remove the (4) Phillips head screws and the (4) 8mm bolts under the radiator cover.
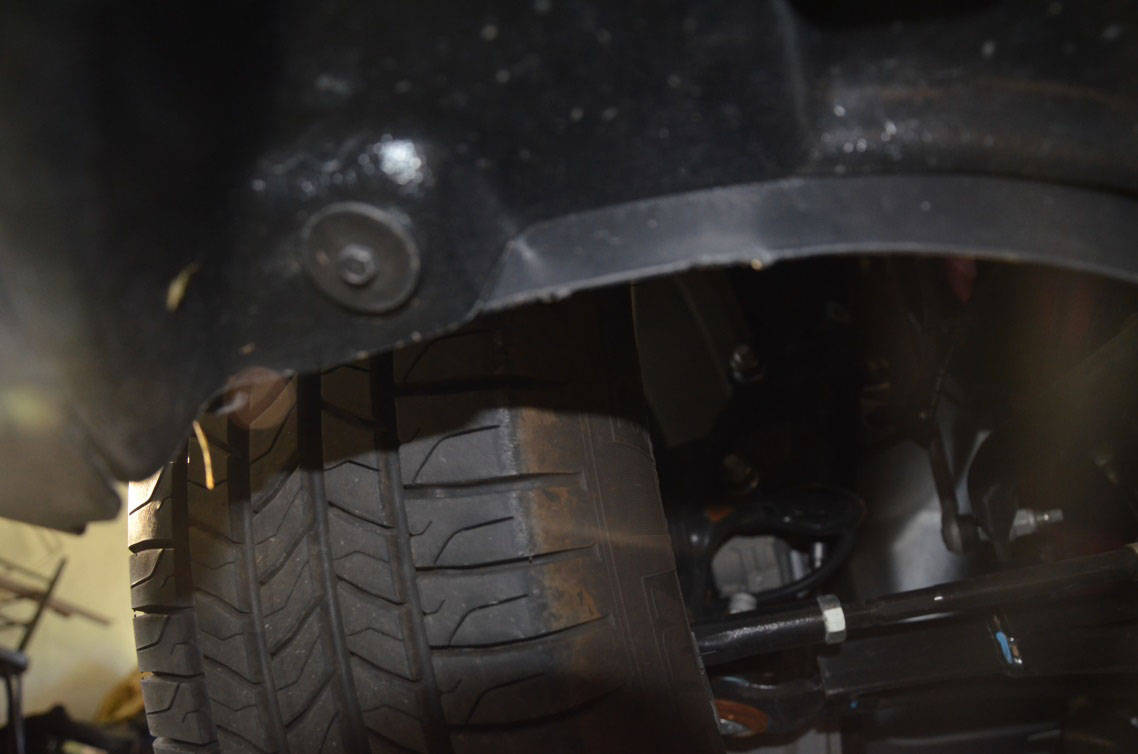
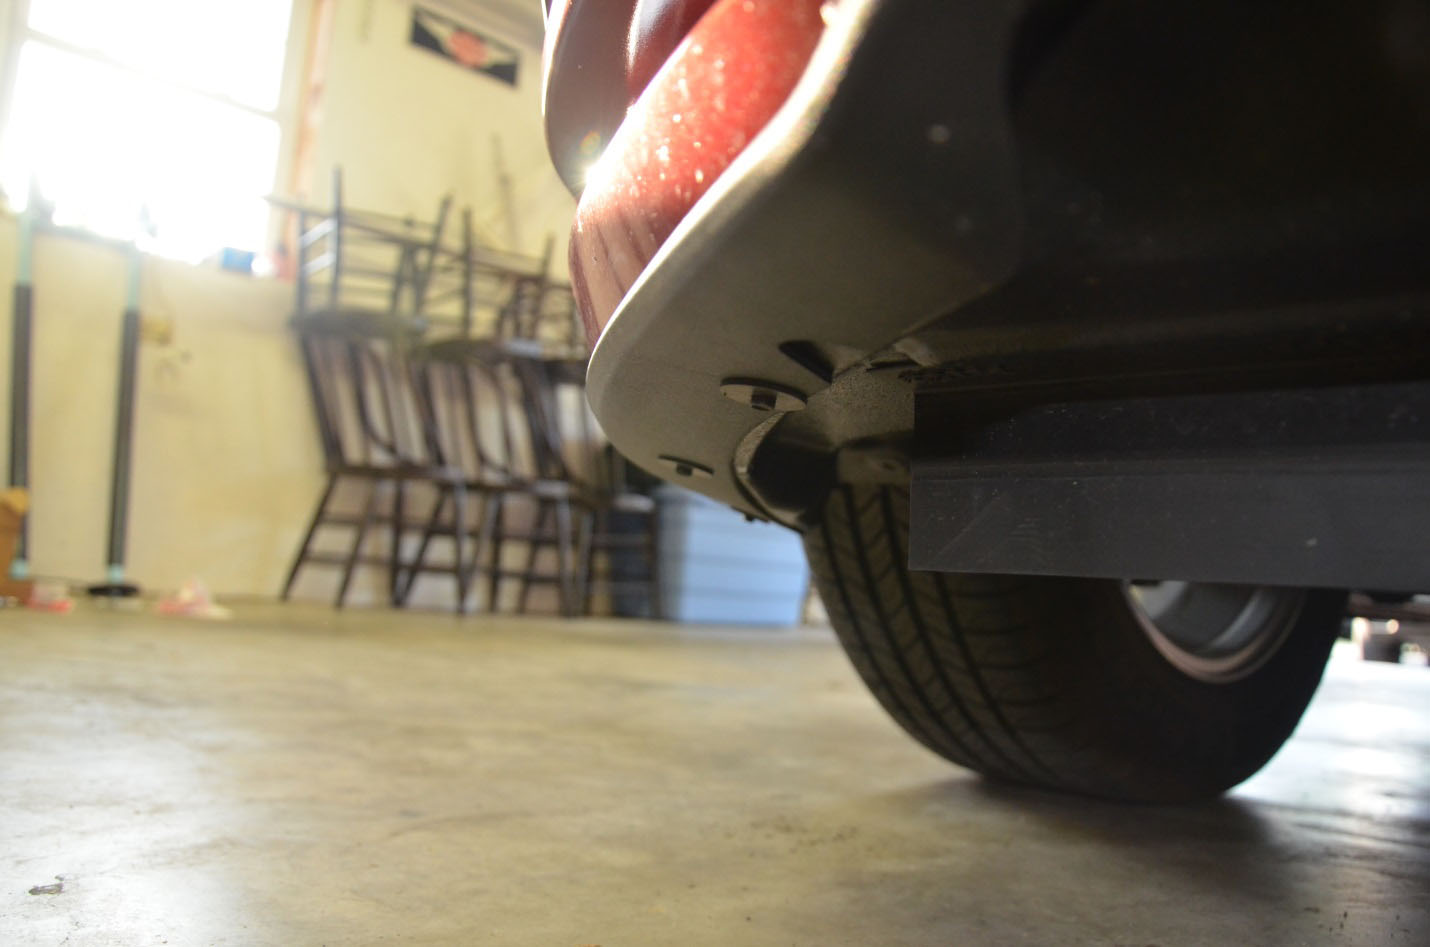
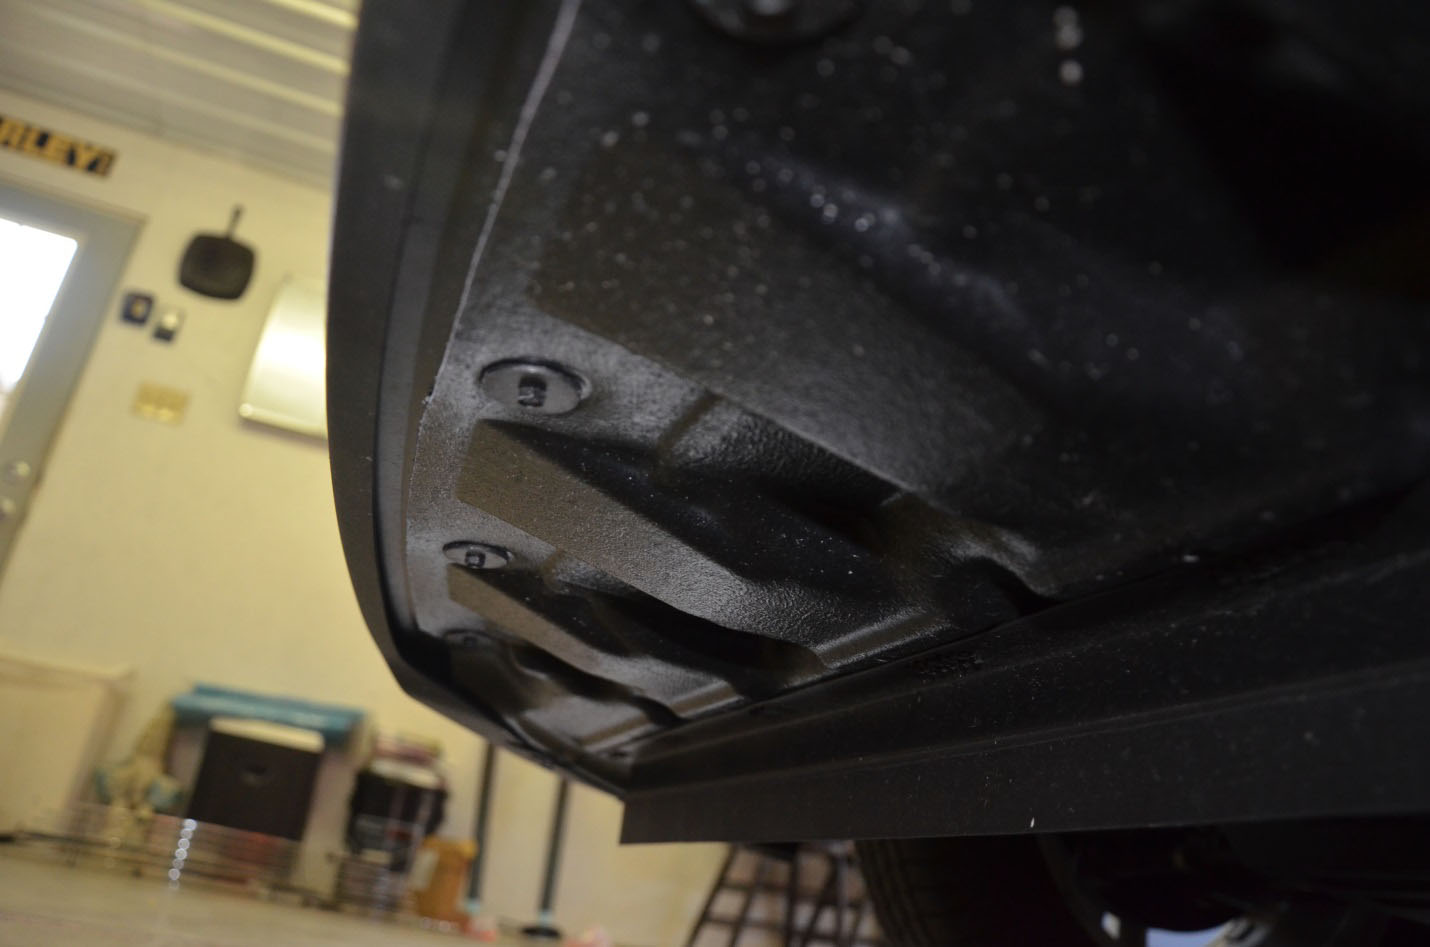
3. On the inside of the front wheel well remove the (4) 7mm bolts. (The 4th 7mm bolt is hidden underneath the wheel well.)

(Hidden screw)
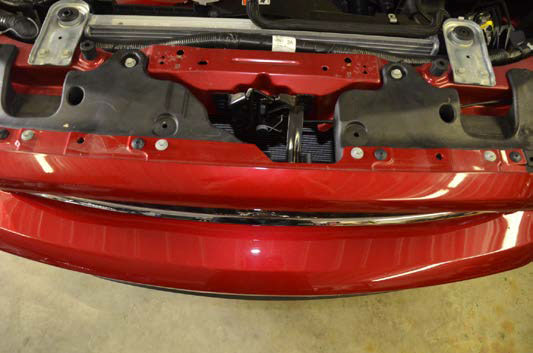
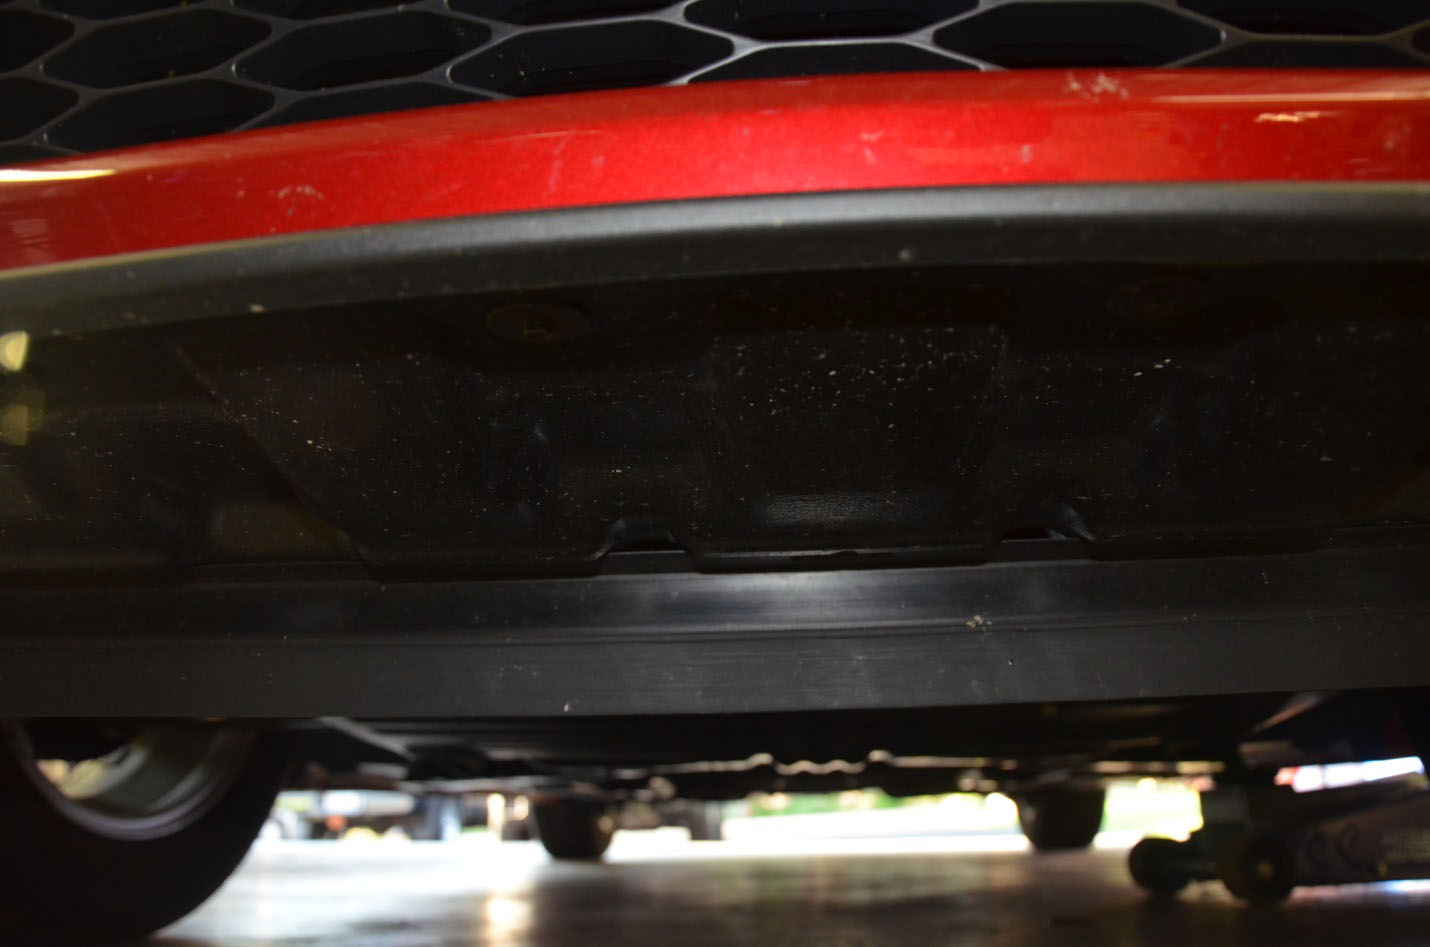
4. Remove the (12) 7mm bolts from the outer lip of the air splitter; this will basically release the bumper from being attached to anything other than the clips holding it to the quarter panels.

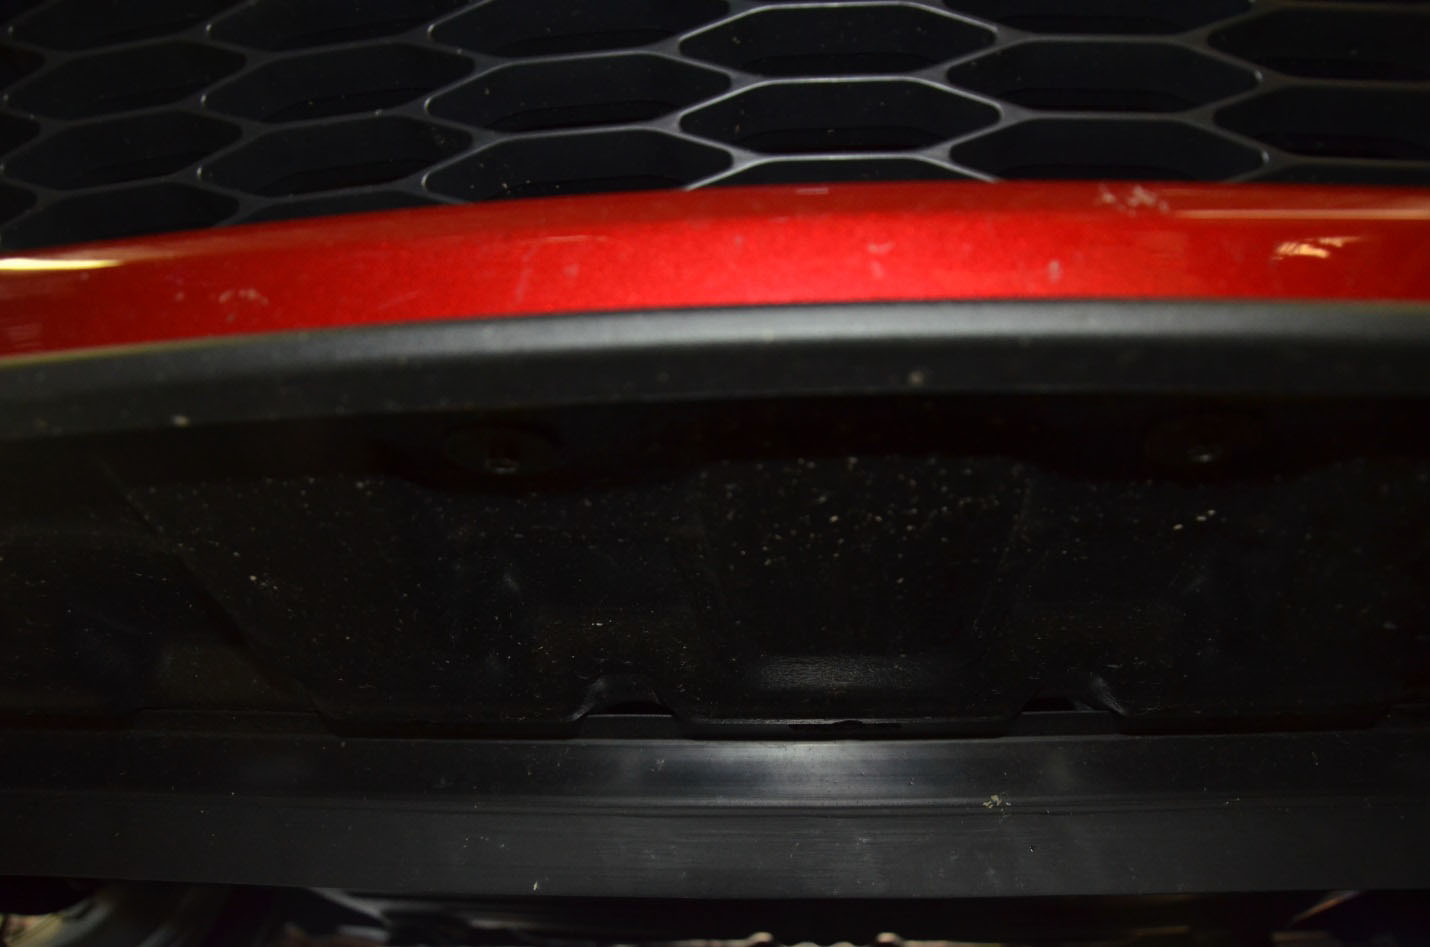

(Continued)
5. Making sure everything is out of the way and having your sheet ready gently pull the front bumper away from the car, there are tabs that will release and create a loud cracking sound. This is perfectly natural and nothing to worry about.
6. This is where having a second set of hands is VERY useful. While removing the bumper be sure to remove the turn signal connectors on each side, and the external temperature sensor in the front of the bumper. Carefully set the bumper on your sheet and tada! You have successfully removed the bumper from your Mustang! Half way there!
LOWER GRILLE INSTALLATION:
1. The lower grille is by far one of the easiest upgrades you can do to your Mustang. You will have two screws, two butterfly clamps, and your actual grille. On the outside of the bumper line up the lower grille against the existing grille.
2. Put your screw through the slot and through the existing grille, then attach the butterfly clamp on the other side and tighten.
3. Repeat process for the other slot and you’re done! It’s that simple.
UPPER GRILLE INSTALLATION:
1. On the back side of the grille you’ll notice the tabs that attach the grille to the bumper, taking a Phillips head screwdriver you’ll have to pry the tabs apart (most likely breaking them, they’re just cheap plastic) and the grille will slide out the front.
2. Slide the new Billet grille into the opening and notice how the (4) slots on the new grille go right through the existing slots in bumper? It’s really that easy!
3. Using the fasteners and the screws that came with the grille put the fastener over the 4 slots on the new grille and put the screw through it.

4. Congrats! Your new grille is now installed! Simply repeat the steps in reverse to put your bumper back on. Be sure to reattach your turn signal and temperature sensors or you’ll have to take everything back apart again.
Installation Instructions Written By AmericanMuscle Customer Morgan Schrader 6/13/2013
