 FREE 1 to 3-Day Delivery on Orders $119+ Details
Best Sellers


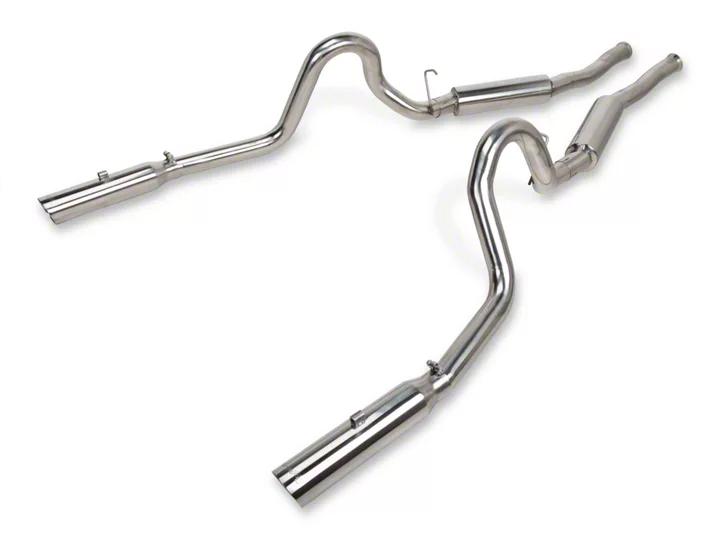
How to Install Pypes Pype-Bomb Catback Exhaust on your 1986-2004 Mustang GT, LX, Mach 1, and Bullit
Installation Time
2 hours
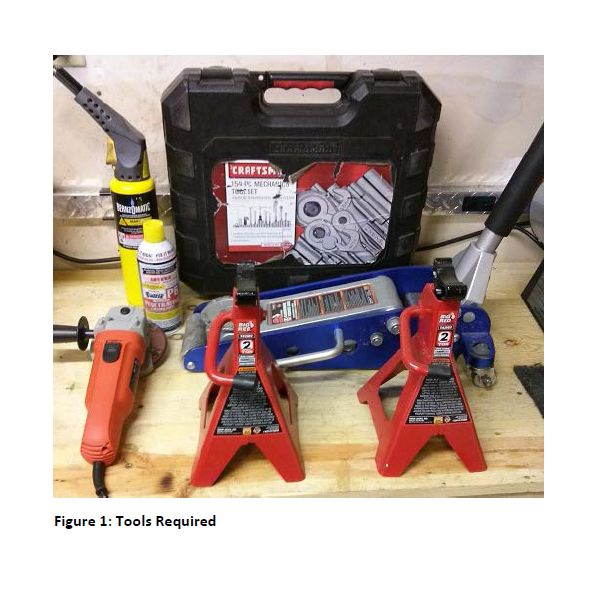
Tools Required
- Floor jack
- (2-4) Jack stands
- Penetrating oil
- Wrenches/Sockets (3/8” drive set should be sufficient)
- 13mm,14mm,15mm,18mm
- 9/16”,1/2”
- Metal cutting tool
Shop Parts in this Guide
Installation:
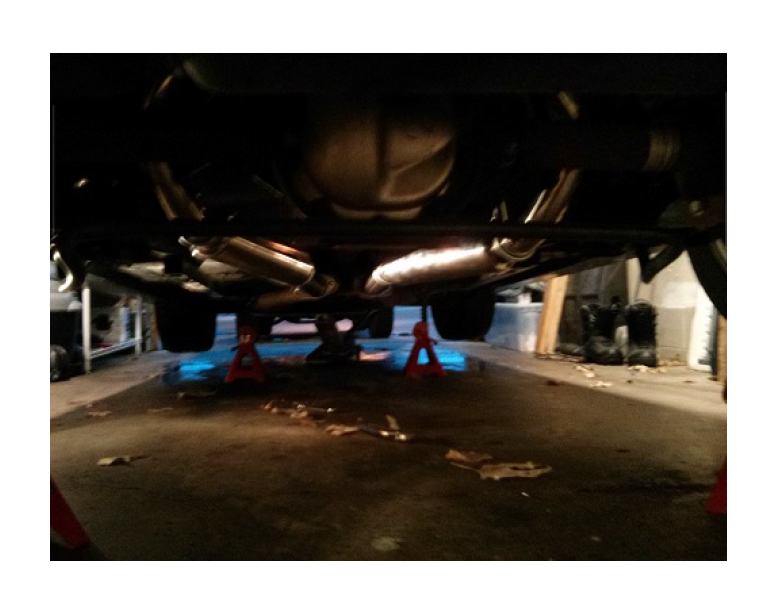
1) Jack the car up off the ground using the floor jack (The differential can serve as a decent jacking point). Place jack stands under the rear subframe and lower the jack.
Optional: If (4) jack stands are available it can be helpful to raise the front of the vehicle as well in order to gain more working space.
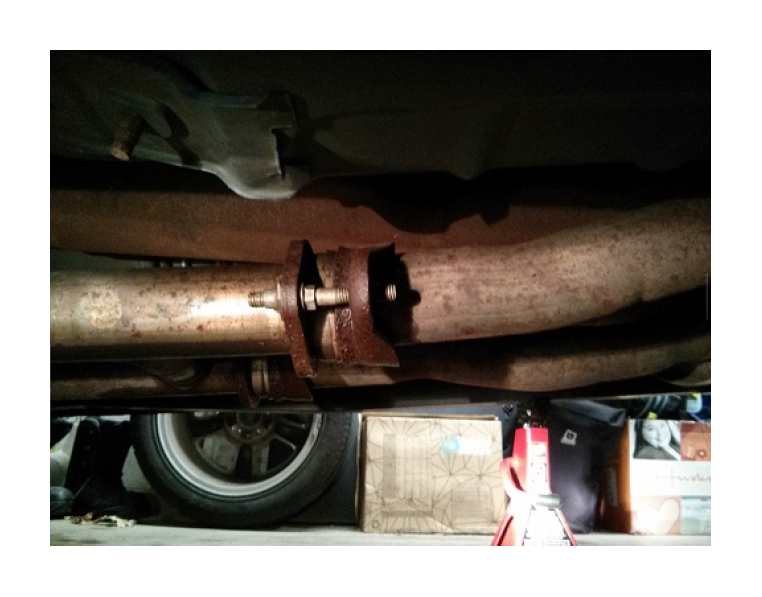
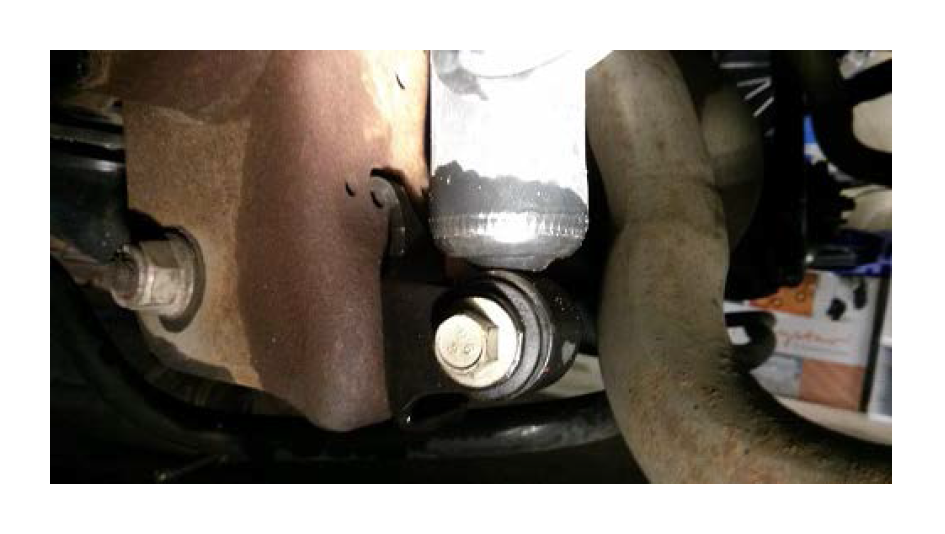
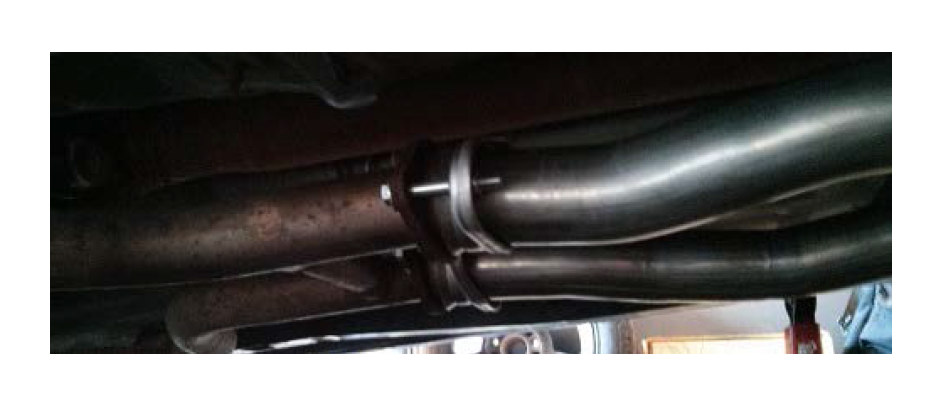
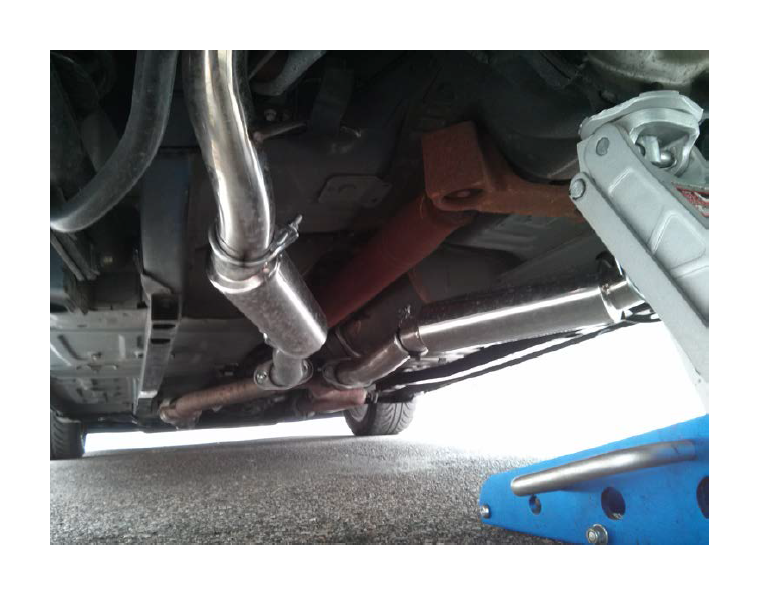
2) Near the center of the car, there is a bolted joint that connects the H-pipe to the catback. Remove the (4) nuts, (2) per side, from the downstream side of the connection then remove the studs. You will need a 9/16” and a ½” socket. Penetrating oil and/or a torch can be helpful in removing corroded fasteners.
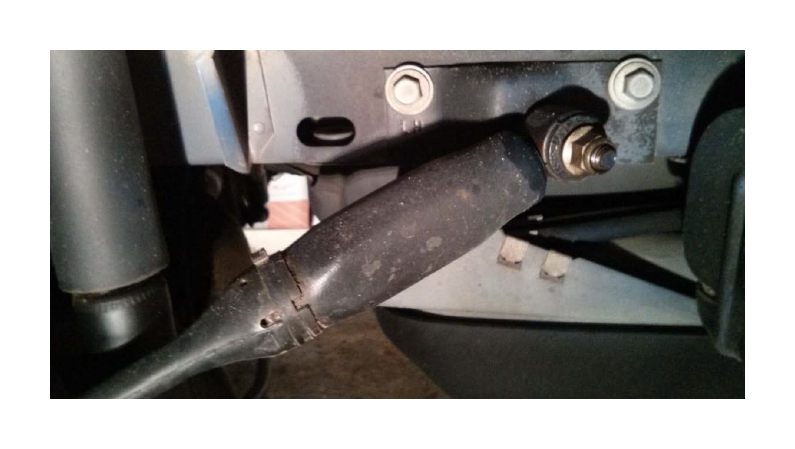
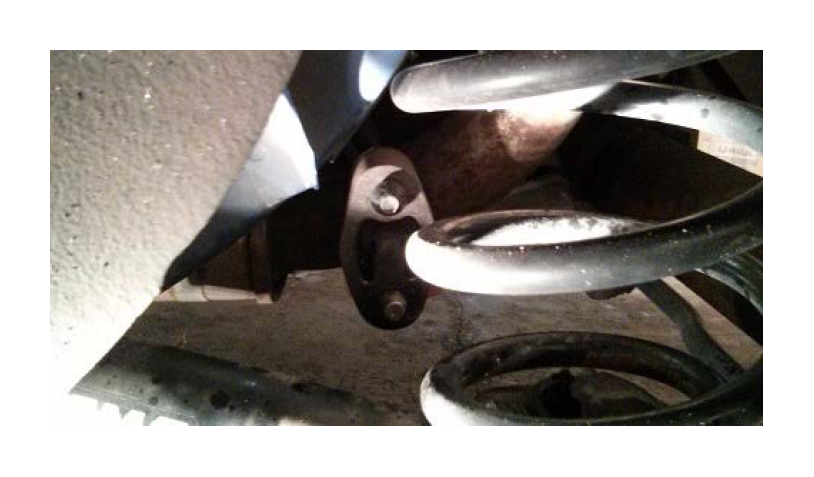
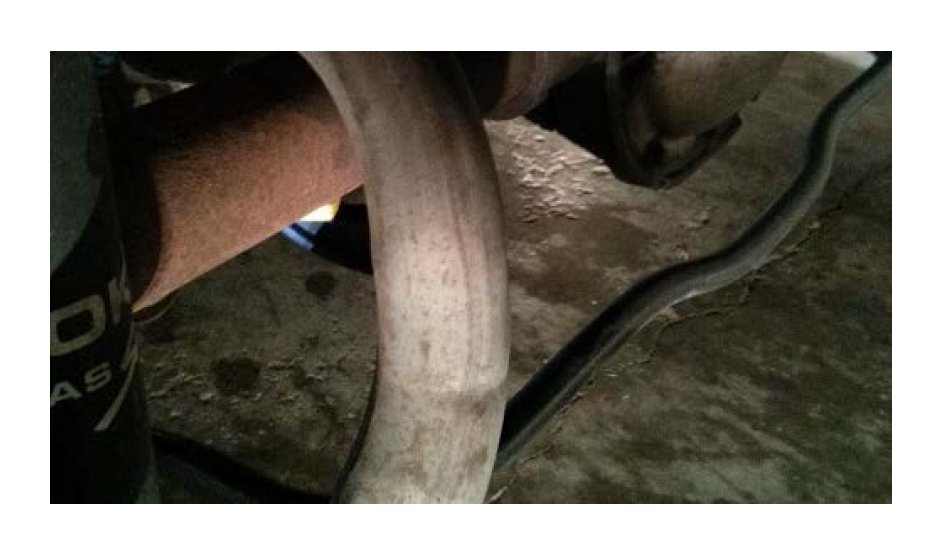
3) Disconnecting the rear shocks (18mm and 15mm) will allow the axle to drop further down, gaining more room to remove the original mufflers and install the new over-axle pieces. To do this, first place a jack under the differential housing, then remove the lower shock mount bolt from each side. If equipped, the quad shocks (18mm) should be removed as well. It is easiest to simply remove the rearmost mounting nut and pull the shock outward off the stud. The axle will now hang a few inches lower when the jack is removed.
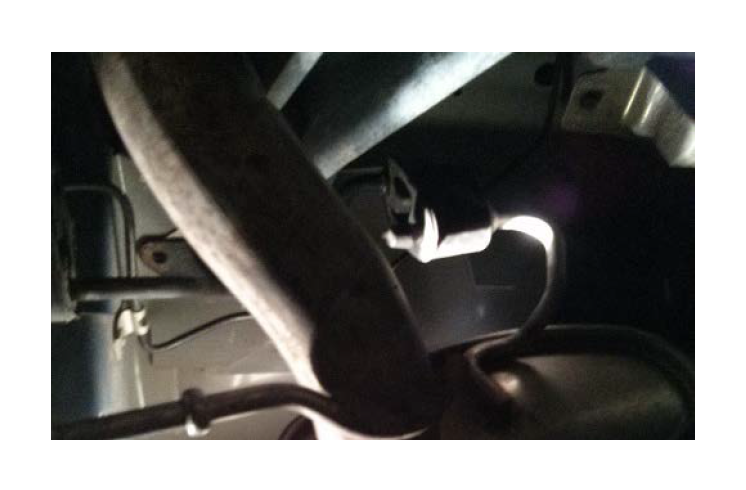
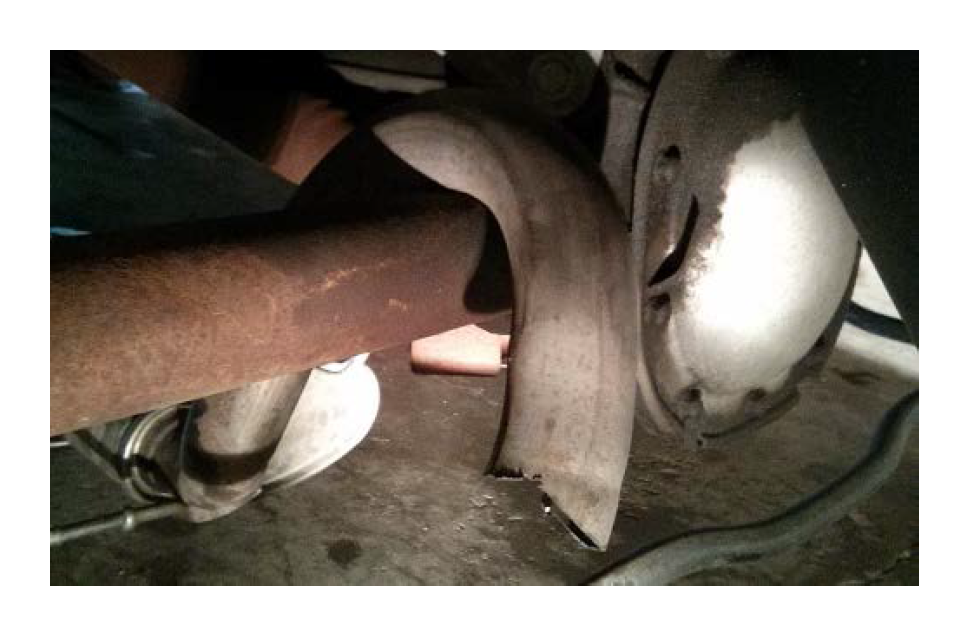
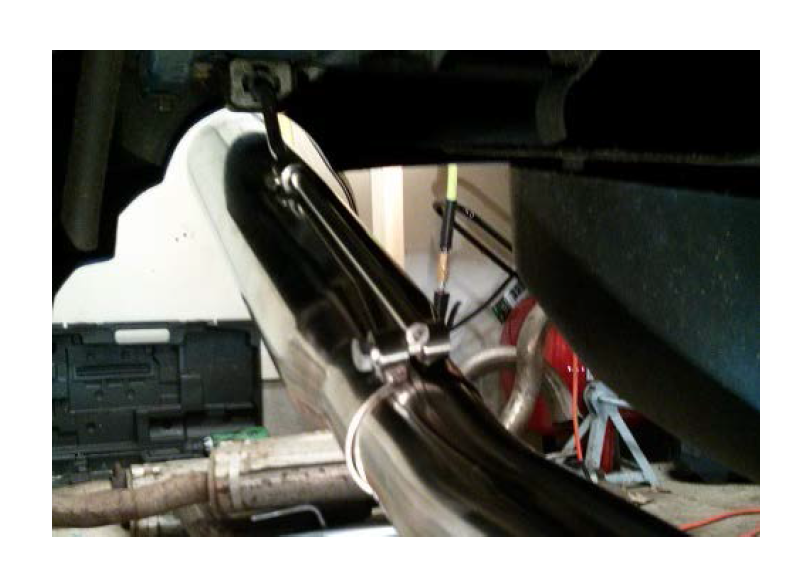
4) There are three rubber exhaust hangers supporting each muffler assembly, two on the muffler and one on the exhaust tip. Starting with the outermost hanger, visible from the rear wheel well, spray the hanger with oil and then slide the metal hanger rod from the rubber. Proceed to do the same with the inner hanger and finally the rear hanger.
5) The final step in removing the original system is to cut the pipes into two pieces. I found that the easiest place to do this was directly behind the axle. Cutting here will allow the mufflers to be slid out from under the vehicle. Caution: Safety glasses should be worn whenever a cutting tool is used.
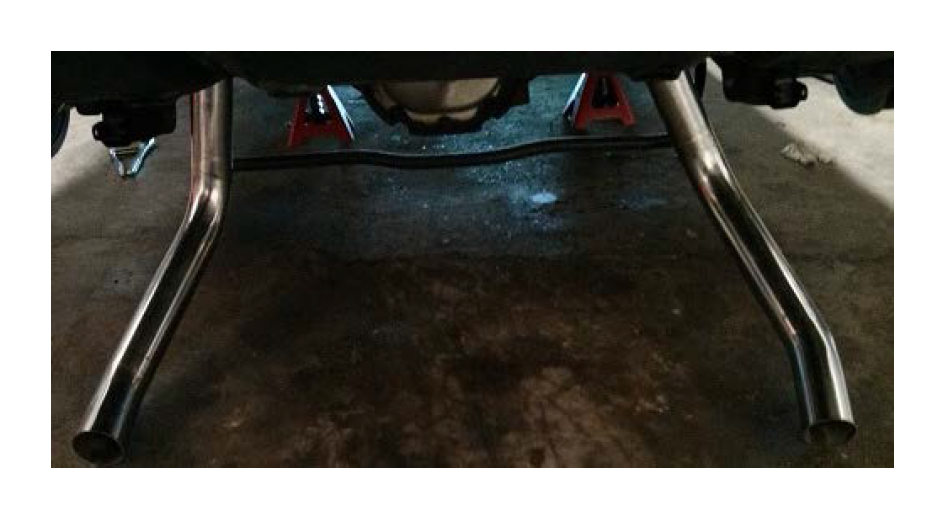
6) It is now time to install your brand new Pypes catback system! Begin by sliding the over-axle sections over the axle and slip the mounting rod into the inner rubber hanger.
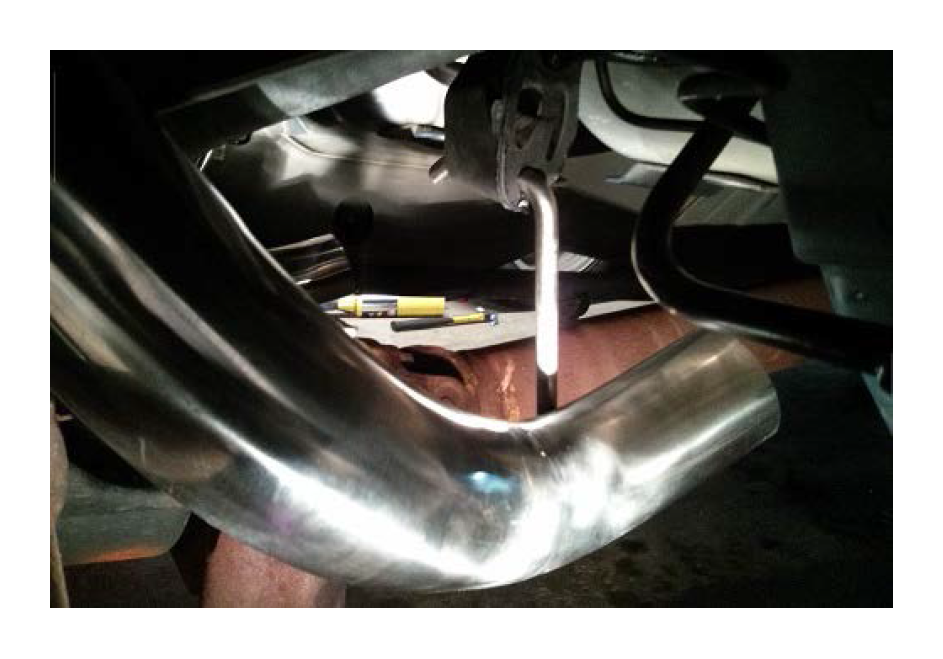
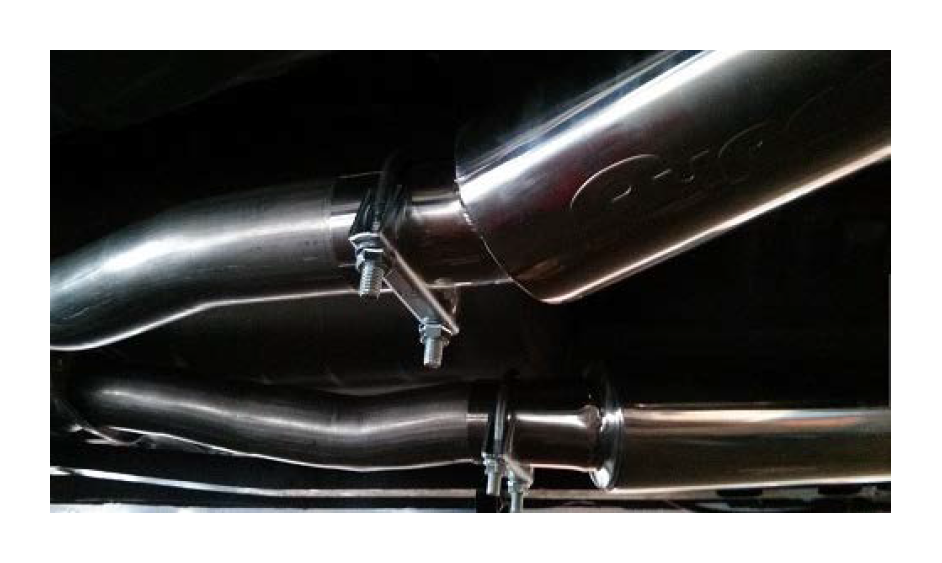
7) Loosely attach the new inlet tubes to the H-pipe using the included flanges and hardware (14mm).
8) Slip the new mufflers between the inlet tubes and over-axle sections and loosely install the U-bolt clamps (14mm).
9) Next, install the new resonator tips (13mm) and slip the hanger rods into the rear rubber hangers.
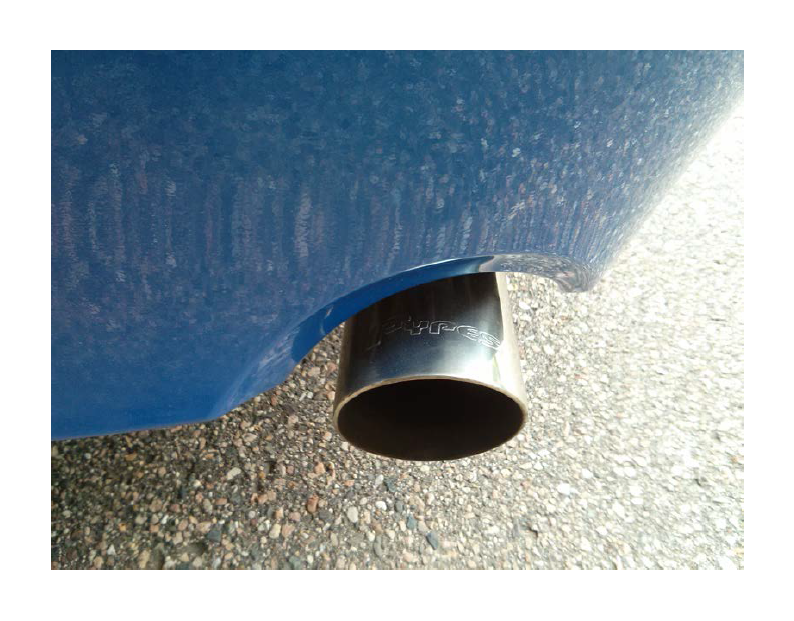
10) The final, and most time consuming step, is aligning each of the exhaust sections. The goal here is to create a nice symmetric look that allows the tips to be centered in the bumper cutouts. It is also vitally important to keep the mufflers as flat and as close to the chassis as possible. Each slip-fit section should be fully seated past the relief cuts in order to prevent exhaust leaks. After everything is in their final locations, tighten all the clamps with threads pointed away from the ground and start the engine. With the vehicle running, check for leaks by placing your hand near each connection point. If there are no leaks, you’re done!
After driving around for a while it is a good idea to jack the vehicle back up and recheck the fitment of the components and tightness of the clamps.
