 FREE 1 to 3-Day Delivery on Orders $119+ Details
Best Sellers


How to Install a Pypes Off-Road H-Pipe on Your 2005-2010 Mustang GT
Installation Time
2 hours
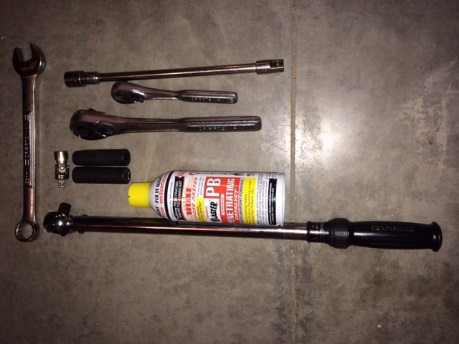
Tools Required
- 14mm Deep-Well Socket Wrench
- 15mm Deep-Well Socket Wrench
- Ratchet, U-Joint, and 10"+ Extension
- 22mm Open-Ended Wrench
- Penetrating Fluid
- Torque Wrench
- Support for Exhaust (jack stand, block of wood, etc.).
Tools Needed:
- 14-mm deep-well socket wrench
- 15-mm deep-well socket wrench
- Ratchet, U-joint, and 10” extension
- 22-mm open-ended wrench
- Penetrating Fluid
- Torque Wrench
- Support for exhaust (jack stand, block of wood, etc.)
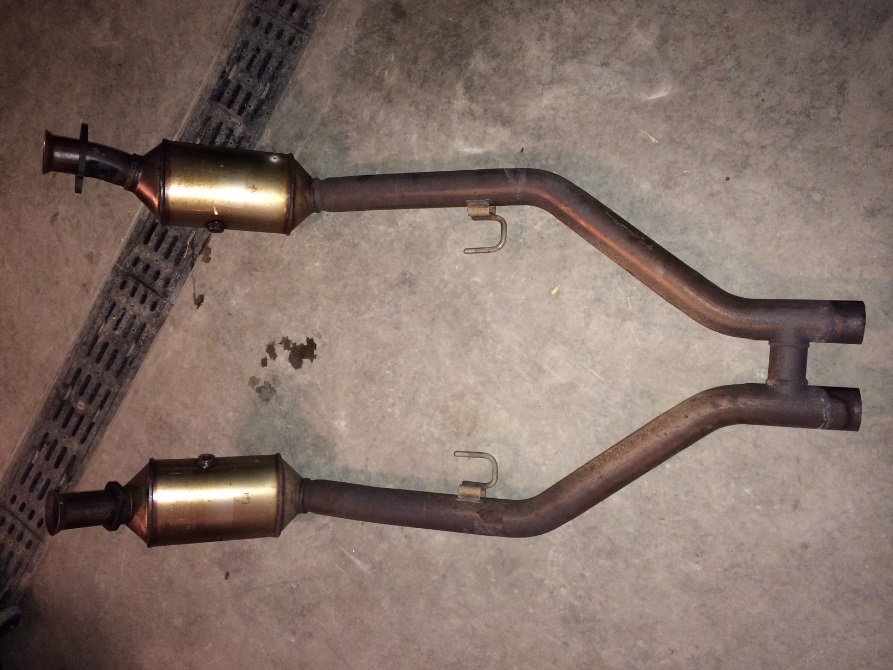
Kit Parts:
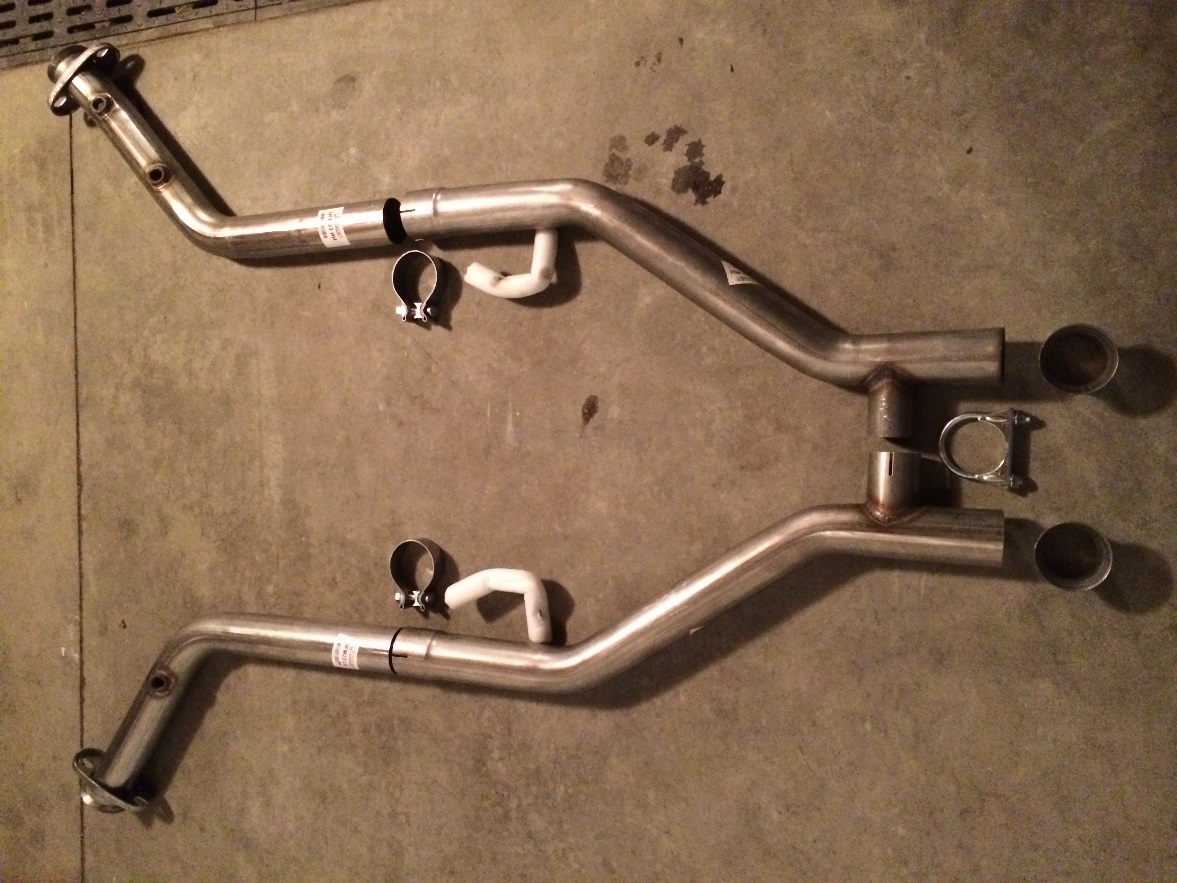
- (1) passenger-side cat-delete pipe; (2) O2 bungs
- (1) passenger-side H-pipe piece
- (1) driver-side cat-delete pipe; (1) O2 bung
- (1) driver-side H-pipe piece
- (2) 1” wide band clamps
- (2) manifold-to-cat-delete-pipe tapered sleeves
- (1) 2-1/4” U-clamp
Procedure:
1. Disconnect negative cable from battery, as O2 sensors will need to be removed.
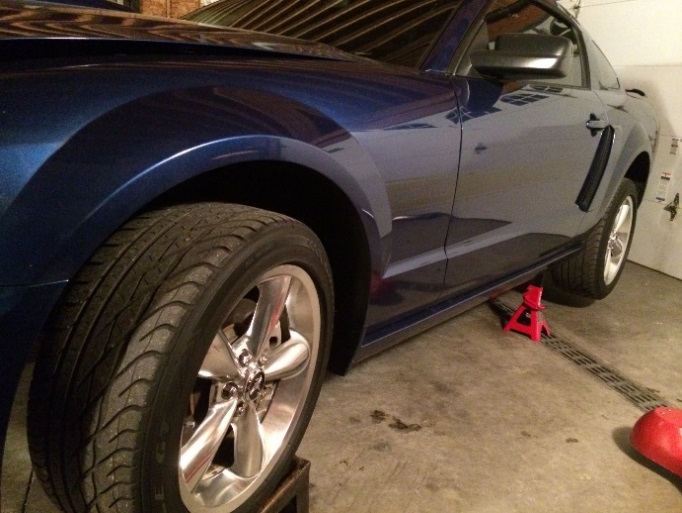
2. Secure vehicle on jack stands or lift (preferred).
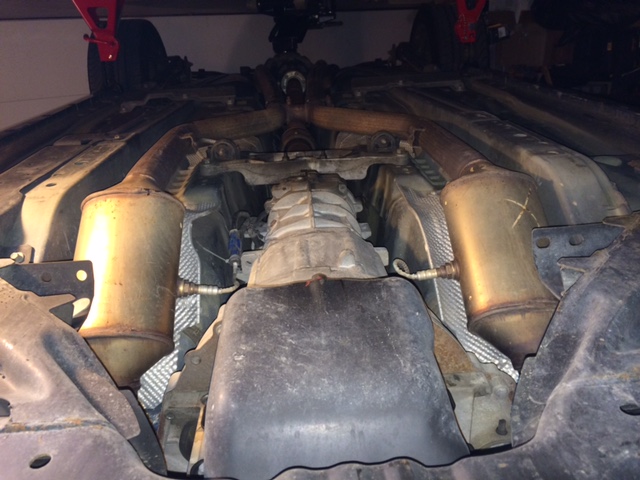
3. Soak the (4) manifold/header bolts/nuts, (3) O2 sensors, and (4) factory band-clamp bolts/nuts with penetrating oil as far in advance as possible.
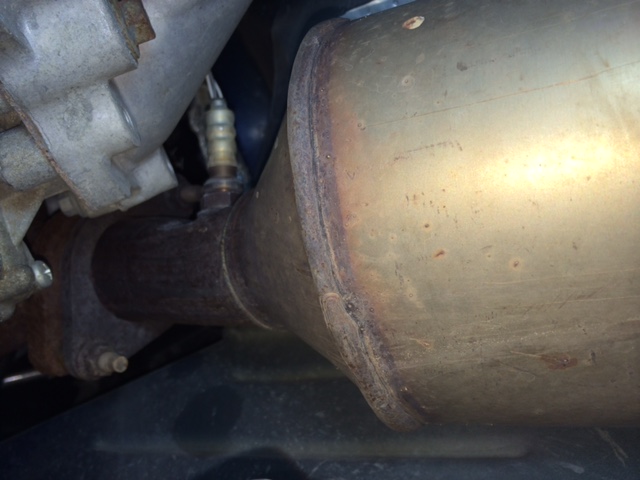
4. Remove the (3) O2 sensors from their respective bungs using a 22-mm open-ended wrench; I was able to loosen each with the wrench and then back them out by hand. I was very careful to back them out (about three turns each) and let them hang, but it would certainly be best to disassemble the electric plug-and-socket ends.
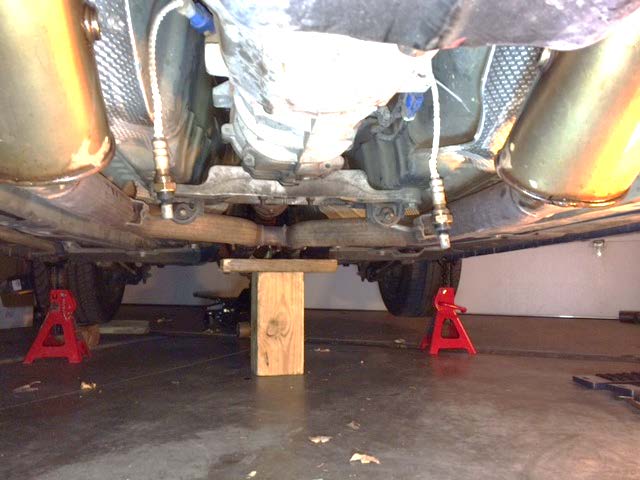
5. Support the H-pipe/mid-pipe connection with a jack stand or block of wood and loosen the (4) factory band-clamp bolts/nuts using a 15-mm deep-well socket.
6. Loosen the (4) manifold/header nuts using a 15-mm deep-well socket.
7. Remove the assembly by pushing rearward to slide the hanger rods out of the rubber mounts and pull the assembly out from under the car.
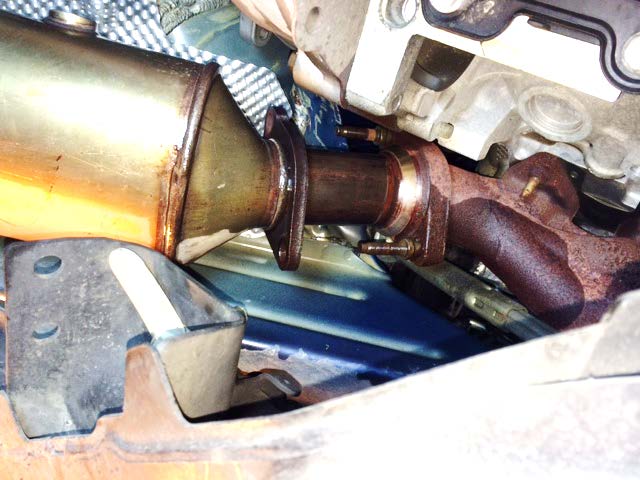
8. Now, it’s time to install your new Pypes H-pipe! Begin by installing the driver and passenger cat-delete pipes to the manifold first; the pipe with (2) O2 sensors is the passenger side. Be sure insert the tapered sleeves between the header collector and the pipes with the O2 sensor bungs.
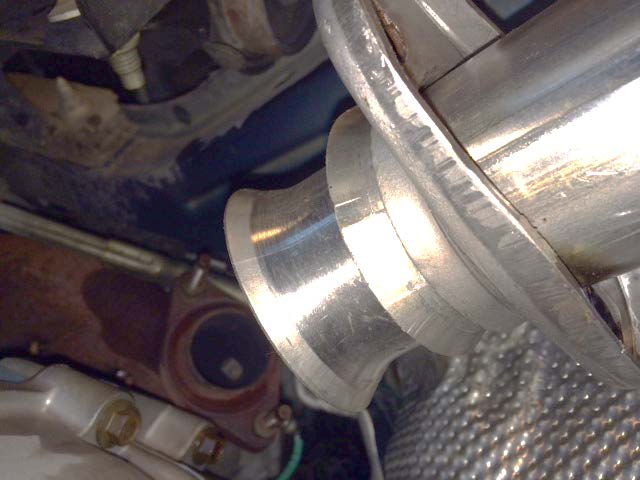
Snug the nuts finger-tight - DO NOT TIGHTEN ANY HARDWARE UNTIL THE ENTIRE SYSTEM IS IN PLACE!
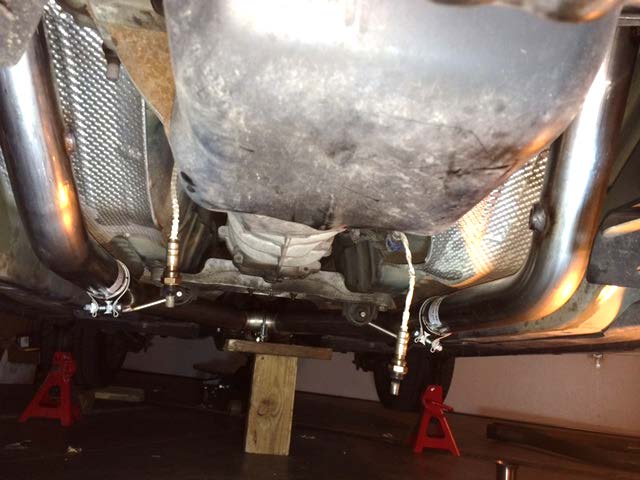
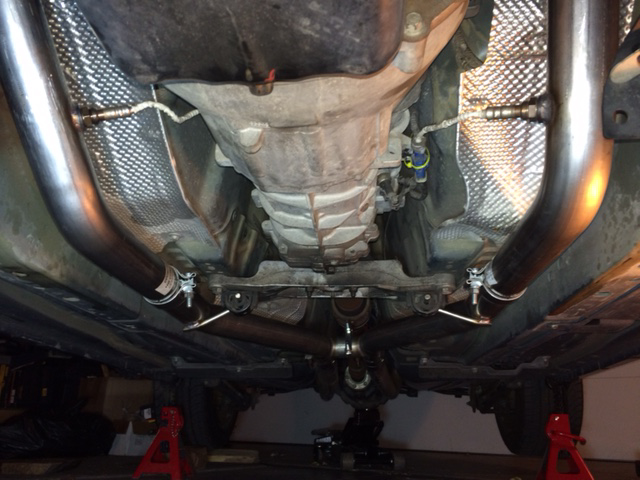
10. Slide the 1” wide band clamps onto the expanded portion of the H-pipe sleeves and slide each sleeve into the factory rubber mounts on the car (with the rod-bracket welds facing the ground), while joining the “H” pieces together with the 2-1/4” U-clamp in place to couple the connection.
11. Snug the band clamp nuts with the 15-mm deep-well socket wrench, but do not over-tighten; position the factory band clamps evenly over the existing exhaust pipes and the new H-pipe pieces and snug the nuts with the 15-mm deep-well socket wrench. Snug the 2-1/4” U-clamp nuts with the 14-mm deep-well socket wrench.
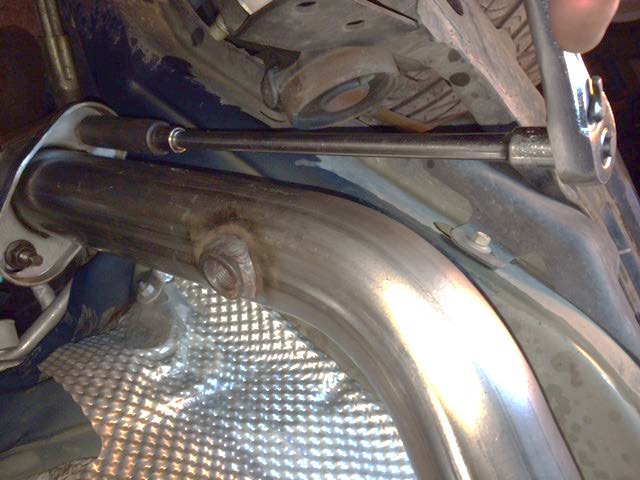
12. Make any necessary adjustments to the exhaust system for good fit and begin tightening the nuts. Torque the header hardware to 33 lb-ft per the factory manual using the 15-mm deep-well socket and an extension; this is much easier to do with the catalytic converter “bulges” no longer in the way.
13. Install the (3) O2 sensors.
14. Connect the negative terminal to the battery and start the car and carefully check for leaks.
15. When ready, lower the car to the ground. You will need a re-tune to accommodate the missing catalytic converters; otherwise, you will end up with a check-engine light.
16. Enjoy your new exhaust!!
Installation Guide written by AmericanMuscle Customer Mark Flittner 11.17.2014
