 FREE 1 to 3-Day Delivery on Orders $119+ Details
Best Sellers


How to Install an Optima Red Top Performance Battery on Your 1979-2010 Mustang
Installation Time
20 minutes
Tools Required
- 13mm Socket
- Long Socket Extension
- Socket Wrench
- 13mm Wrench
- File and Dremel for Cutting Tray
- Optional - Gloves and Fender Cover
Shop Parts in this Guide
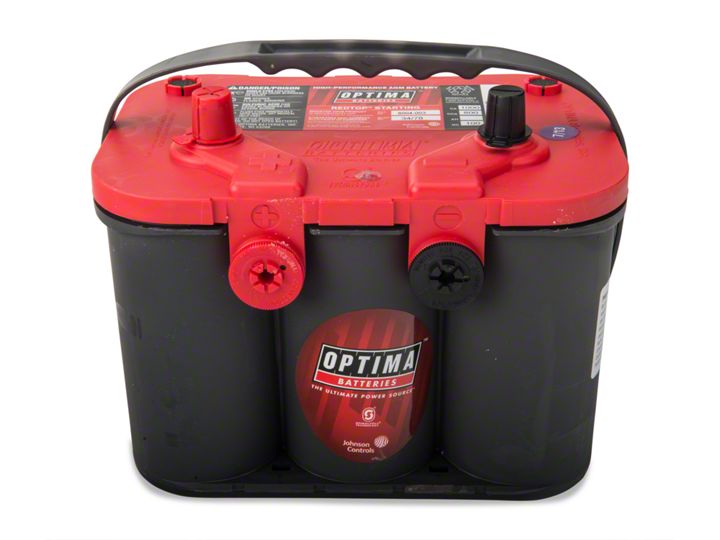
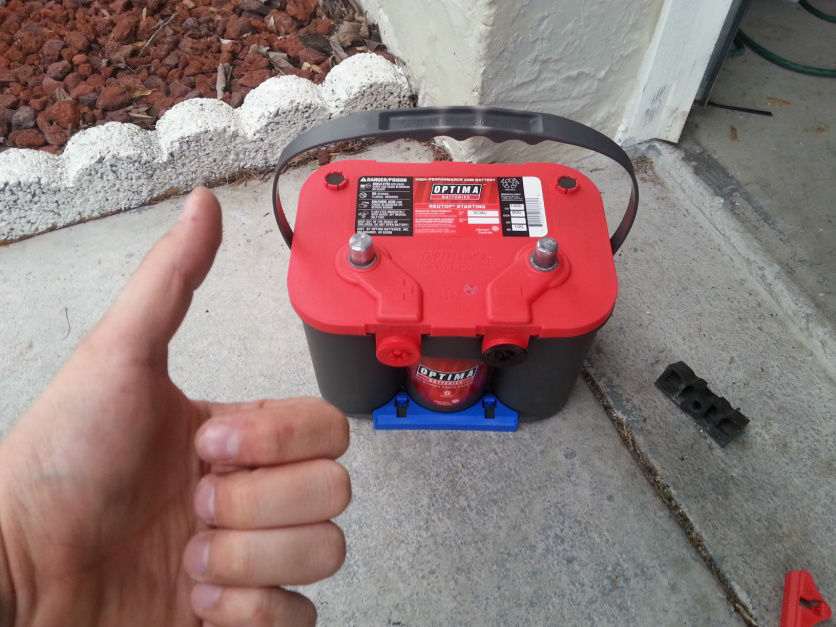
Materials in the Box: One Optima Battery
Side Notes: Some say that there are fitment issues, but I had none at all. The car this Optima battery was installed in is a 93 Foxbody 5.0. So someone with an SN95 or an S197 will not have to slightly modify the battery tray a little to get it to fit in. My Foxbody had no issues at all.
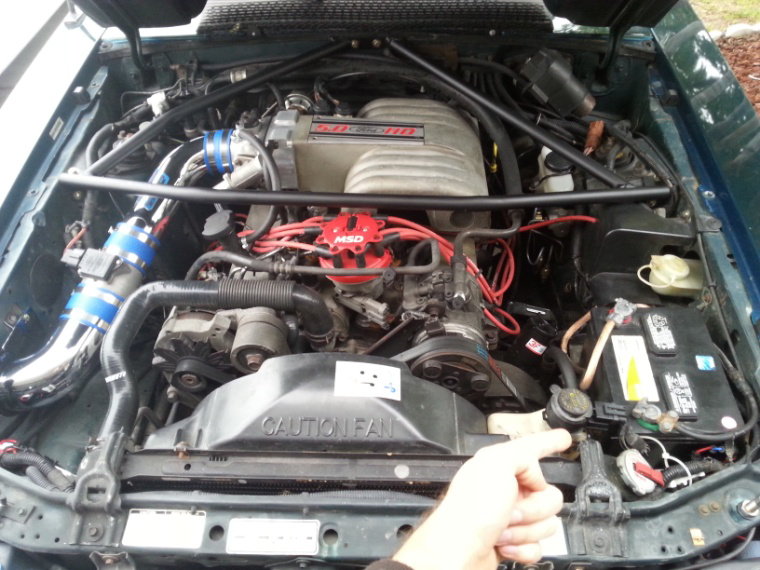
Before:
Installation Instructions:
1. Pop the hood of the car, and put on your fender cover if you have one. Take the battery out of the box, and put it in a safe location.
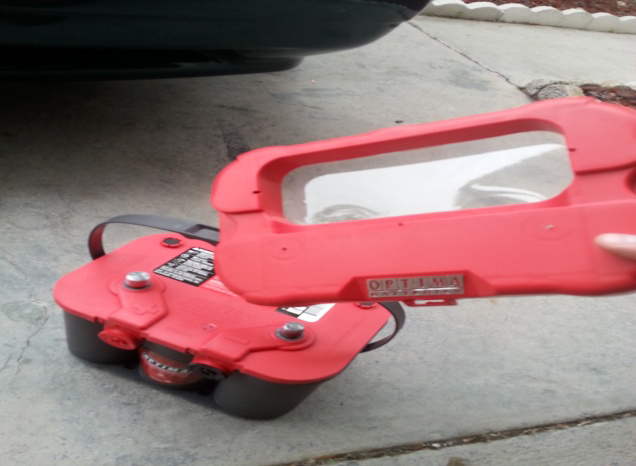
2. Take the top off of the new battery. DO NOT discard it, you will need it.
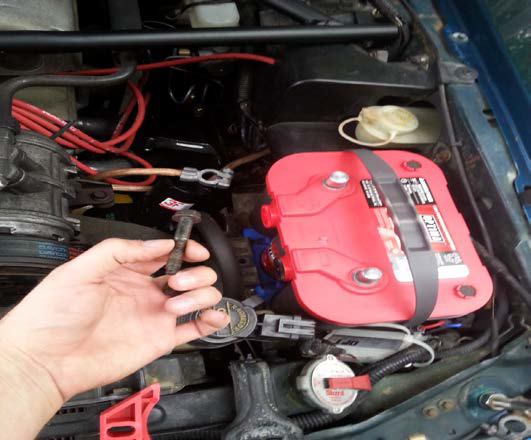
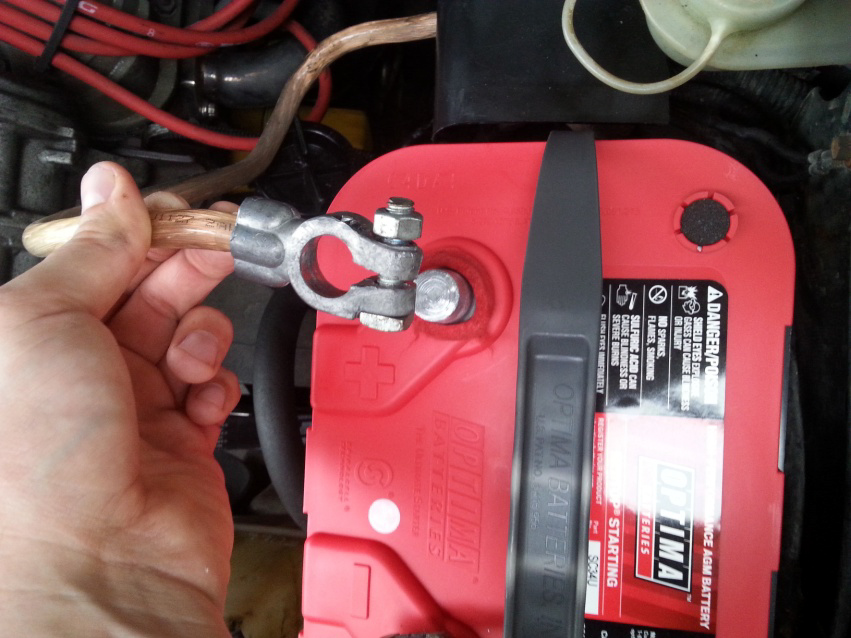
3. Before you begin, NOW is a good time to learn and memorize where the positive ( ) and negative (-) outputs are on the battery. With regards to the Foxbody (this car), the positive output is the wire that is toward the rear of the car (the clear wire with the red circle on the terminal), and the negative output is black wire (with the green circle) that is toward the front. Notice the “ ” and “-“ symbols on the battery and which wire they are connected to.
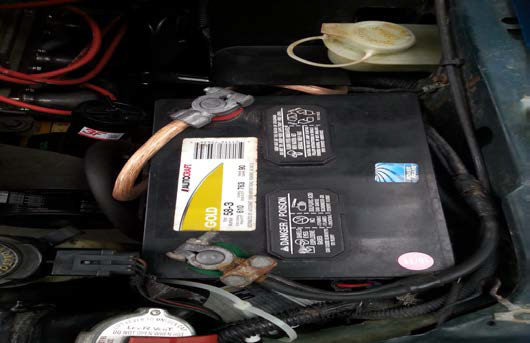
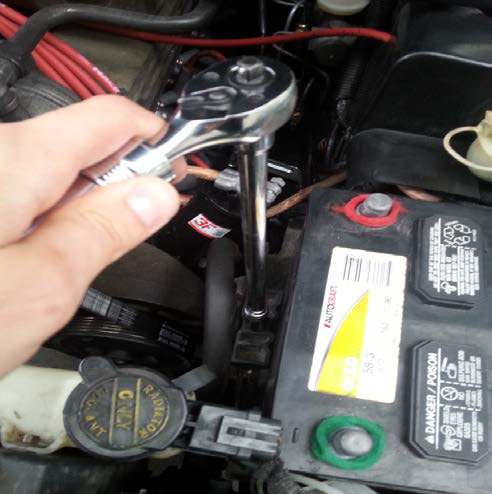
4. To remove the old battery with your 13mm wrench. Start with the NEGATIVE (-) terminal. Remember to put the wire in an out of the way position and a safe location. Take the positive ( ) terminal off the same way.
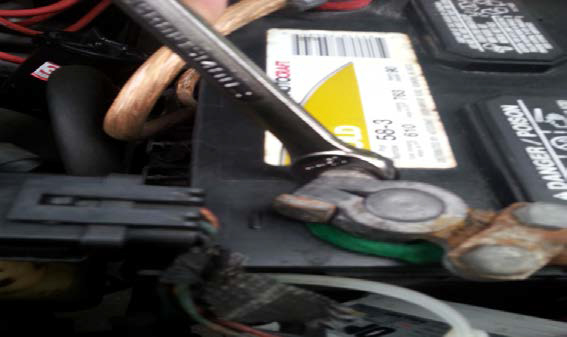
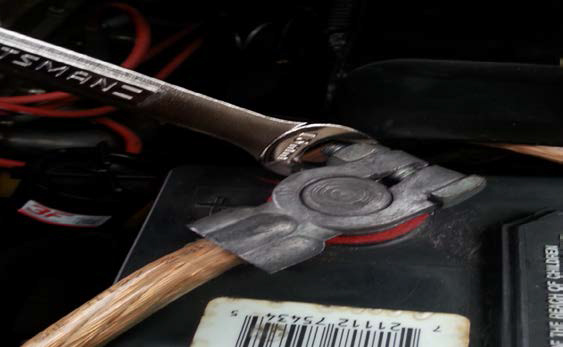
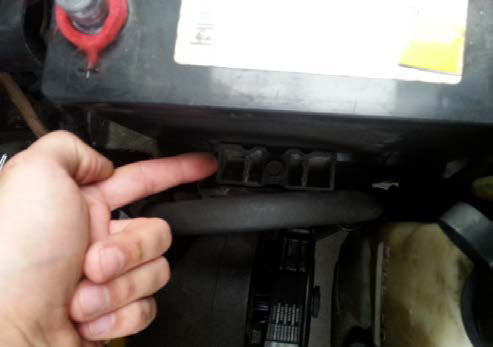
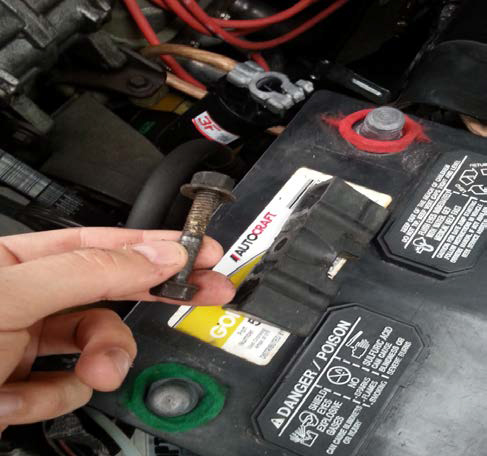
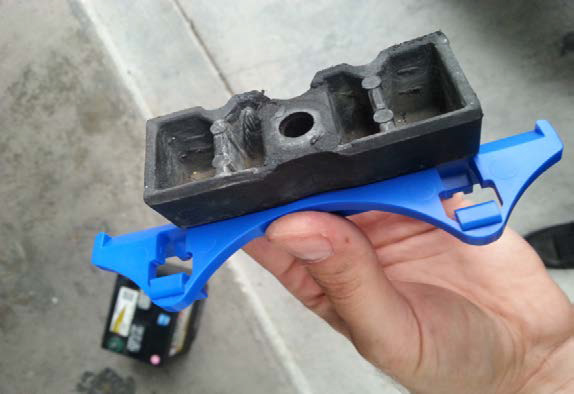
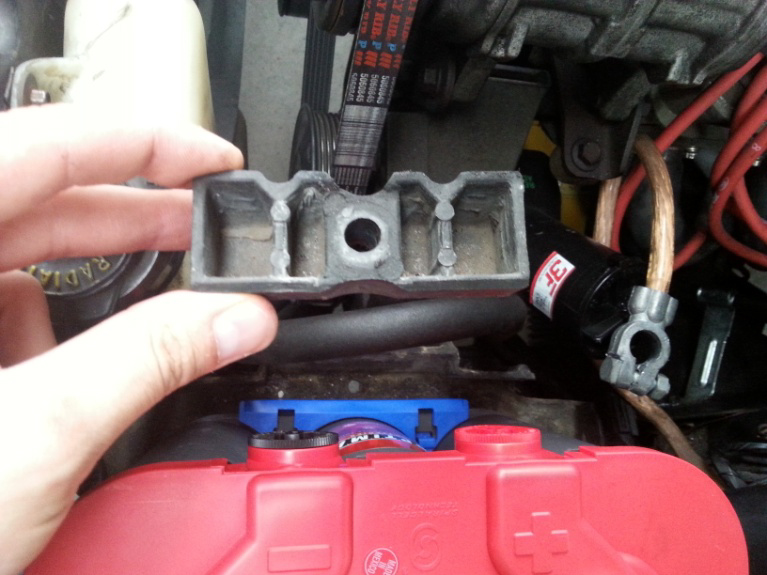
5. Now to be able to pull the battery out, there is just one nut and screw to remove. You should be able to just put your two fingers at the bottom to hold the nut with one hand while using your 13mm socket, extender, and socket wrench to loosen the top with your other hand. If it’s on too tight, just use your 13mm wrench at the bottom with one hand and your socket wrench with the other on top. Do not disregard the screw, nut, or plastic piece that the screw holds down, you will reuse all of them later.
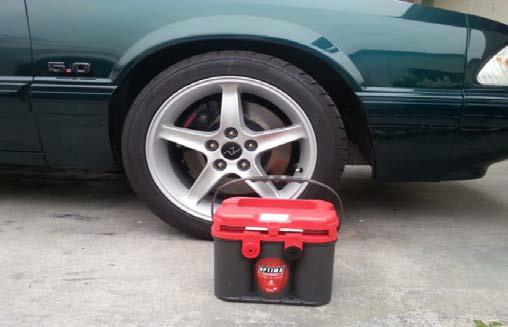
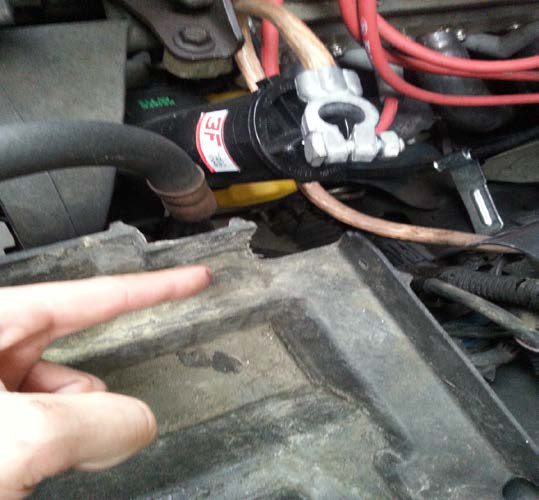
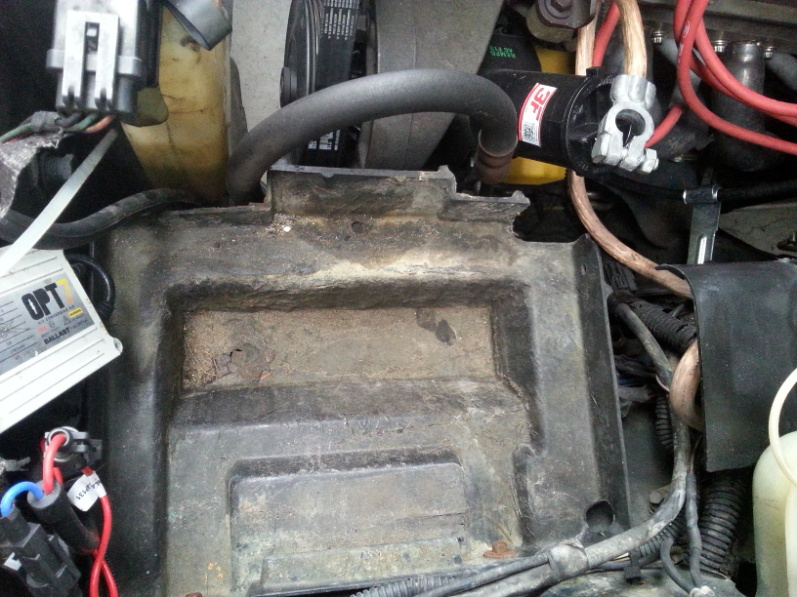
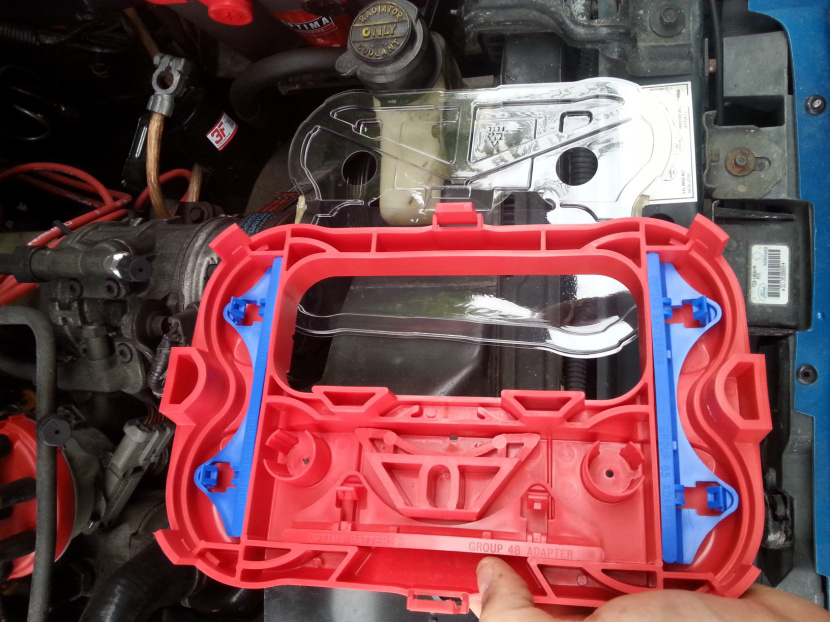
6. Once you pull the battery out, you will have full access to the battery tray. To see how your new Optima battery will fit, test it with that red top that you pulled off earlier. I did not need to cut or modify anything at all. But apparently, the owner before me did cut the tray. This happens to be the spot that every other model has to cut in order to get the battery to fit.
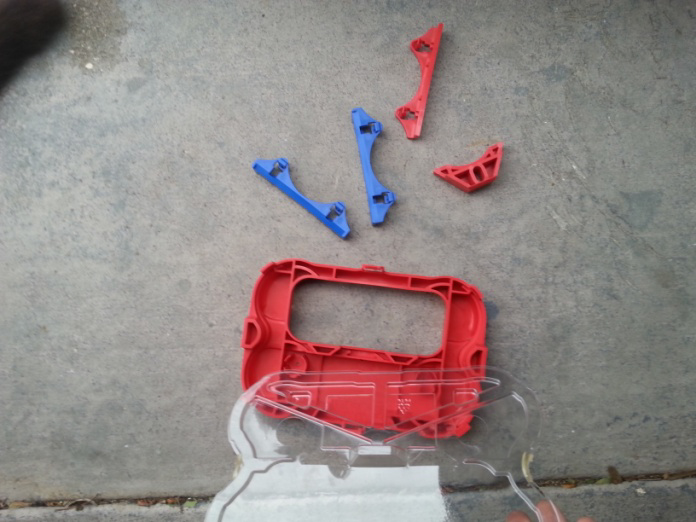
7. Under that red plastic top you have adapter fittings. Check the fitment before you try to put the battery in to see if you need any of the adapter fittings. For the Foxbody guys like me, you will need the two blue ones marked “Group 65.”
8. Place the adapters on the front and back of the battery as needed. They should press right in with no problems.
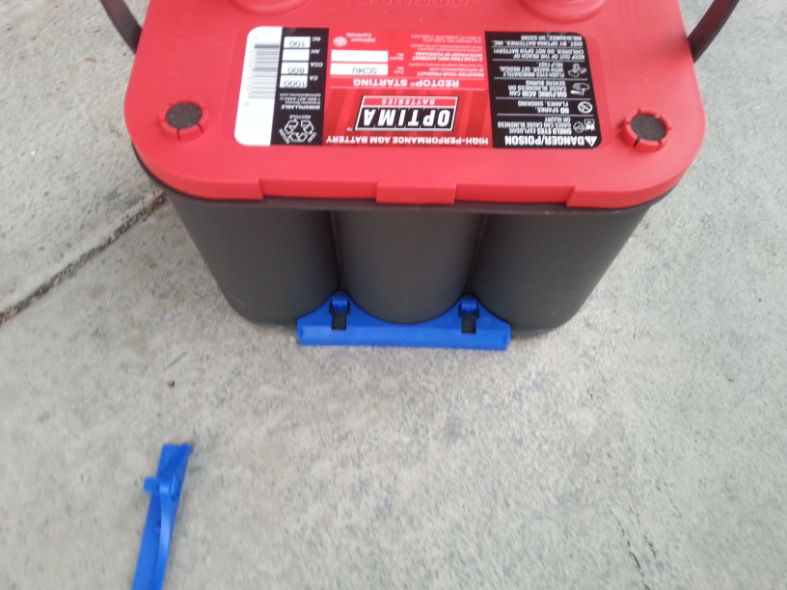
9. Place your new Optima battery in the car and make sure it fits. You do not want it to be loose. Be sure that the positive side ( ) and the negative side (-) are facing the same way as before. Put the plastic piece in the holds the battery down in place. Be sure that everything is tight and fits properly.
10. Grab your socket wrench with the 13mm socket on it, and put the nut and bolt back on. Be SURE that the battery does not wiggle or cannot come loose.
11. Put your insulators on if you have them.
12. Put your positive ( ) battery terminal back on, and tighten it with your 13mm wrench. Then put your negative (-) terminal on (13mm wrench too).
13. Now turn on the car. LET IT IDLE FOR A FEW MINUTES. Since you unplugged the battery, you reset your computer. Your car needs a few minutes to gather the data it needs for the car to run at its best. You also need to let the battery charge up for a minute. After a few minutes, take it for a test drive. Remember, if your car runs slightly odd for a few miles it’s normal when you take the battery out. Enjoy your new Optima power!!!
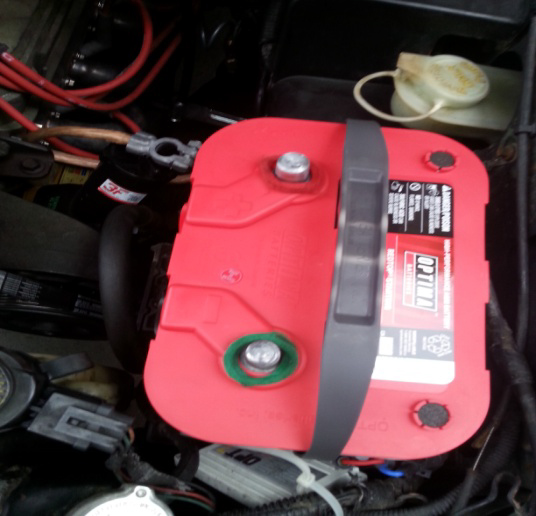
After:
Installation Instructions Written by AmericanMuscle Customer Joseph DeCresie 4/14/2014
