 FREE 1 to 3-Day Delivery on Orders $119+ Details
Best Sellers


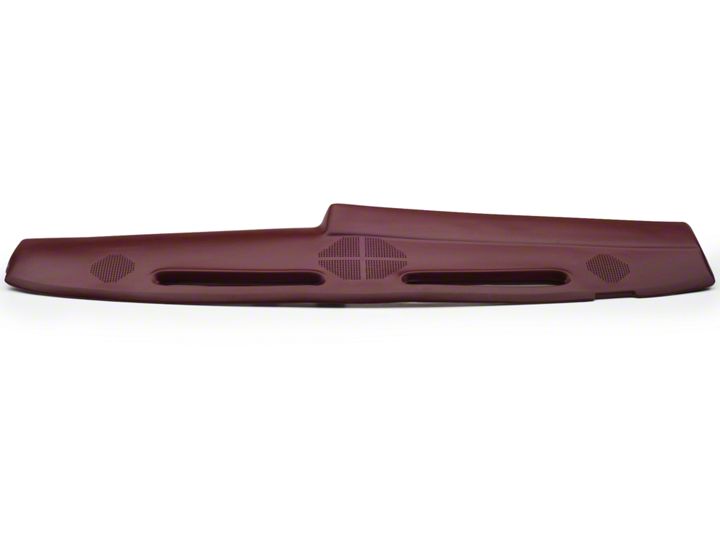
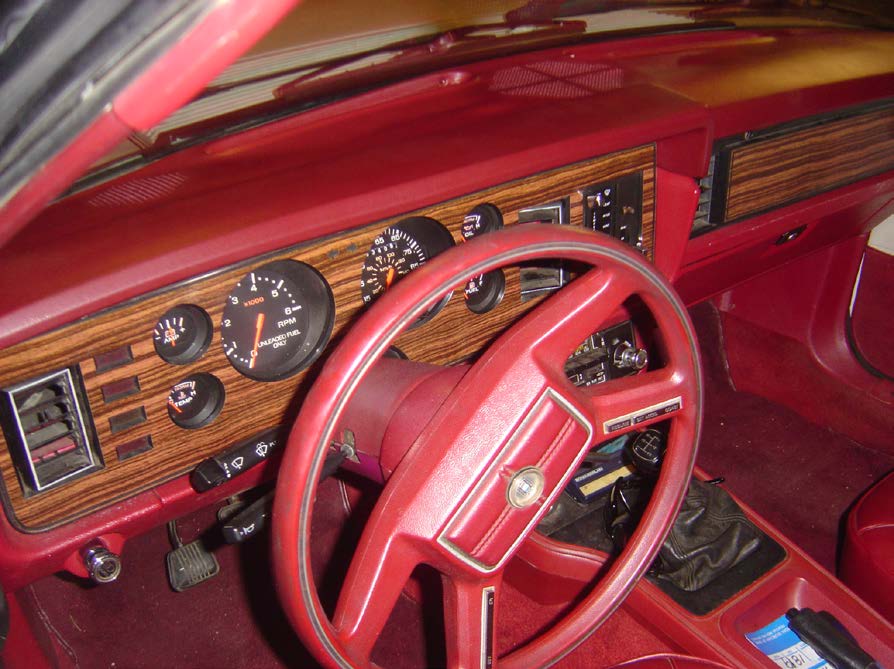
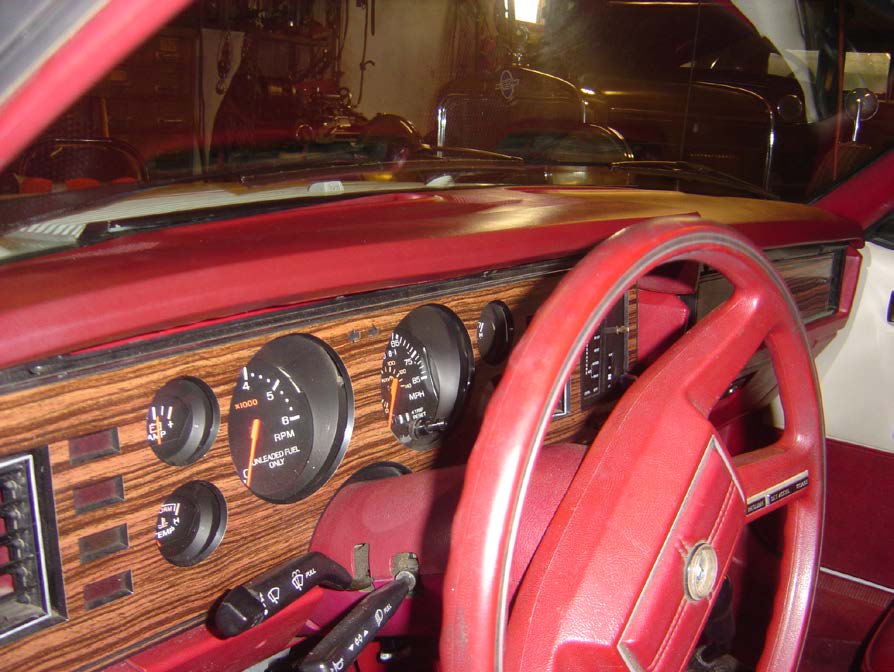
How to Install a Replacement Dash Pad on Your 1979-1986 Mustang
Shop Parts in this Guide
Installation
Installation Instructions:
1. Remove the (2) screws in each defroster duck opening, (4) in total.

2. Remove the (3) screws in the top of the panel to remove the instrument panel cover.

3. Remove the (2) dash pad screws on the passenger side that are at about a 45° angle.
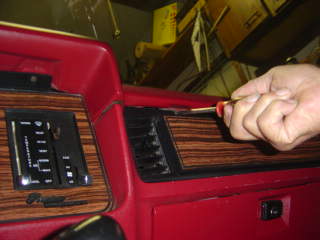
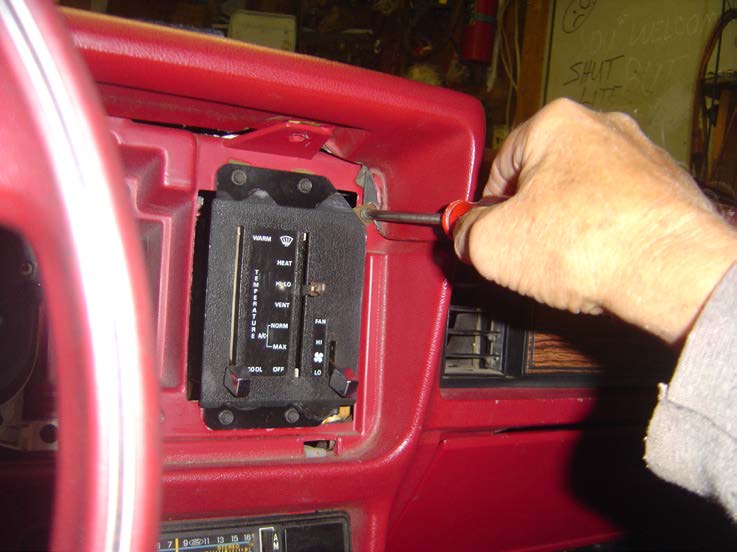
4. Remove the (2) dash pad screws located behind the instrument panel: (1) toward the center of the car on the right of the steering wheel, (1) toward the door on the left side of the steering wheel.
5. Lift and firmly pull the old dash pad out.
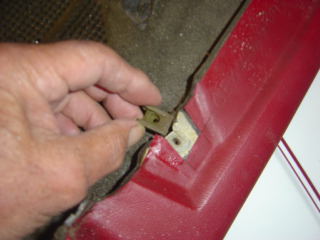
6. Remove (3) clips from the old dash pad and install them onto the new dash pad.

7. Gently and firmly push the new dash pad into window and dash gap.
8. Reinstall the (2) dash pad screws located behind the instrument panel.
9. Reinstall the instrument panel cover with the (3) screws into the top of the new dash pad.
10. Reinstall the (2) passenger side dash panel screws while pushing down firmly.
11. Reinstall the (4) screws into the defroster holes in the new pad. Screw in firmly, but do not over tighten.NOTE:Covering the defroster vent holes prior to installing the screws is a good idea to prevent any problems if a screw is dropped.
Installation Instructions written by AmericanMuscle customer Bob Nice 10.24.11
Best Sellers
Related Guides
-
Installation
-
Installation
-
Installation
